Find Us On Facebook

Search This Blog

.

Party Directory:

Faith Is Like A Seed Baptism

Nerf War

Harry Potter Trunk-or-Treat

o-FISH-ally 3!

Cupid Airlines Class Party

Santa's Workshop Class Party

Great Pumpkin Classroom Party

Dino Hunt/Movie

Puppy Paw-ty

Summer Fun Human Bowling

Minion Teacher Appreciation

Grinchmas

Gymnastics Party

Trunk or Treat

8 is Great! Baptism Celebration

Hollywood Teacher Appreciaton

1st Circus Birthday

Hippie Valentines Party

"Be Ugly" Christmas Party

Rainbow Dash Pony Party

Hogwarts School of Witchcraft & Wizardry

Butterfly Dessert Table

Vintage School Baby Shower

Bee My Valentine

Reindeer Games Breakfast

Ghost Busters!

Brave Birthday

Gender Reveal Election

Super Dad Father's Day

Papa's Pizzeria Party

A Party for my Peeps!

St. Patrick's Day Party

Buttons & Bows Baby Shower

Milk and Cookies on the Farm

2 Peas in a Pod Diaper Shower

Yo Ho Matey! Pirate Party

Bedtime Stories Baby Shower

1st Bee-Day

Dr. Seuss Baby Shower

Birthday Zoo-fari

Thomas the Train Birthday

Showing posts with label do it yourself. Show all posts

Tuesday, July 3, 2012

Comic Book Bunting Tutorial


Today I am going to show you how to make these SUPER comic book banners!
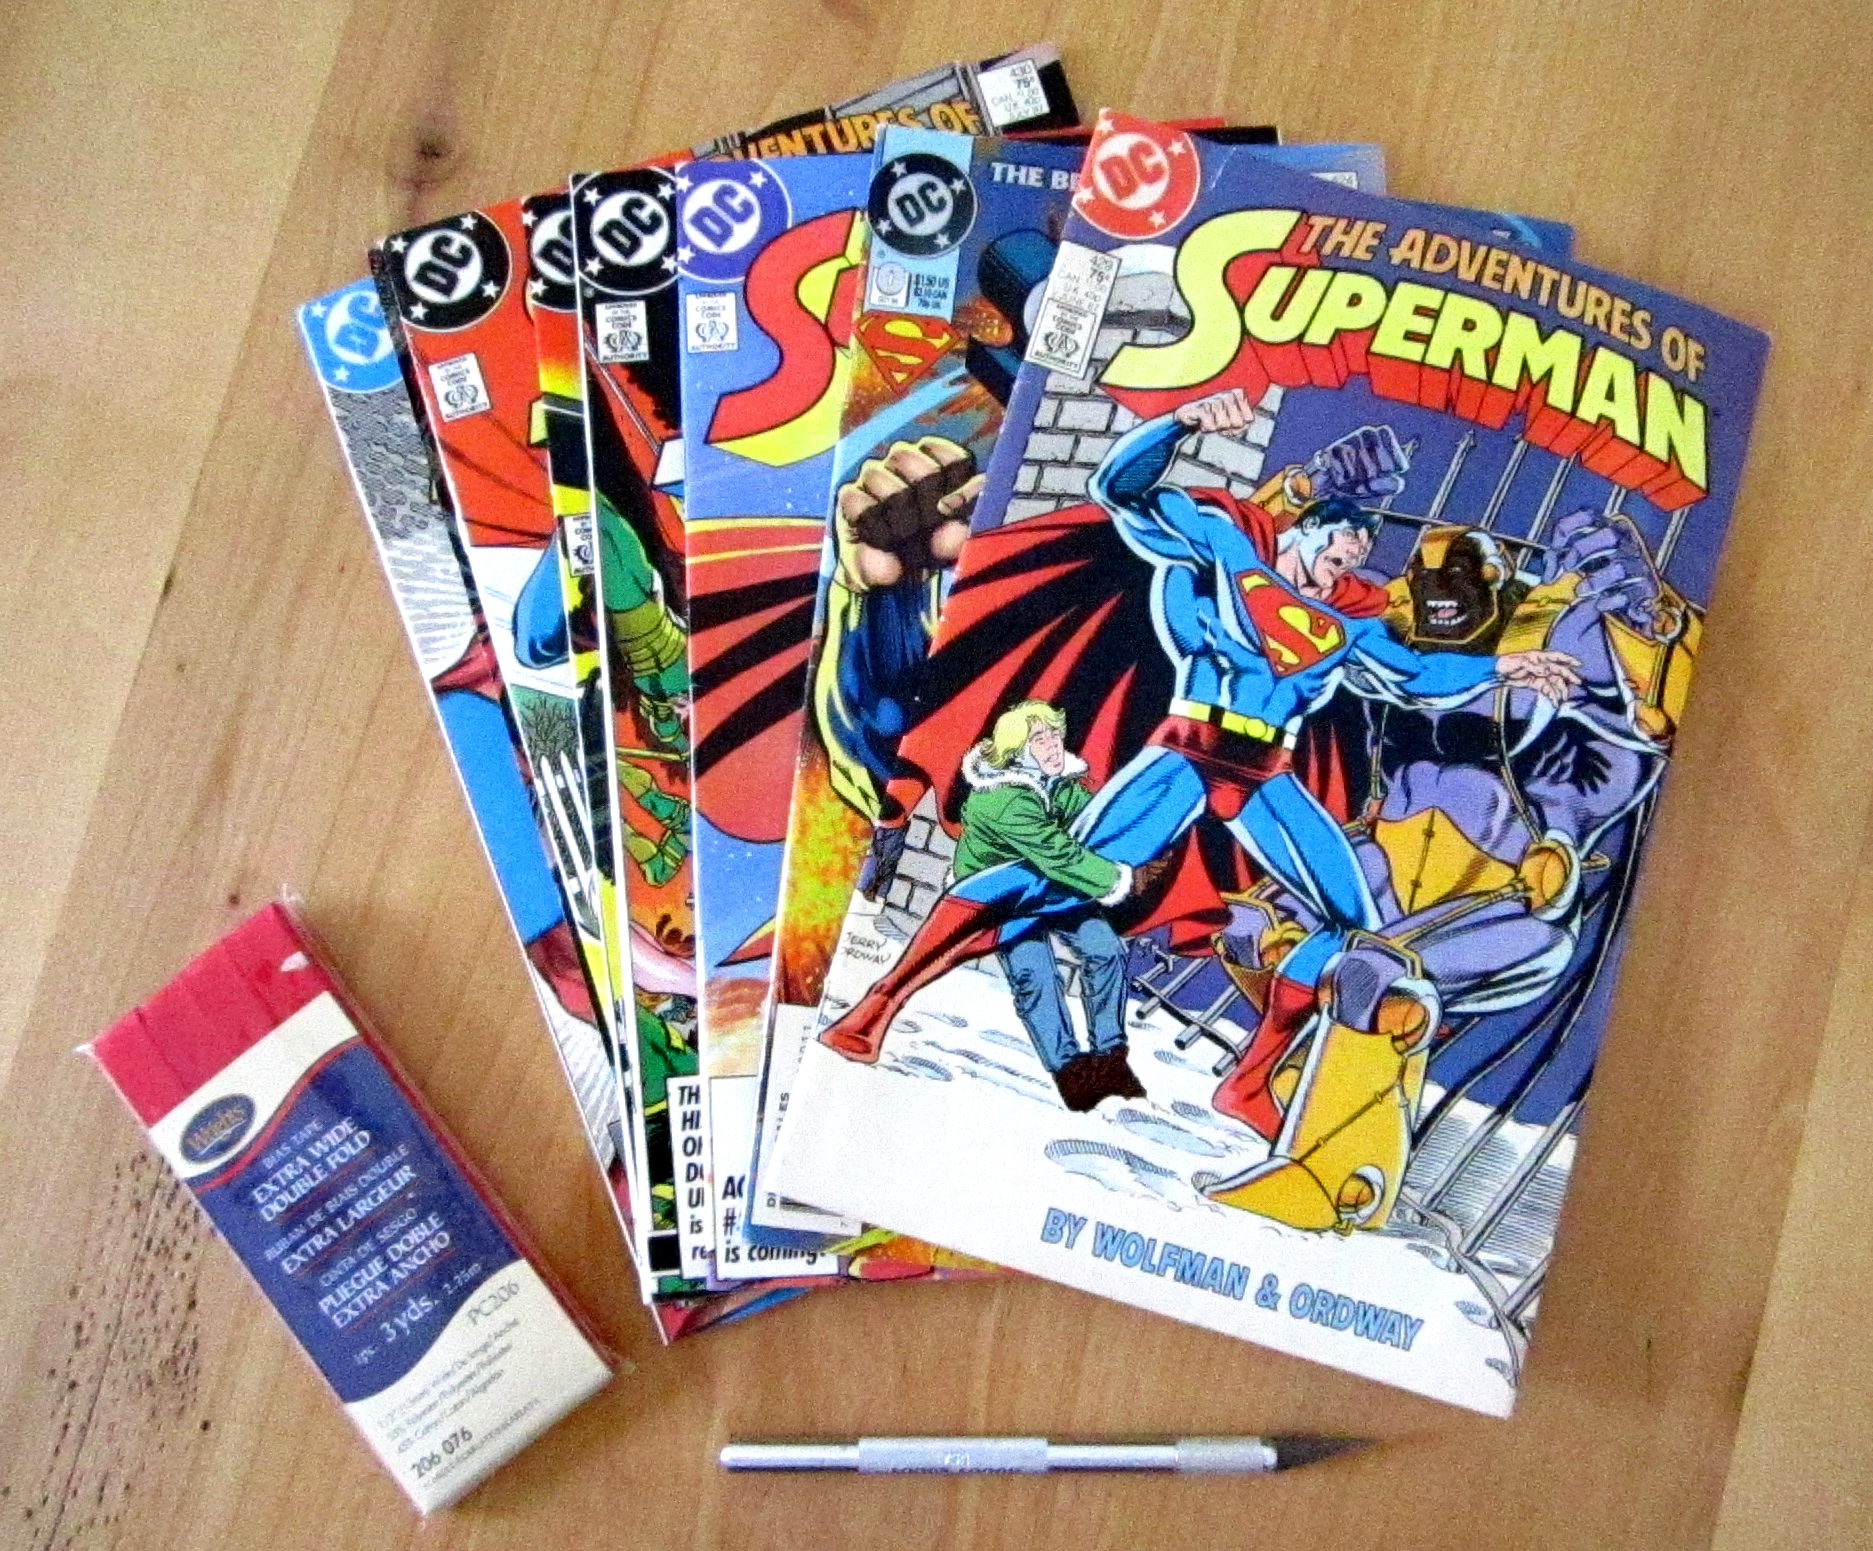
Here is what you are going to need:
Your favorite comic books (you can find them cheap, I got mine online for about $.80 each)
Double fold bias take
Craft knife and ruler, or paper trimmer
Sewing machine
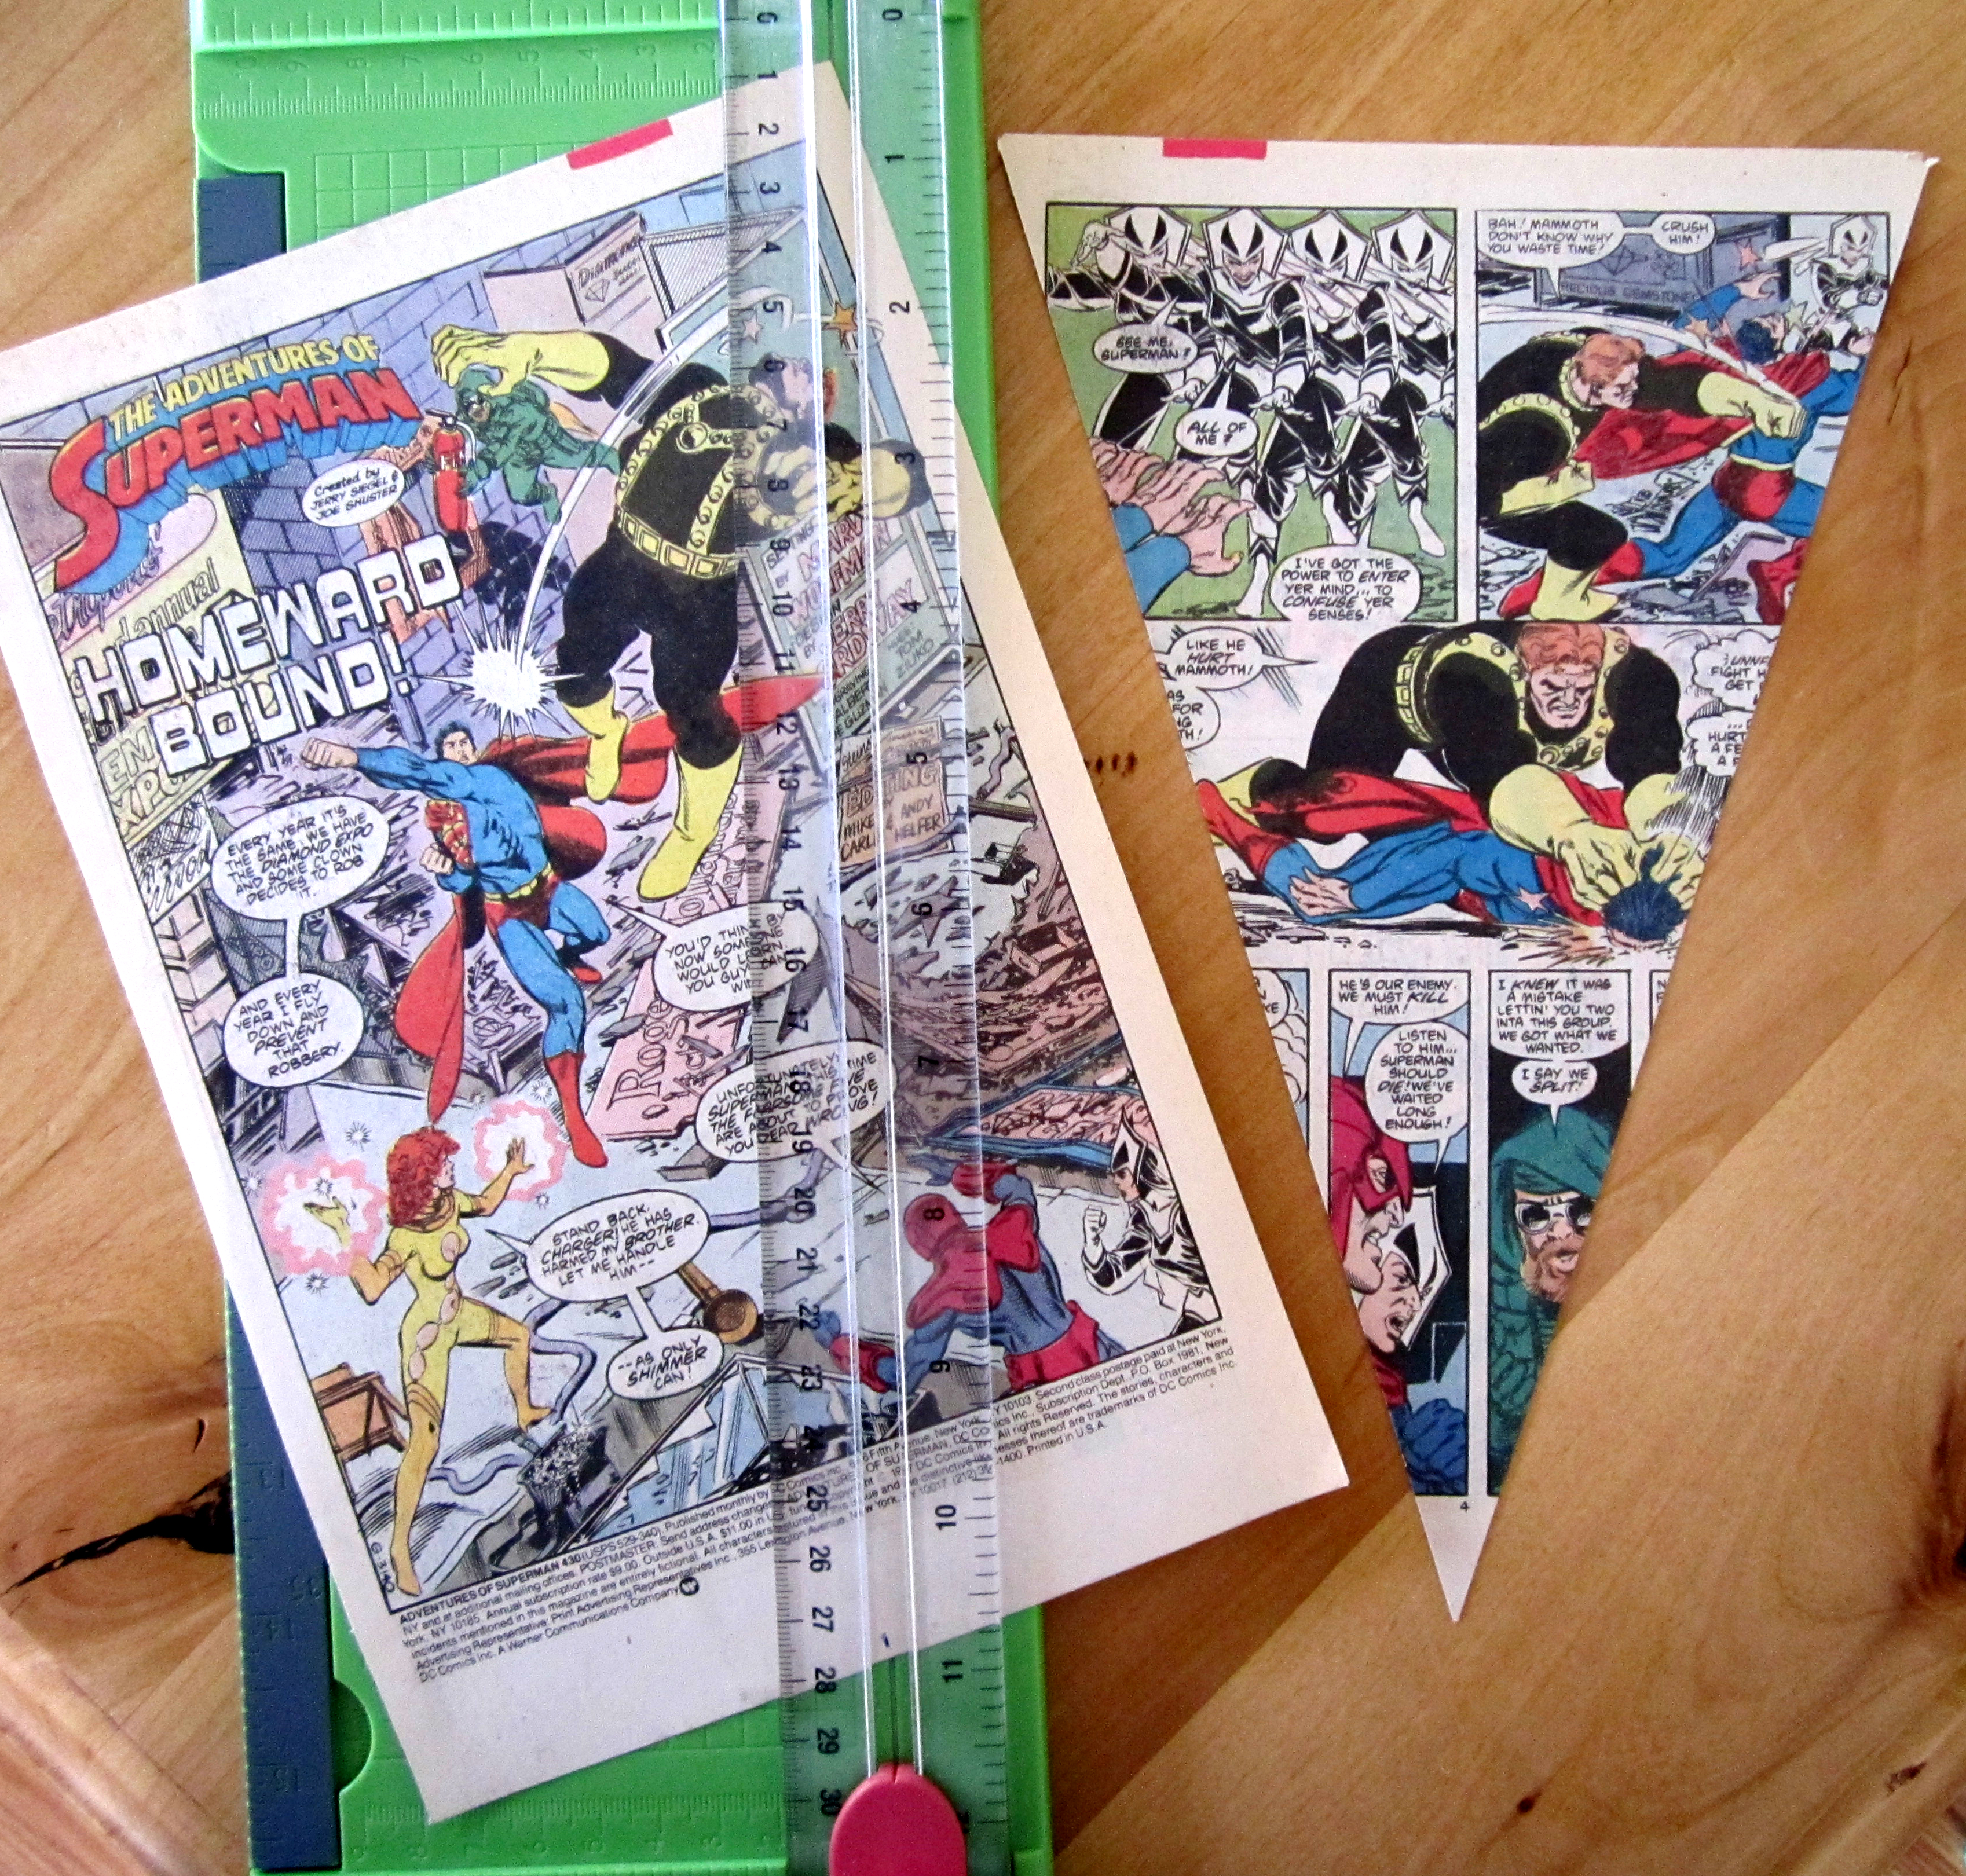
Carefully remove/cut the desired pages from your comic books. Using your ruler and knife or paper trimmer cut a triangle from the top two corners to the bottom center.
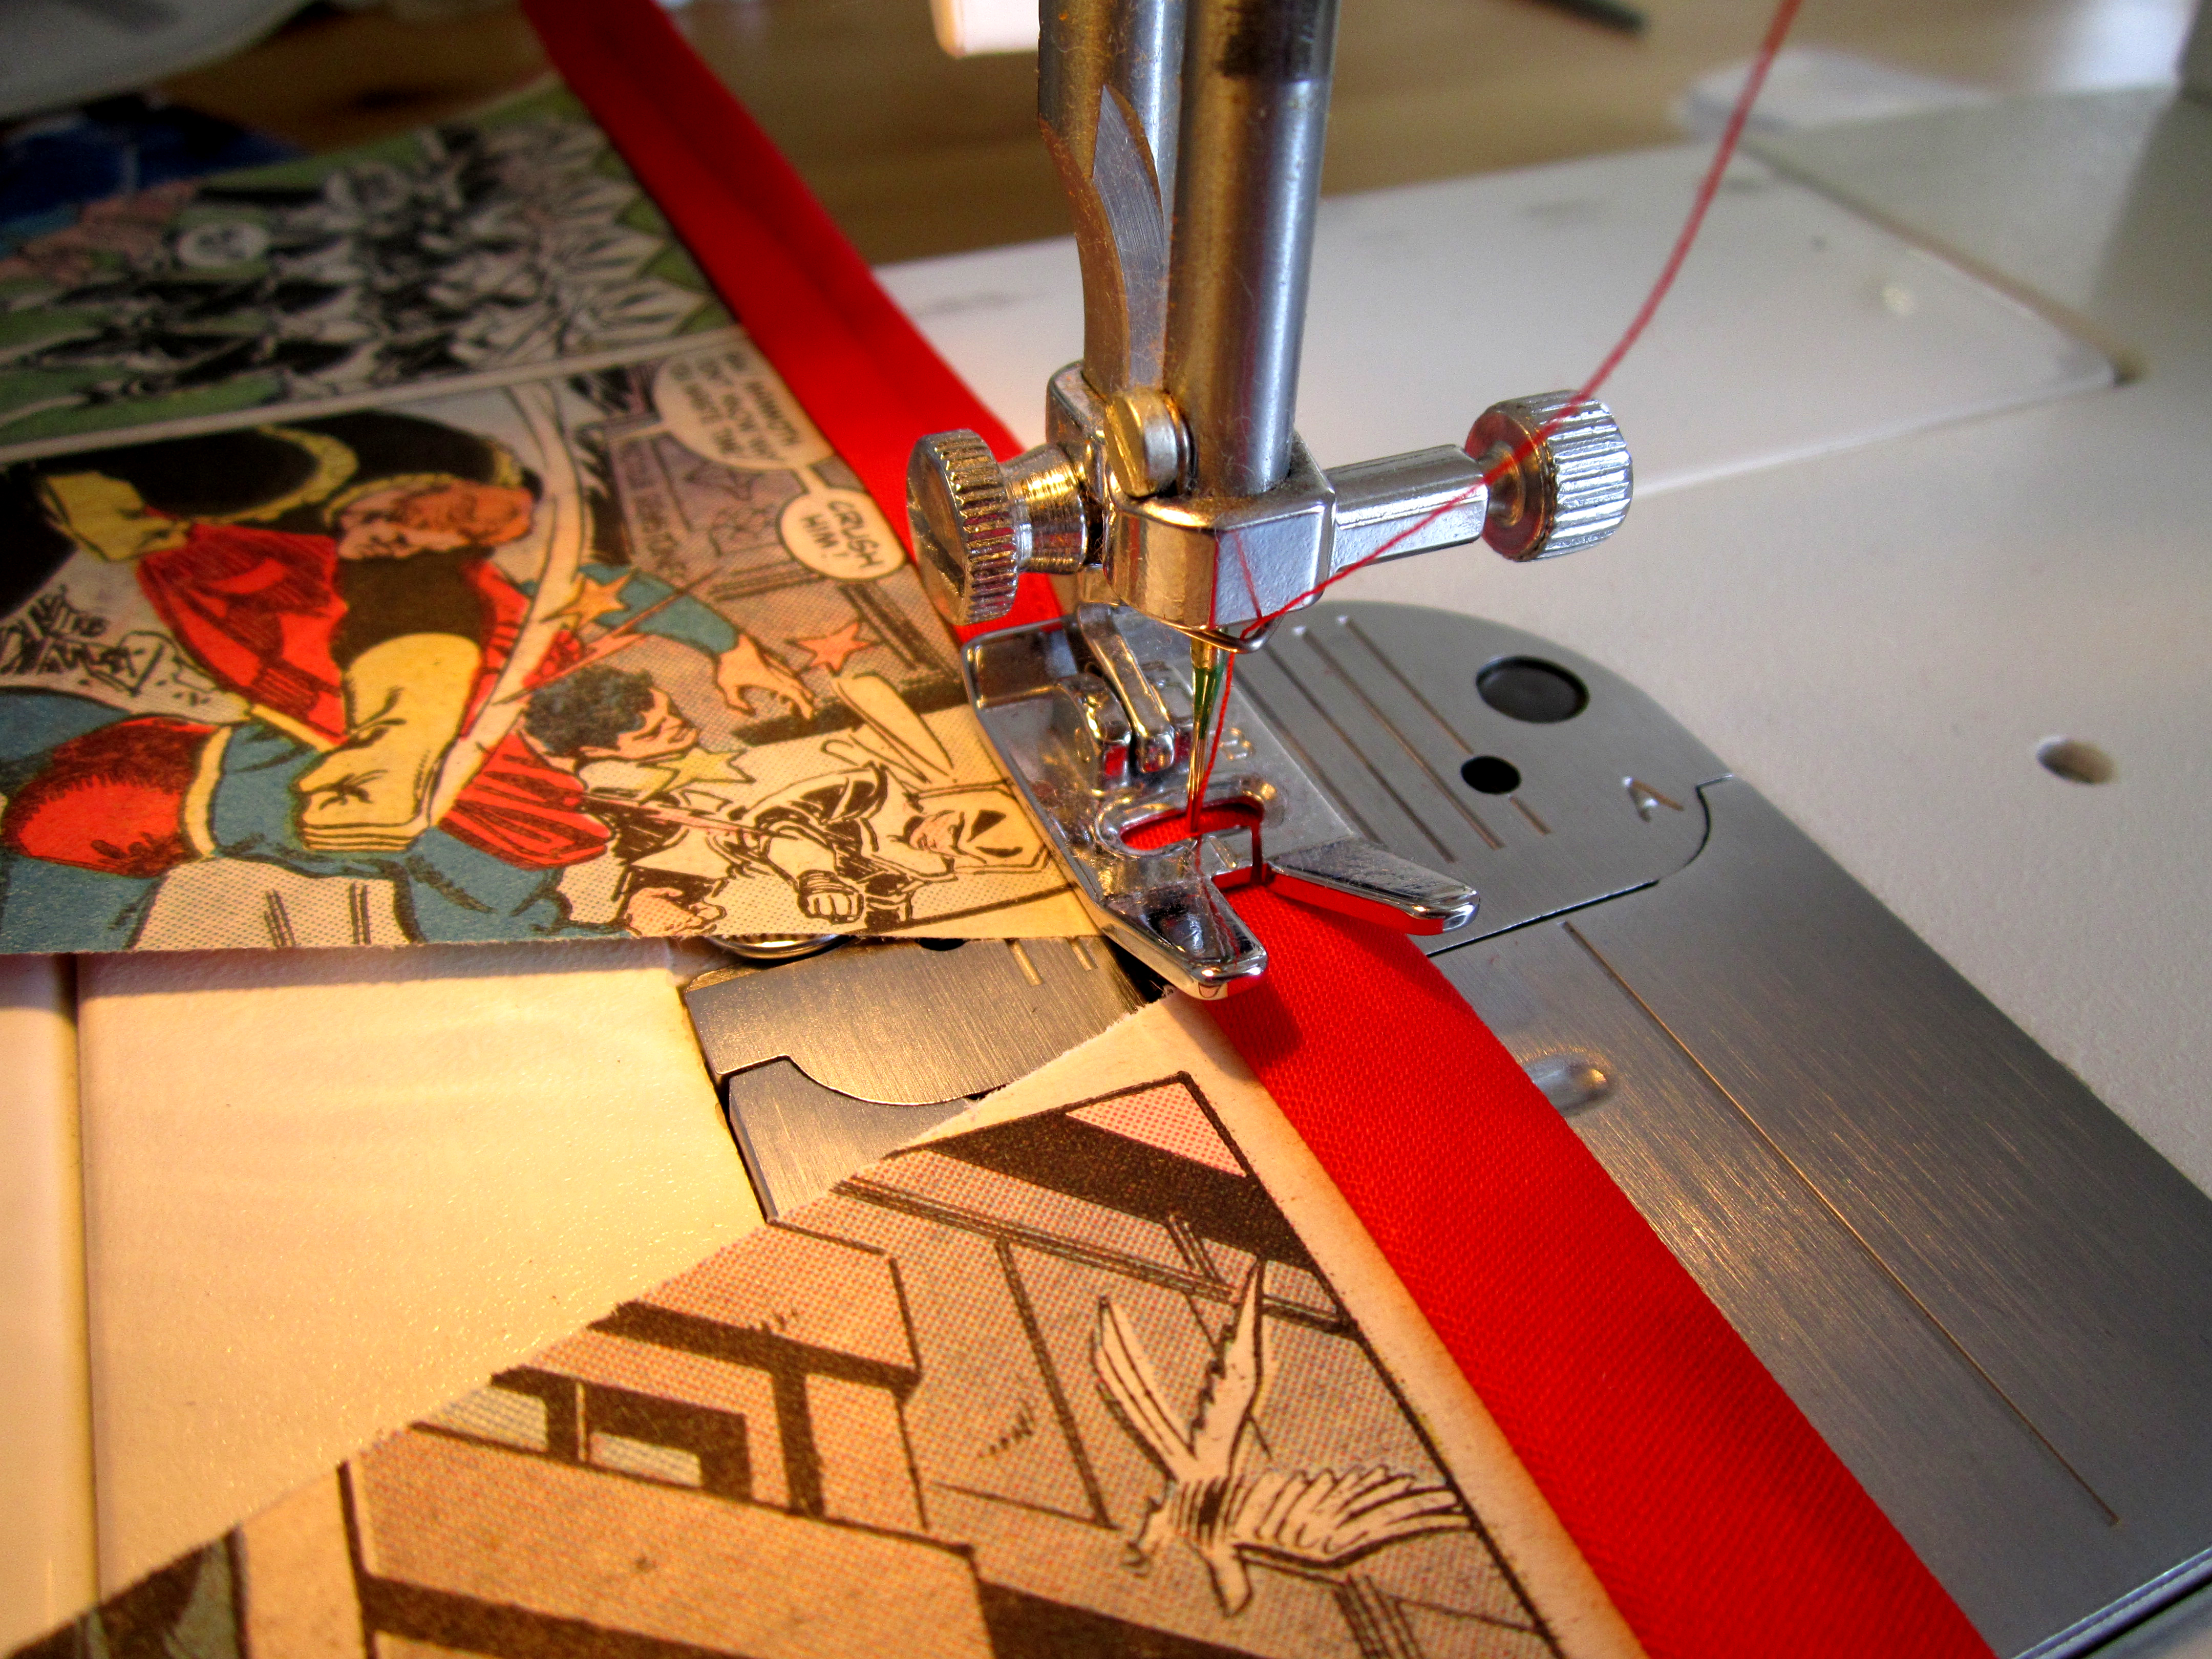
Line the top of your pennants in between the bias folds and sew together using a straight stitch on your sewing machine.
Ka-Pow! Your done!
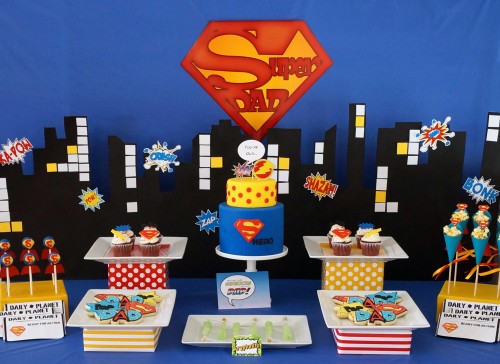
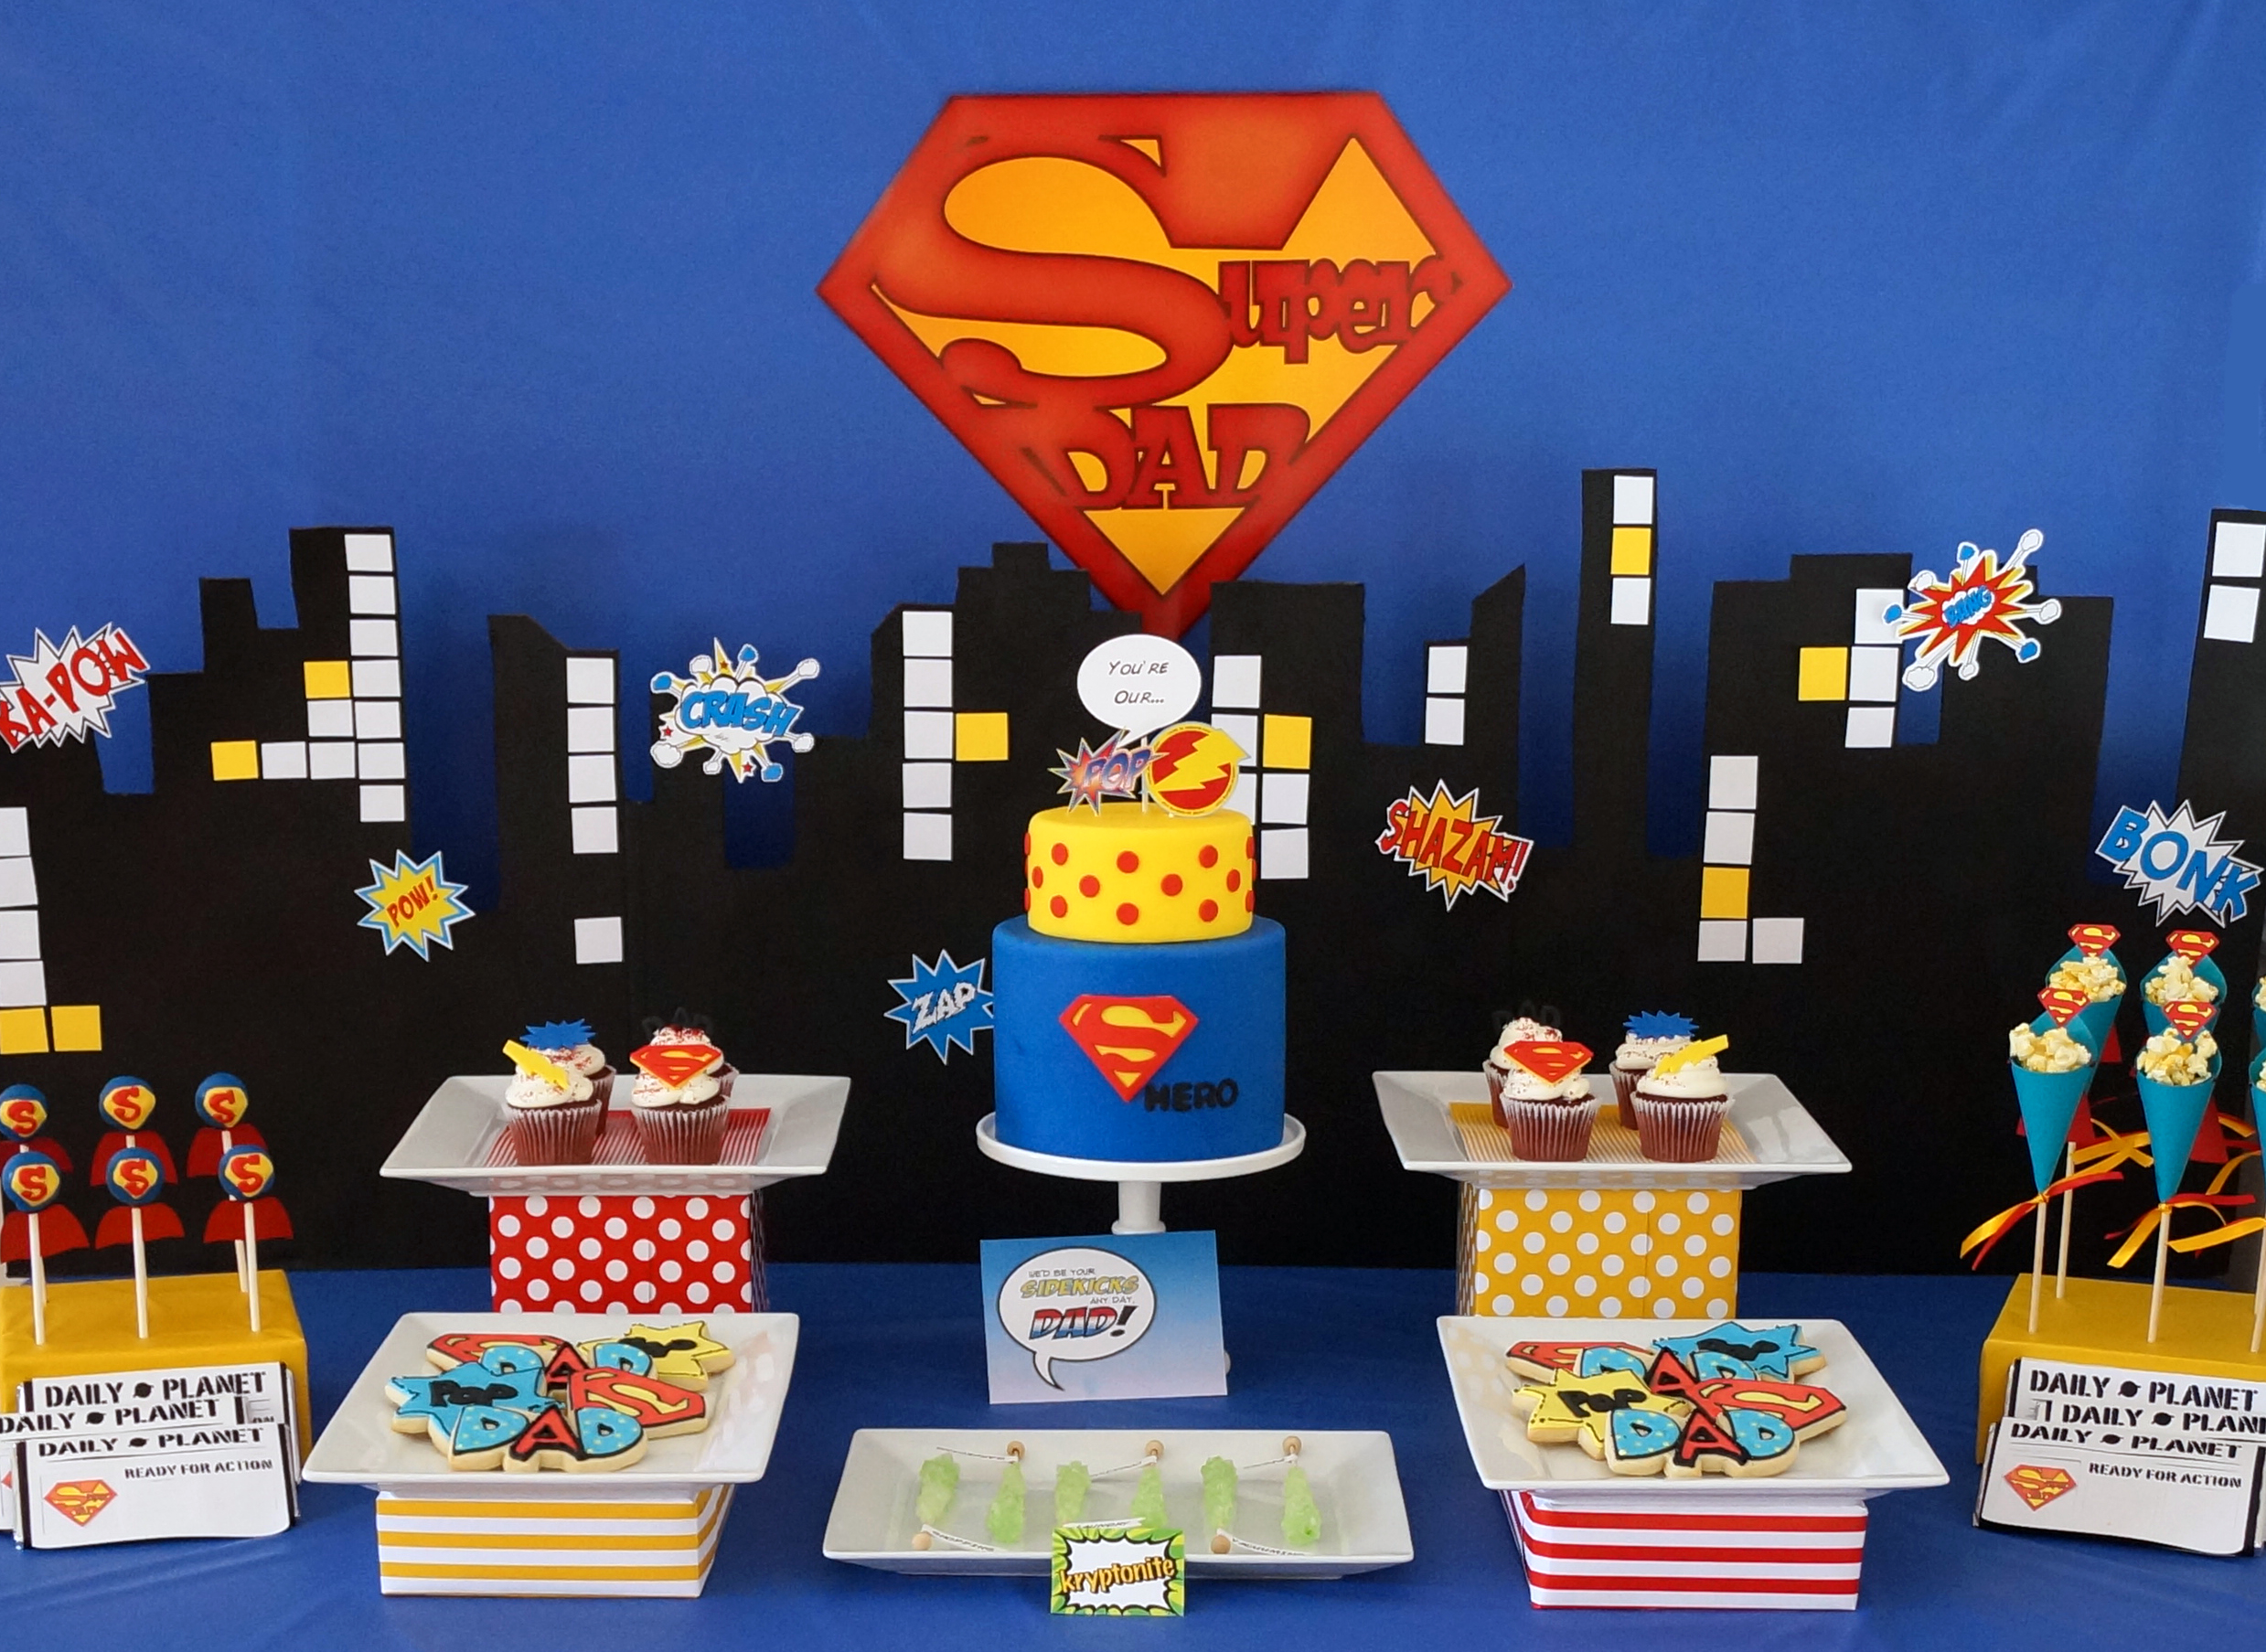
These were made for a special 'Super Dad' father's day luncheon my family had. You can see more details and pics from this party here on my blog.
Another great thing about this tutorial is that you can use it with any style or pattern of paper so you can totally customize it to fit any celebration and color assortment.

Thursday, June 7, 2012

Paper Fan Rosette Tutorial


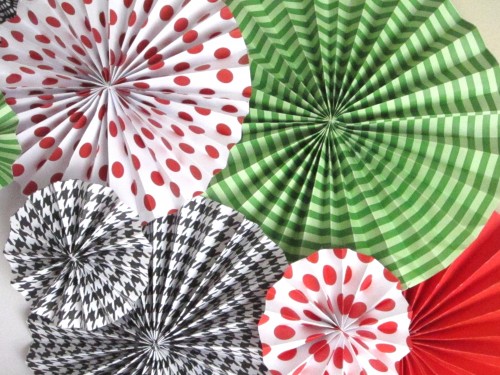
I hope you have enjoyed our little version of Papa's Pizzeria! I just wanted to share another fun and EASY tutorial from that party.  These paper fan rosettes are so simple and so cheap to make. They can be made in any size and variety of patterns to coordinate with your own party decor!
Supplies:
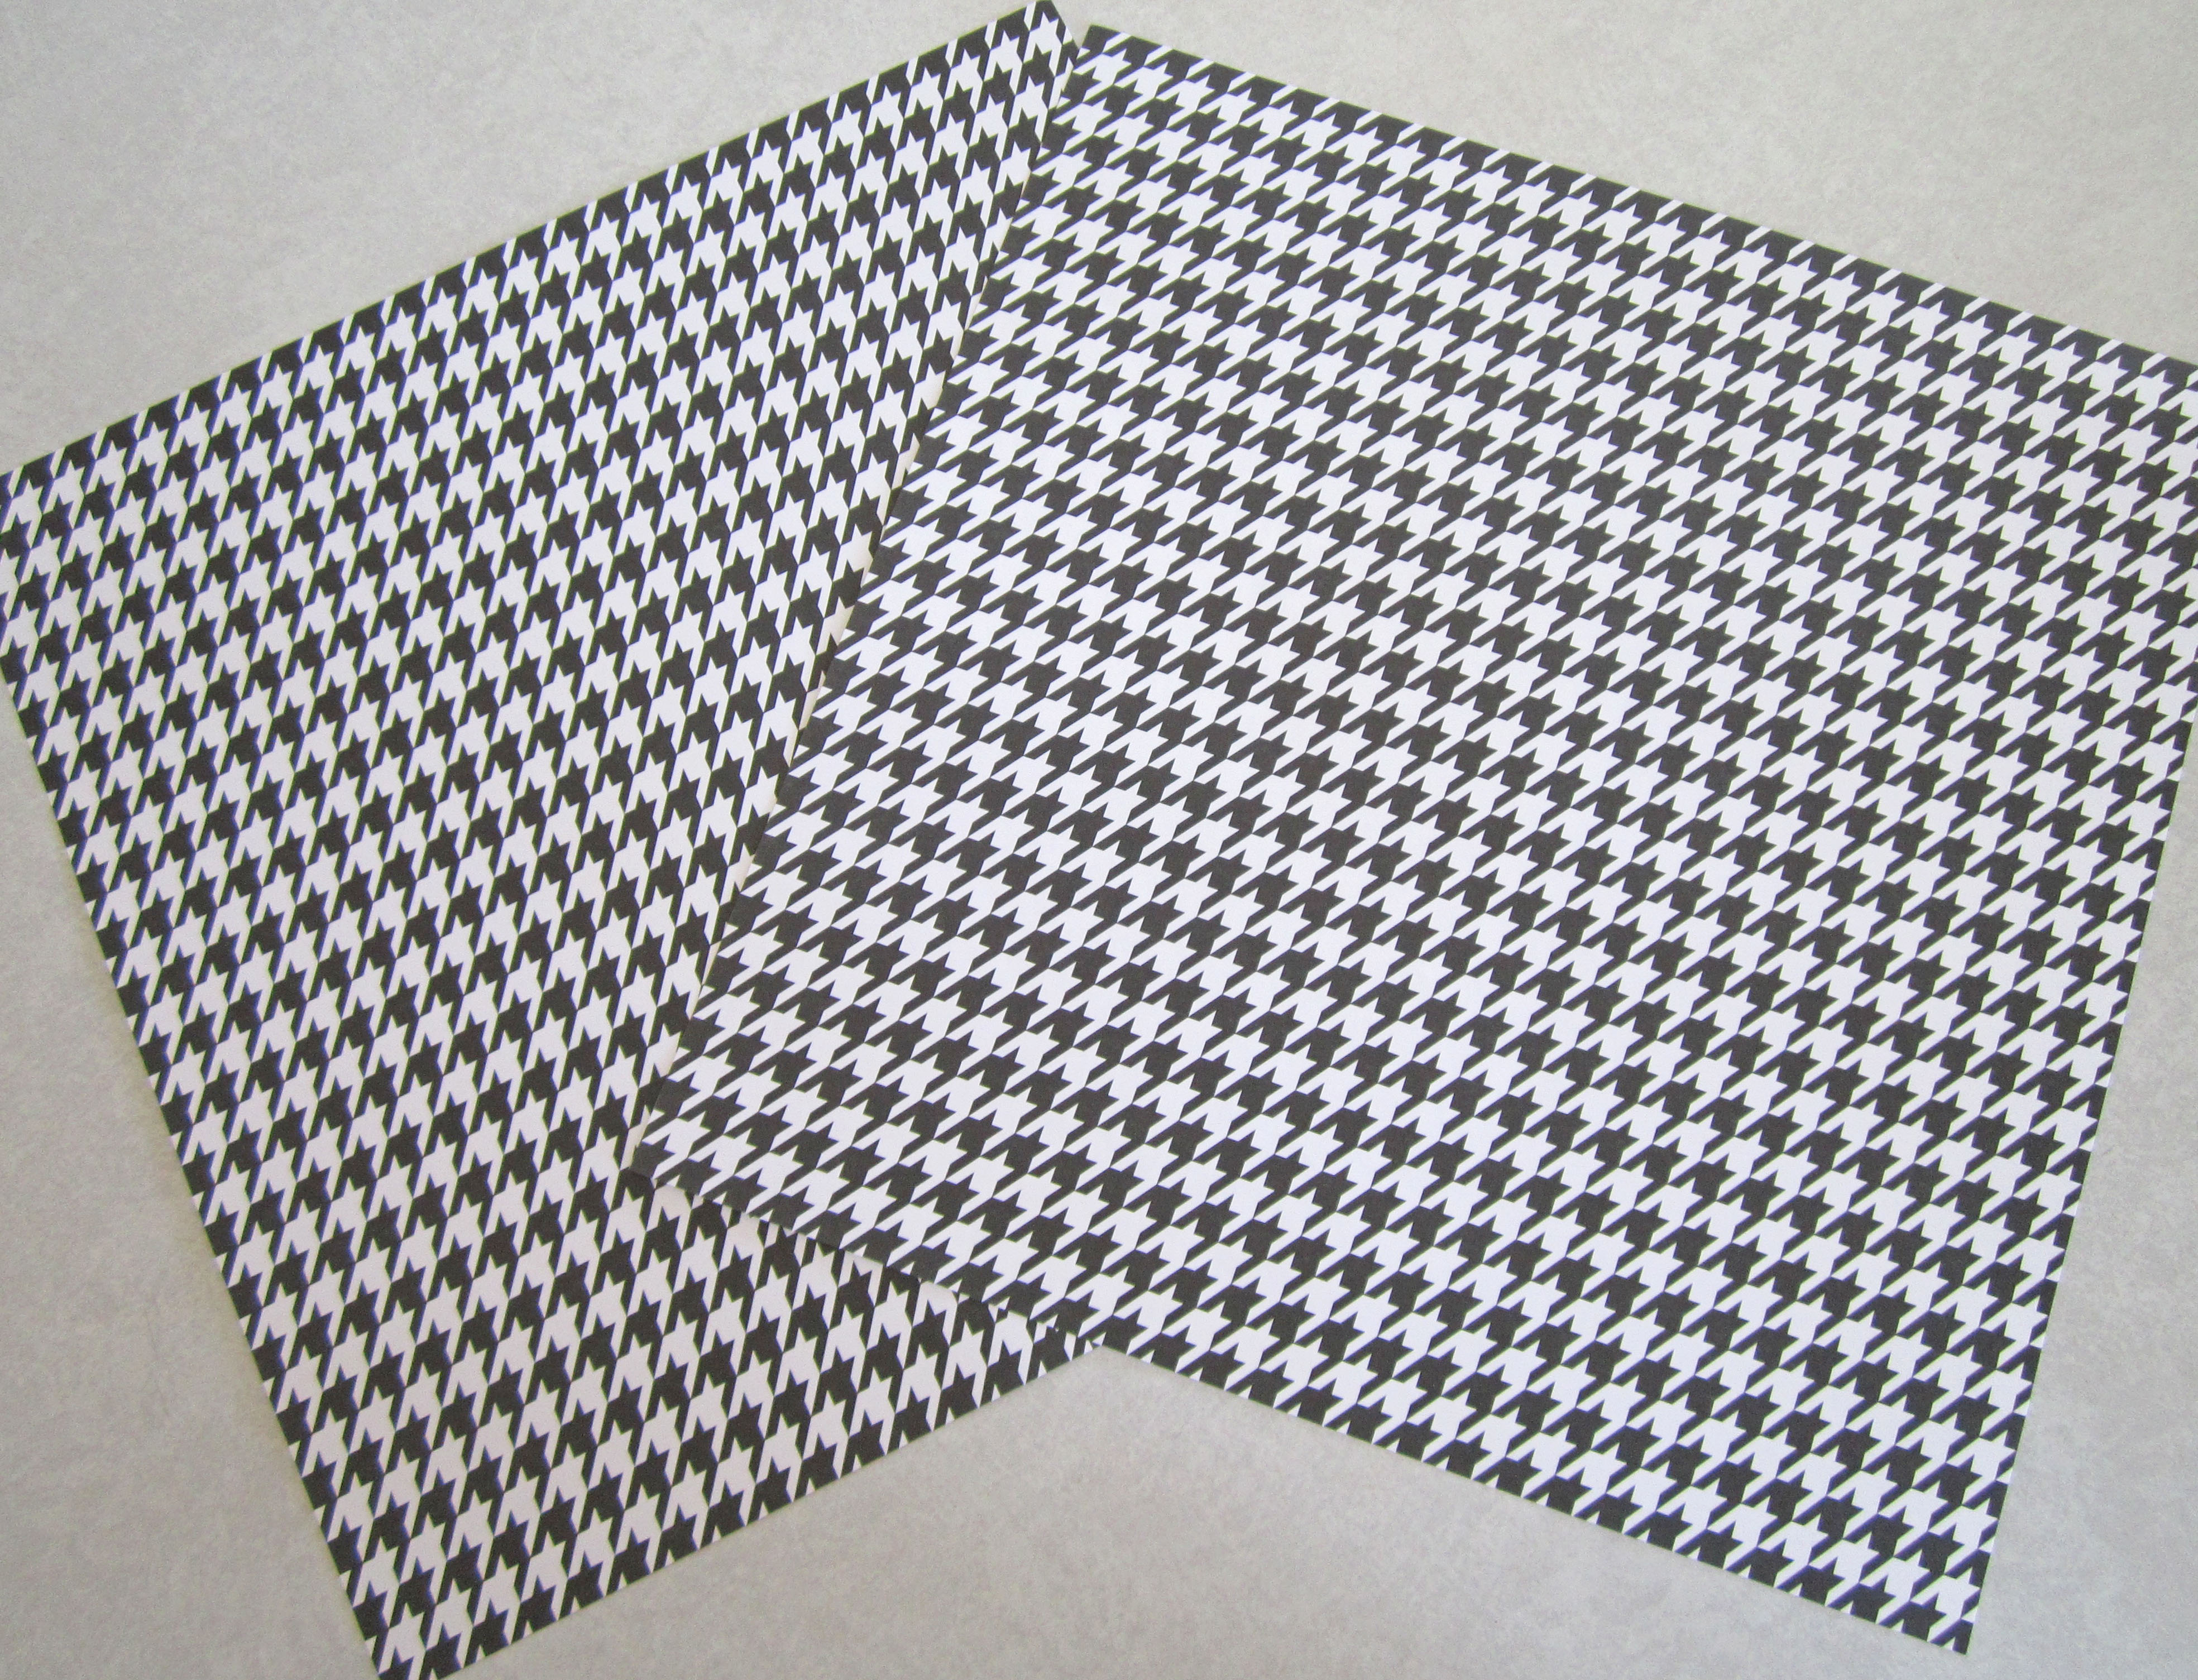
Patterned paper (3 pieces per fan) and a hot glue gun! Yup that's all!
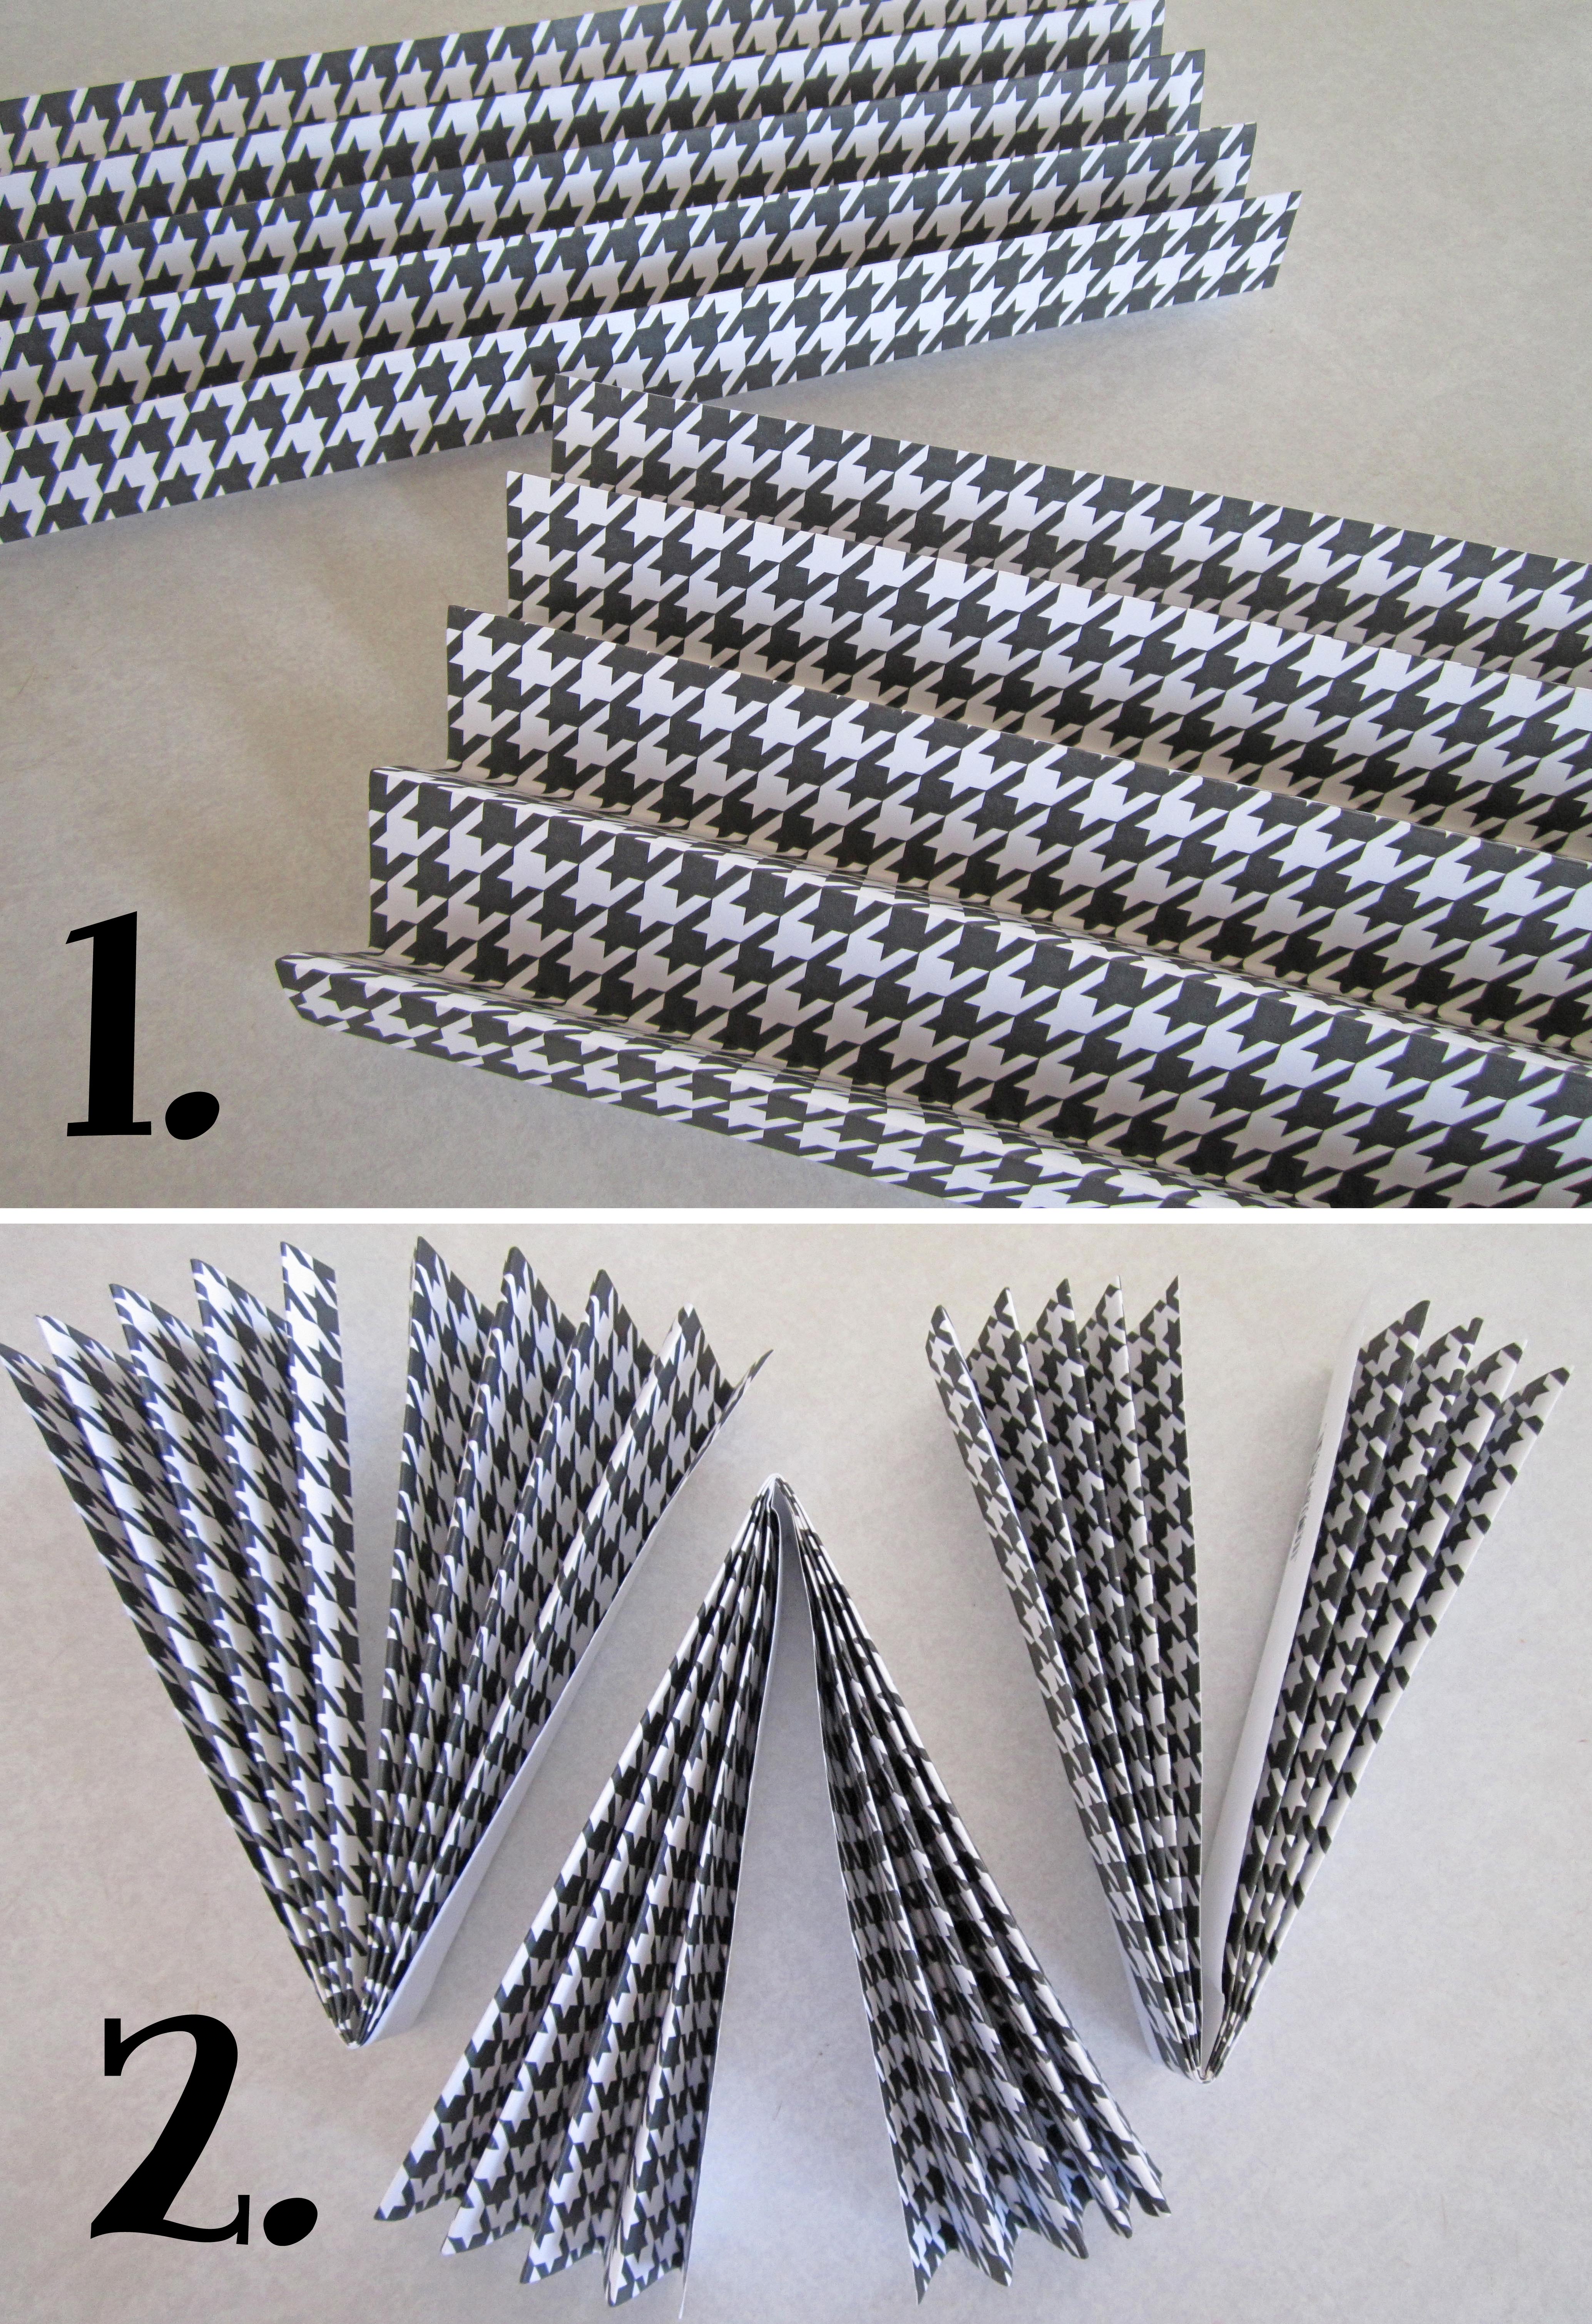
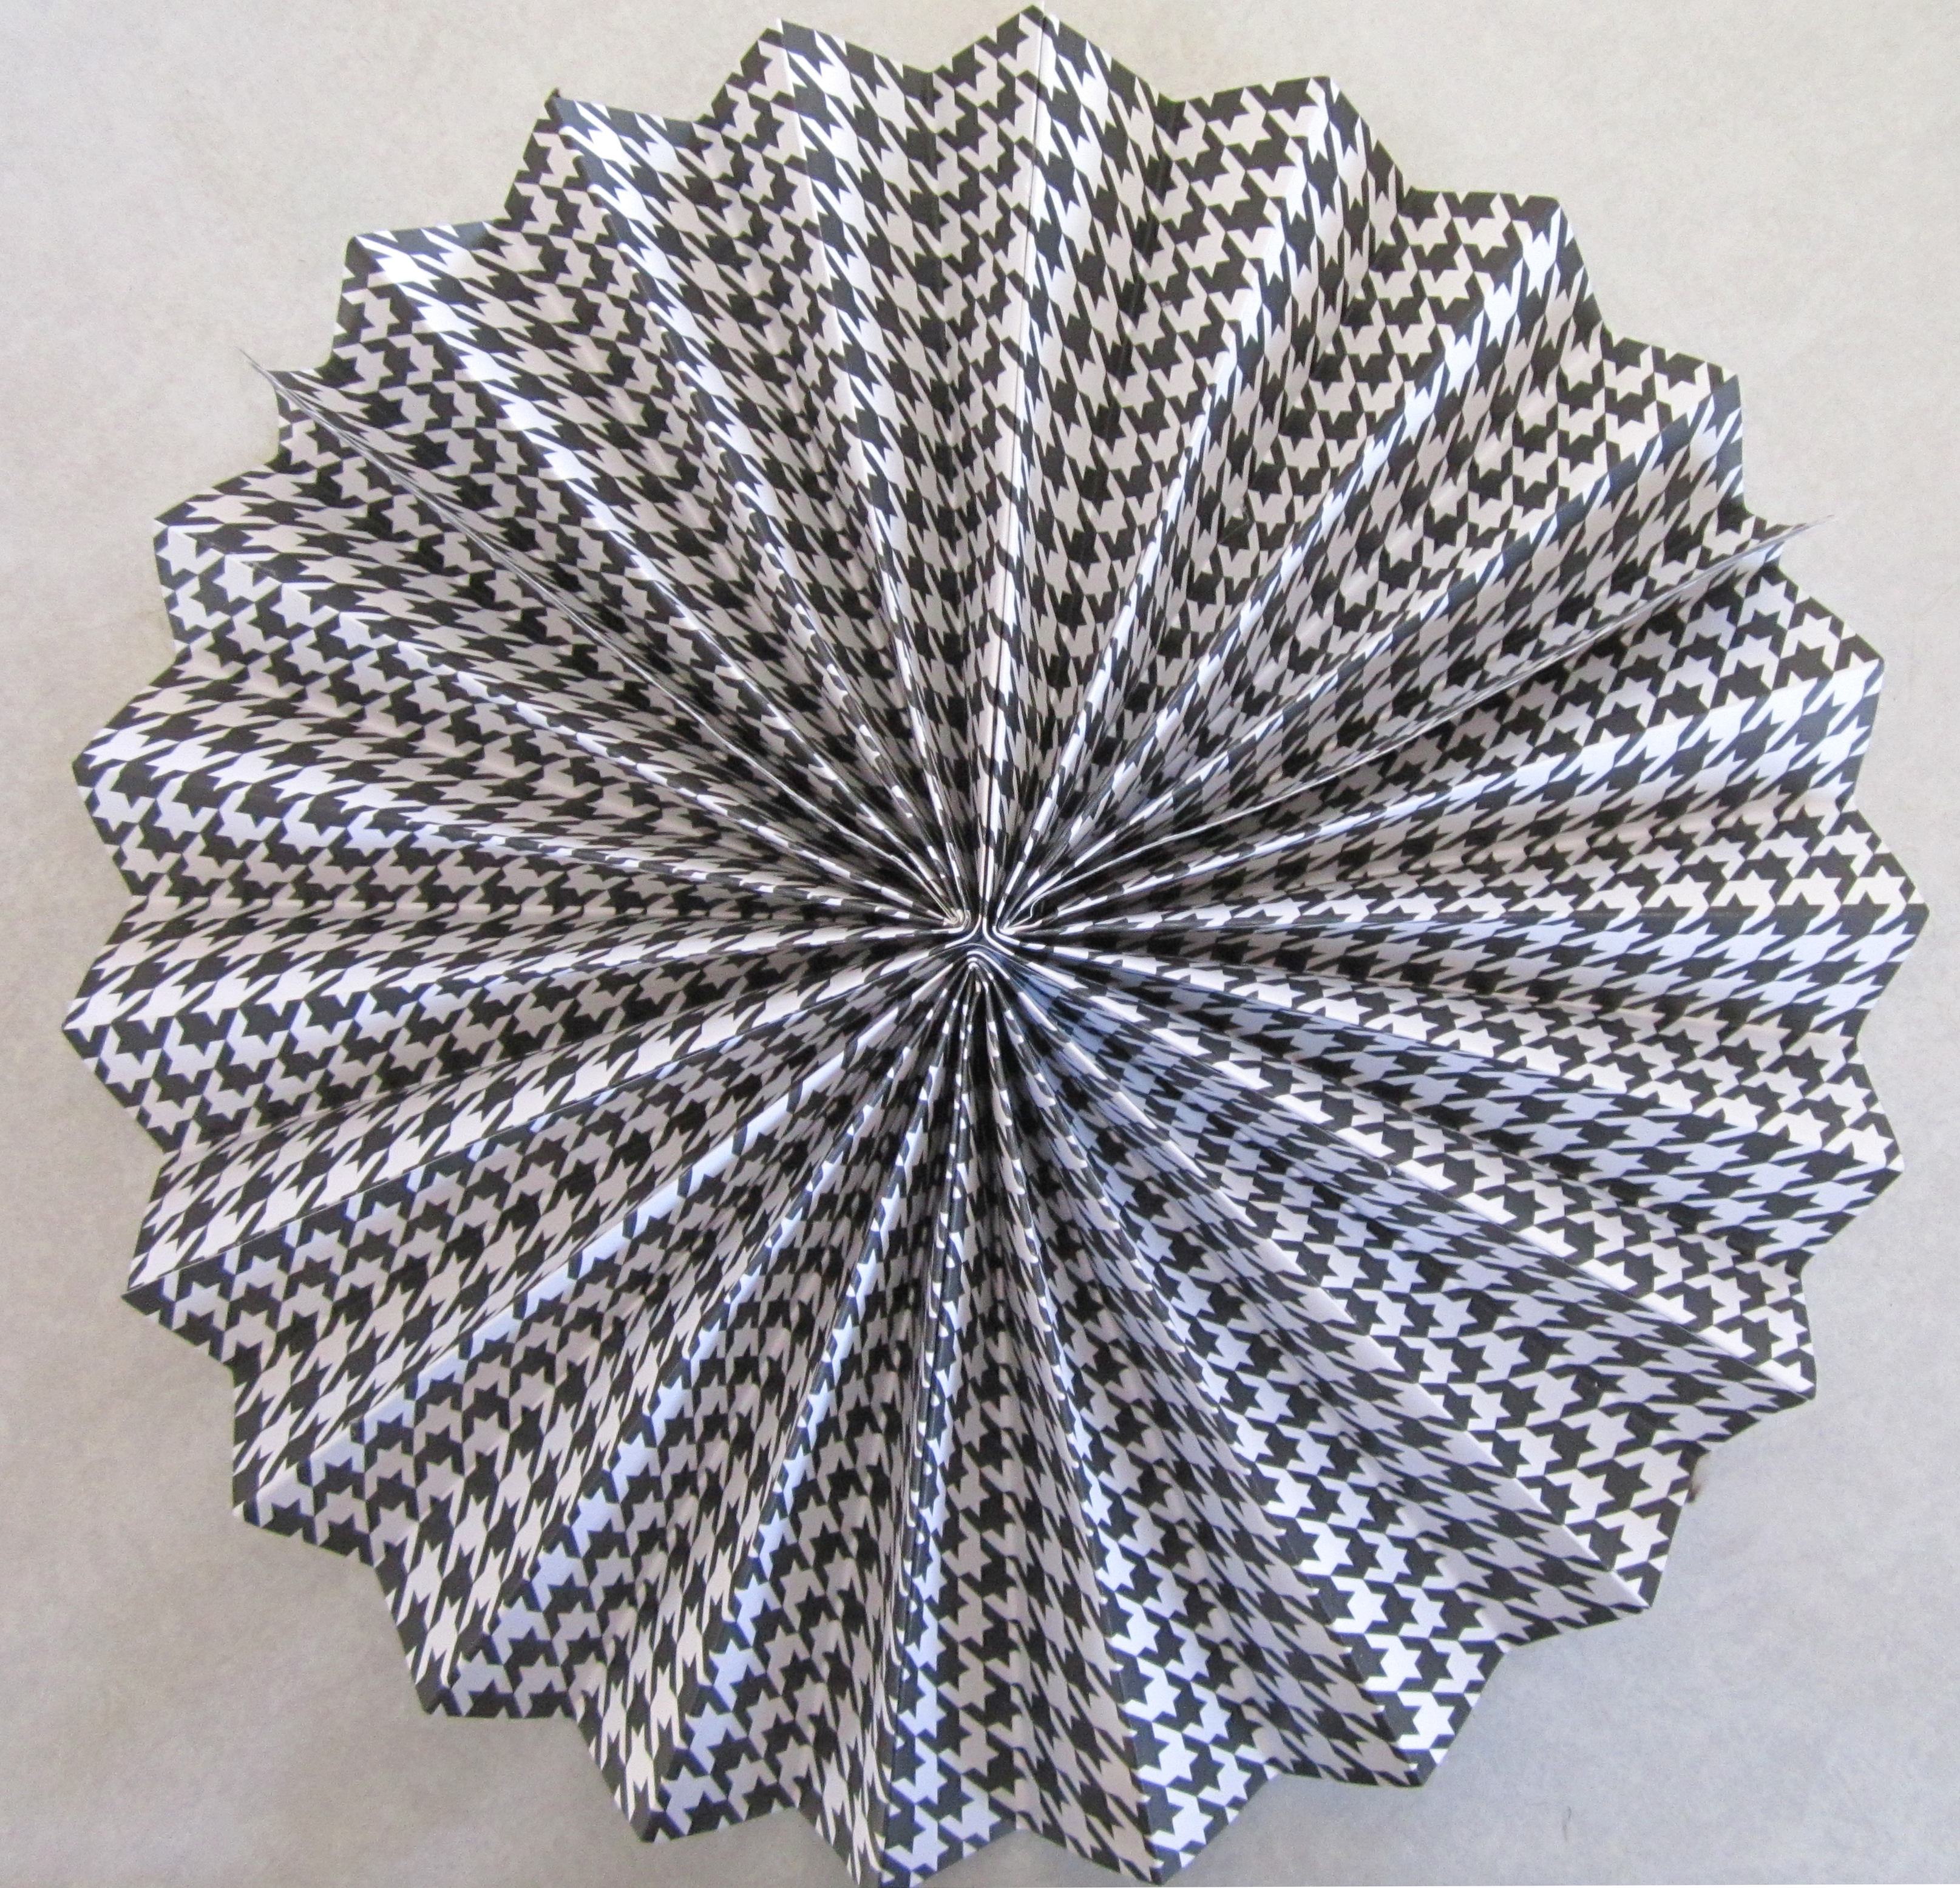
 Fold cardstock paper accordion-style into 1/2 inch folds. It’s good to have different size papers in order to form different sized pinwheels. These sheets were 12" wide and made a 12" fan.  Fold each accordion piece in half. Repeat this 3 times. 3 fans equal 1 pinwheel. (Smaller fans may only take 1-2 sheets depending on size)
Note - You can fancy up your fans at this point by cutting the edges into a scallop, punching some holes, or lots other things to add some variety to your display.
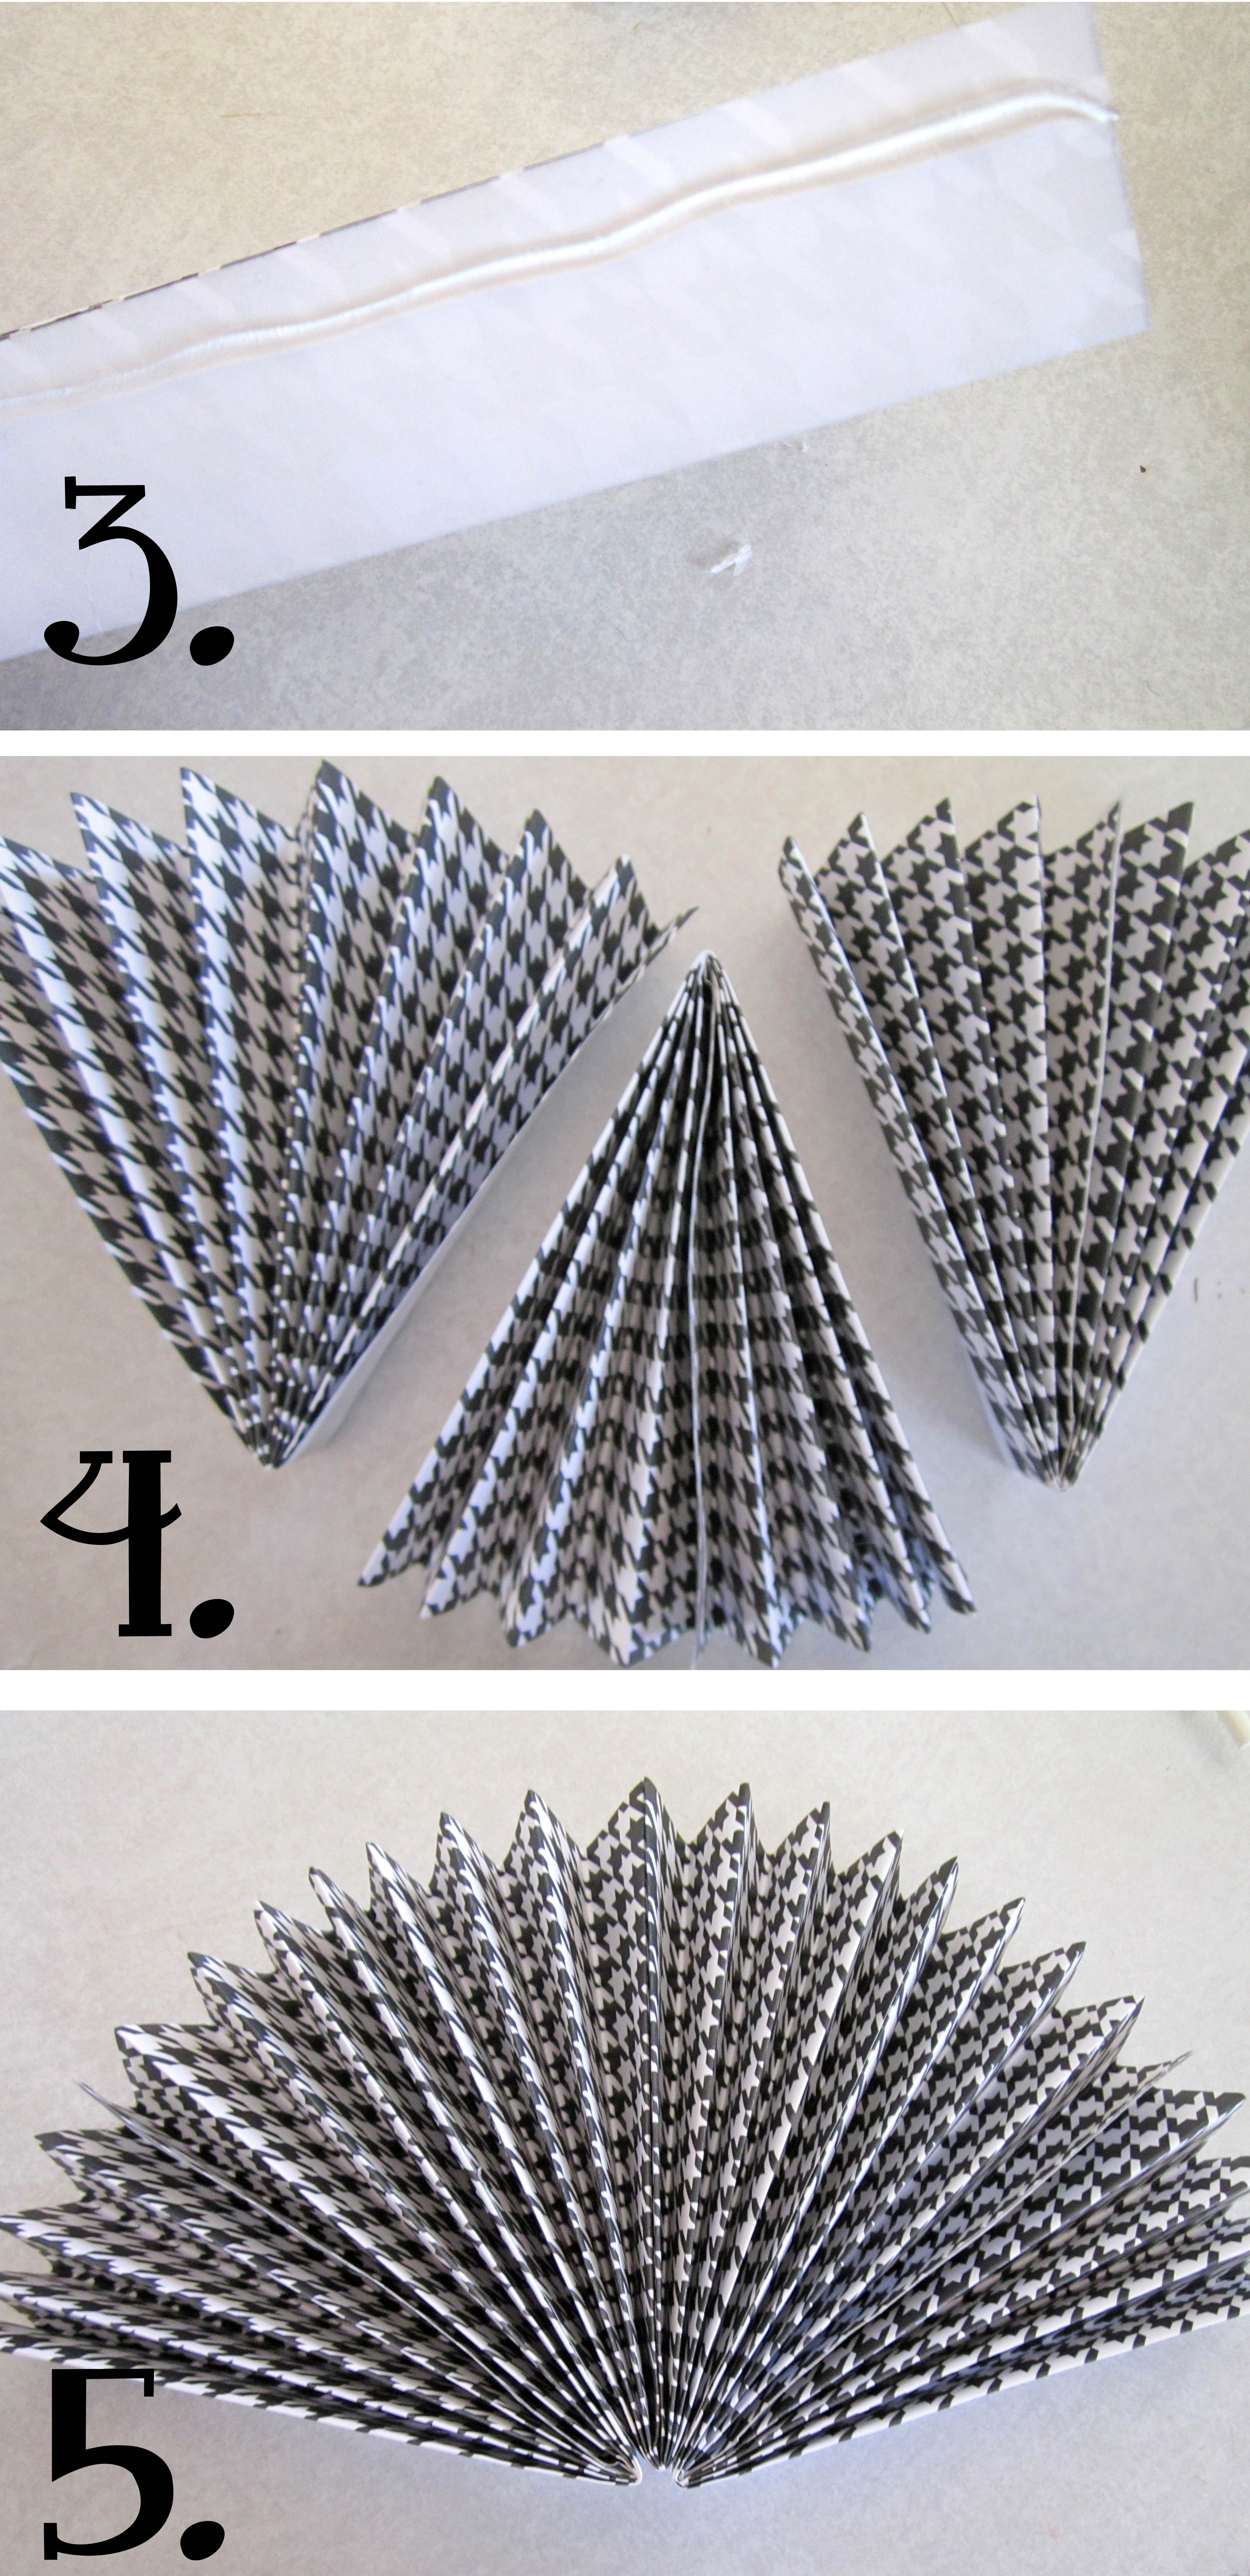
Now secure sides together using a glue gun for extra hold. This creates a part of the pinwheel. Glue all three pieces together (edges out) on sides to make one large piece.
Stretch out your fan and glue the two ends together. You are finished, how easy was that!
Love the variety of fan sizes and color of patterns!
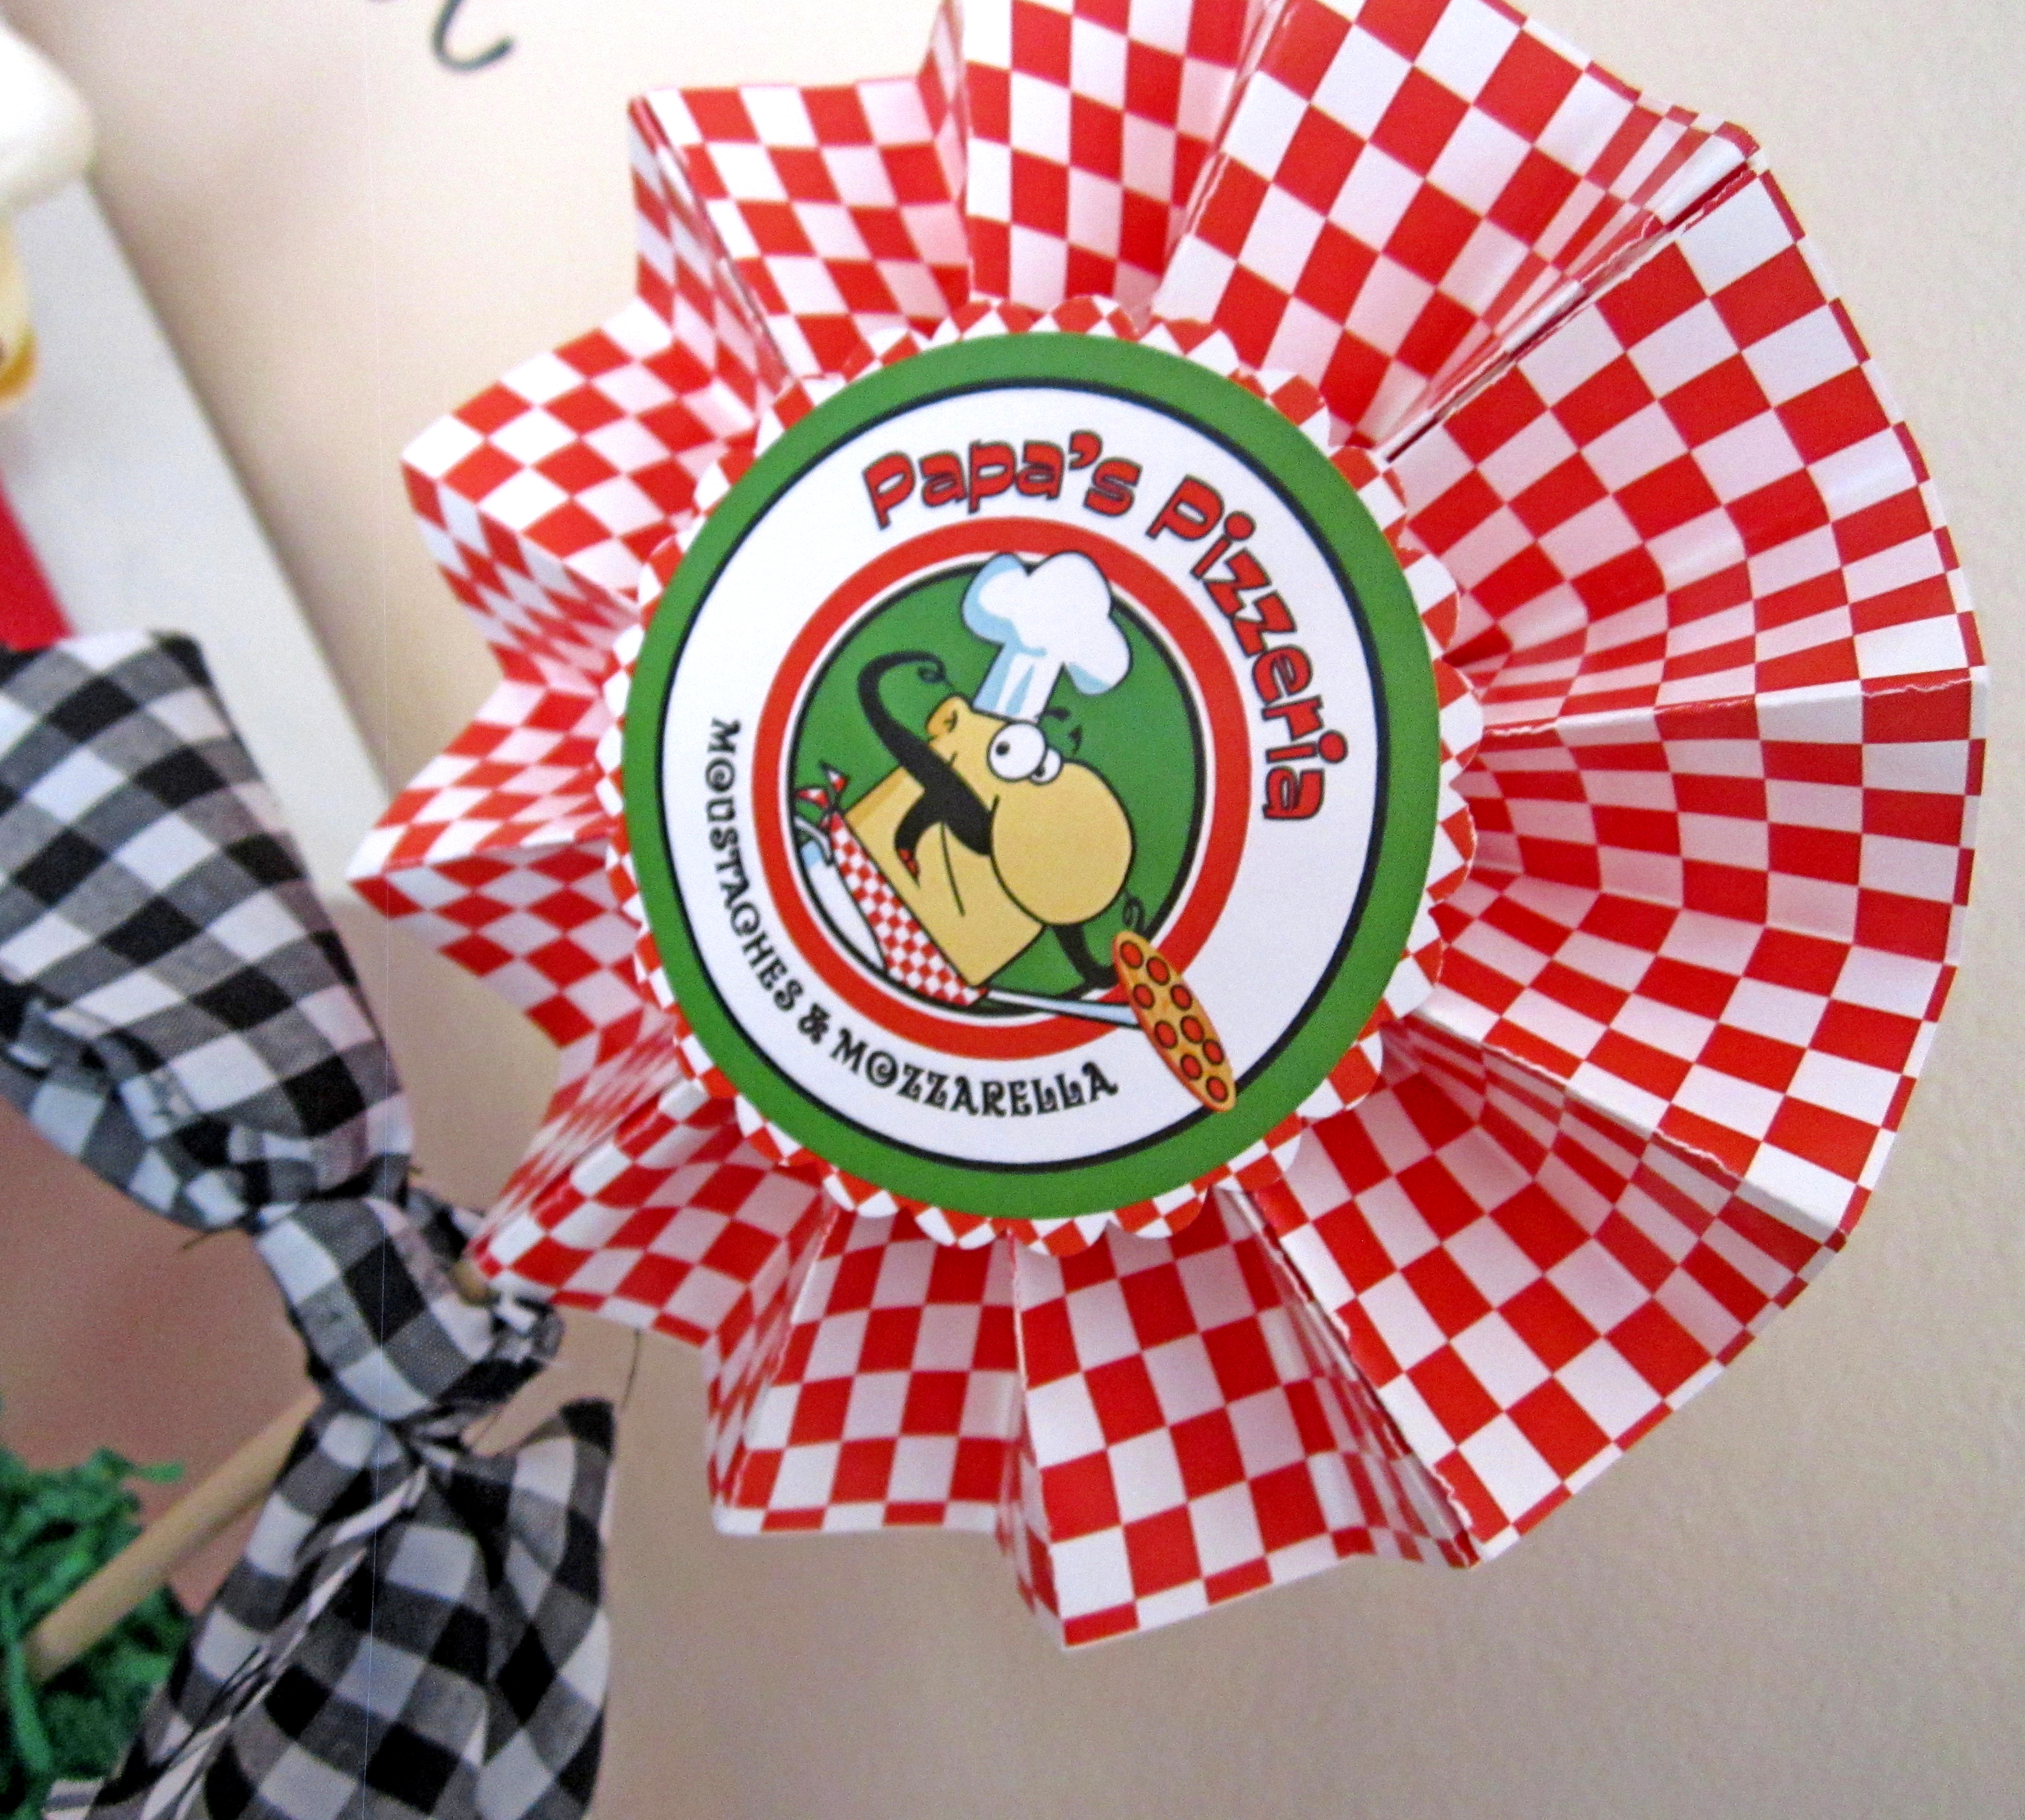
You can also attach dowel rods to the back side of fans with hot glue to create centerpieces!
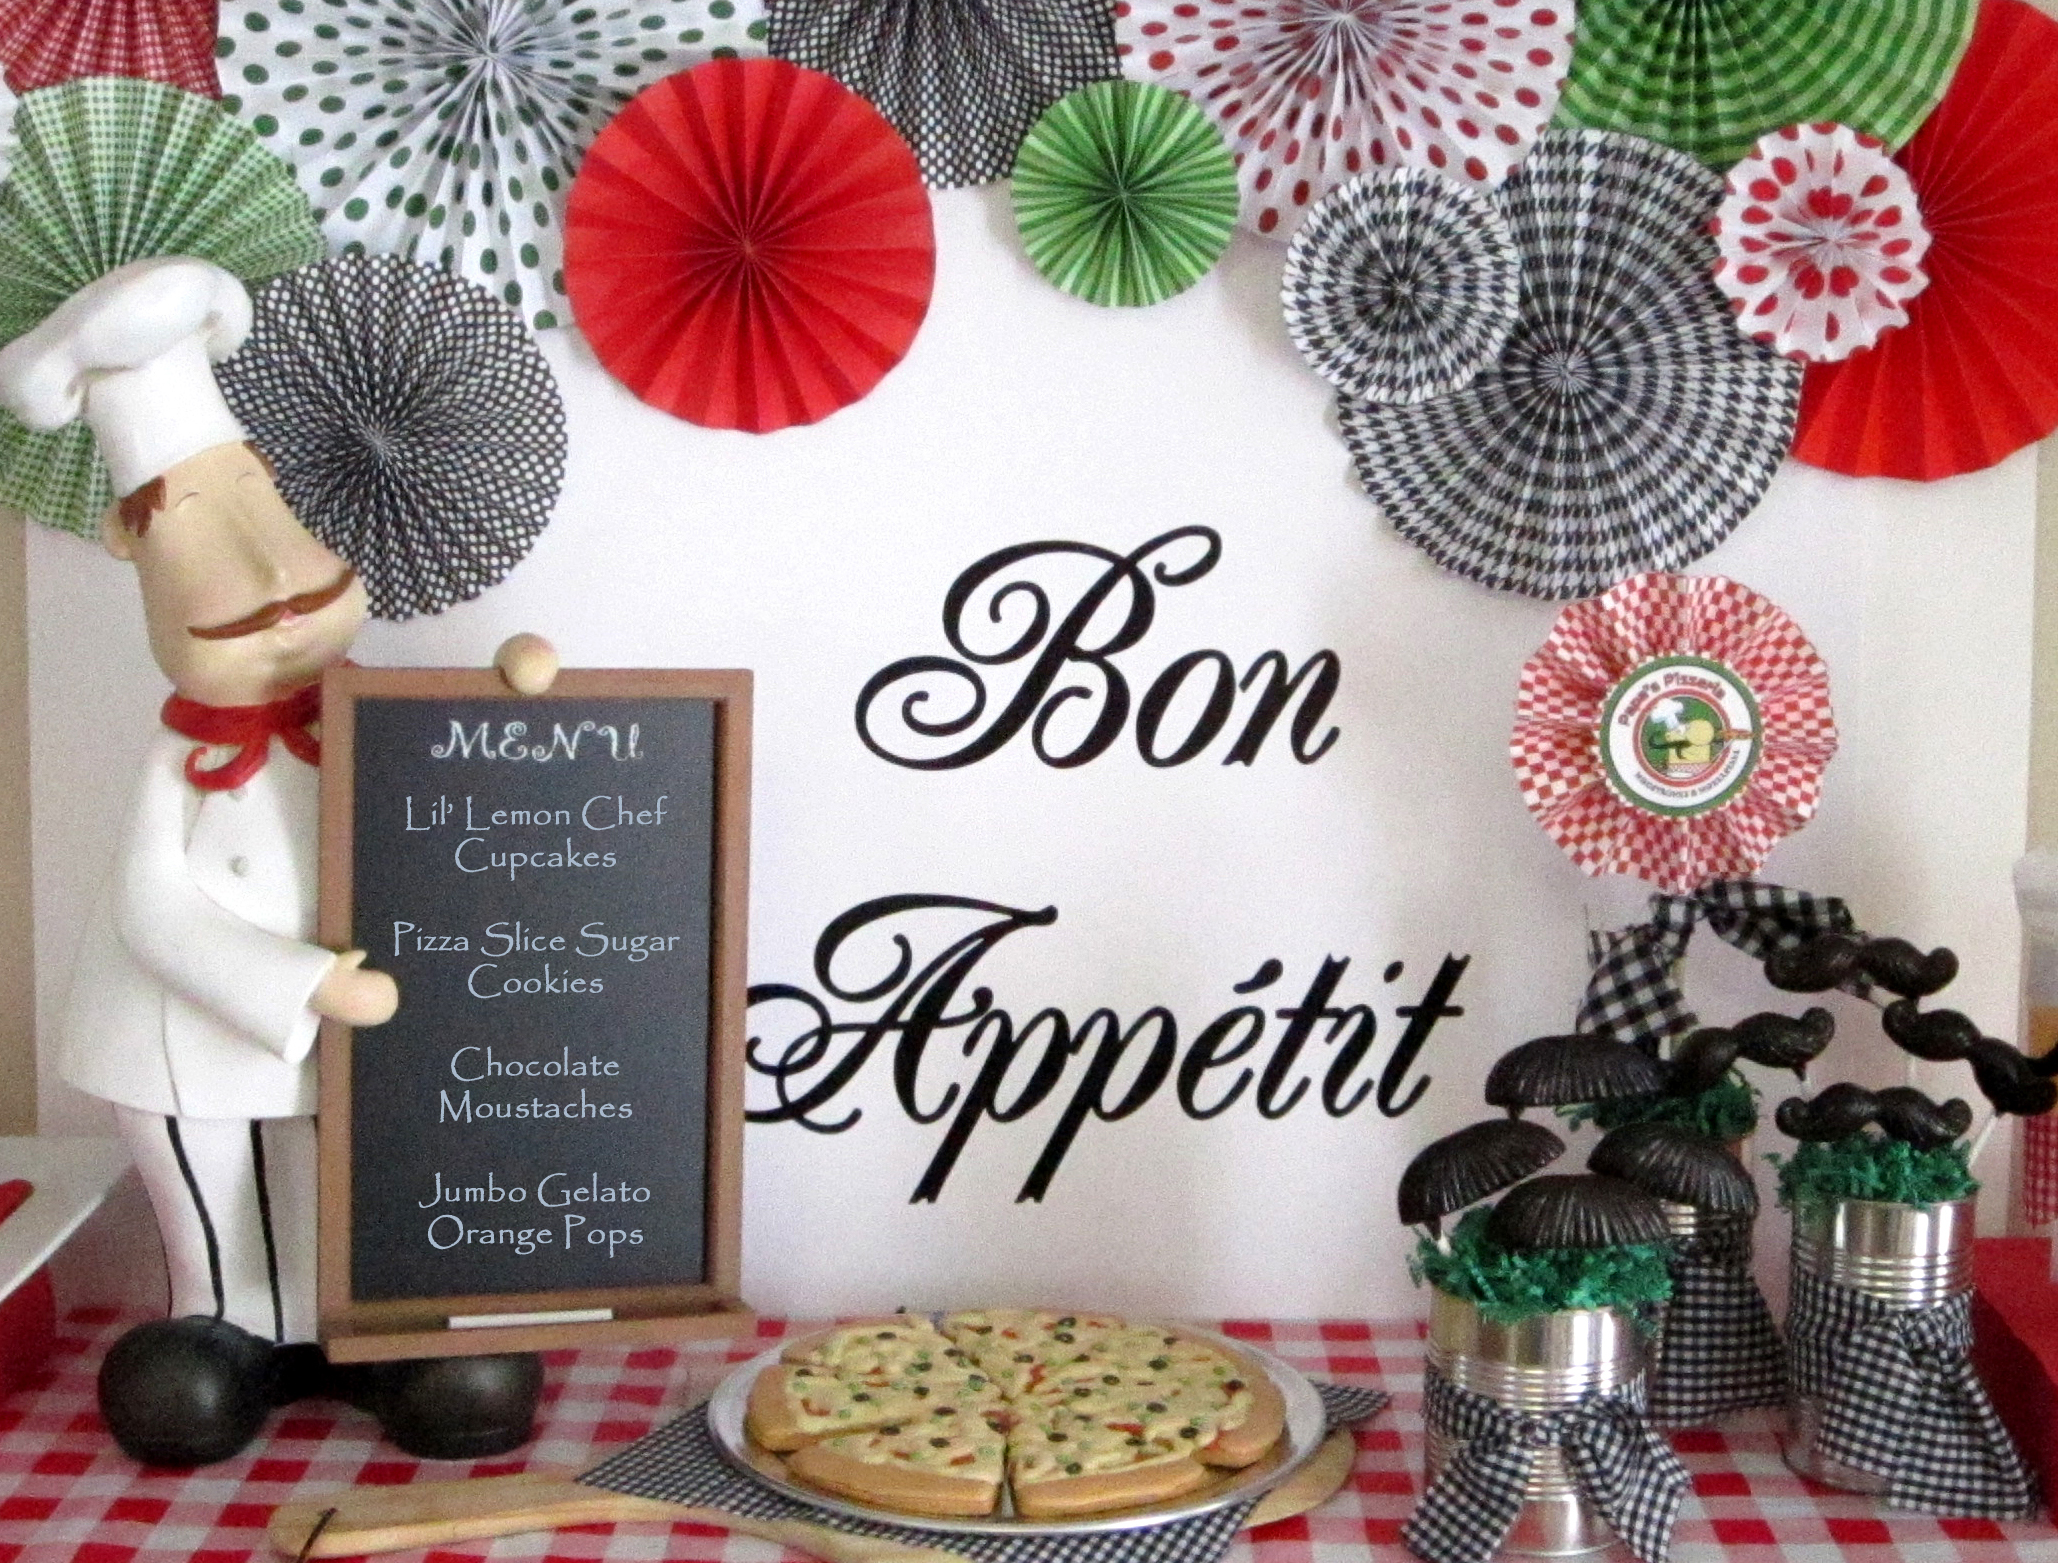
I hung mine to create a colorful backdrop for this dessert display...
Thank you for checking out this tutorial and you can see more details from my Papa's Pizzeria Party on my blog here! Hope you have fun making your own paper fan rosettes, and please comment or share any tips you have used to make your own a little fancier too.

Monday, May 21, 2012

Chocolate Moustache Tutorial


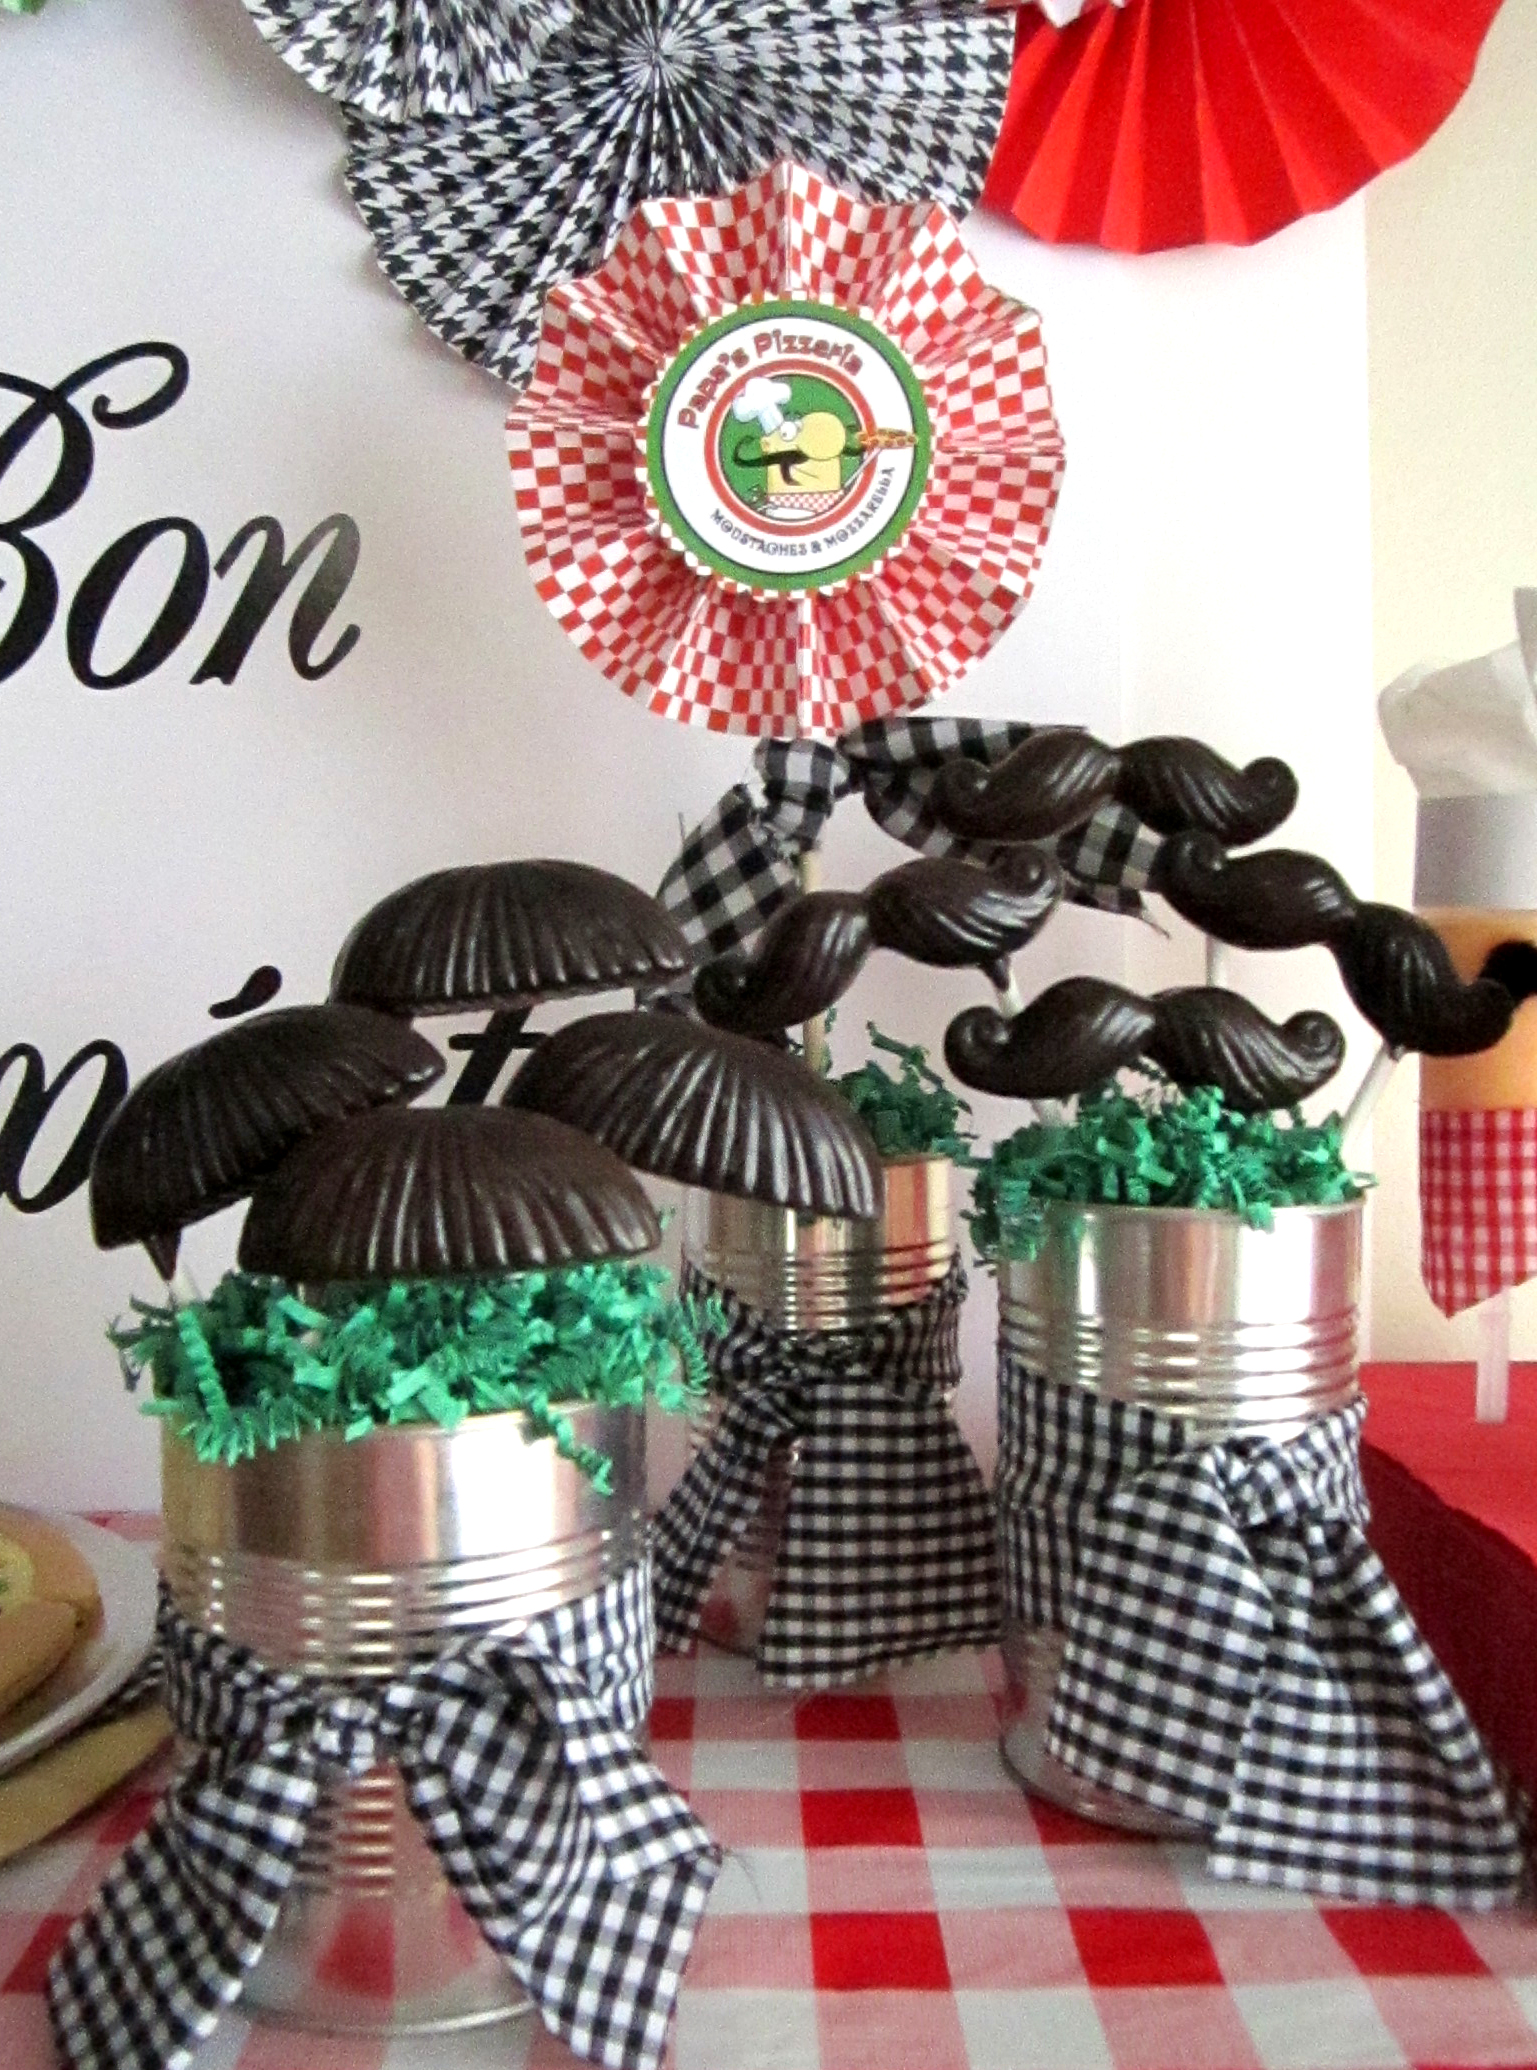
Moustache themes have been quite the rage for awhile for everything from weddings and baby showers, to birthday parties. I recently threw a Pizza party with a "mozzarella and moustaches" twist on it. Today I am going to show you how easy and cheap it is to make your very own chocolate moustaches!
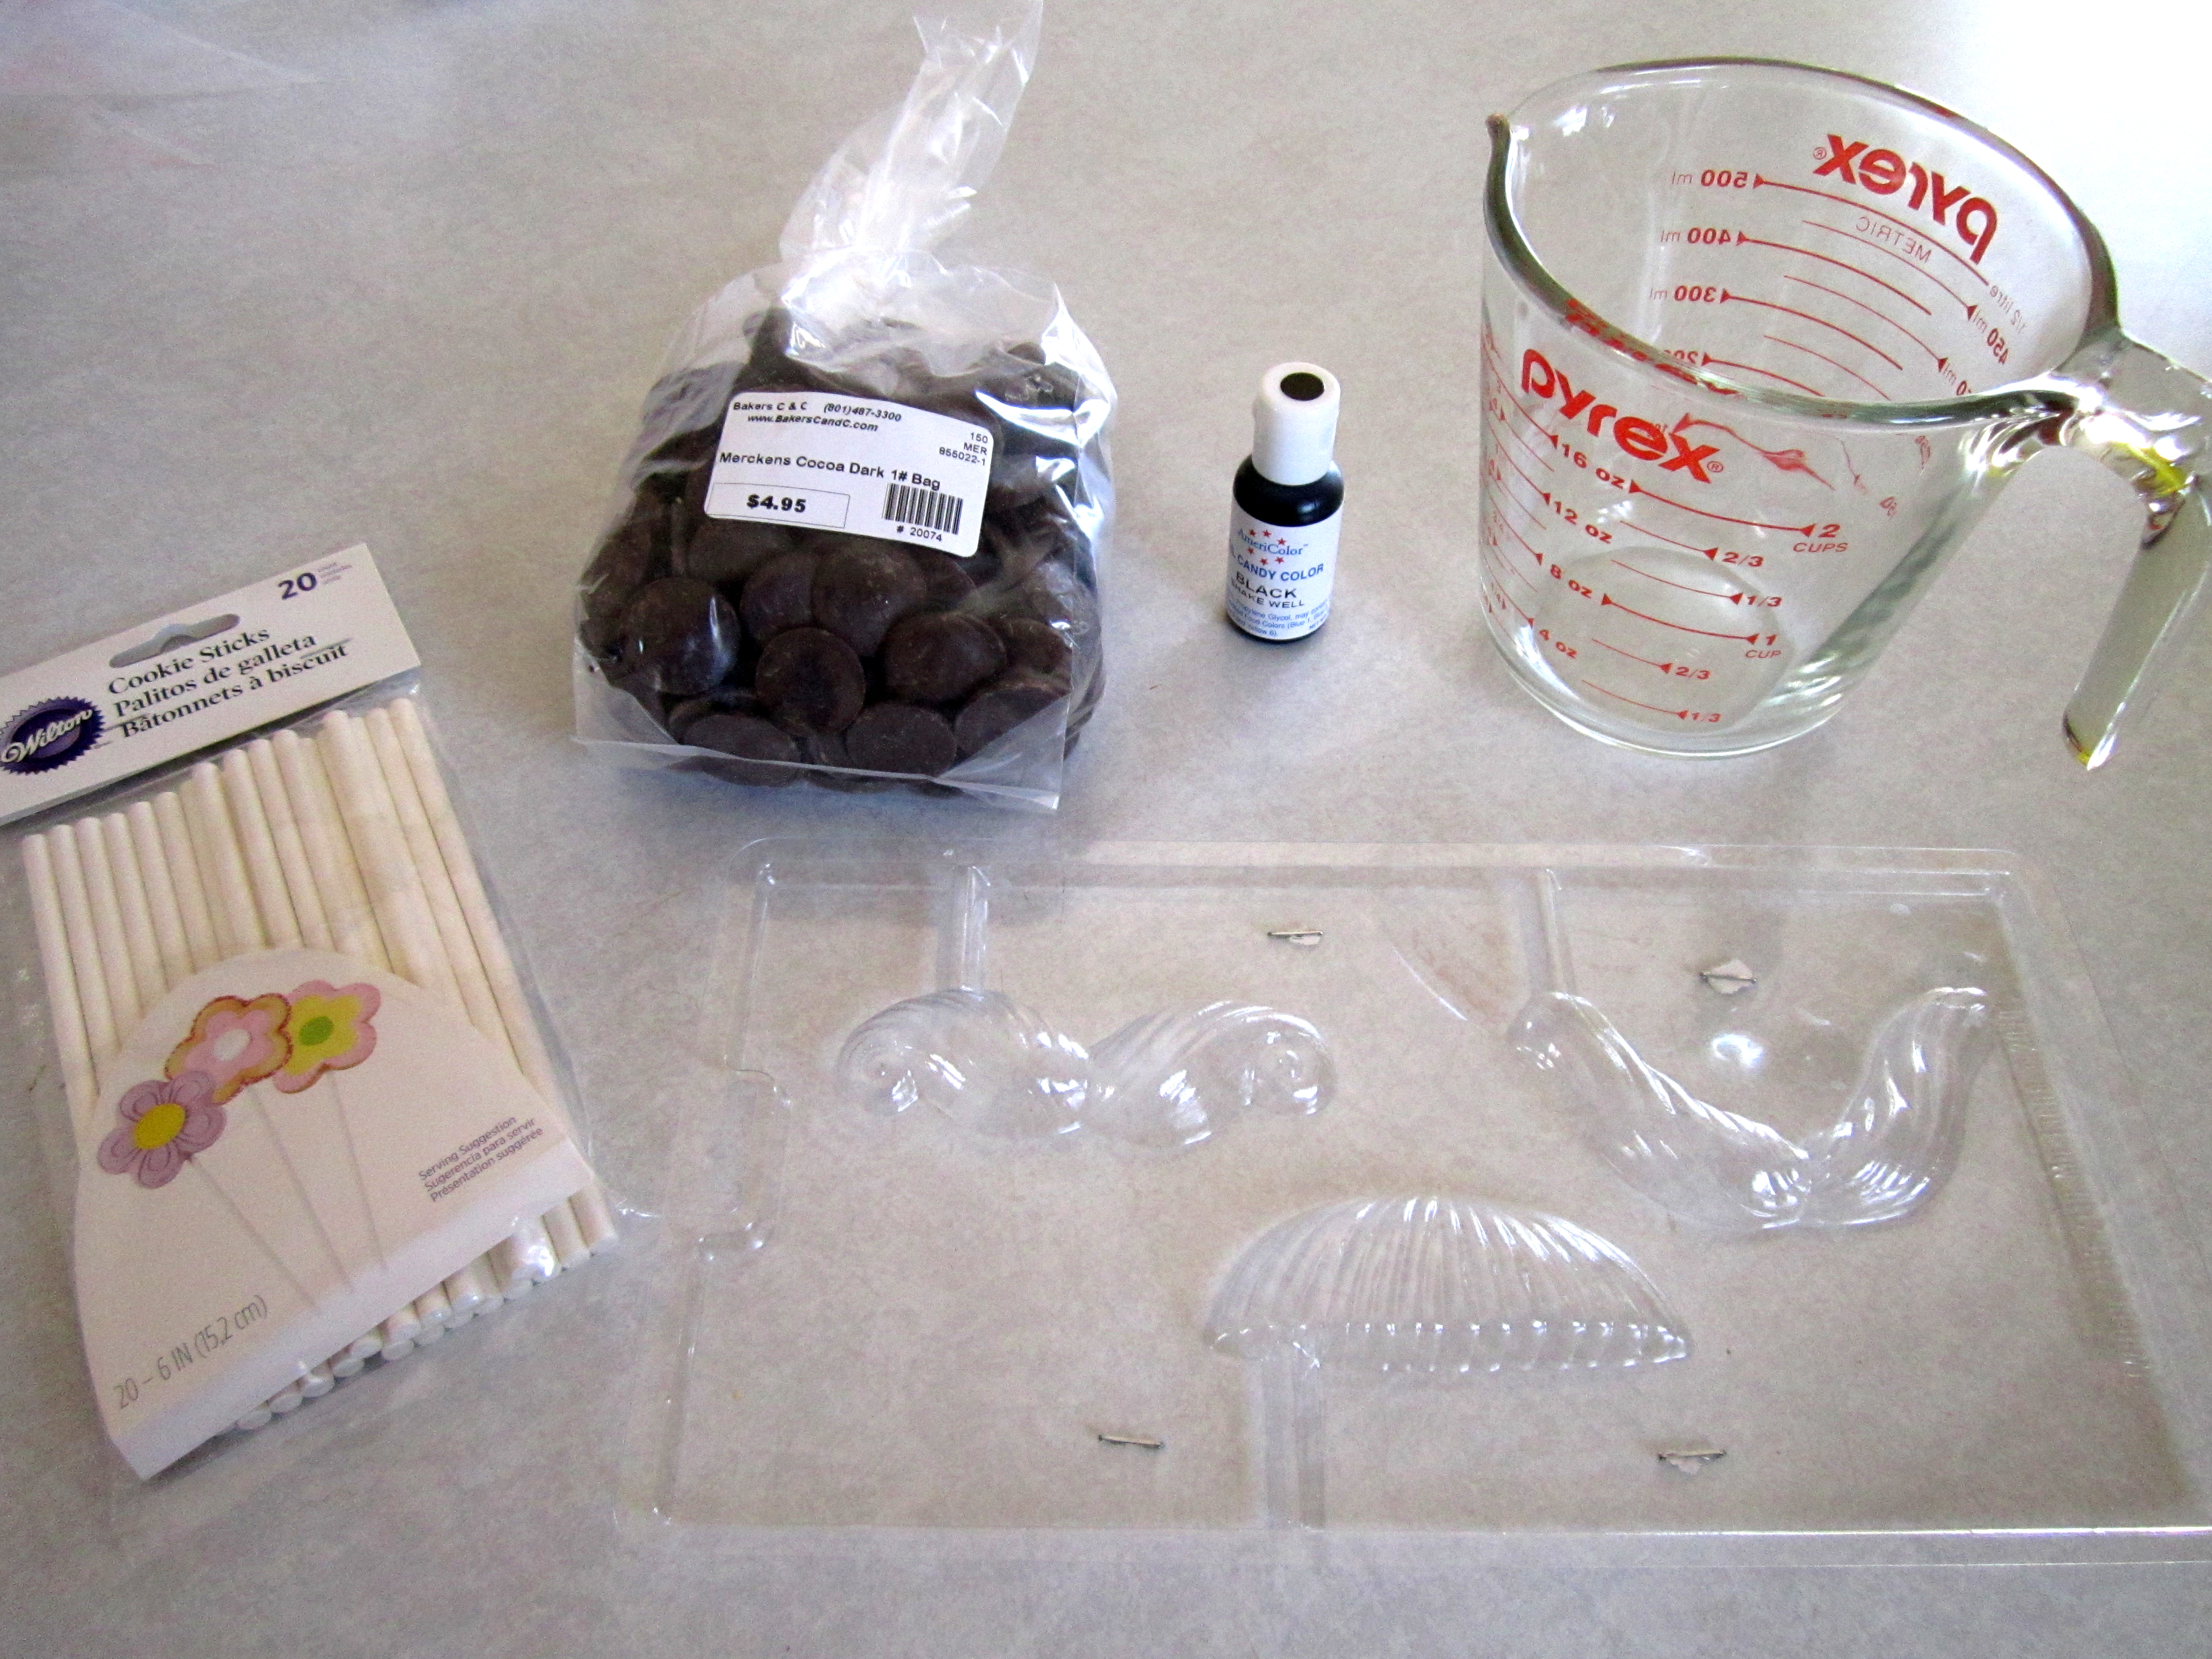
Supplies:
Moustache chocolate mold - I got mine here from Wilton for a whopping $1.99!
candy sticks
candy melts/chocolate melts
squeeze bottle/decorating bag/ziplock baggie
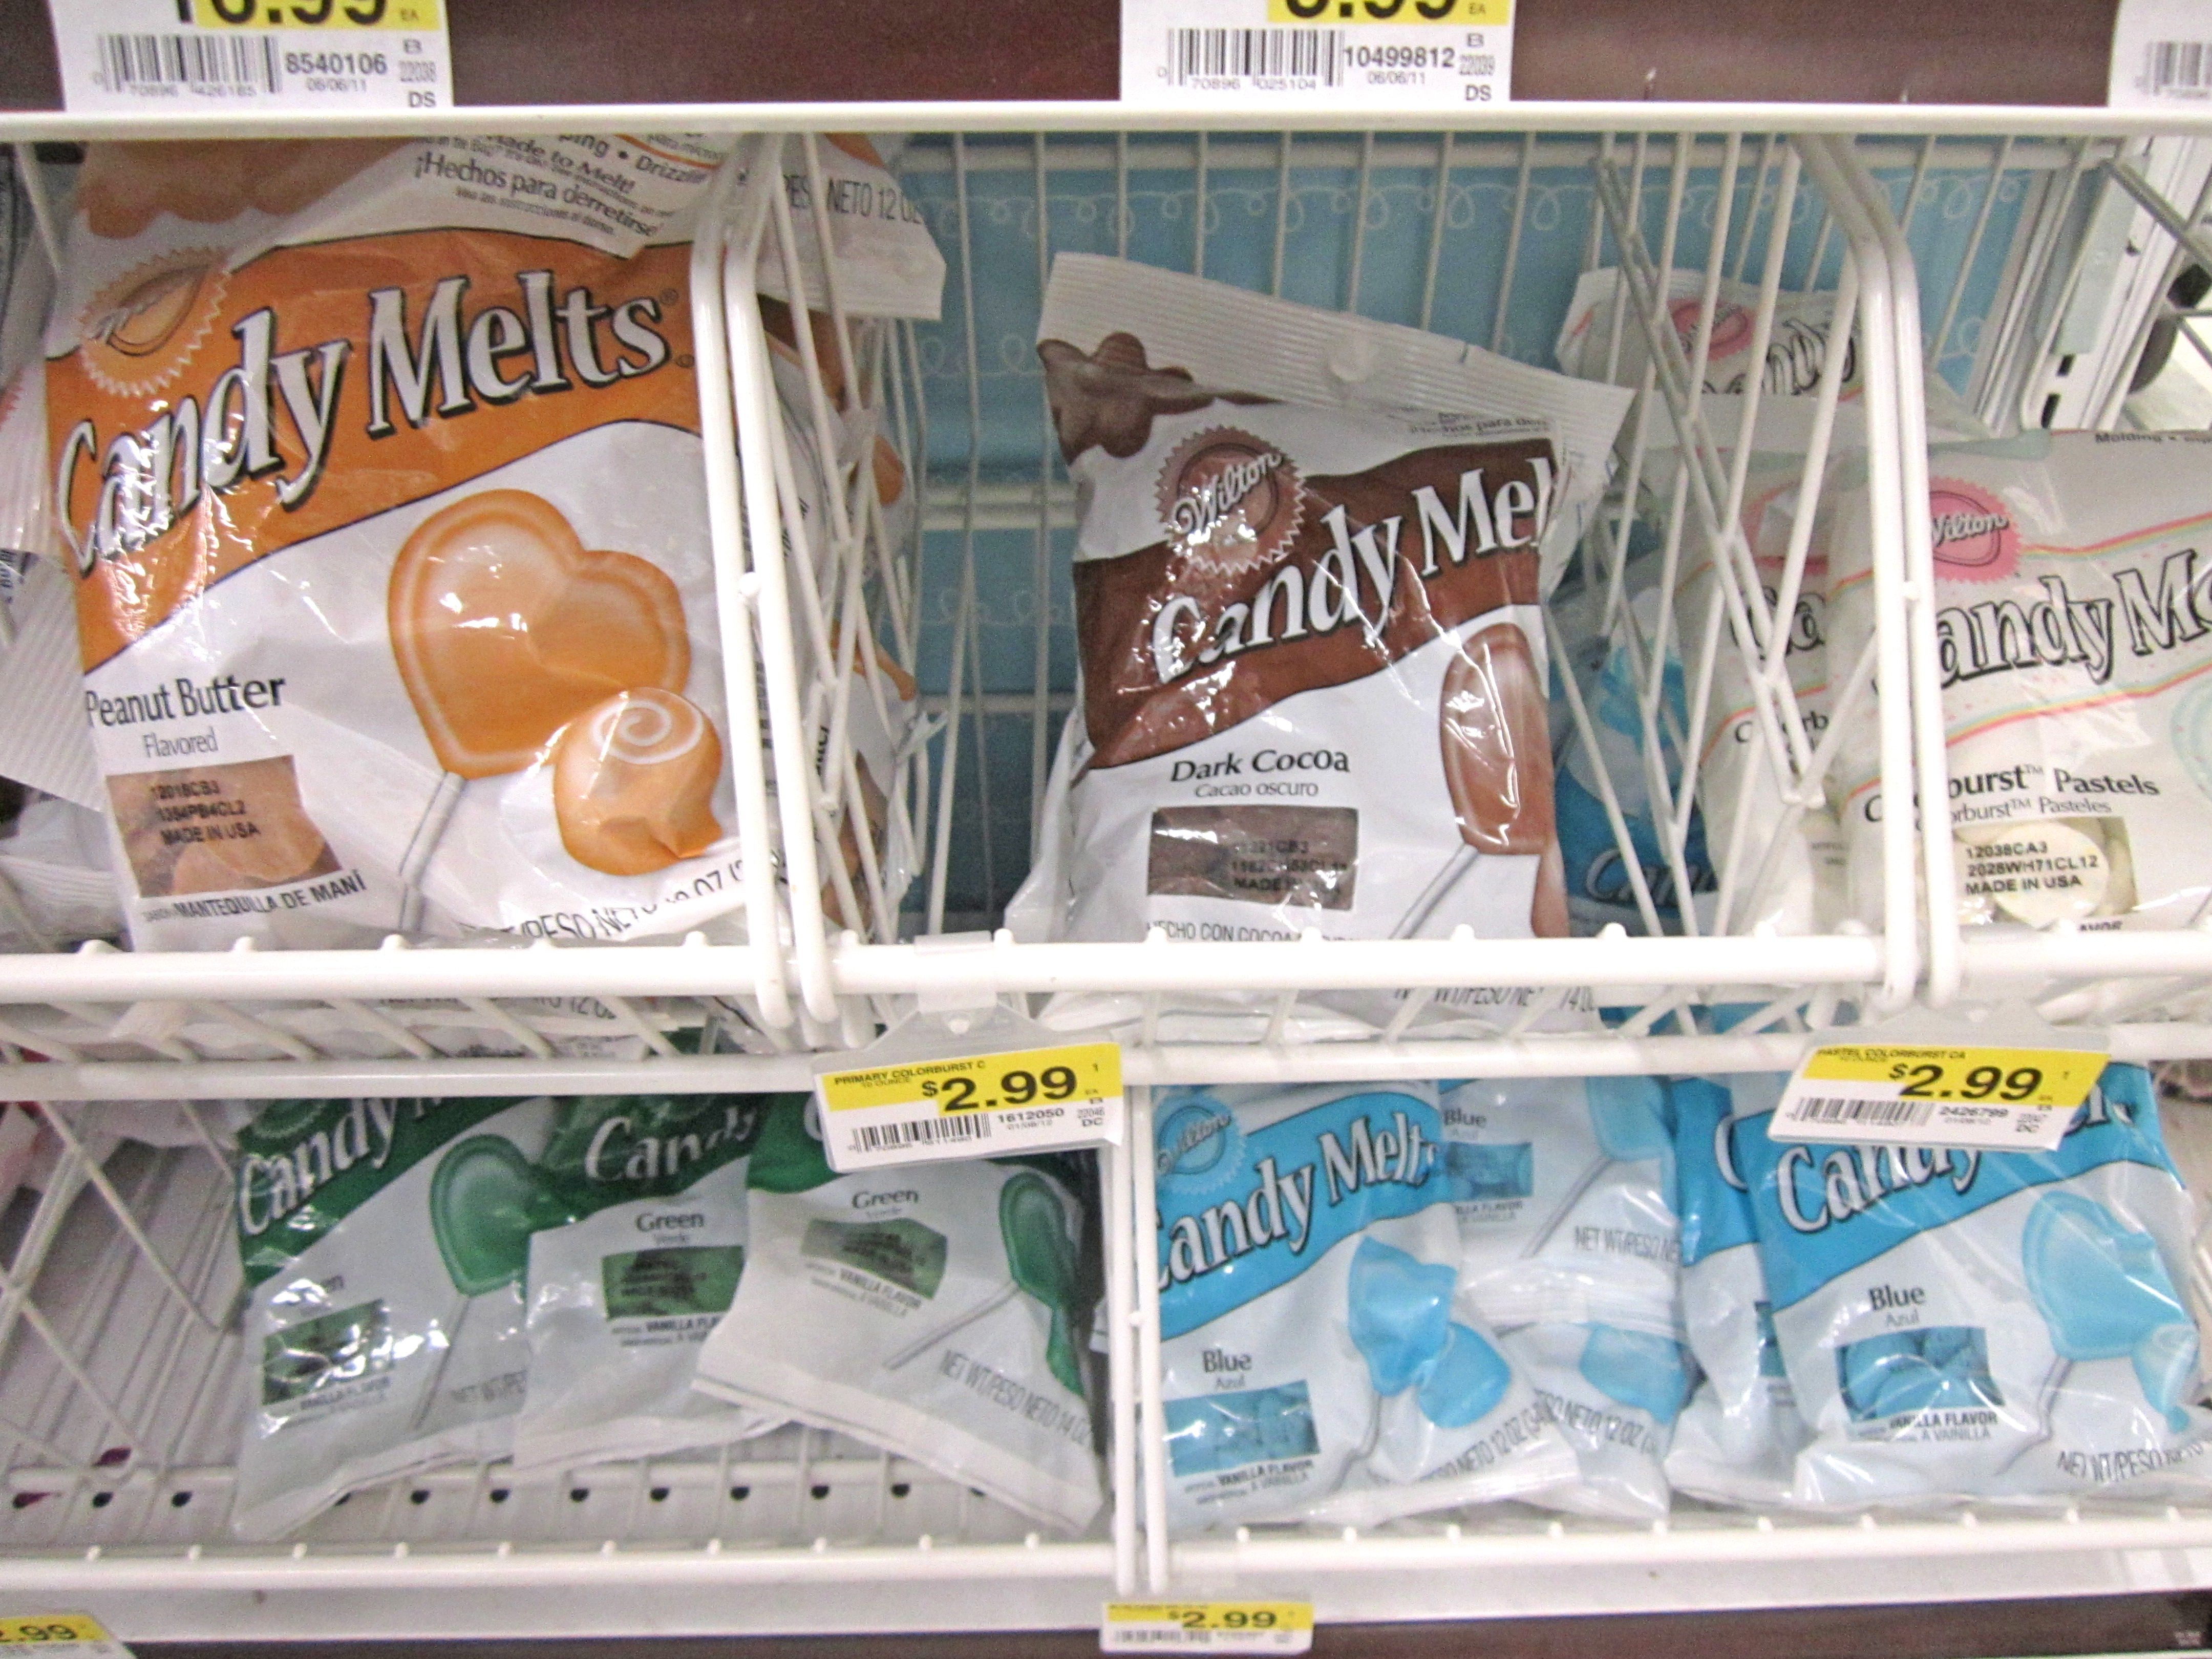
*note: candy melts come in such a wide variety of colors that you can pretty much make moustaches to match your party!
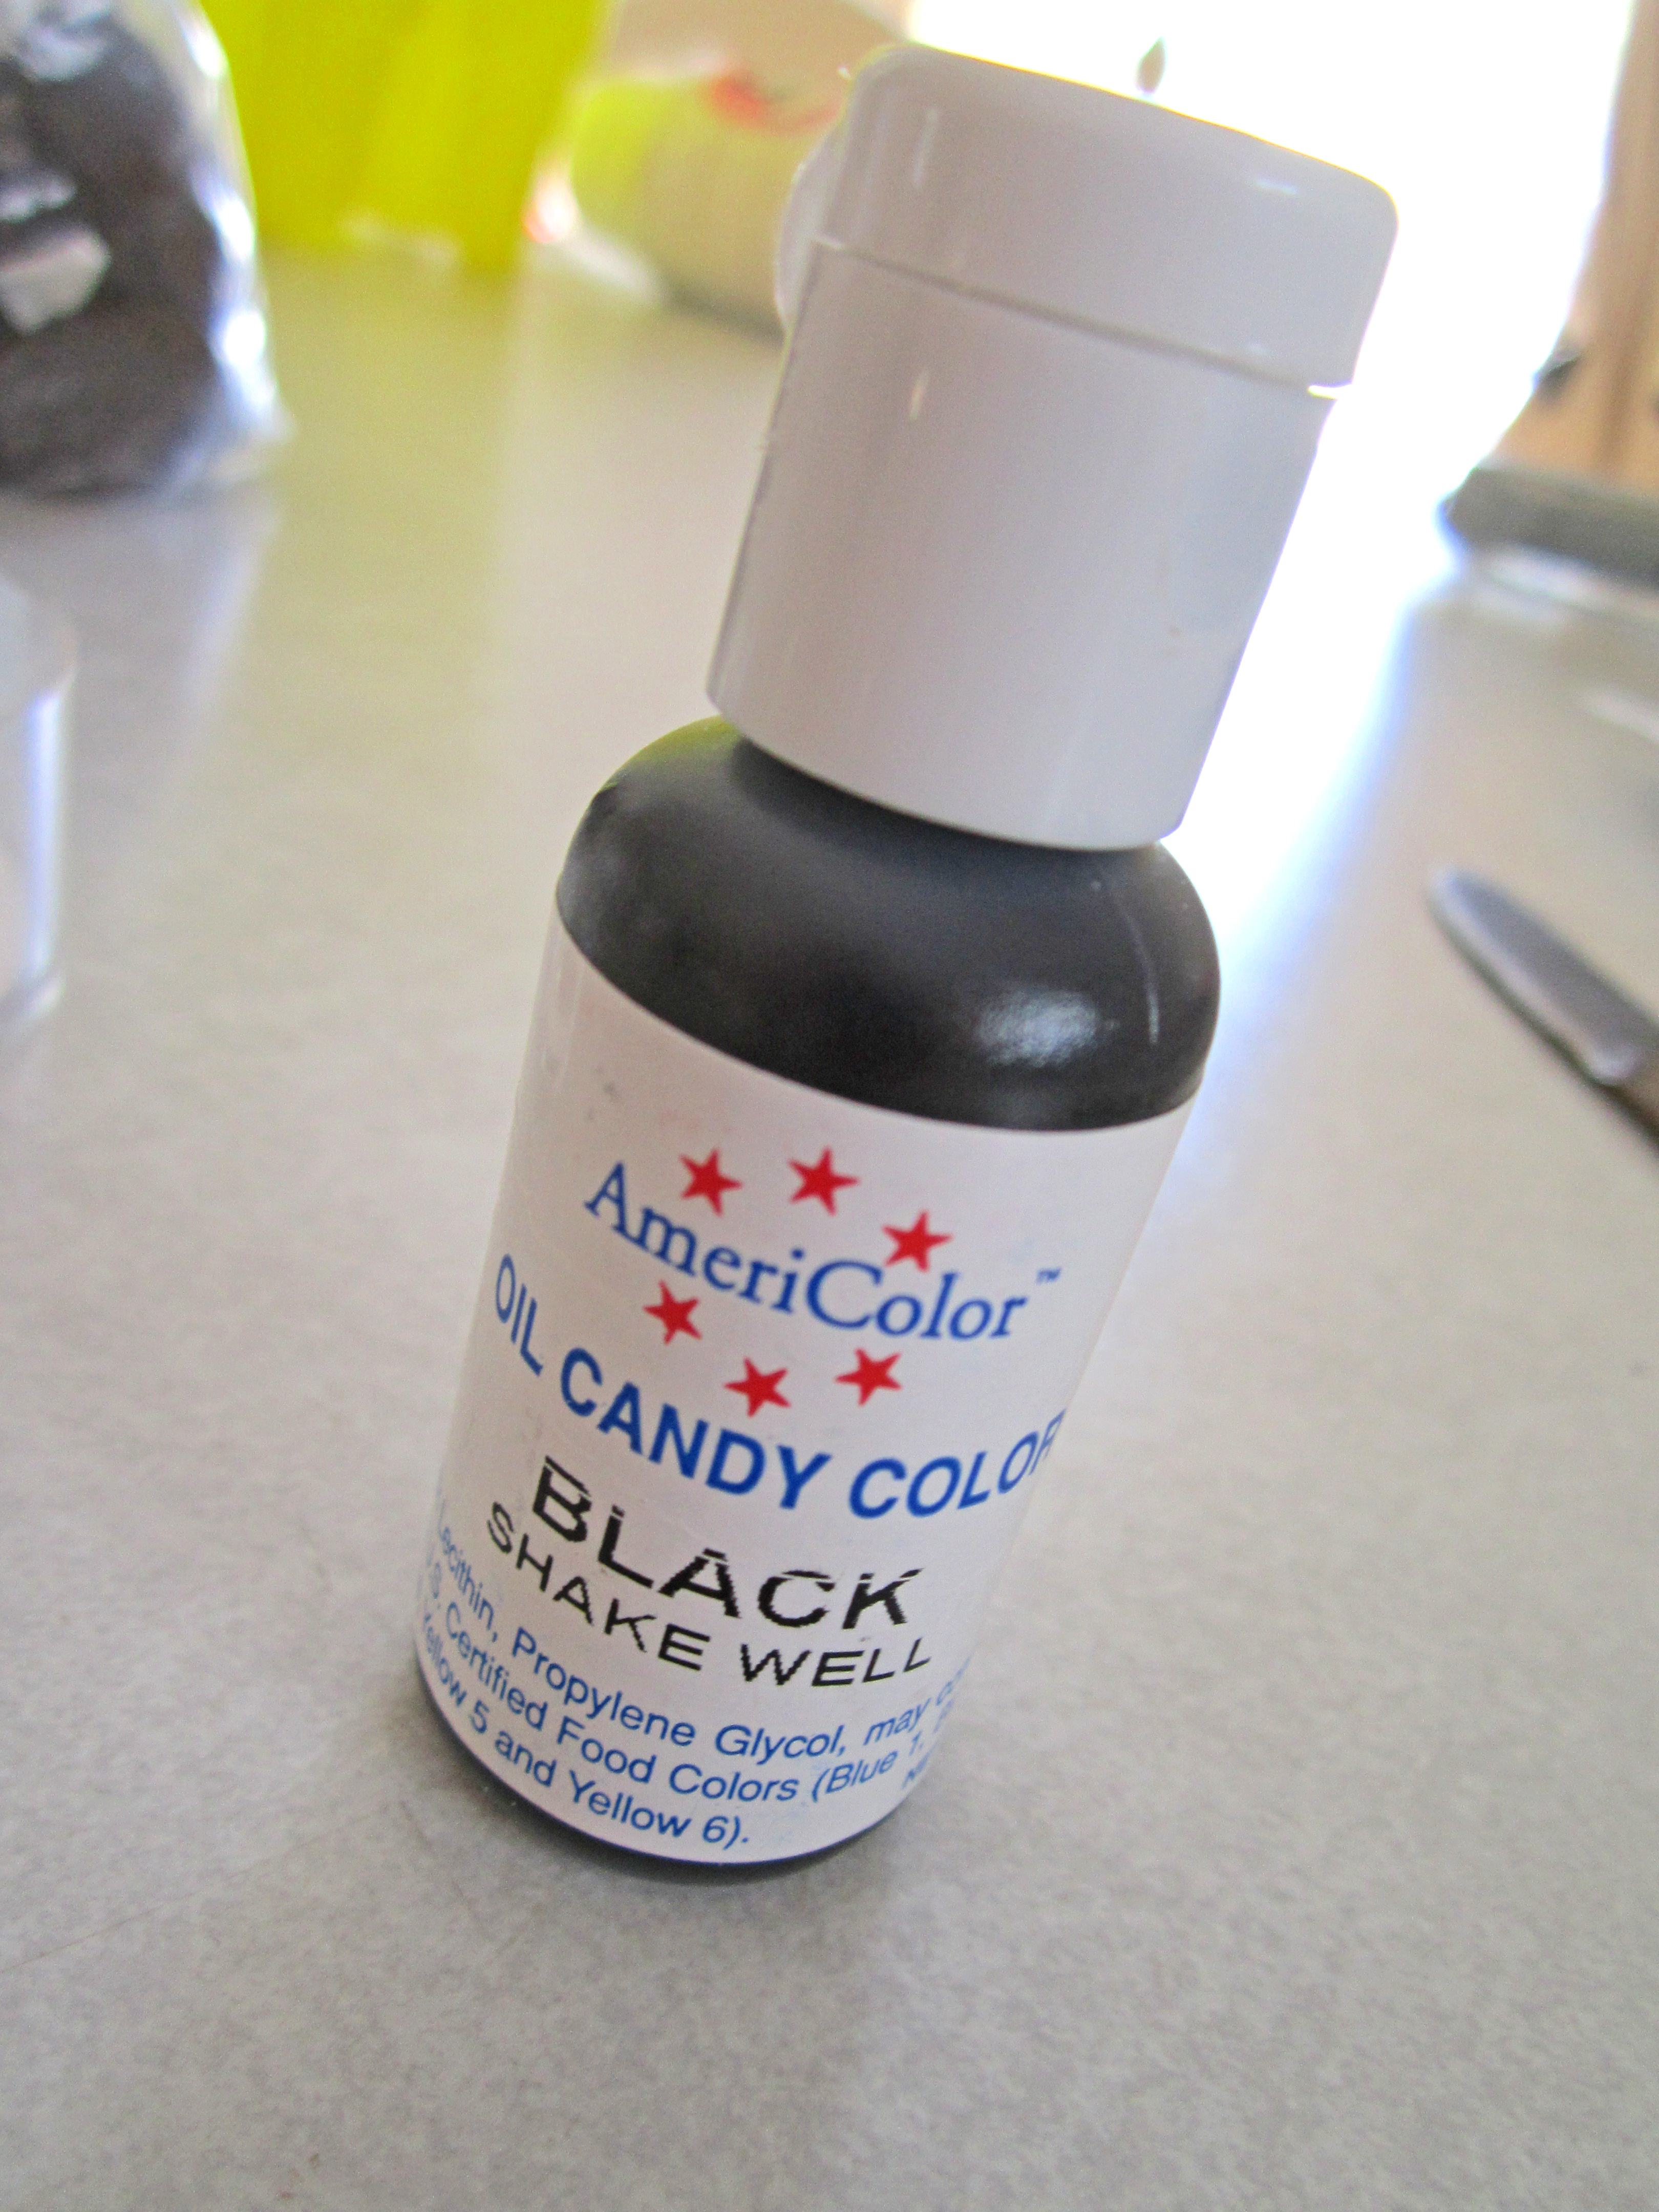
But I wanted my staches to be black, and they don't make carry that color. So I got dark chocolate melts and black candy coloring.
FYI- you HAVE to use an oil based candy coloring, not regular food or icing coloring because they are water based. If water mixes with chocolate it will crystallize....  not fun. But don't fear if you have not familiar with chocolate, it is super easy to work with :)
Now let's begin! Step 1: Melt chocolate by follow directions on package. Be careful not to overcook.
 
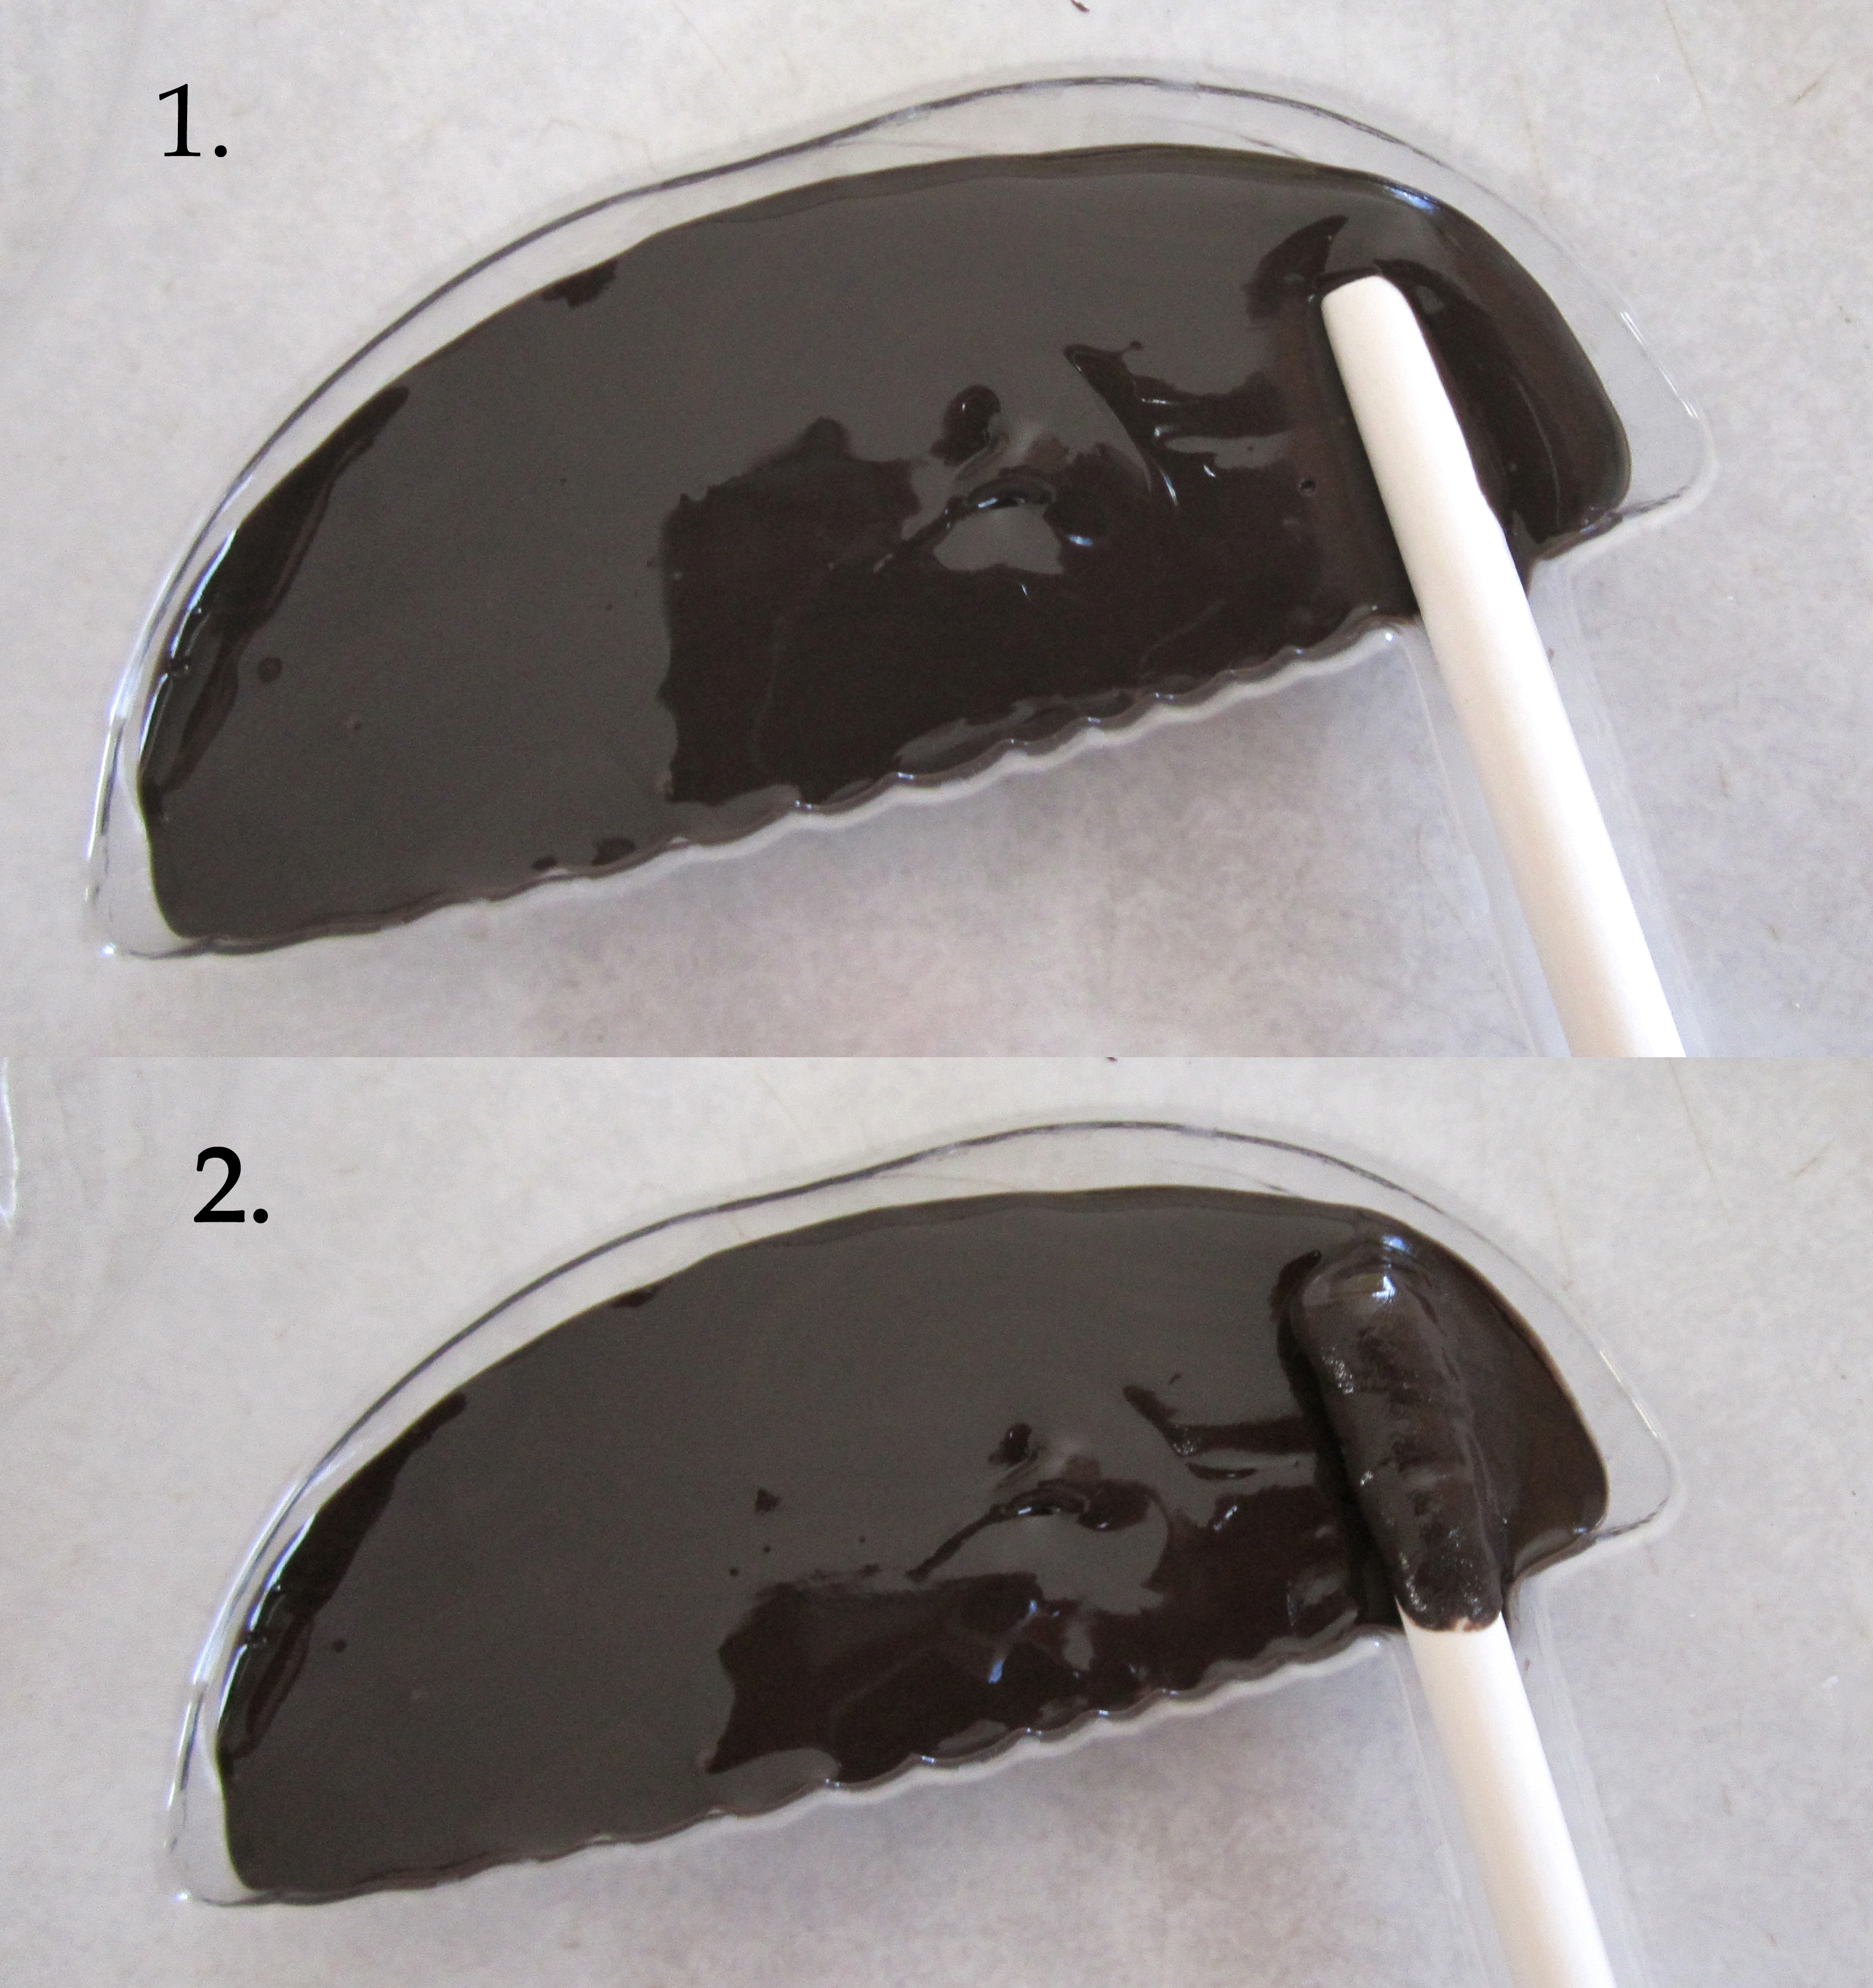
Step 2: Fill your squeeze bottle or baggie (snip the end) and fill the mold up halfway. Settle chocolate by tapping the mold lightly on the counter. This releases all the air bubbles and gets chocolate in all the little crevices.
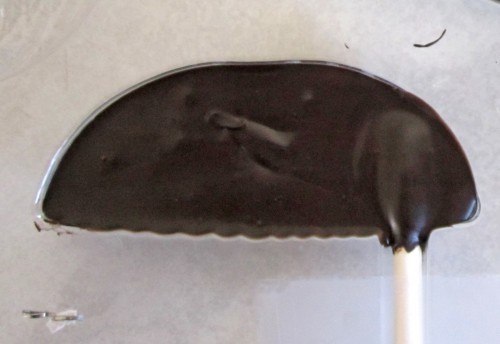
Step 3: Insert candy sticks into chocolate, twist to cover the whole end of the stick. Fill the rest of the mold with chocolate.
Step 3: Put mold in refrigerator or freezer until hardened.
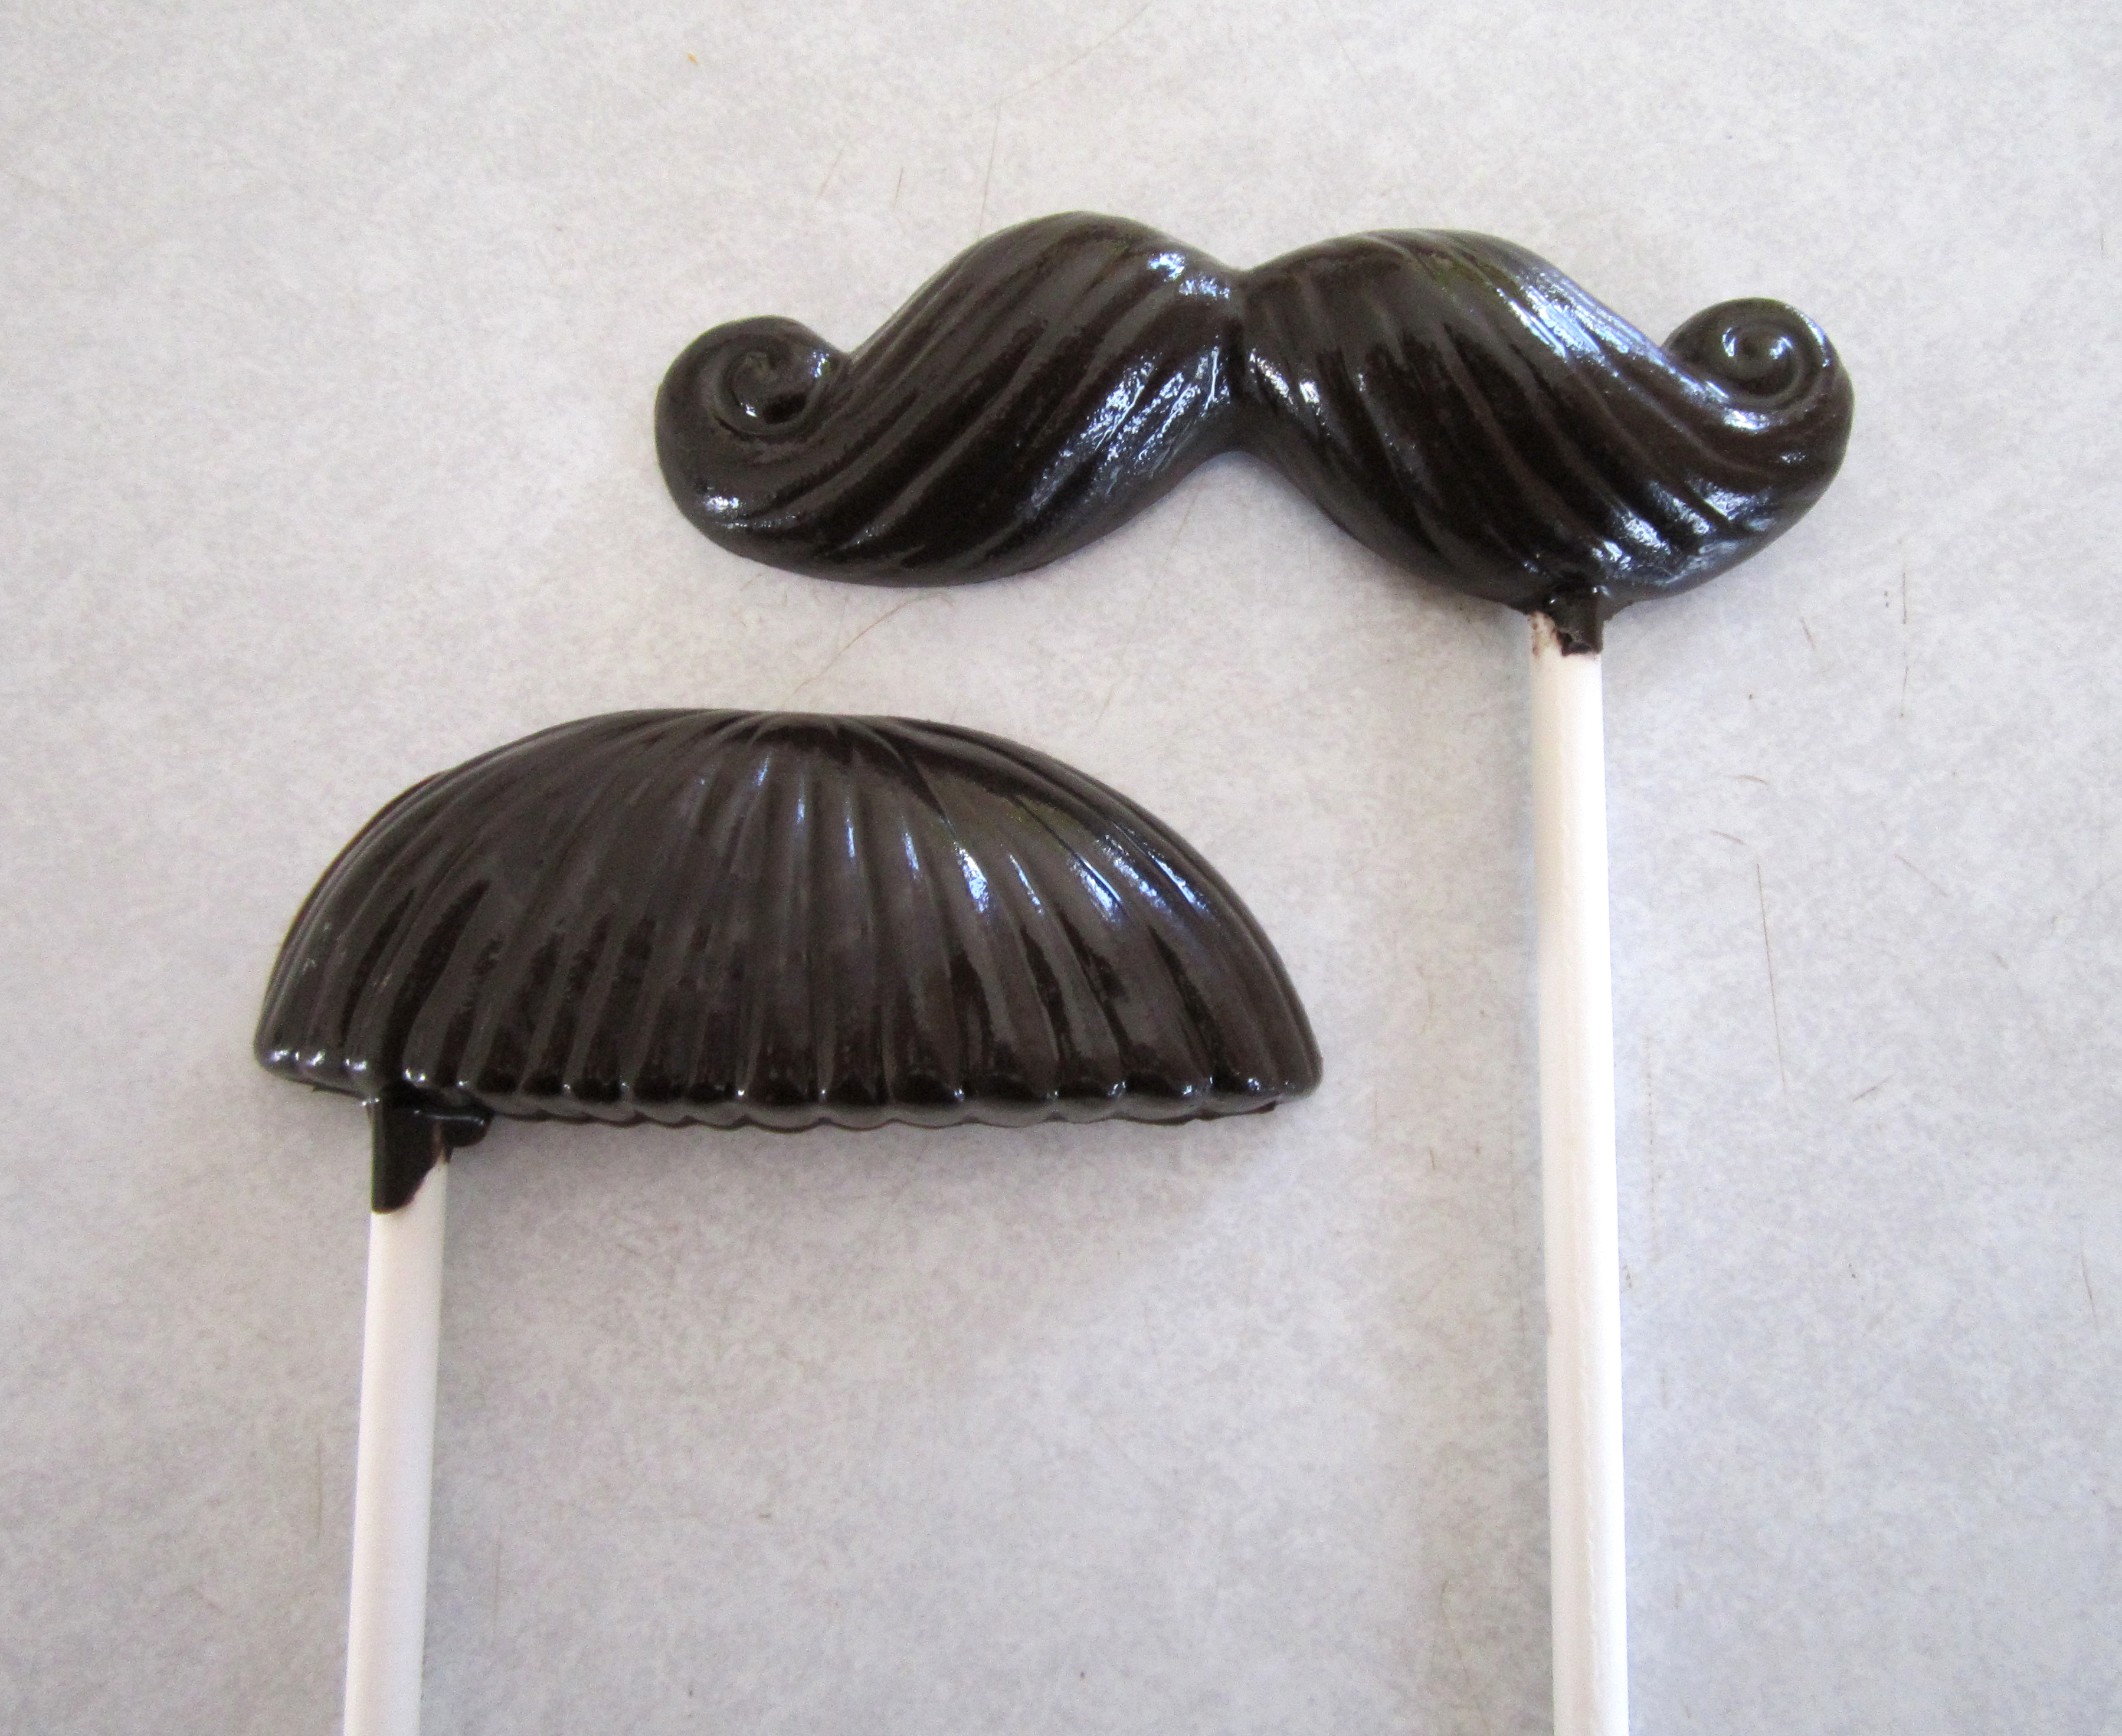
Step 4: Gently wiggle mold to loosen and turn out on counter.
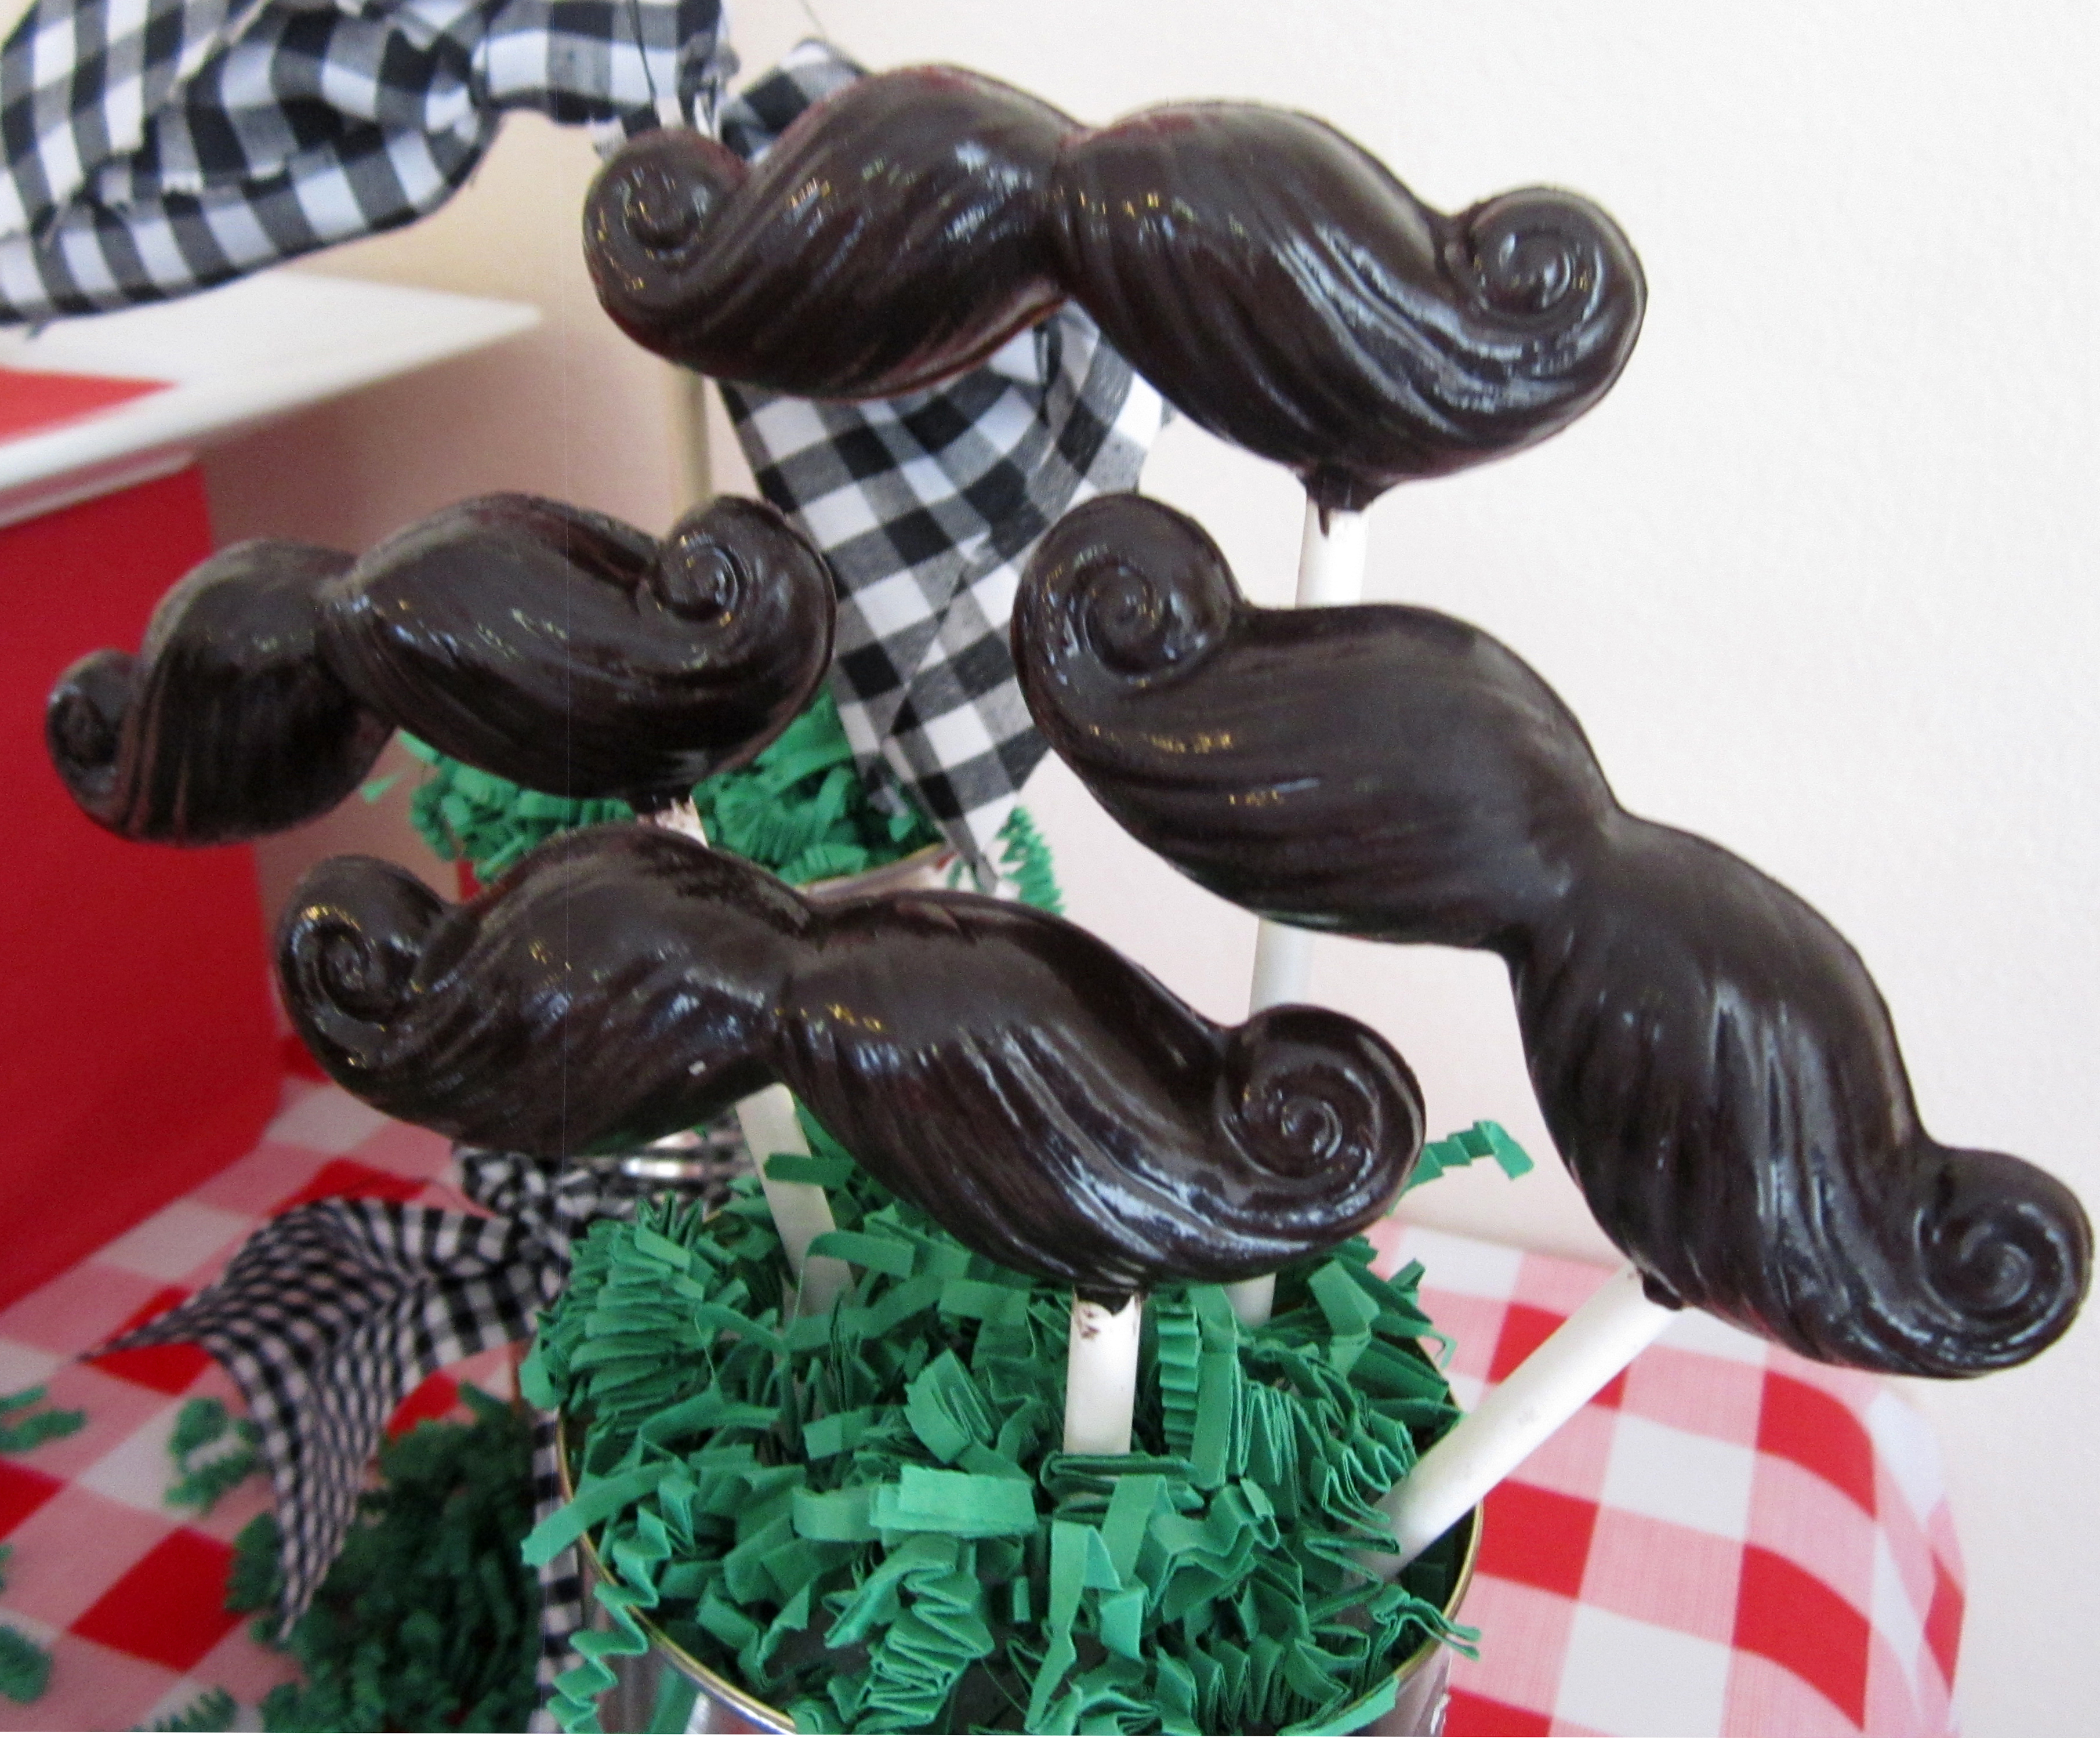
Viola! Now you have super cute (and yummy) party favor!
Thanks so much for checking out my tutorial and I hope that you have fun making your own stache-tastic treats!

Monday, May 14, 2012

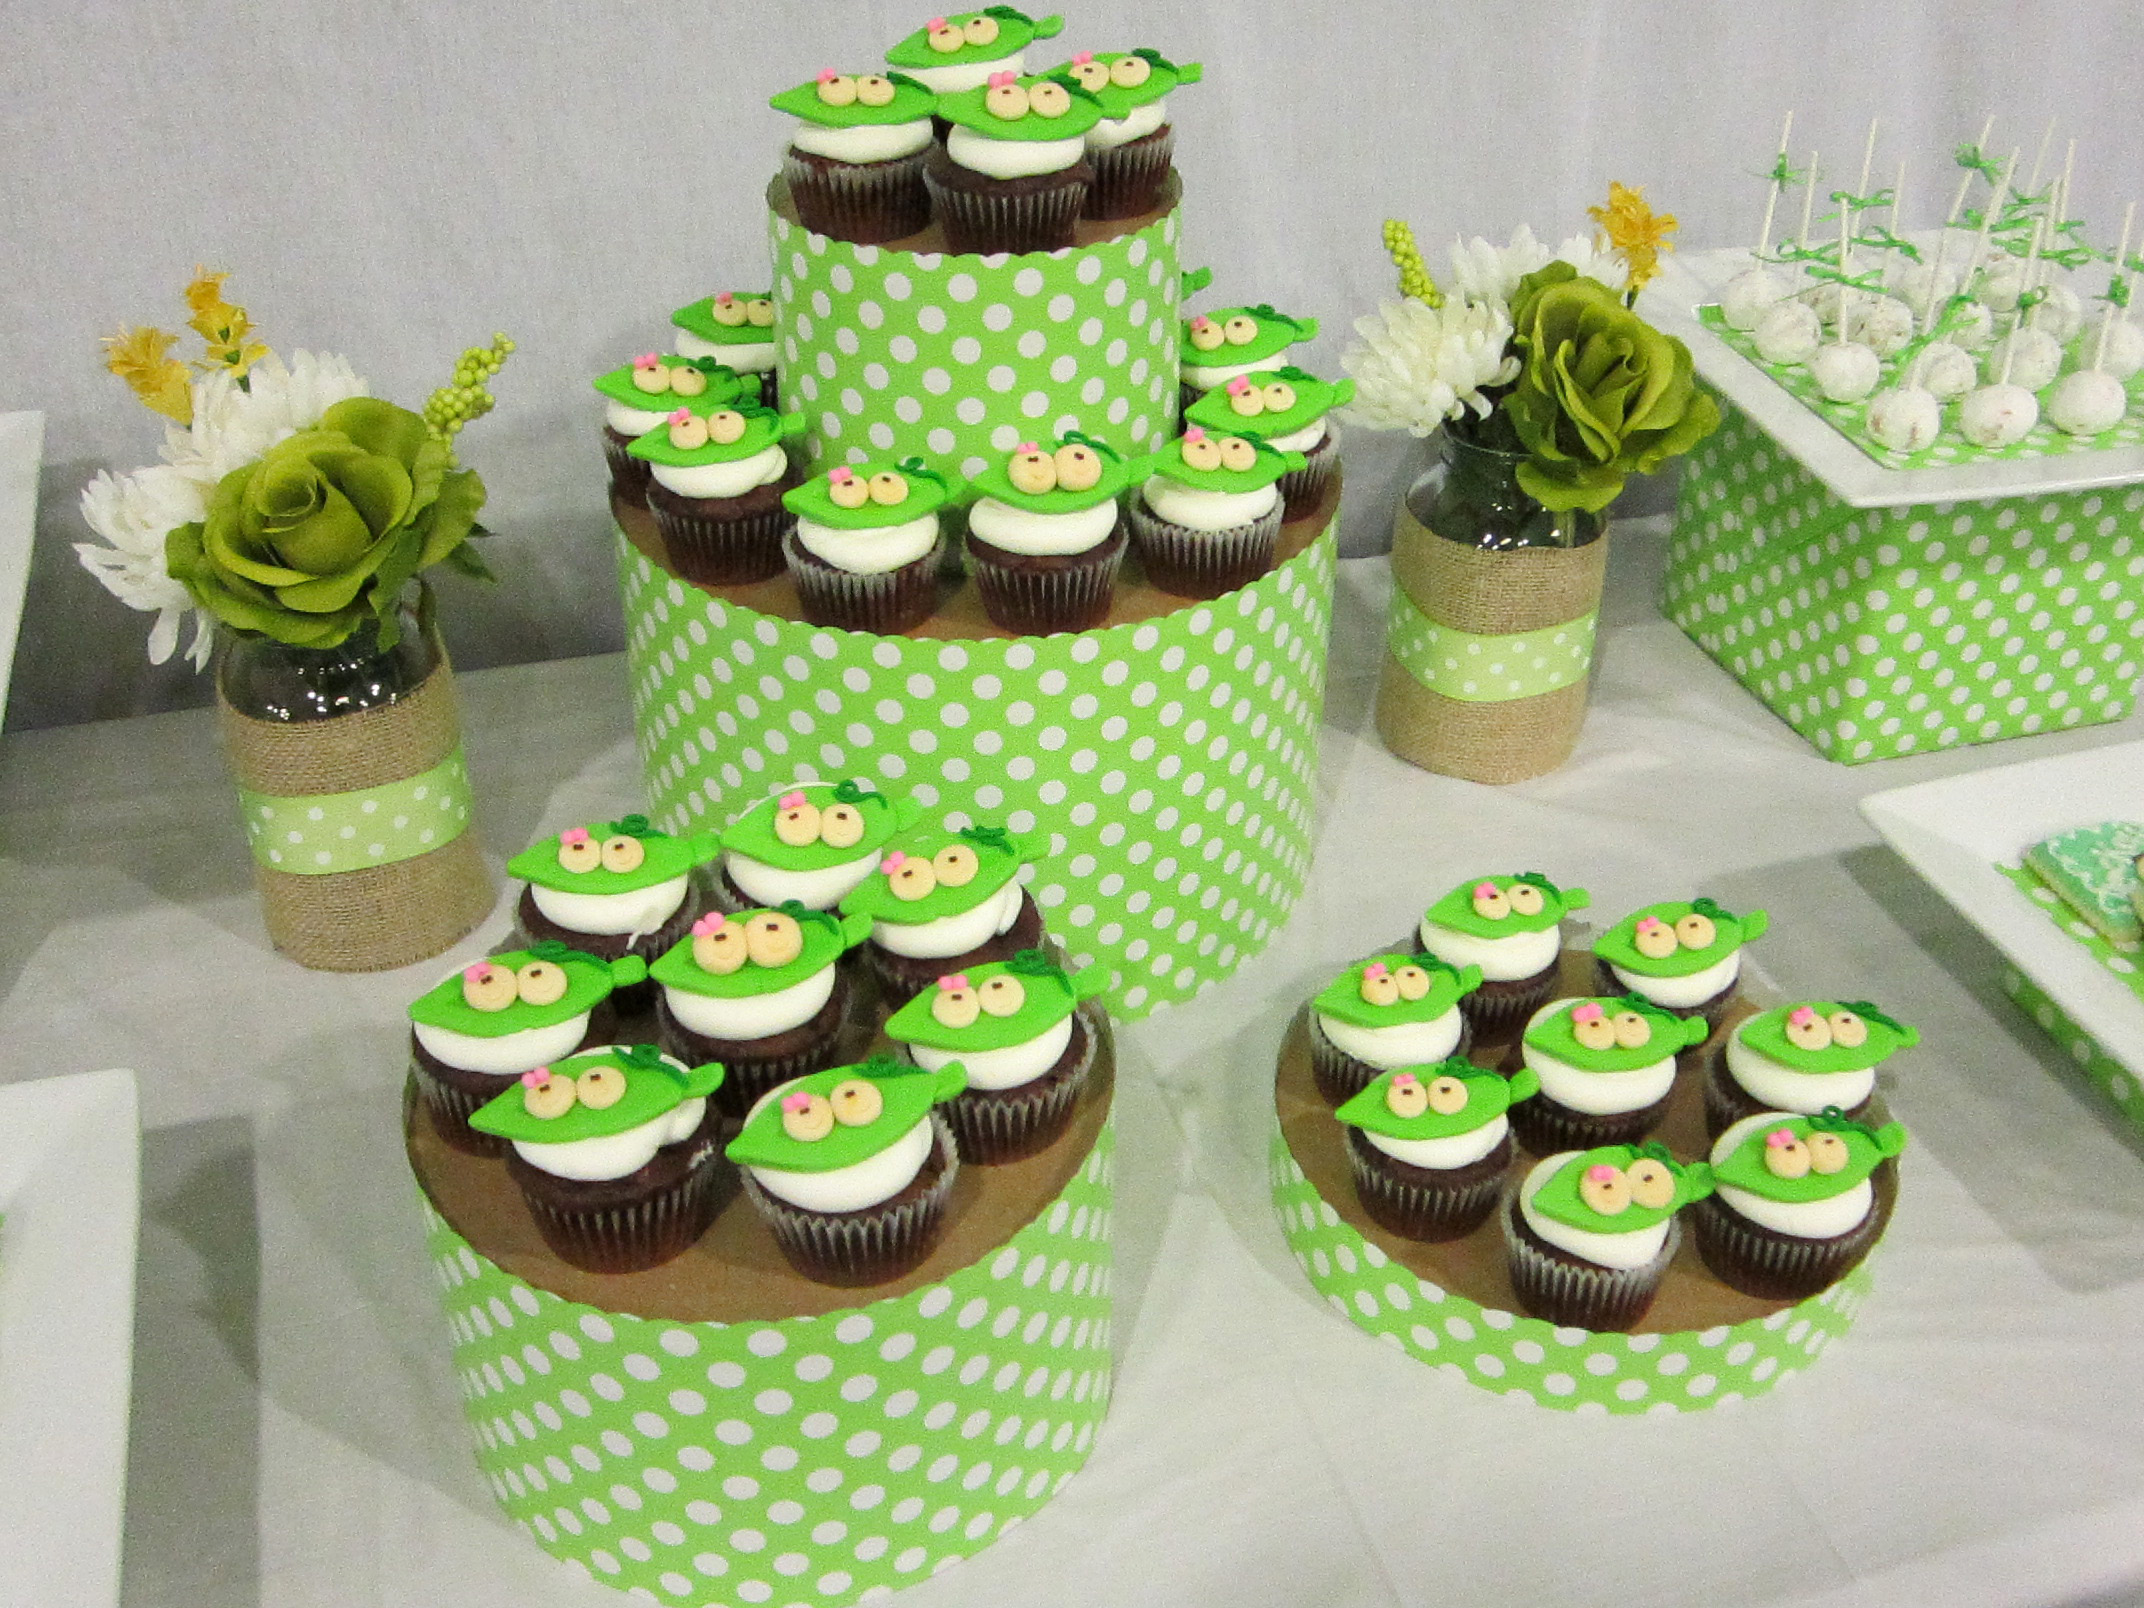
DIY Cupcake Tower


Today I wanted to share with you all my tutorial that shows you how to make these adorable and SUPER easy cupcake towers that you can customize to fit your party style.
Materials:
Hat Boxes (or any other sturdy and smooth cardboard box) - Michaels, Joann, Hobby Lobby, or most craft stores.
Decorative Paper to fit your design/style/theme
Decorative Edge Scissors
Tape
Tips: I found a jumbo roll of wrapping paper that matched our invites that we used and wrapping paper is usually pretty inexpensive.  Also various box sizes are great to add height and variety.
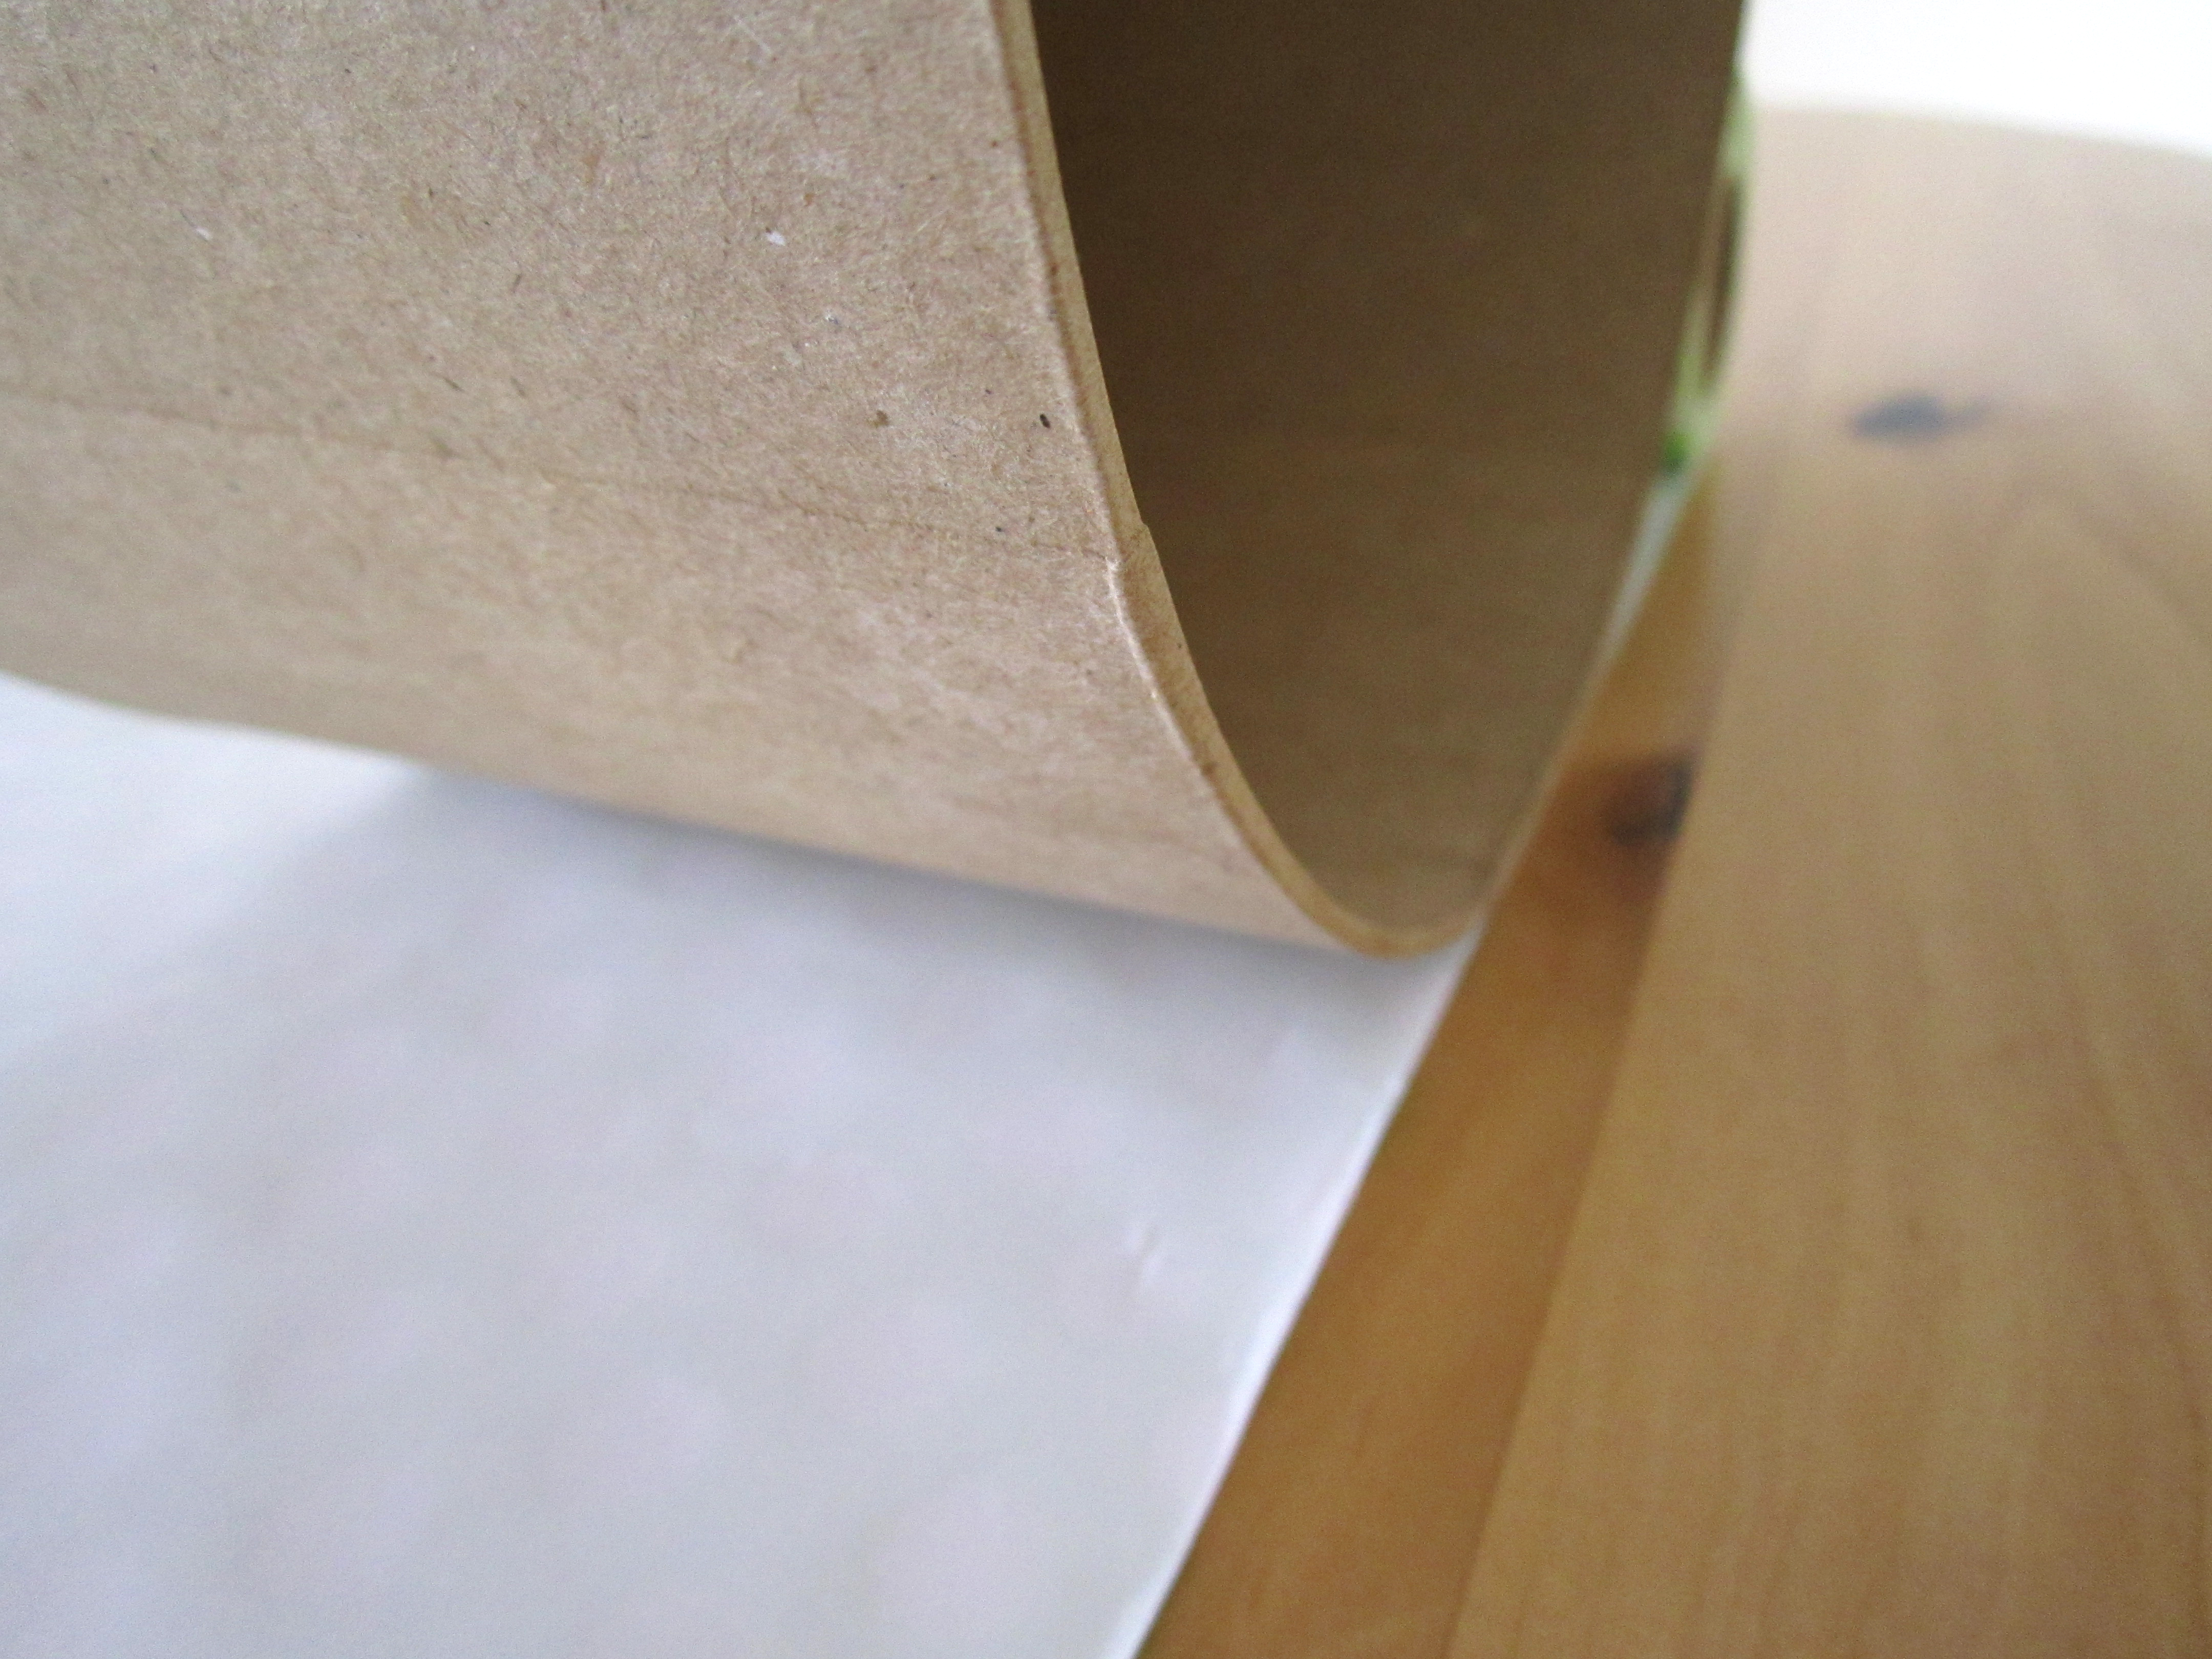
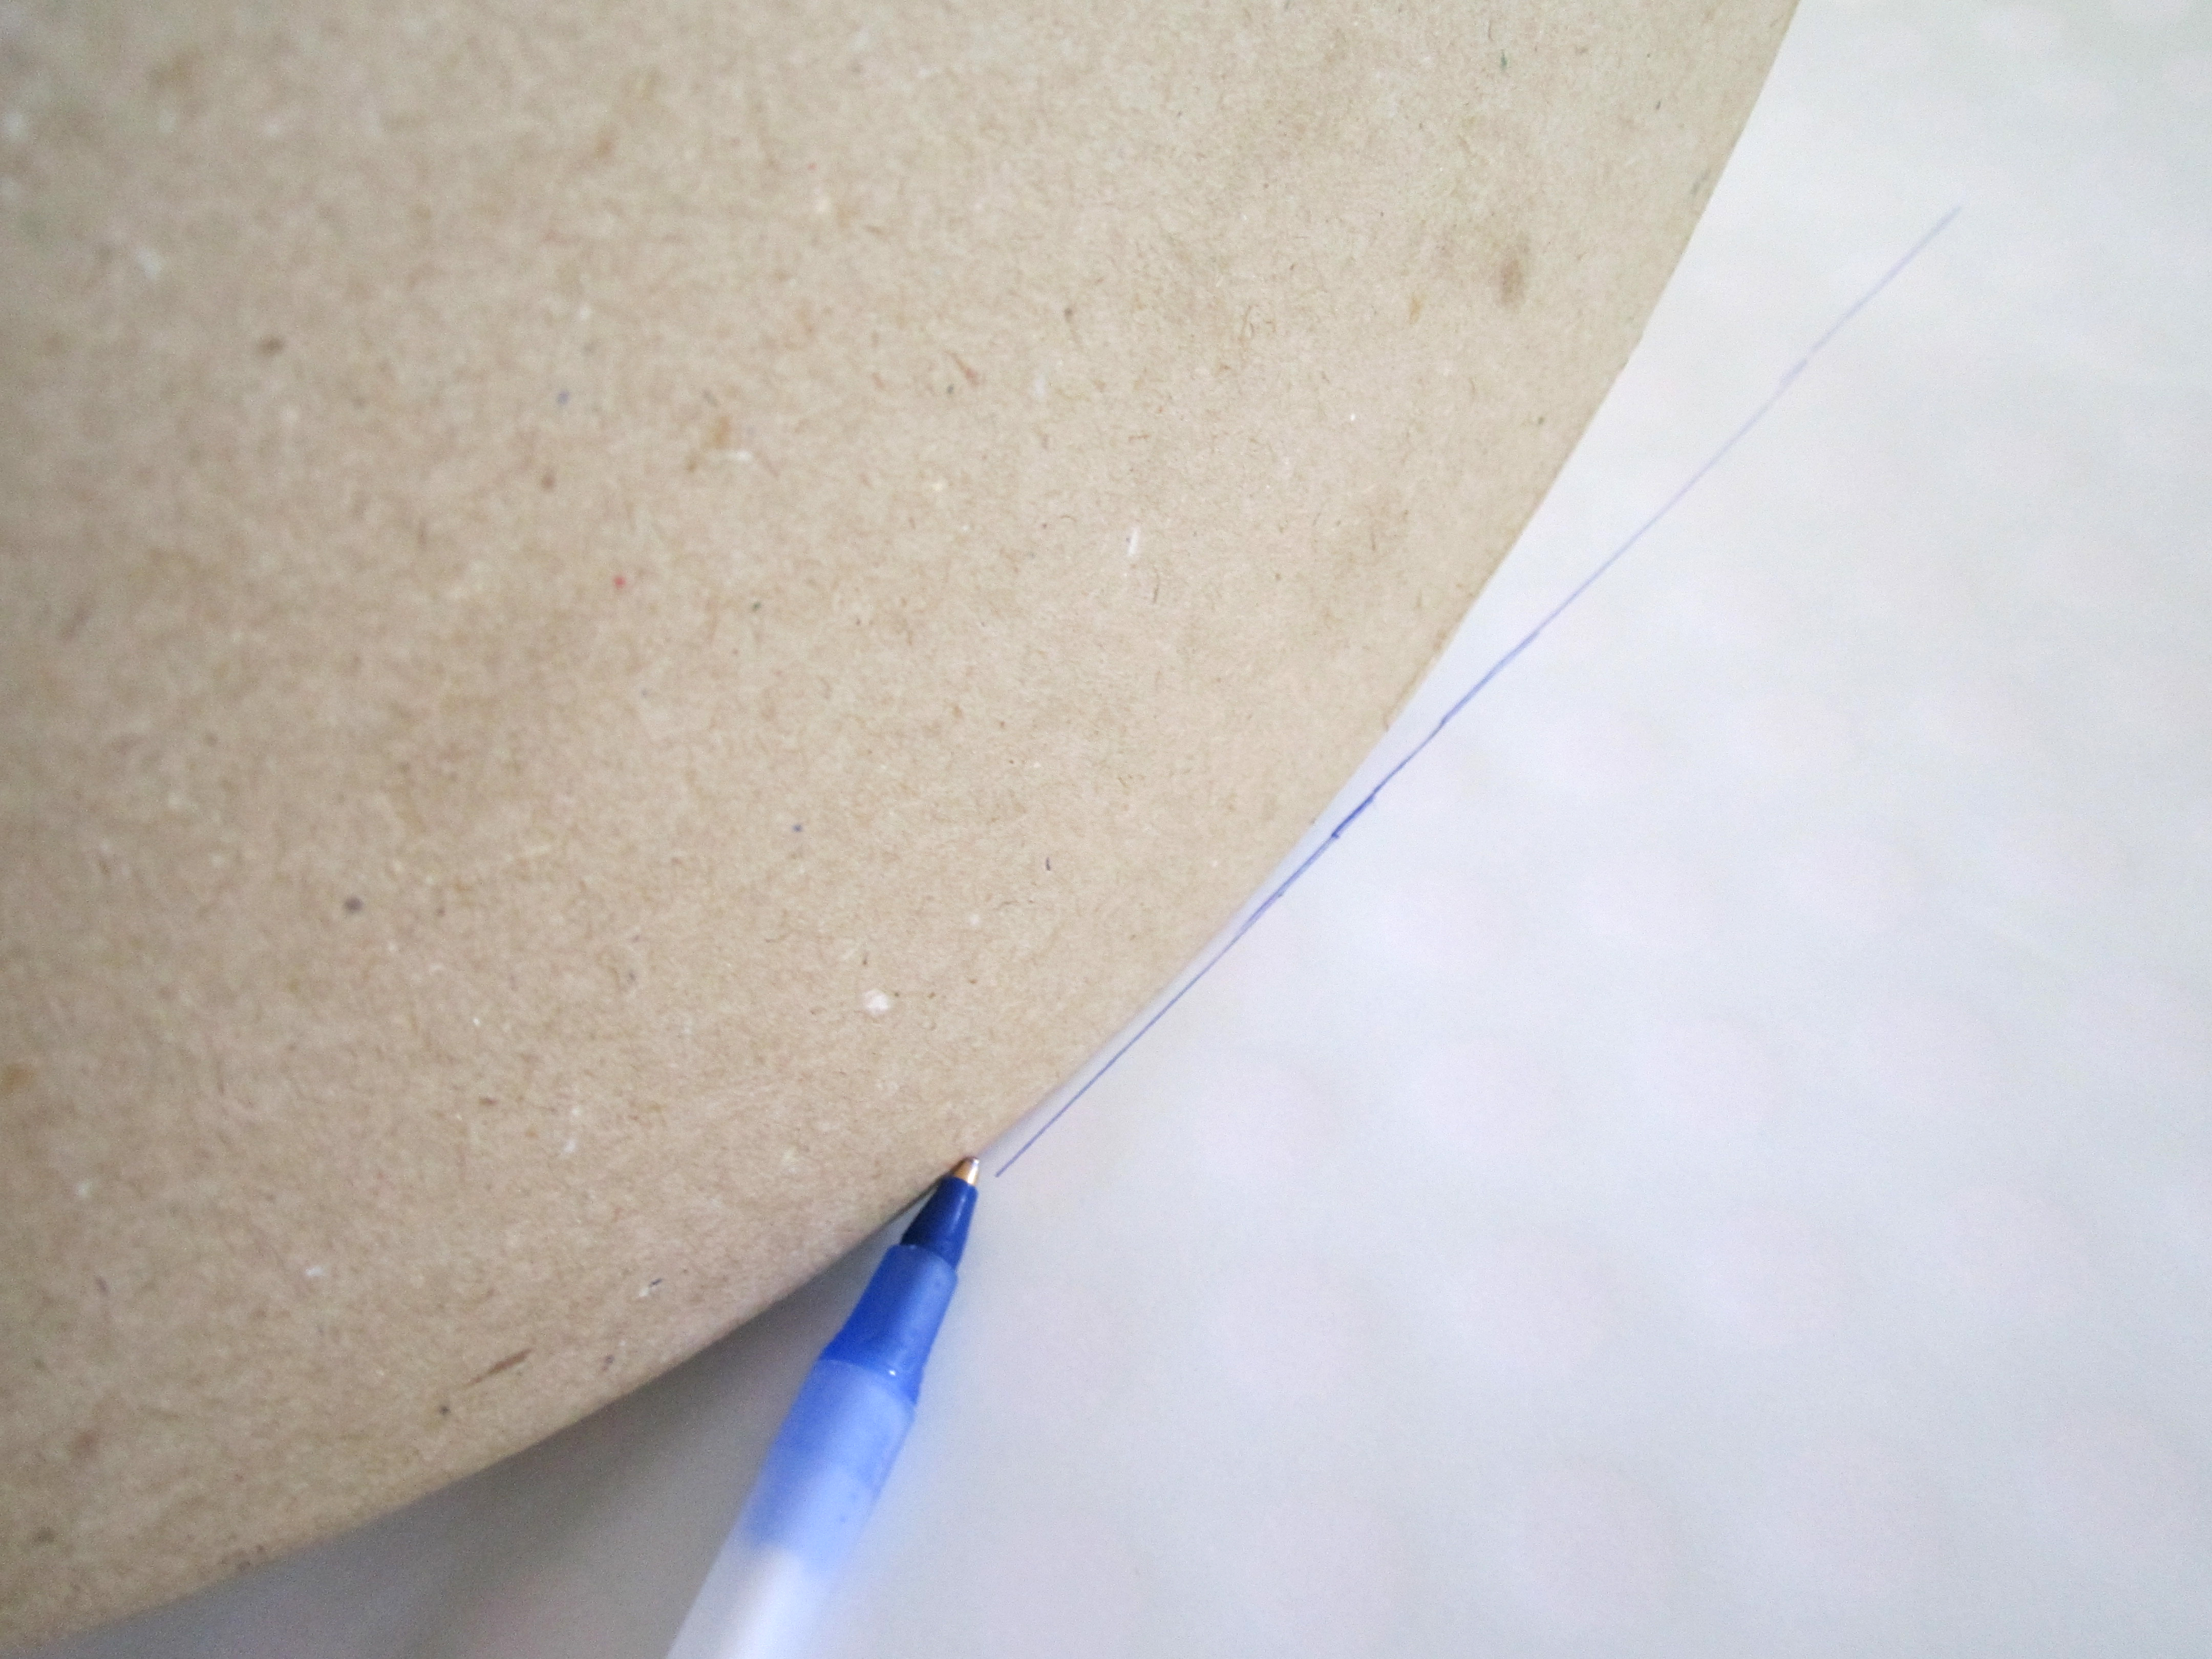
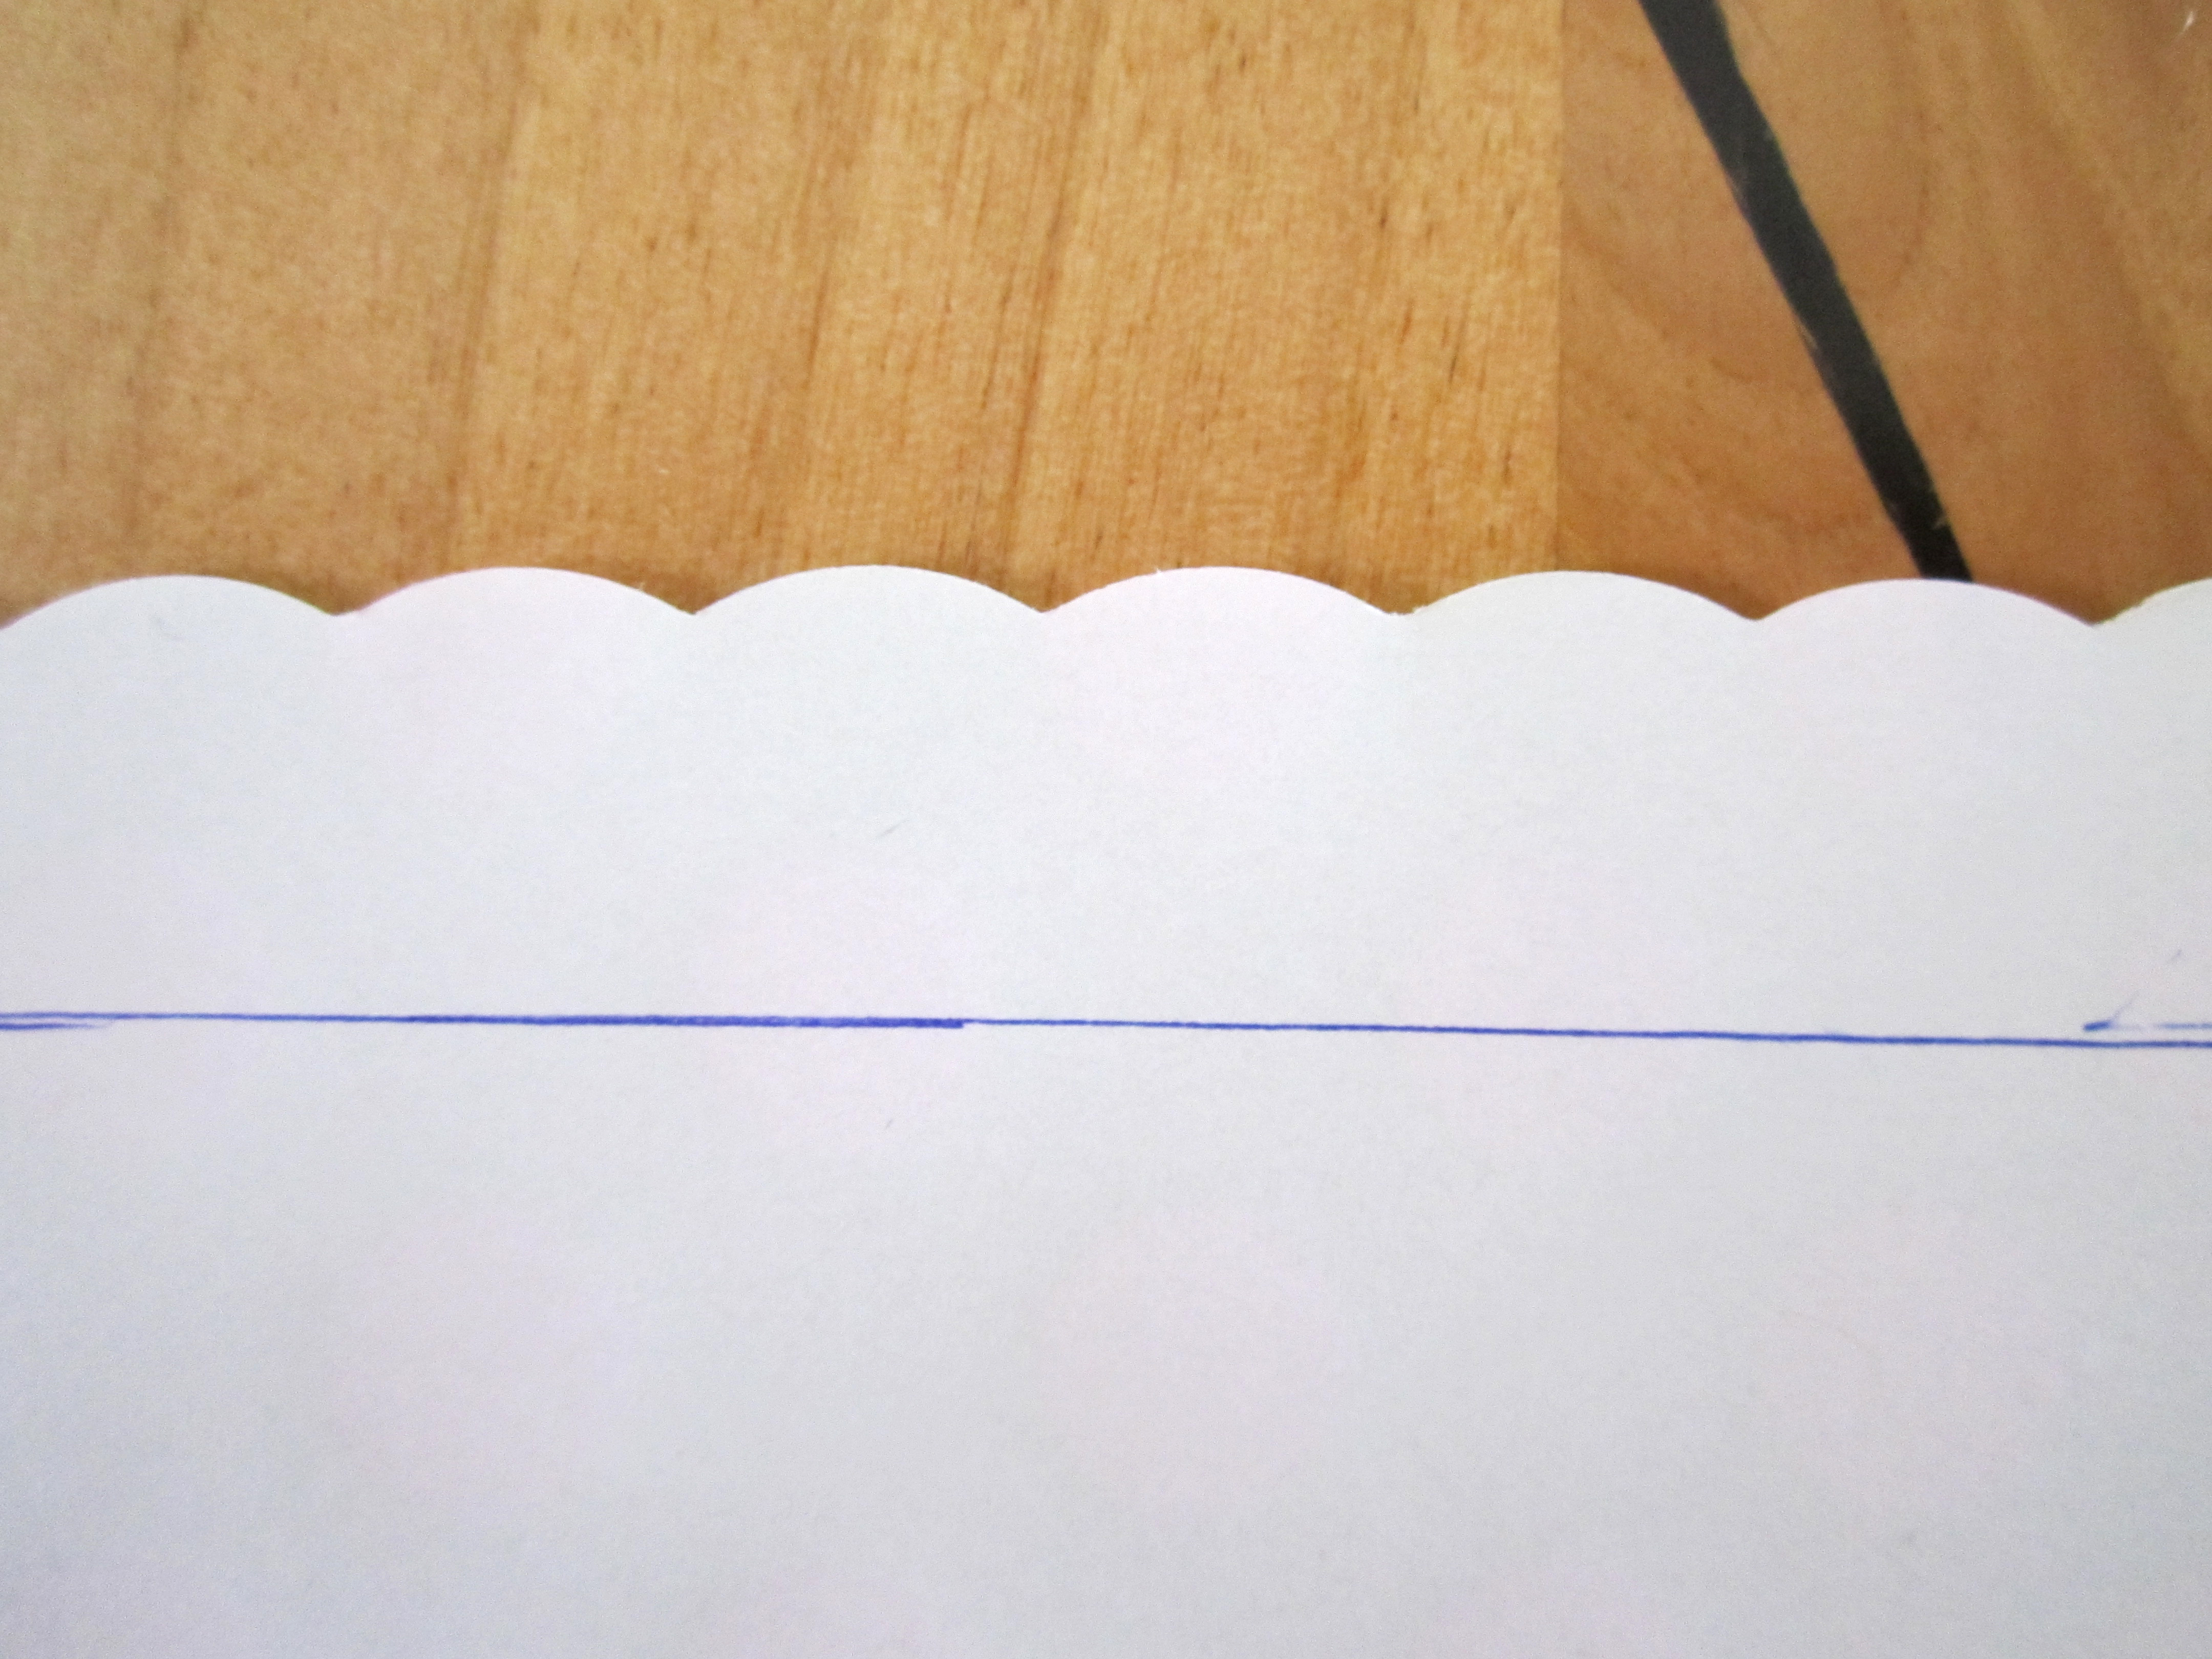
Step One: Line the top side of your box (it is now going to be the bottom side of your stand) on the edge of the paper and mark  how tall it is.
Continue drawing your line for the length of paper you will need to wrap around the box.
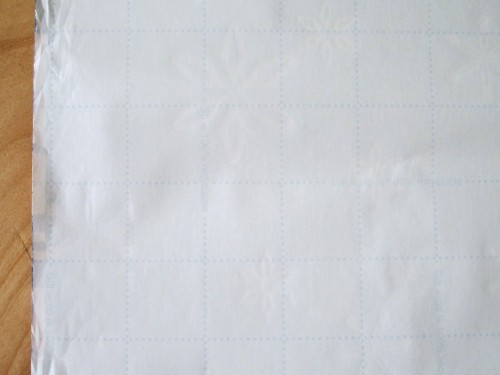
Tip: Some styles of wrapping paper now have grids on the back (mine didn't) which makes it super easy for cutting straight lines.
Step Two: Take your decorative edge scissors and cut about a half inch to an inch above your line to give it a little bit of a lip above the edge of where your box will be.
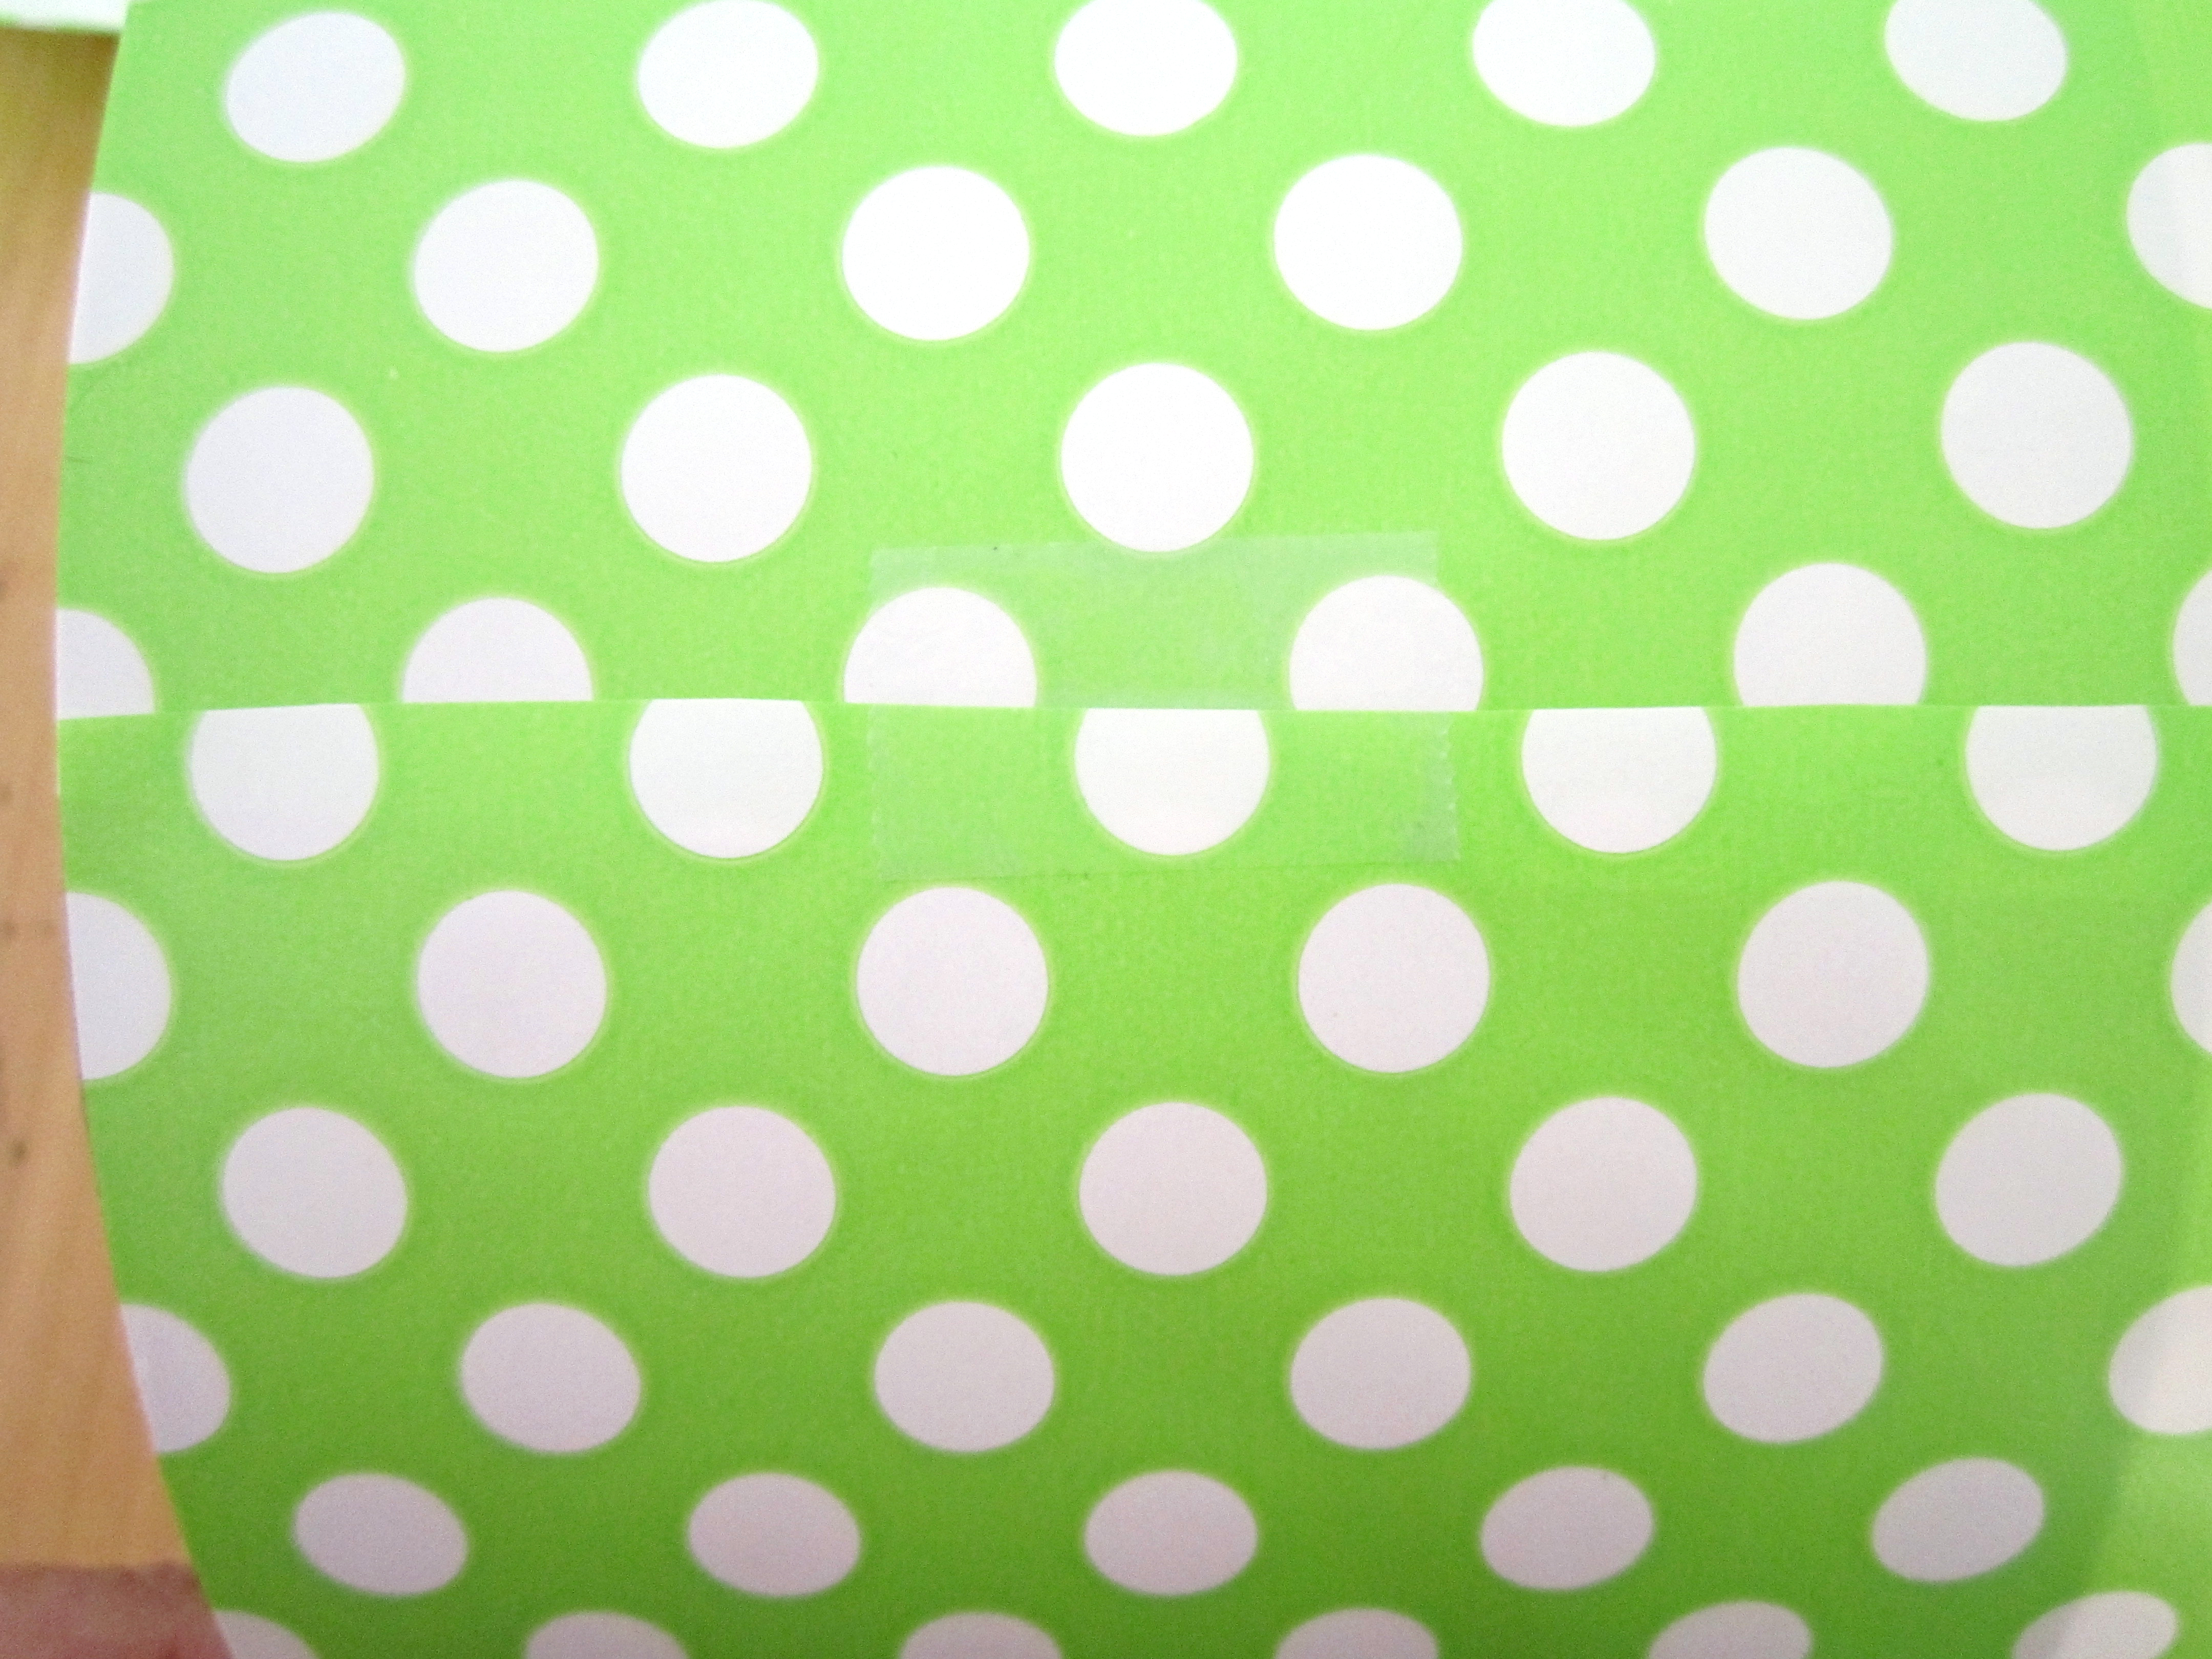
Step Three: Wrap your box. Remember to keep the open part of your box at the base of the paper. Tape one end of the paper to the box to hold in place. Then roll/wrap.
The other end should overlap just slightly to cover the whole thing and tape together.
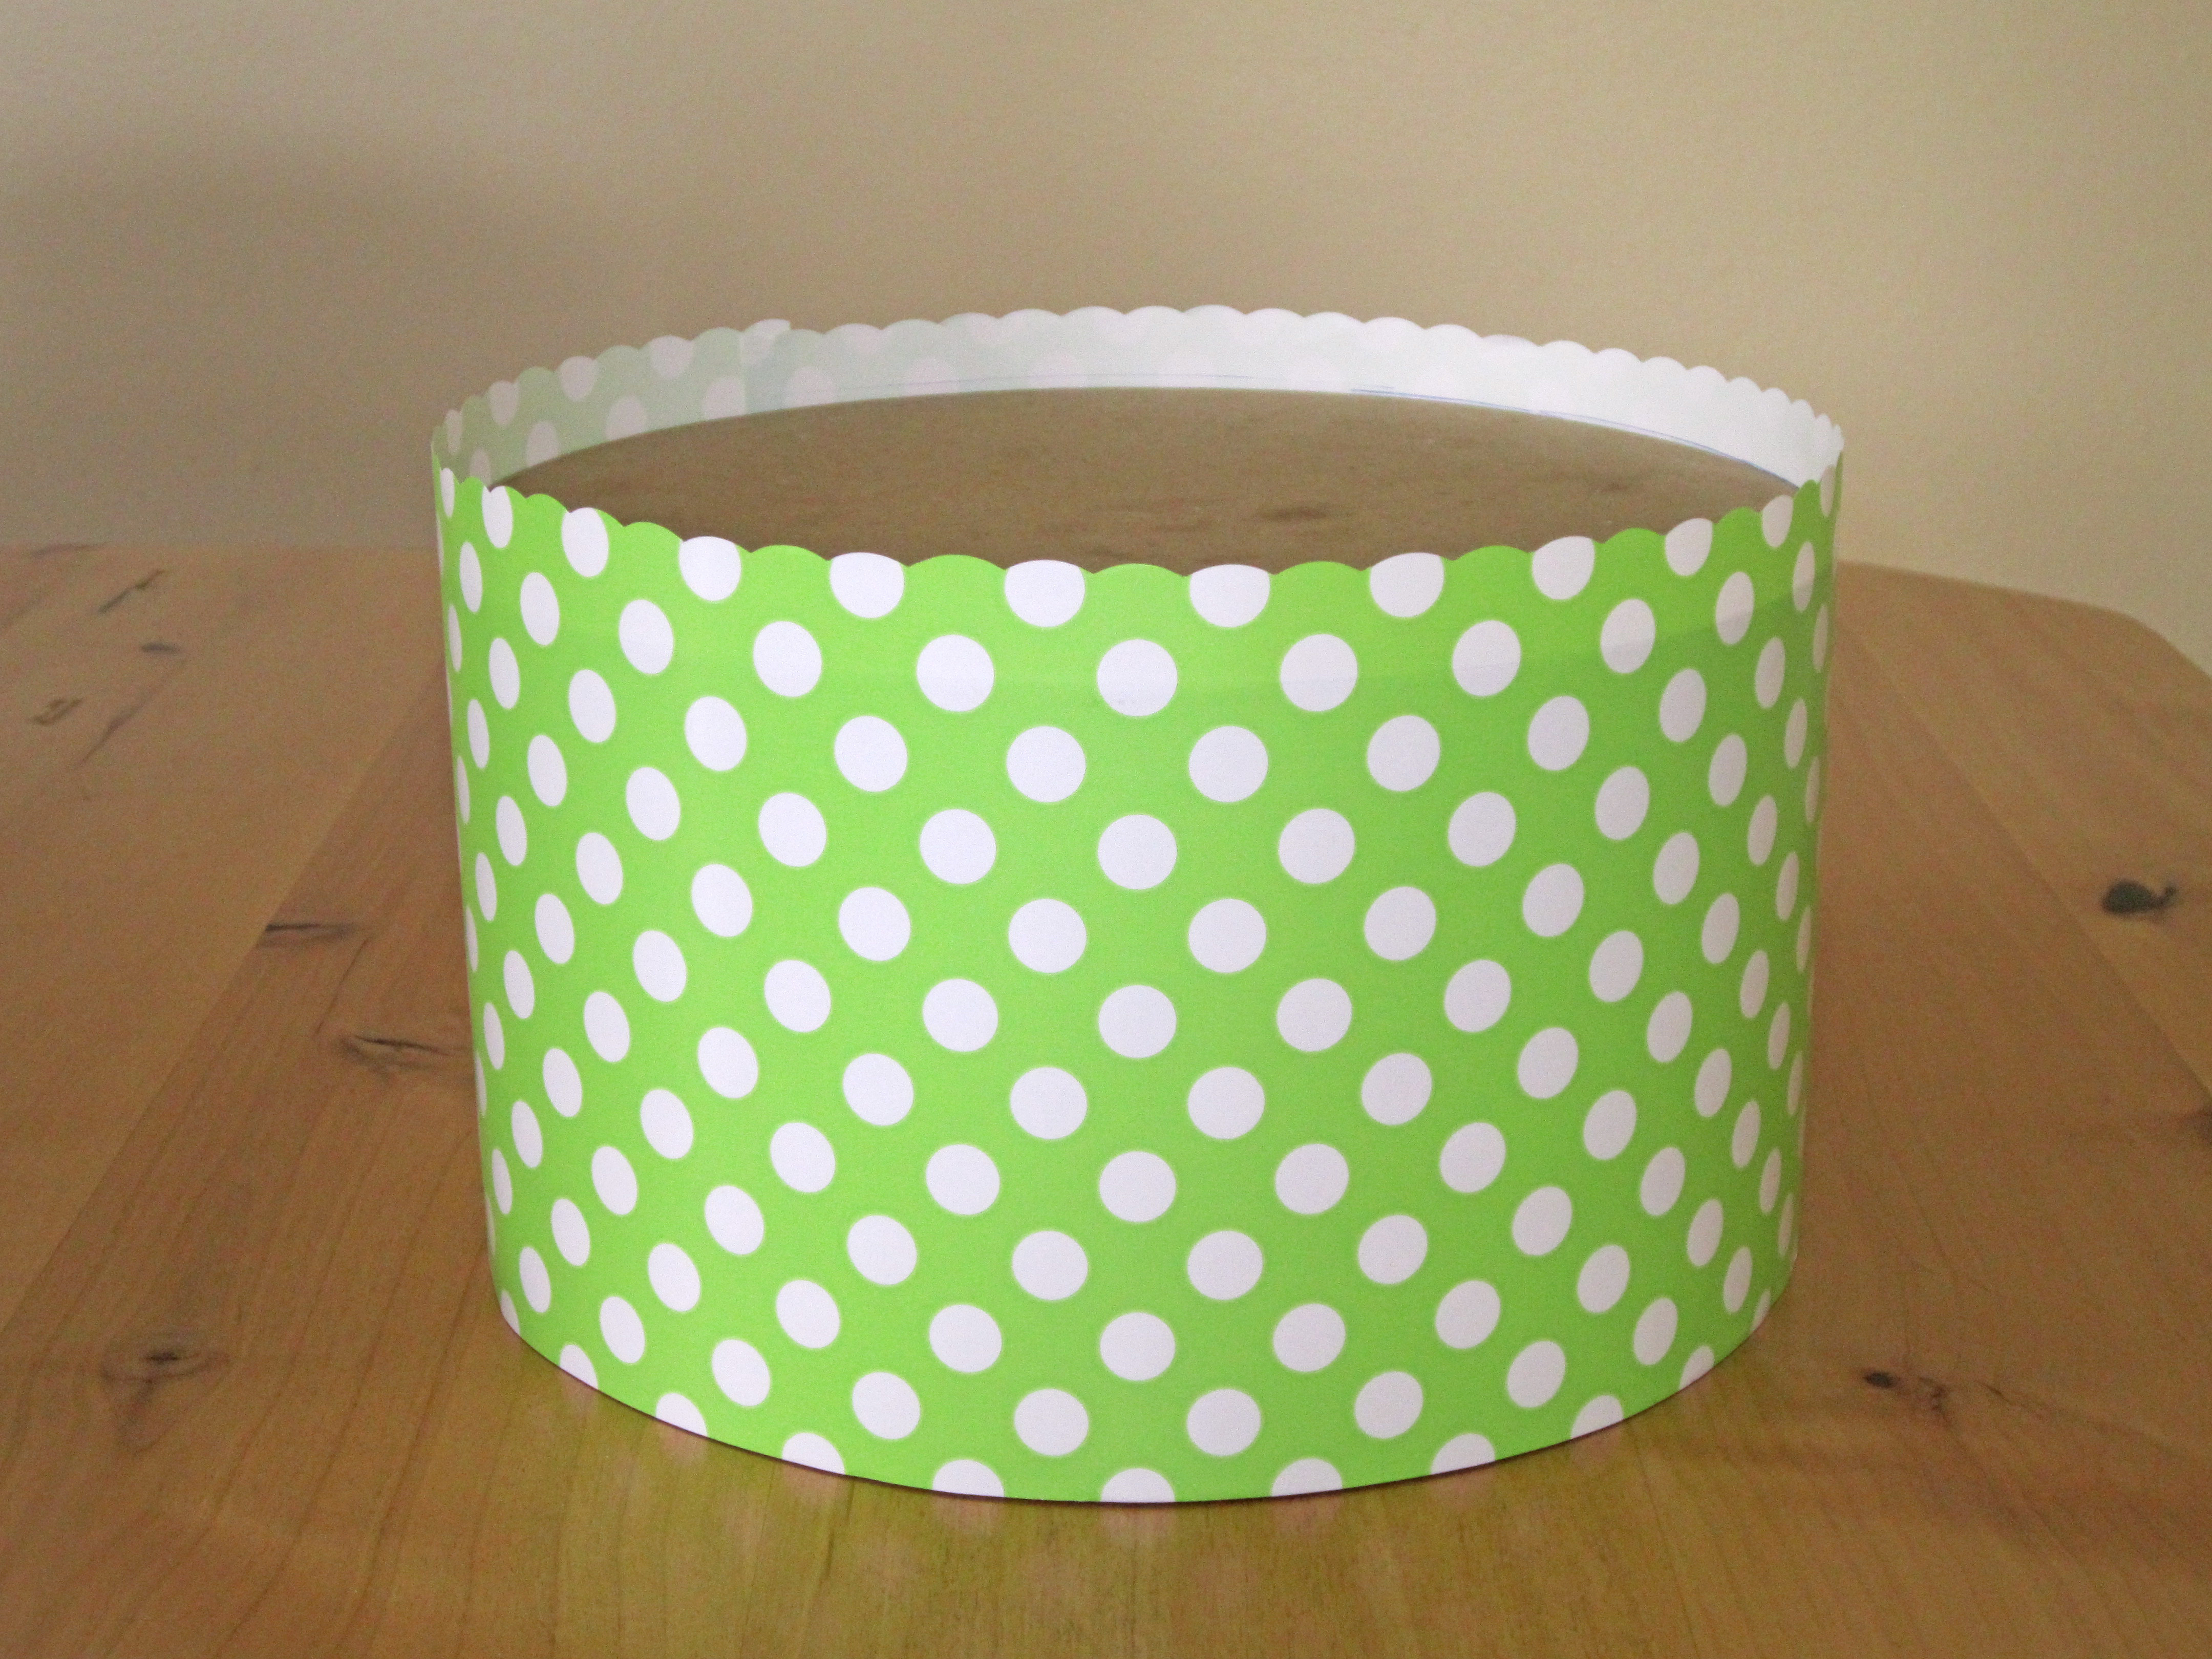
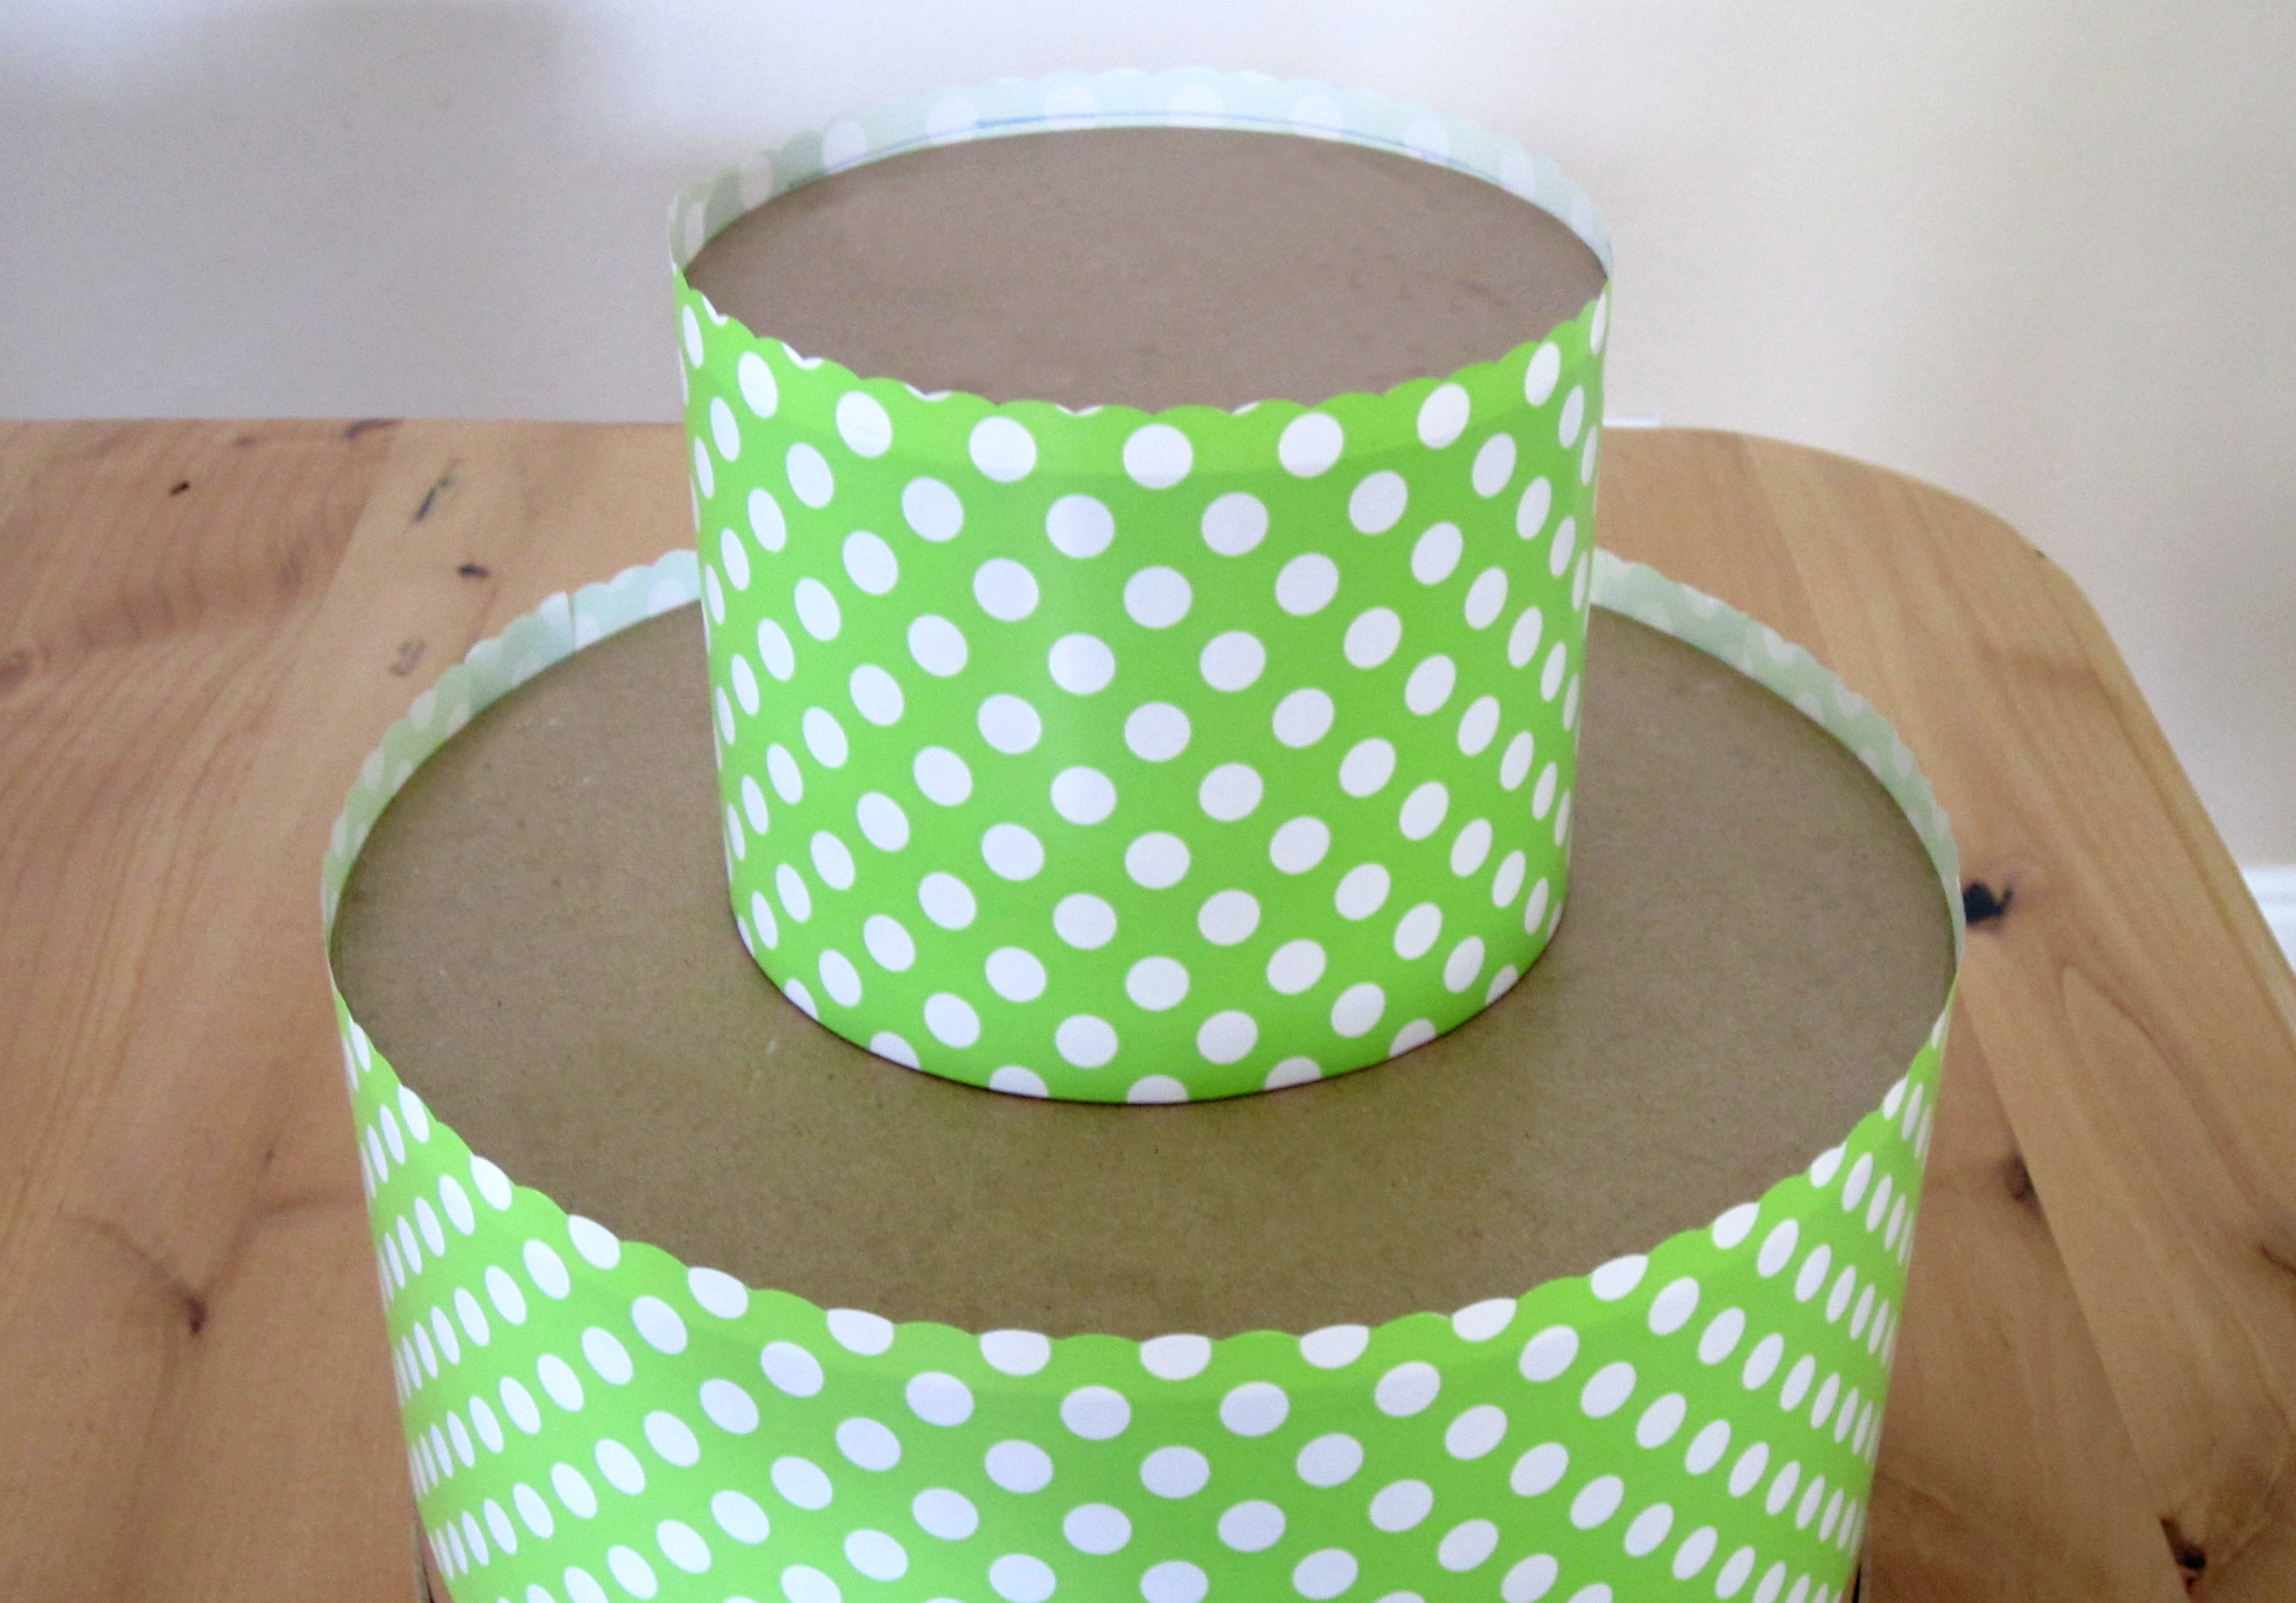
Step Four: Stand your box (open side down....) and you are done with one. Repeat and stack!
You can stack as many as you like to achieve the look you want. I went with a taller box for the base to give it some height, and then a slightly shorter box on top to give it some variety.
Step Five: Fill with cupcakes!
Tip: For standard size cupcakes, you will want a 4" difference in box sizes for each tier to fit cupcakes all the way around (ex: for a 3 tier cupcake stand:  bottom tier - 14" box, middle tier - 10" box, top tier - 6" box). For mini size cupcakes a 2" difference in box sizes for each tier will work.
Now that your stand is all filled with cupcakes you can take a step back and enjoy your hard work, and eat a cupcake!
Thanks for checking out our hat box cupcake tower tutorial. Another great thing about this is you can take the paper off and re-wrap for another theme, the versatility is really endless! Also be sure to check out other fun details from this baby shower that I styled filled with DIY projects and more tips on uses with wrapping paper for parties on my here! Thanks again and please feel free to comment or share!

Wednesday, April 18, 2012

DIY Candlestick Jars

Some of you may know that I am one of the new contributors over at A Blissful Nest! I will mainly be focusing on party/entertaining crafts and tutorials.I have been brainstorming lots of fun things to share with you to help inspire your own exciting parties and events. Today I am finally going to share with you this fun and easy tutorial to create your own candlestick apothecary jars that I made for my Easter Peeps Party found here.
Materials:Candlesticks (various sizes) – The Wood Connection (Utah), Hobby Lobby or wood/craft store
Wooden knobs – The Wood Connection (Utah), Hobby Lobby or craft store
Glass containers – Hobby Lobby
Wooden plaques – Hobby Lobby
Gorilla glue – any craft store
Paint and brushes – craft stores
I was able to get most of the supplies on sale and the total cost was under $15!
Step One: Gorilla Glue your candlesticks to wood plaques, and wood knobs to lids.I wanted to add a little more texture to the lids, so as I was browsing Hobby Lobby and found these little wood painted Earth’s and figured they would work since I was just going to paint over them.
Step Two: PAINT! Mine took a couple coats since it was a lighter color.
Step Three: When your paint is dry, pipe a ring of Gorilla glue around the top of your candlesticks and center base of jars onto them. Hold firmly into place for a few minutes while the glue sets.
Step Four: Once glue has fully dried, screw on lids to enjoy the finished product!
I just love them!
Step Five: Fill jars... I filled mine with jelly beans, M&M's, and Robin Eggs for Easter.

You can fill your jars with pretty much anything your heart desires! Fancy them up with bows too. They are great for entertaining or home decor! You can paint them any color to match your kitchen or home and leave them up all year. Fill them at each holiday with special treats : Valentines Day – conversation hearts, Halloween – candy corn, and so on. I hope you all enjoyed this tutorial and please feel free to comment or share! Also be sure to check back at A Blissful Nest soon for more great tips, parties, and giveaways!

Thursday, April 5, 2012

DIY Peeps Activities

Here are just a few ideas for Peep themed things you can do and create for your own party...
Painting with my Peeps I got my peeps pre-cut, but if you have a scroll saw you can totally cut them out yourself. Here is a template you can use (same one for the bunting tutorial). If not take the template in to a local wood crafting shop and see what they can do, it is usually pretty inexpensive. We used sponge brushes to paint, and jewel stickers for the eyes. They turned out really cute, and the kids had so much fun painting.
Peeps T-shirts All you need for this project is some plain shirts, your own printer, Fabric Transfer Sheets (got mine at walmart), iron, and your image. I found these free peeps images online here, but be sure to reverse the image when you print them so they will be facing the right direction when you iron them on! Then you just follow the directions in your transfer sheets, some vary. This project was so easy, you will just have to give it a try!

That is all my tips for this little party we had. I hope it has helped and inspired some of you and thanks again for checking us out! Hope you all have a great Easter holiday!