


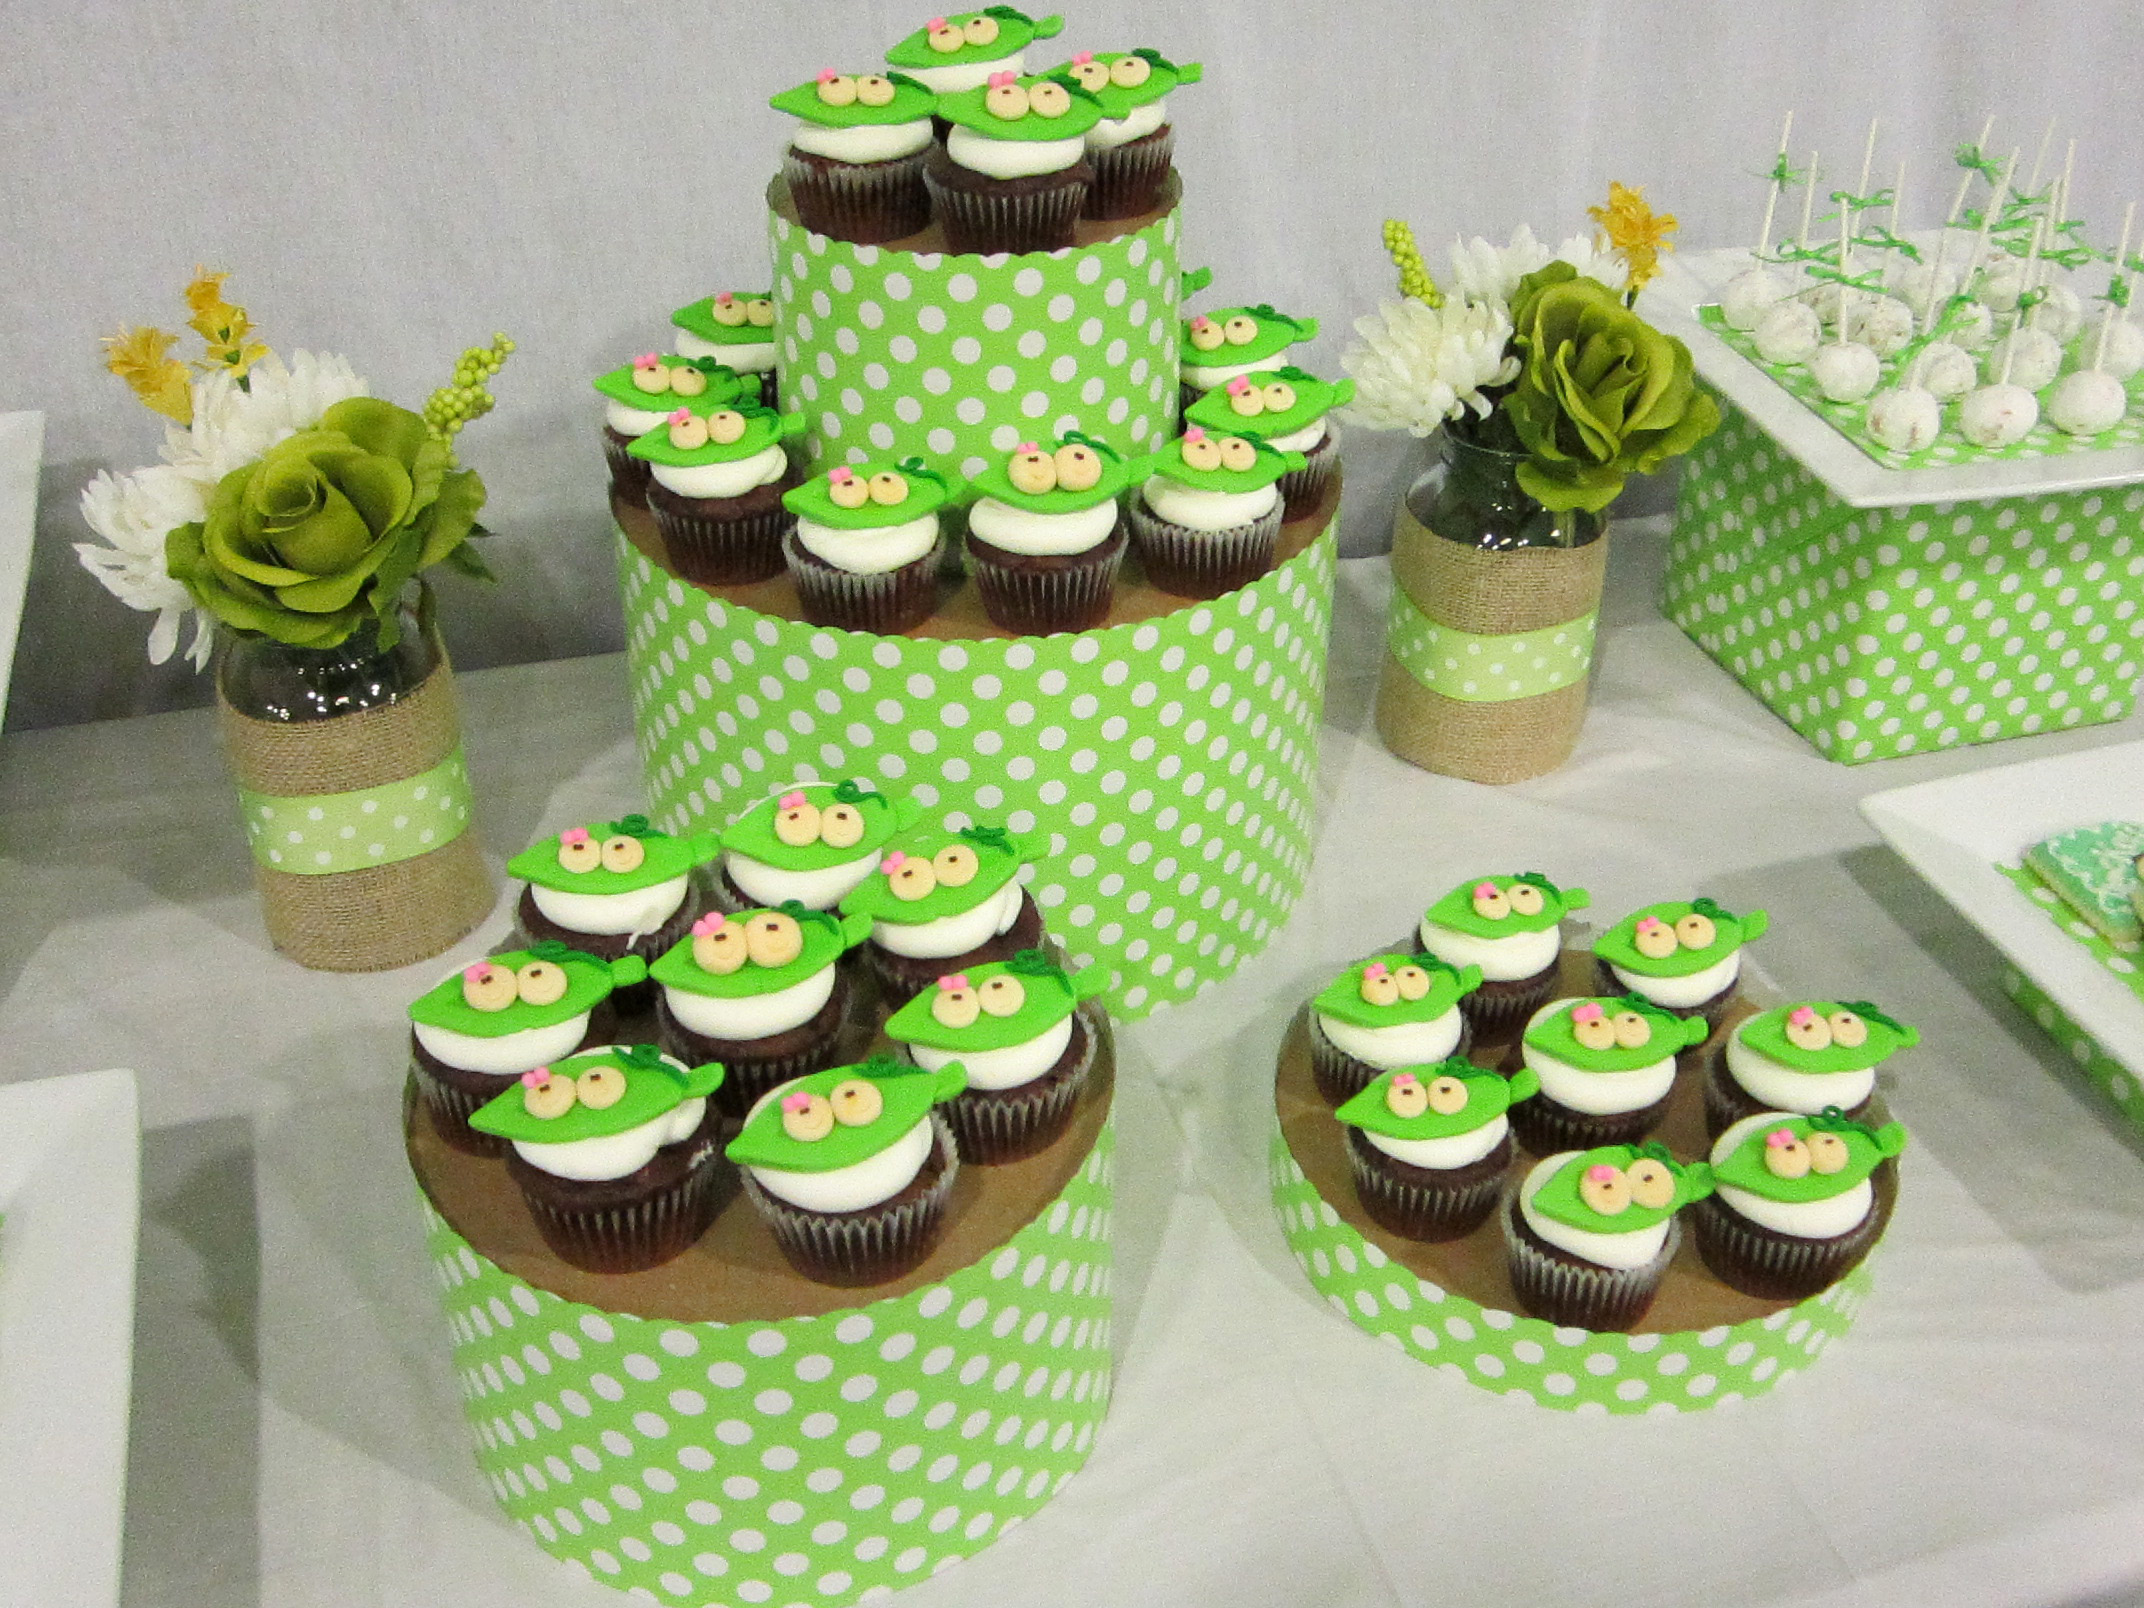
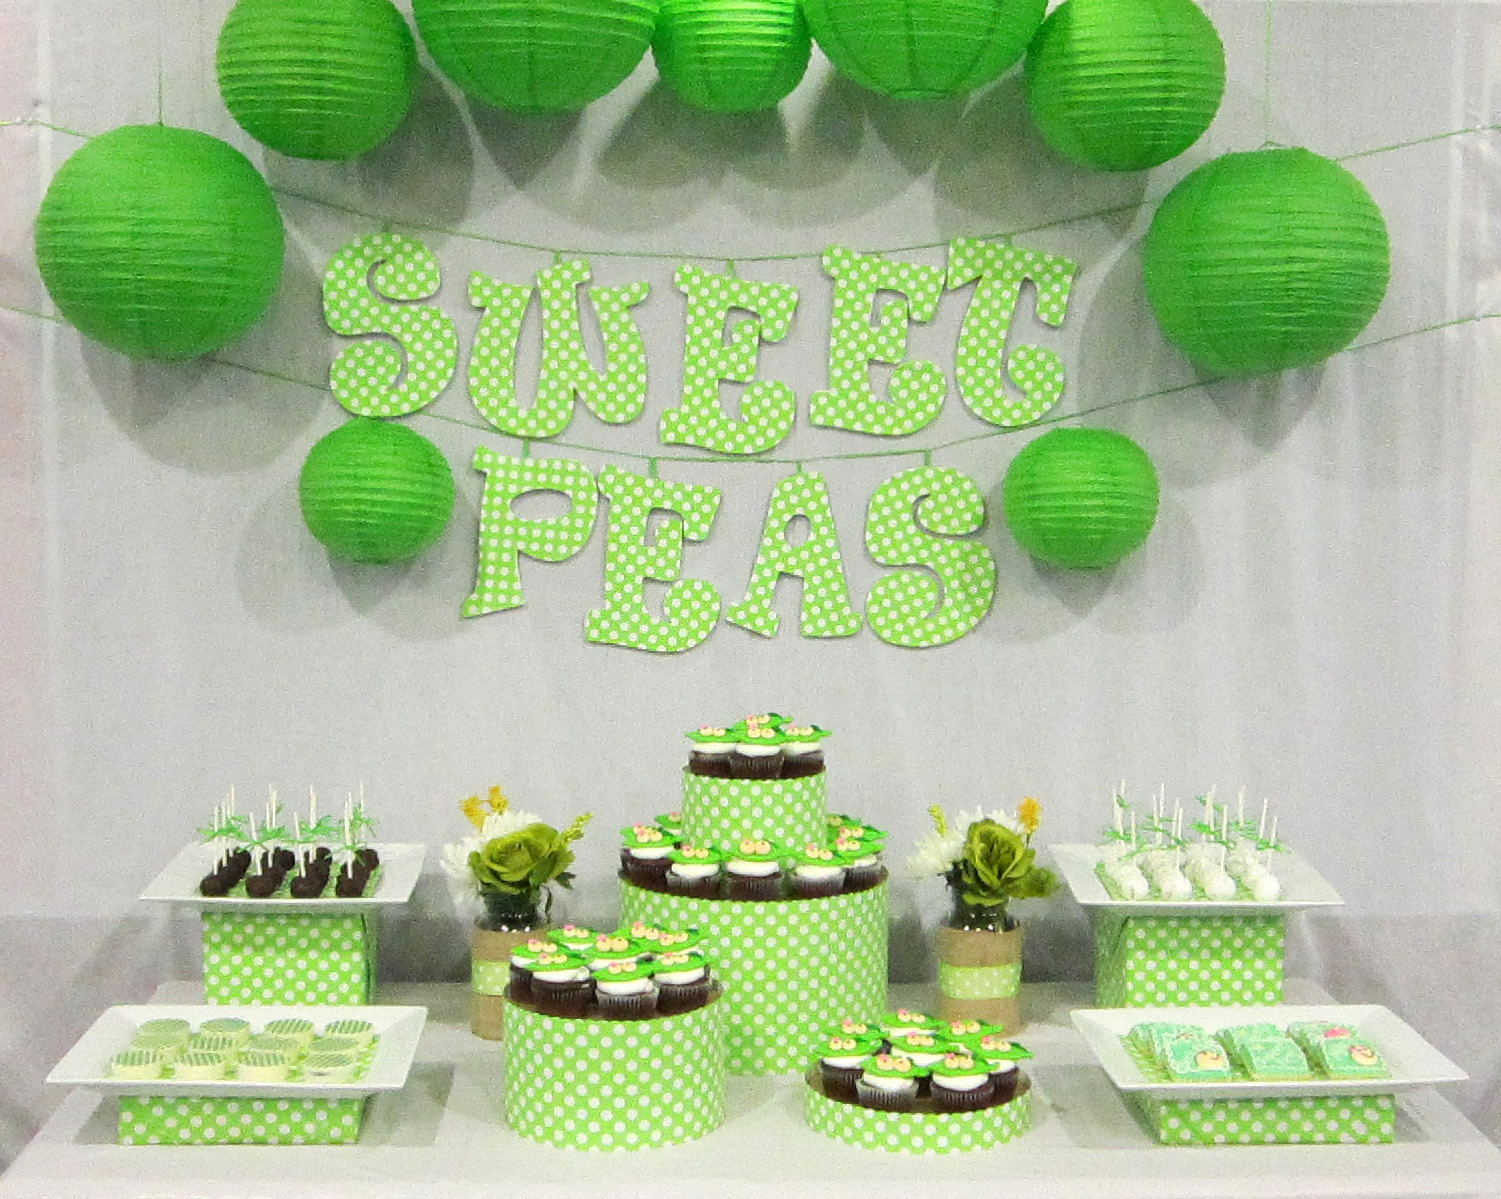
Today I wanted to share with you all my tutorial that shows you how to make these adorable and SUPER easy cupcake towers that you can customize to fit your party style.
Materials:

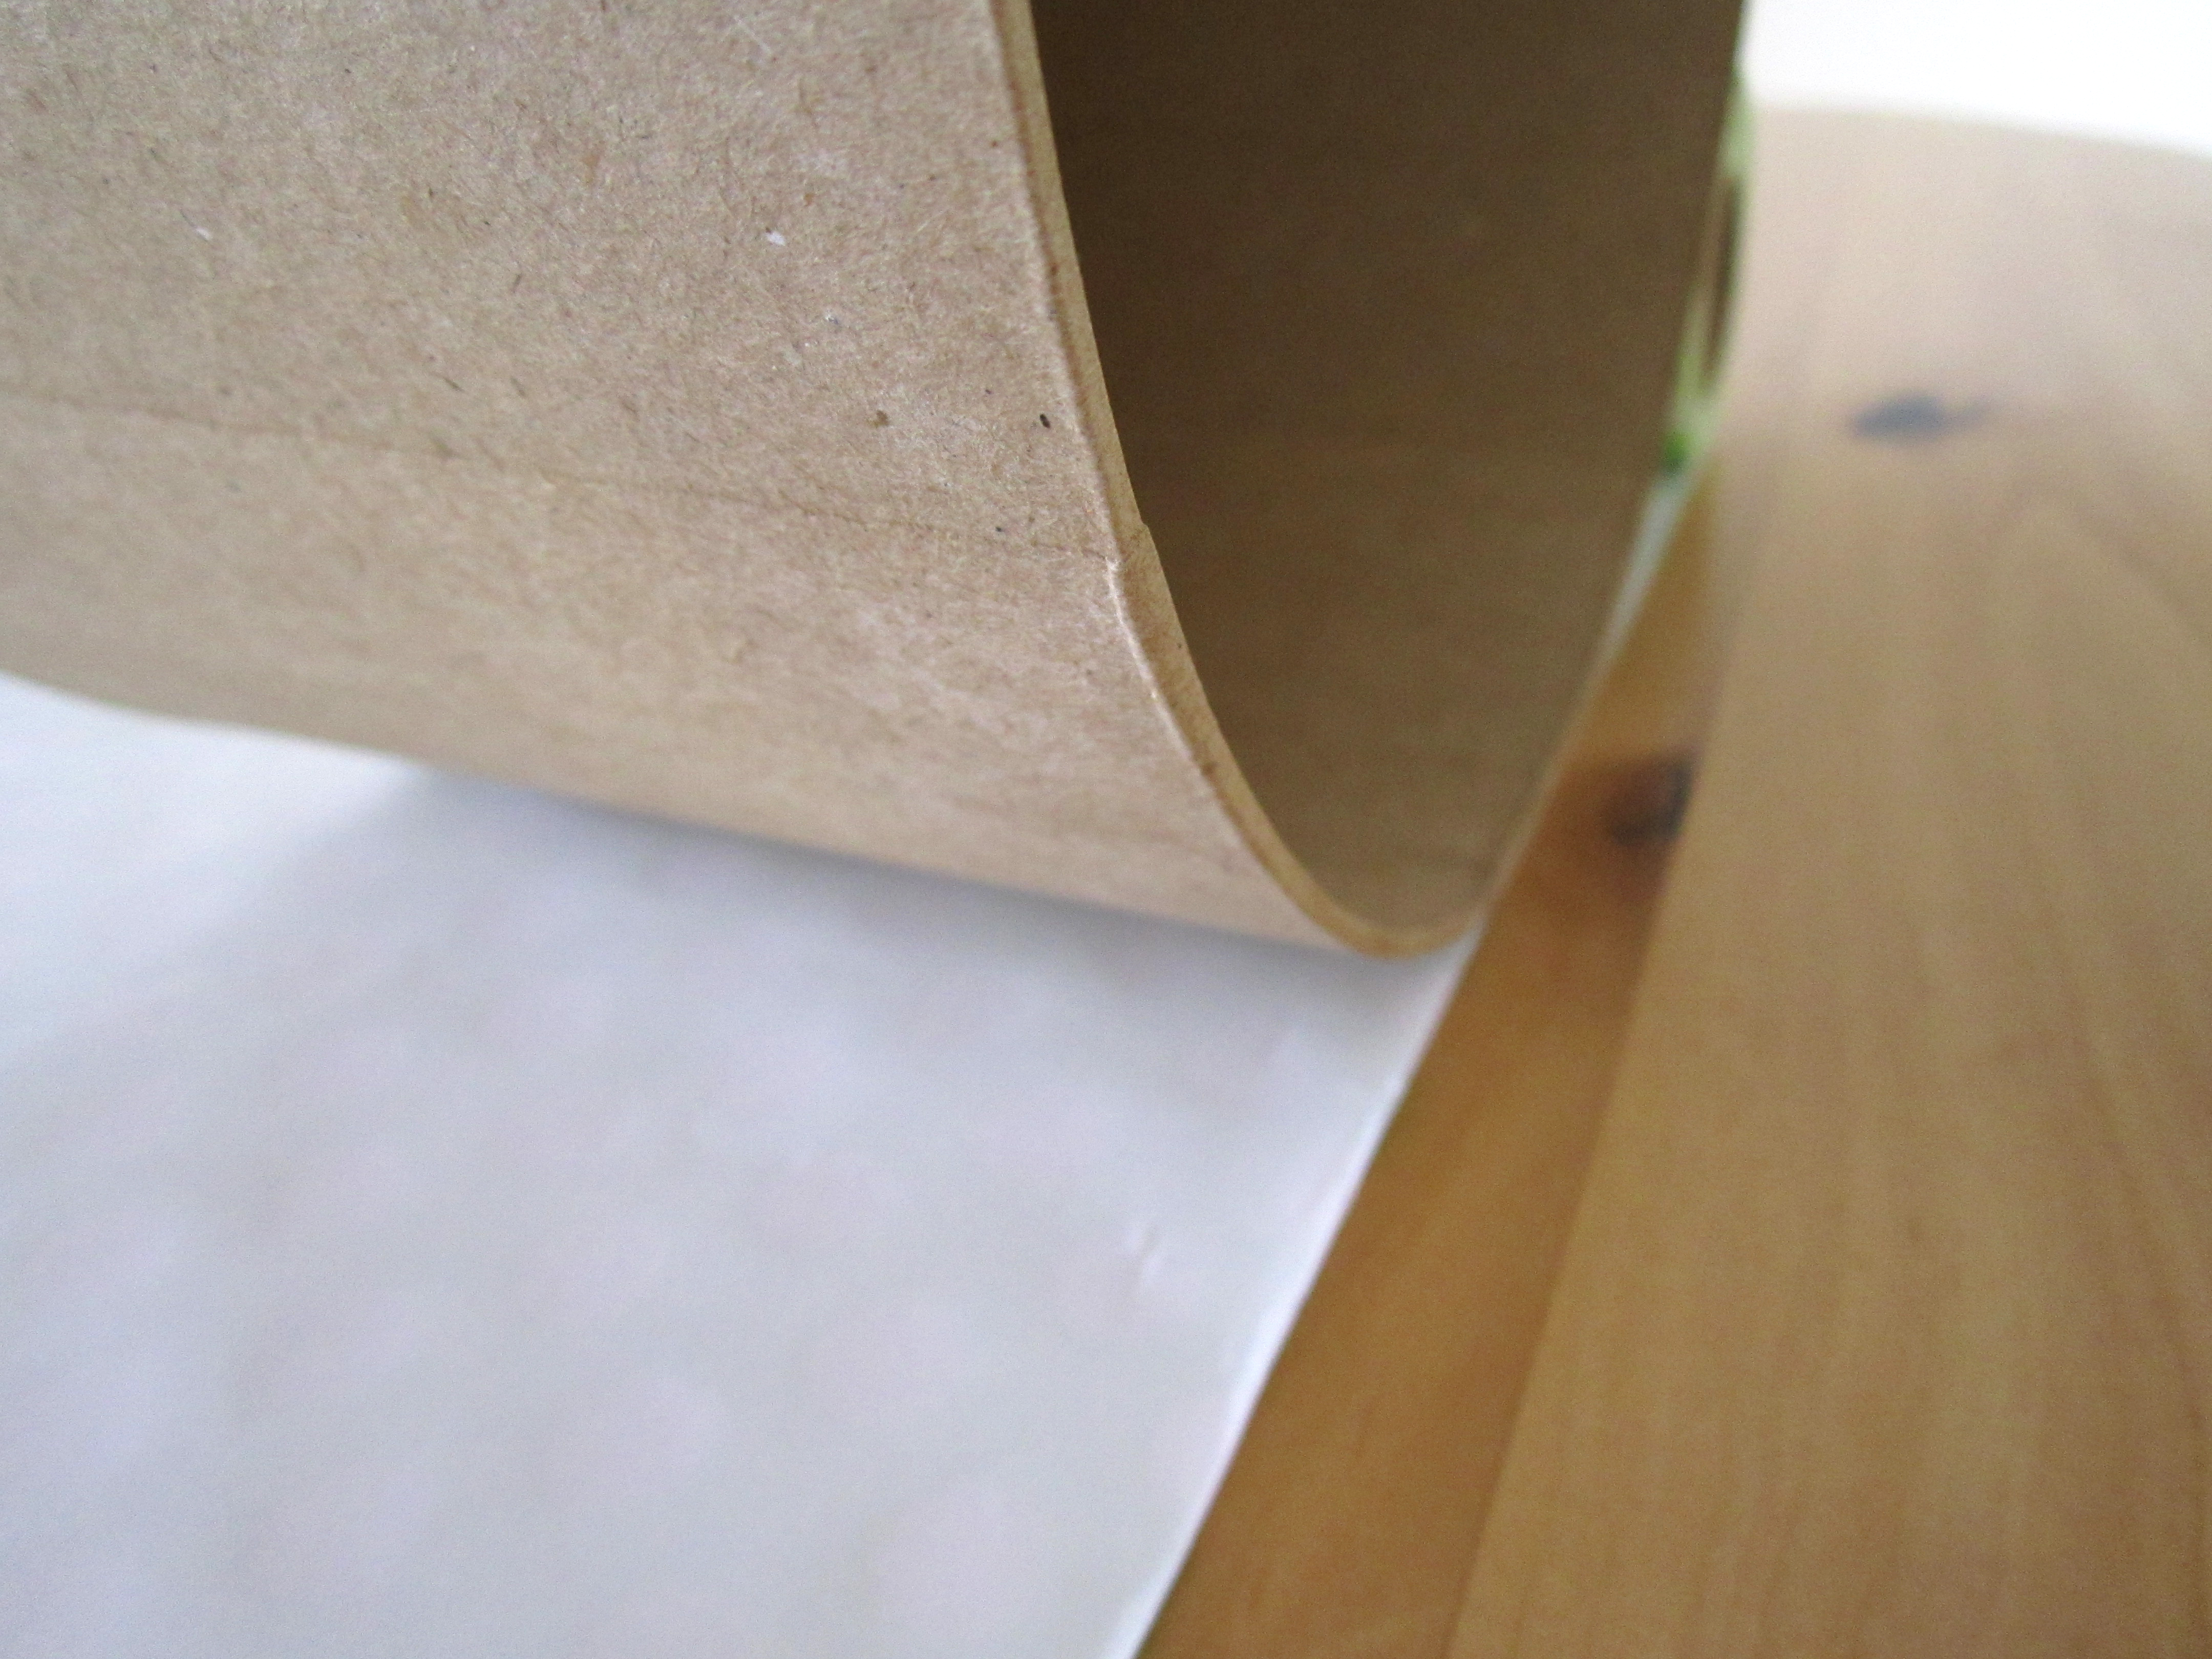
Hat Boxes (or any other sturdy and smooth cardboard box) - Michaels, Joann, Hobby Lobby, or most craft stores.
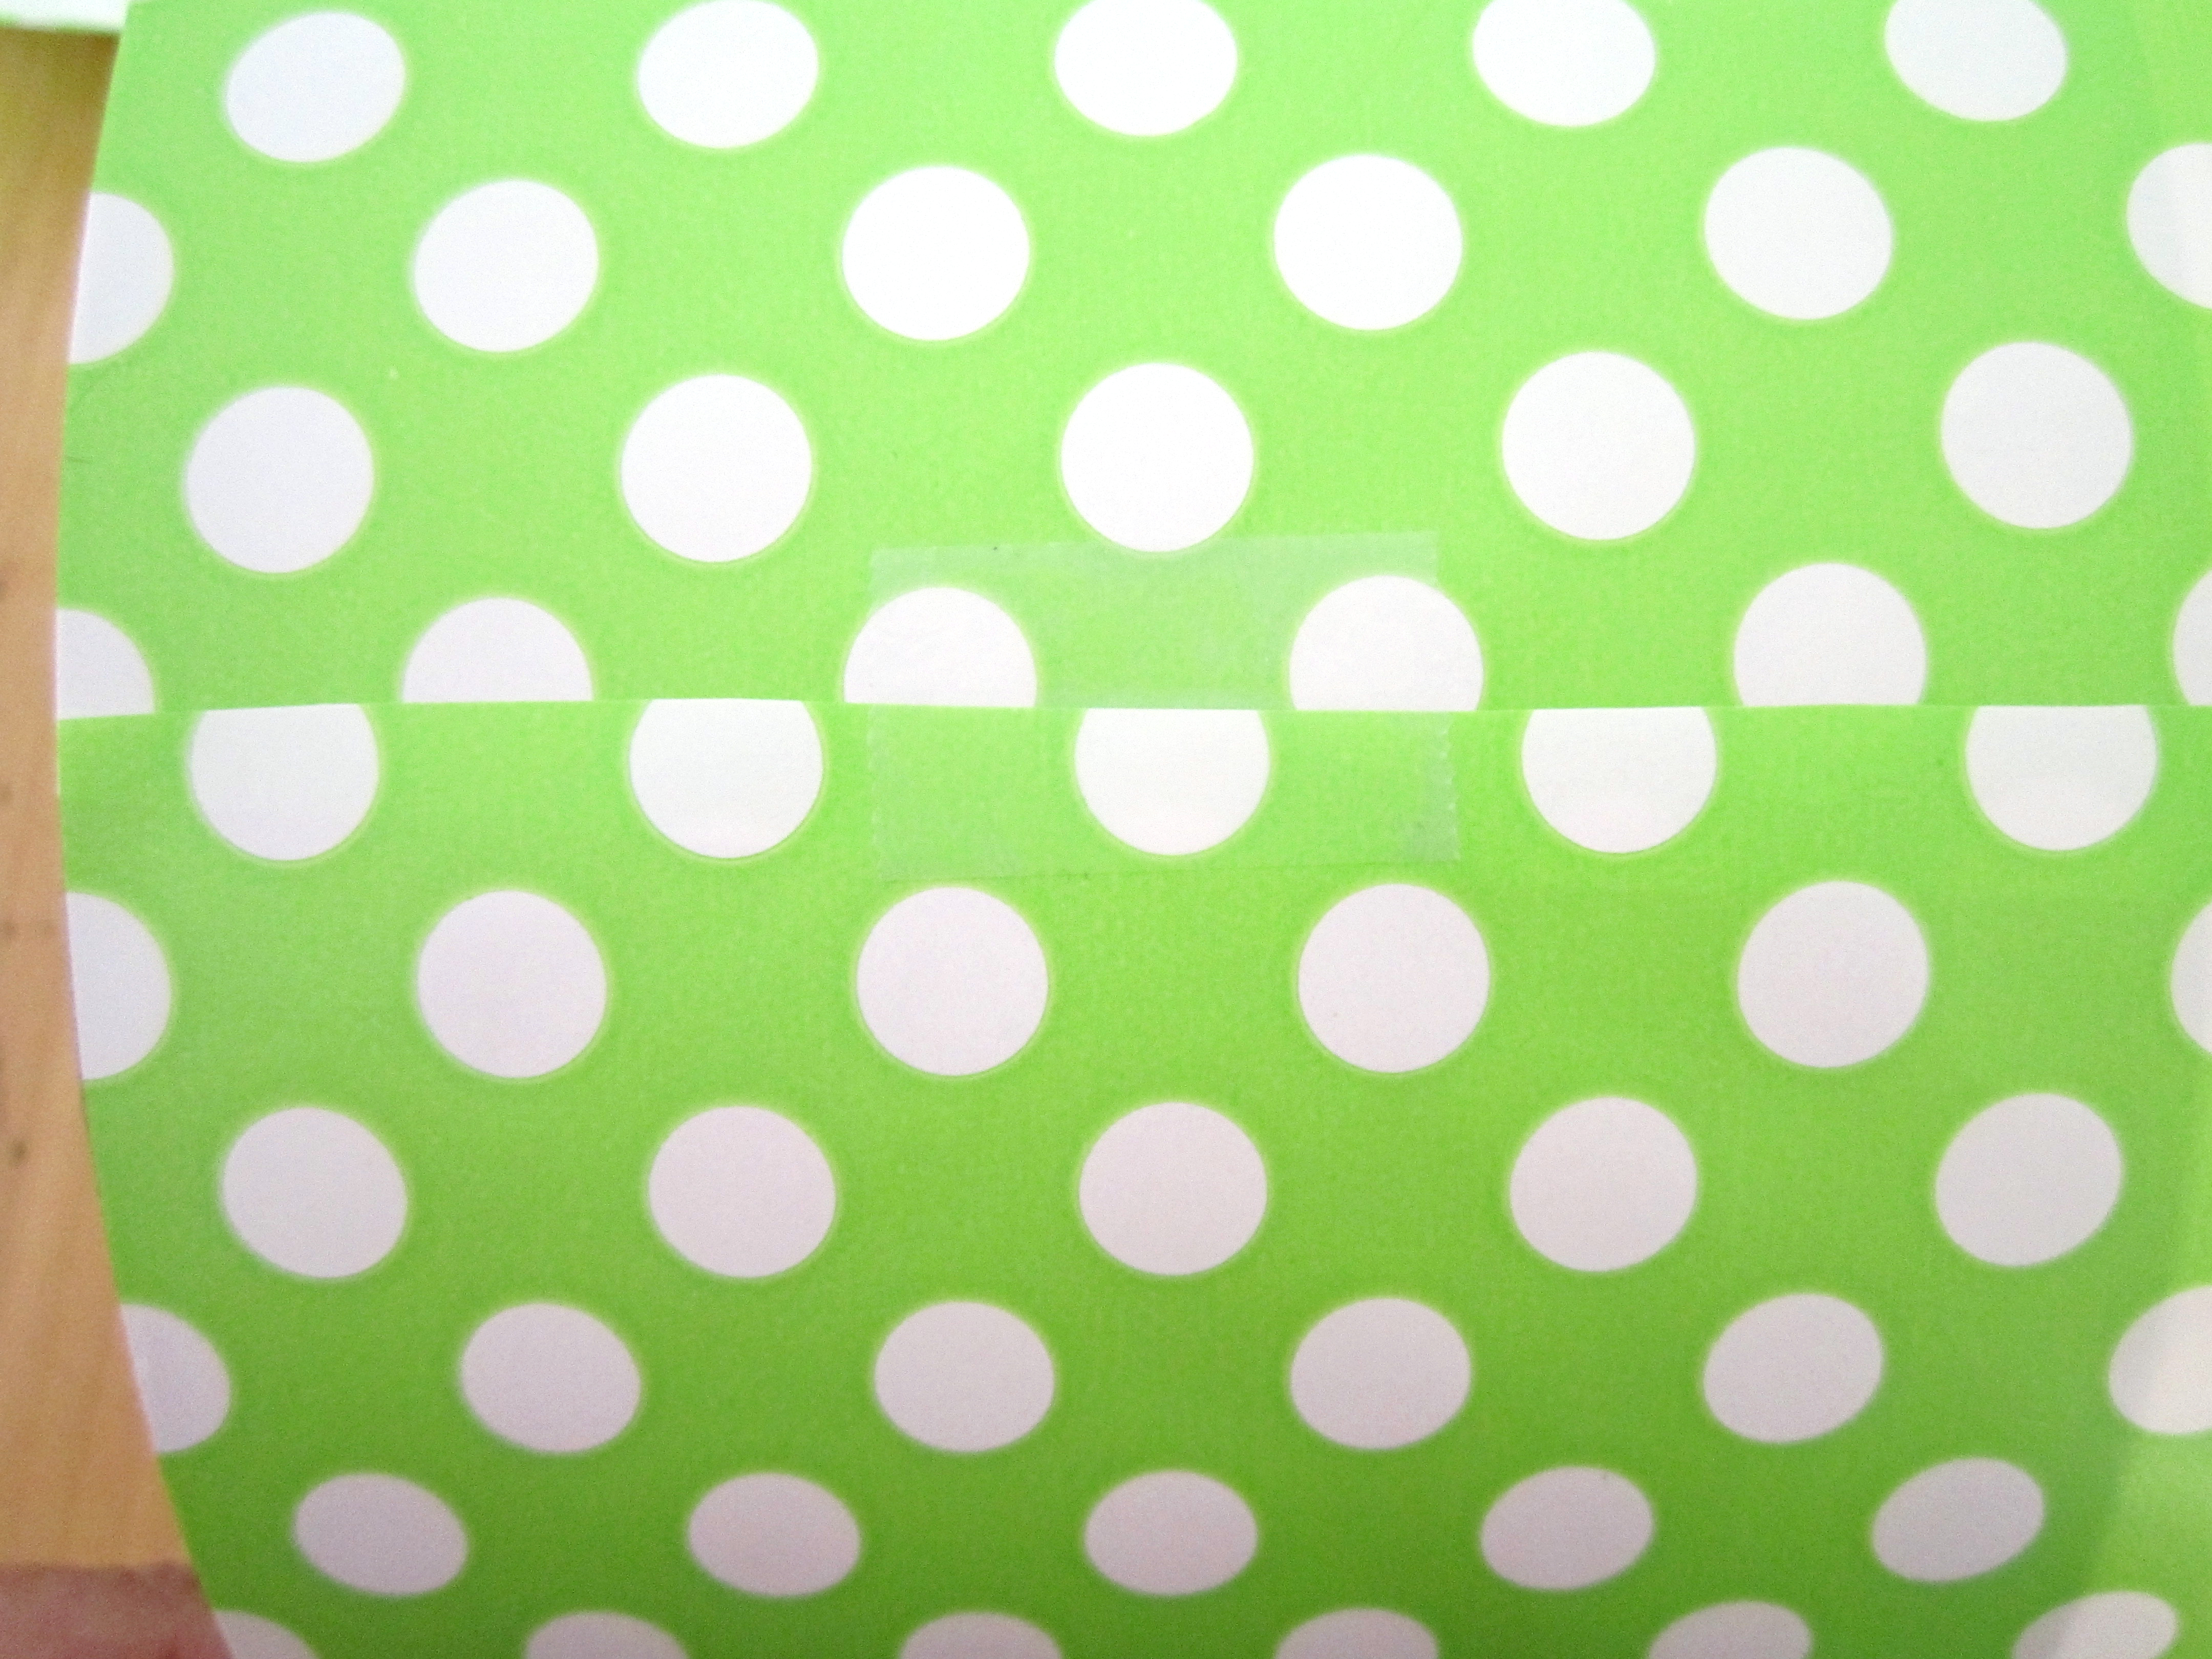
Decorative Paper to fit your design/style/theme
Decorative Edge Scissors
Tape
Tips: I found a jumbo roll of wrapping paper that matched our invites that we used and wrapping paper is usually pretty inexpensive. Also various box sizes are great to add height and variety.
Step One: Line the top side of your box (it is now going to be the bottom side of your stand) on the edge of the paper and mark how tall it is.
Continue drawing your line for the length of paper you will need to wrap around the box.
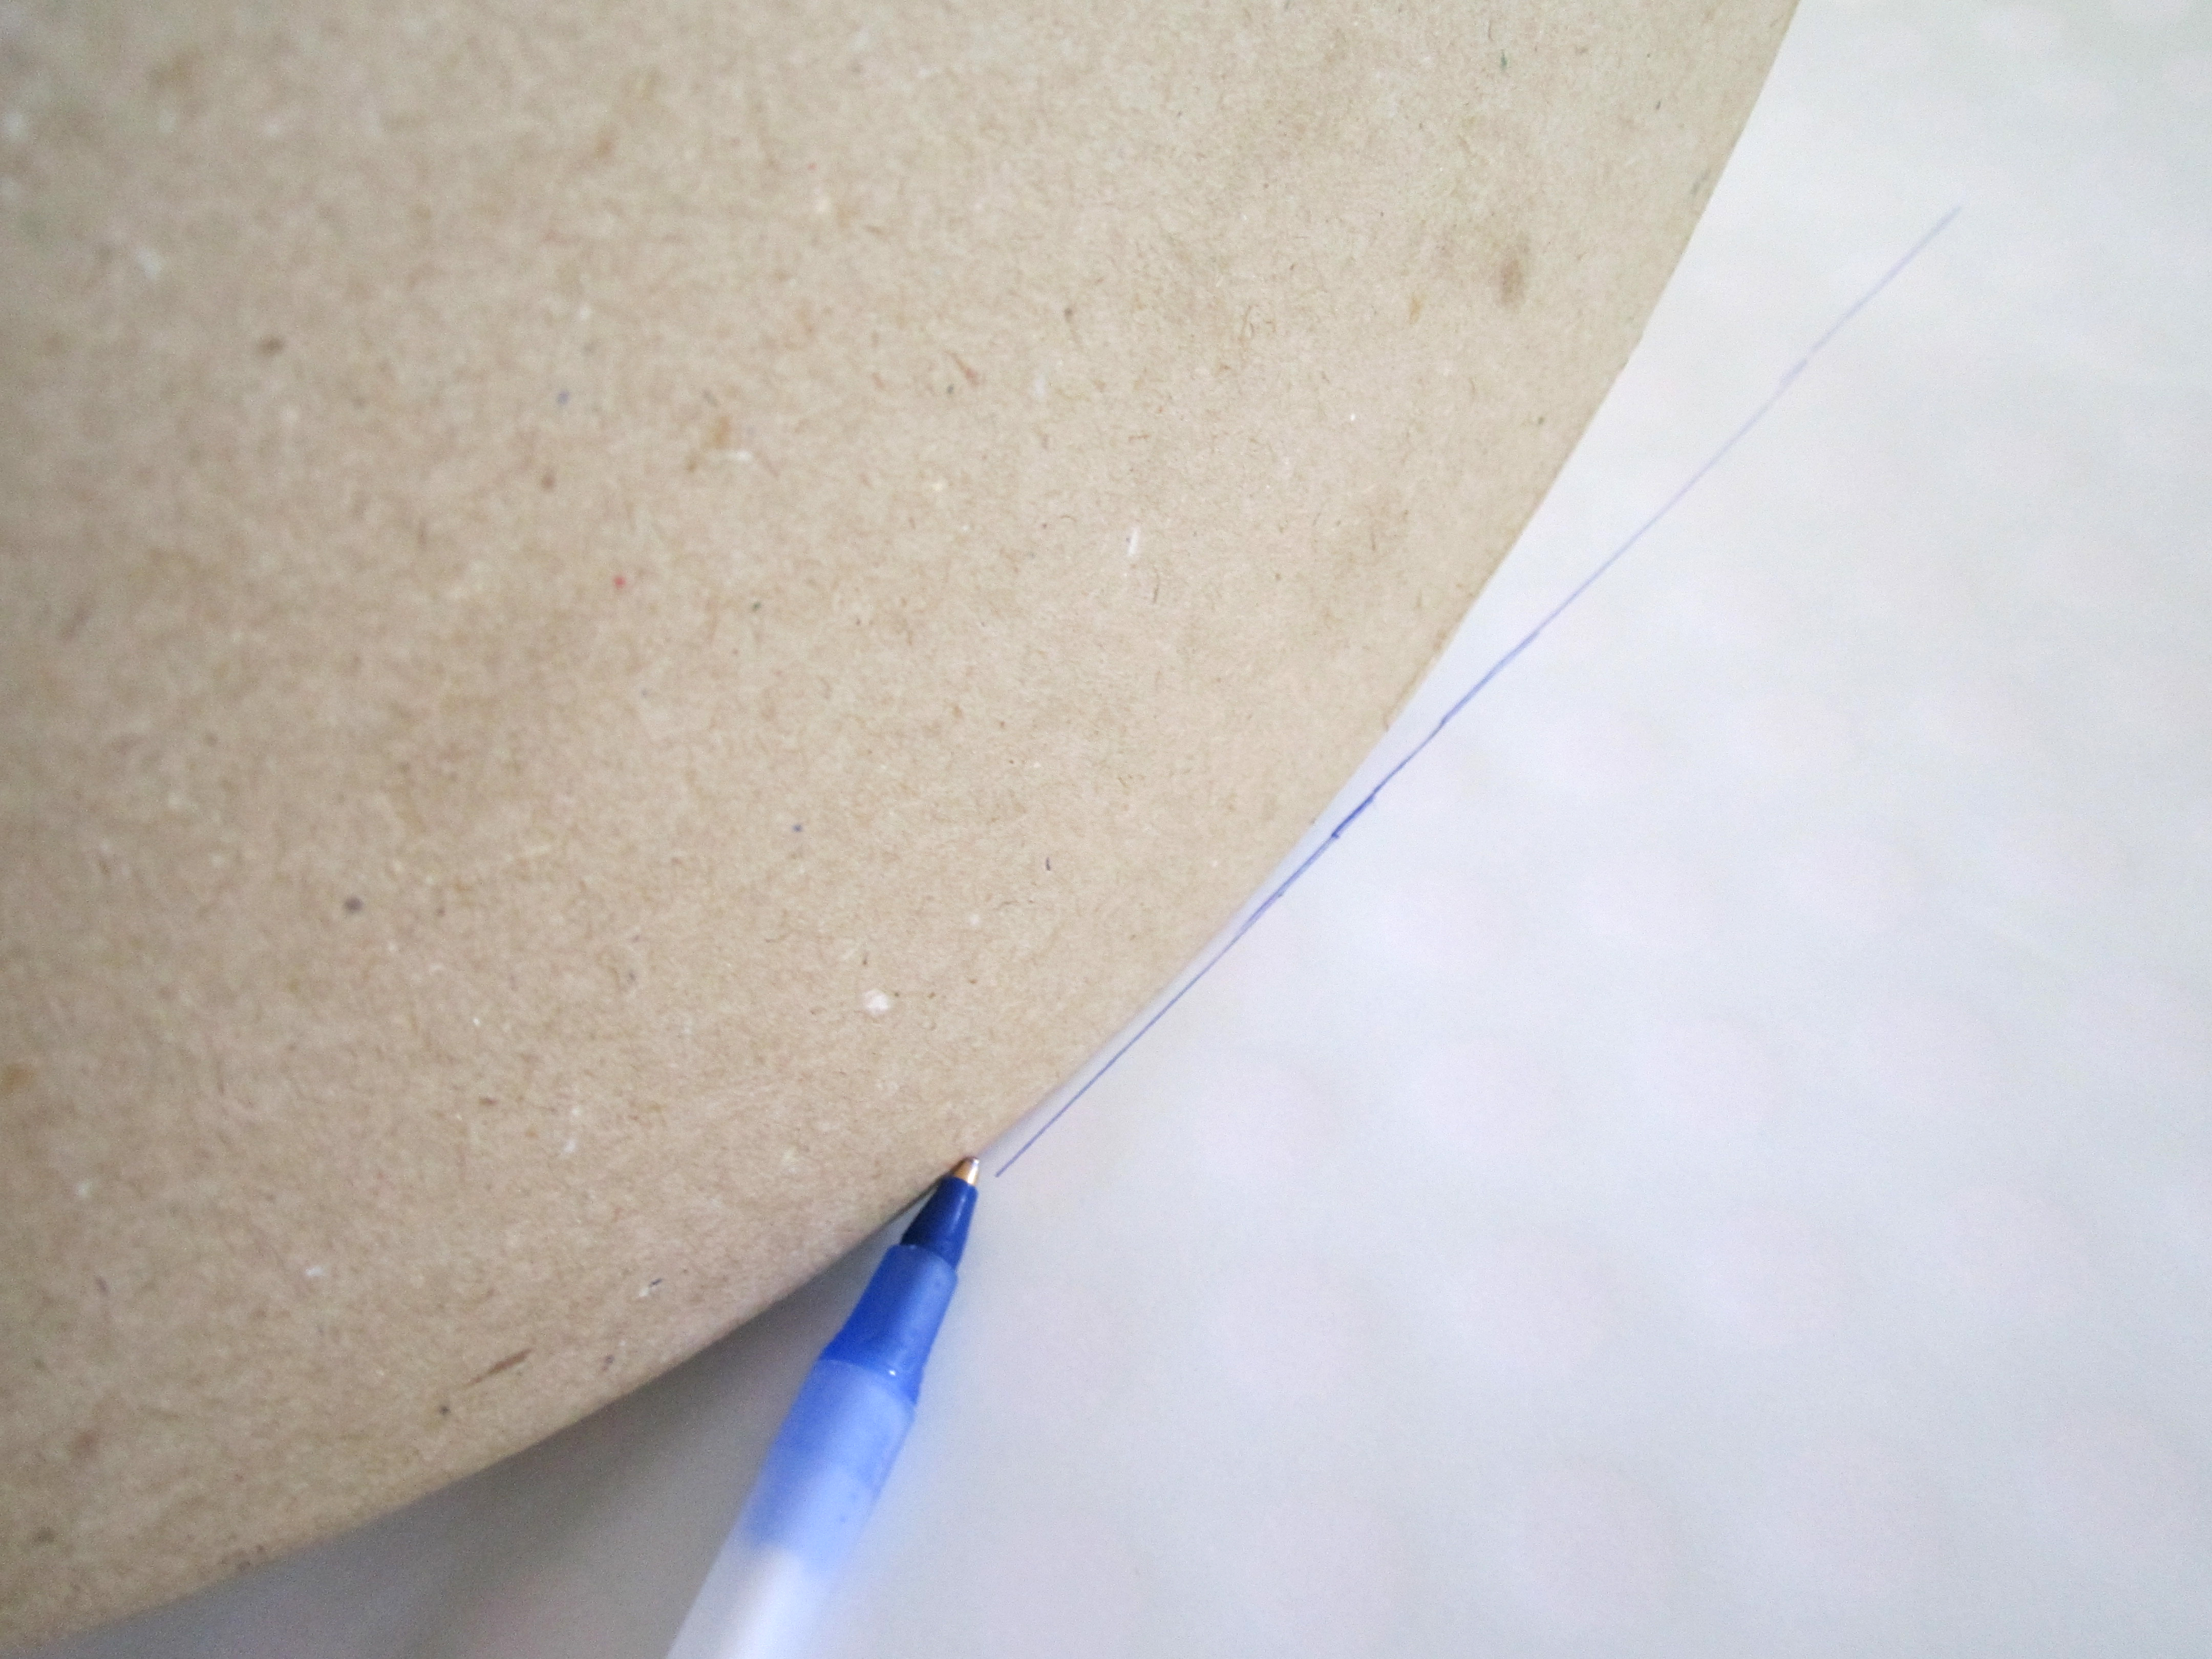
Tip: Some styles of wrapping paper now have grids on the back (mine didn't) which makes it super easy for cutting straight lines.

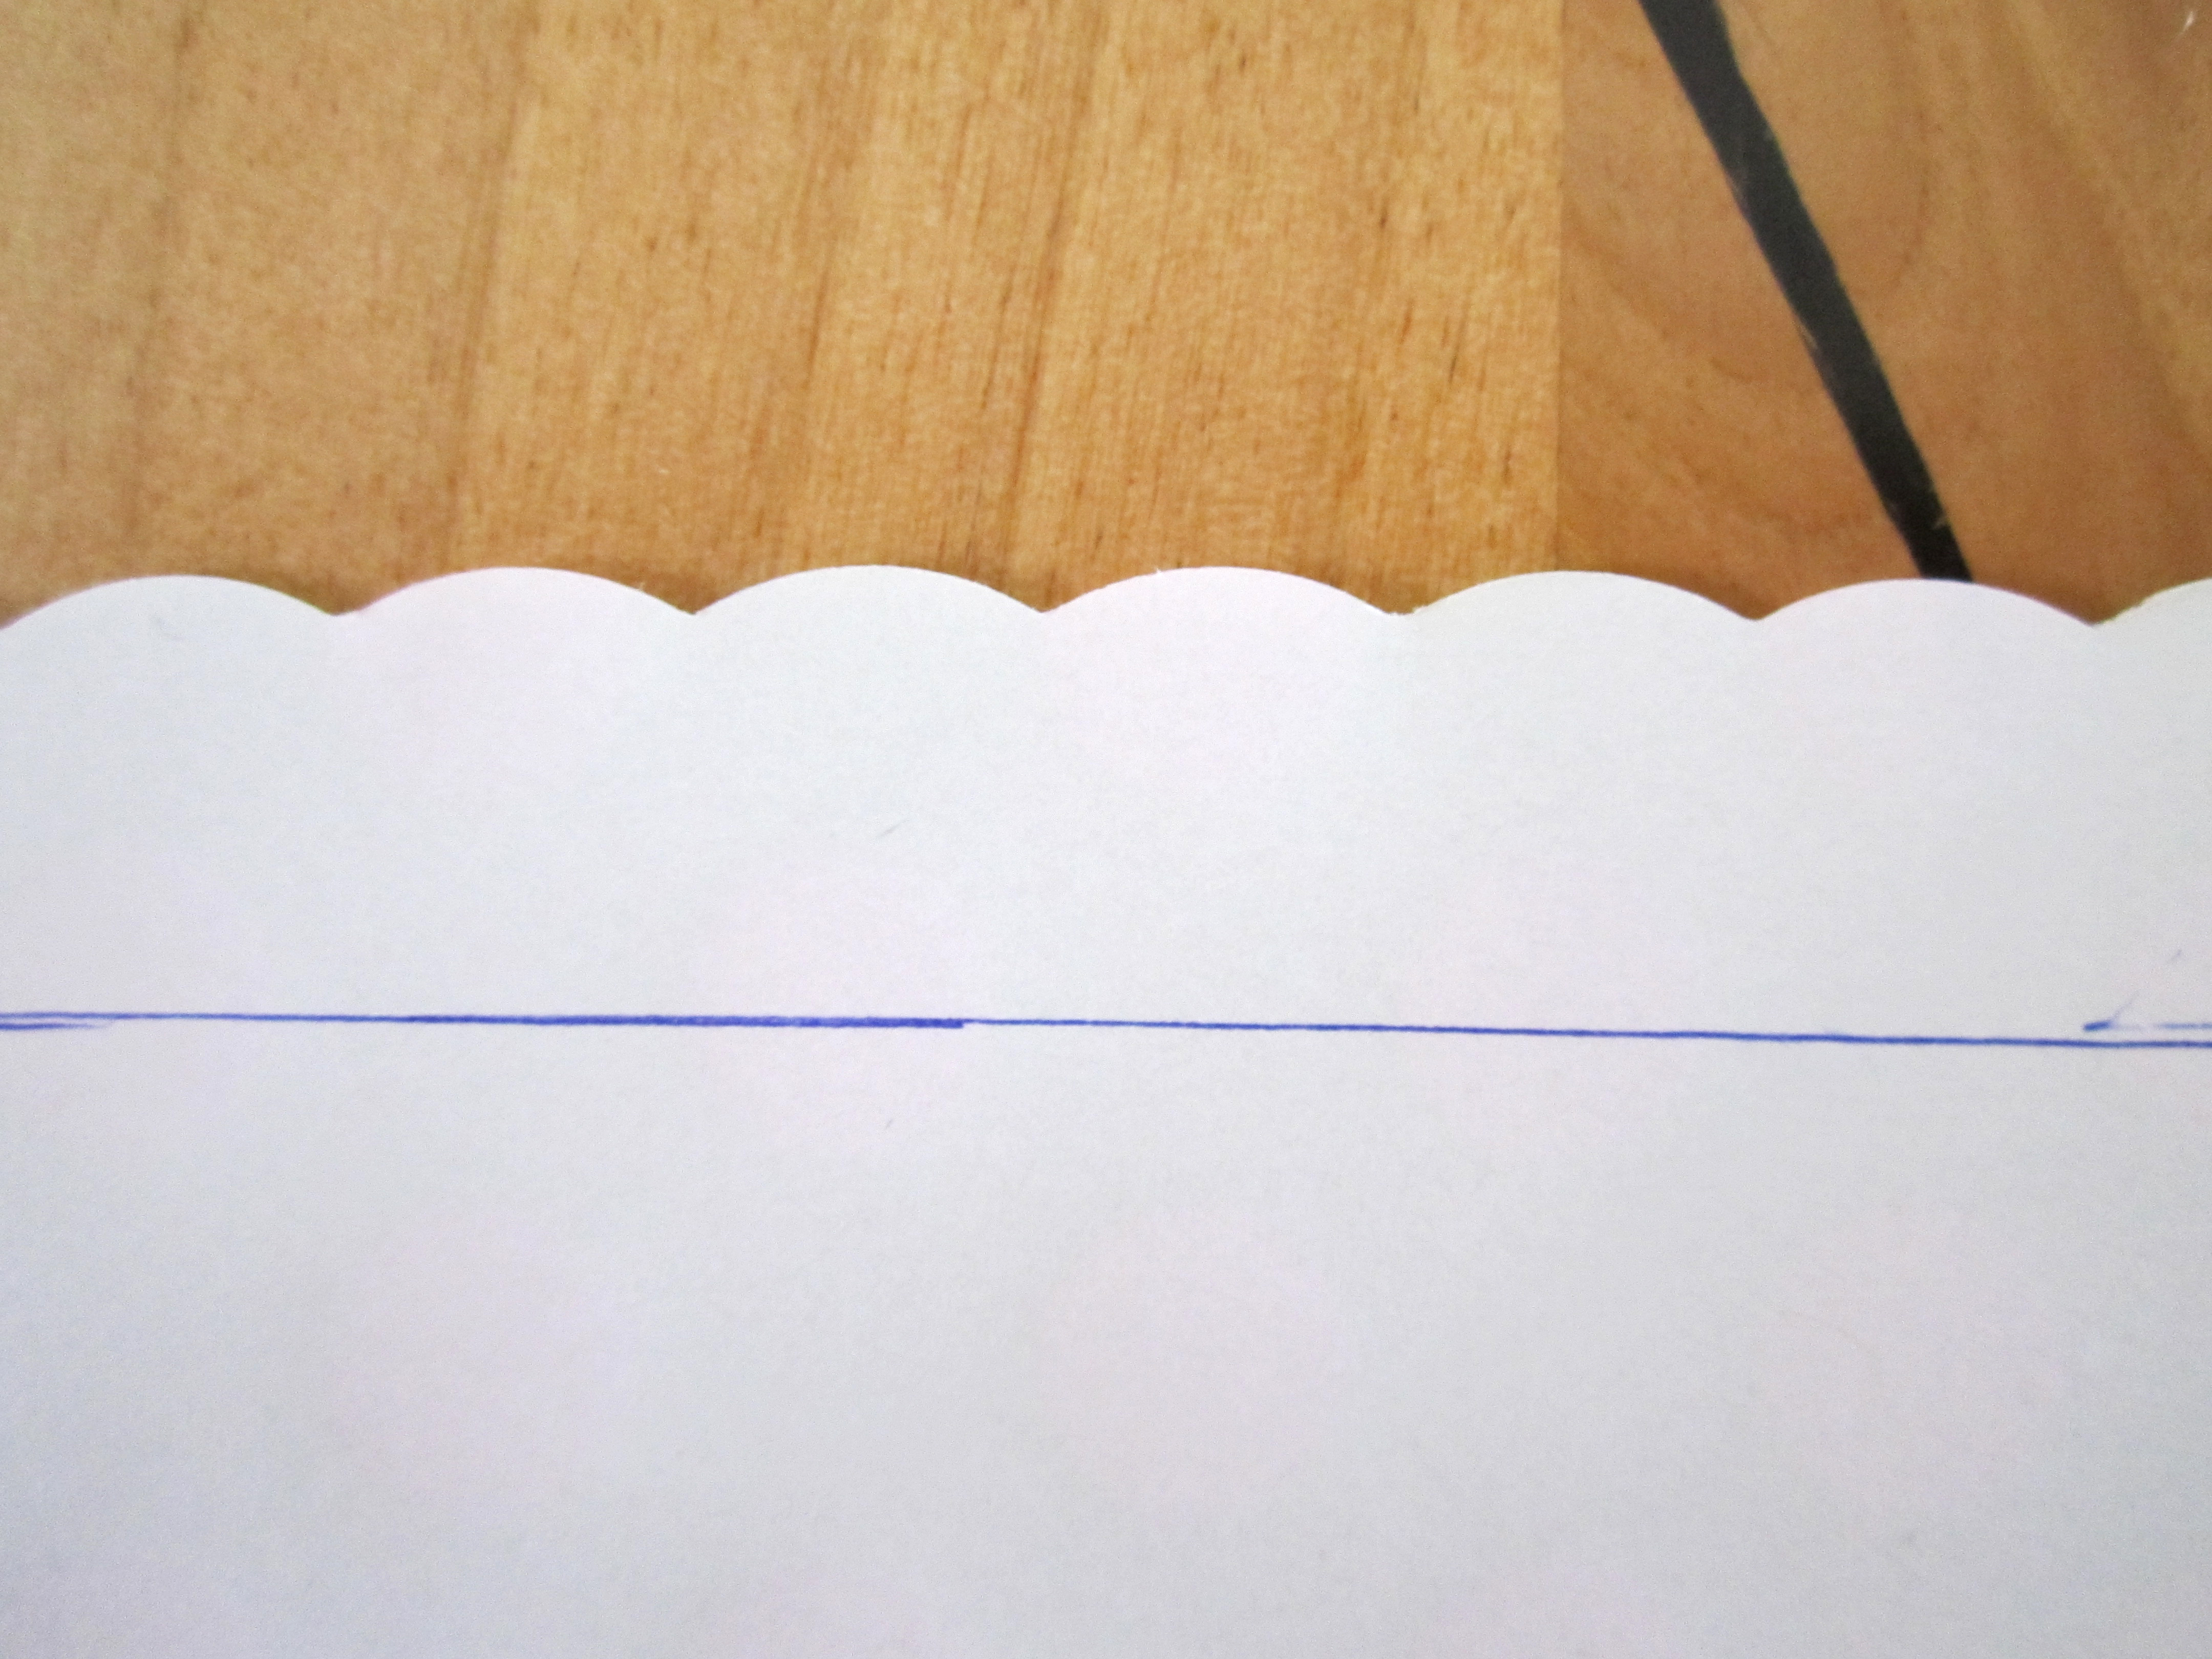
Step Two: Take your decorative edge scissors and cut about a half inch to an inch above your line to give it a little bit of a lip above the edge of where your box will be.
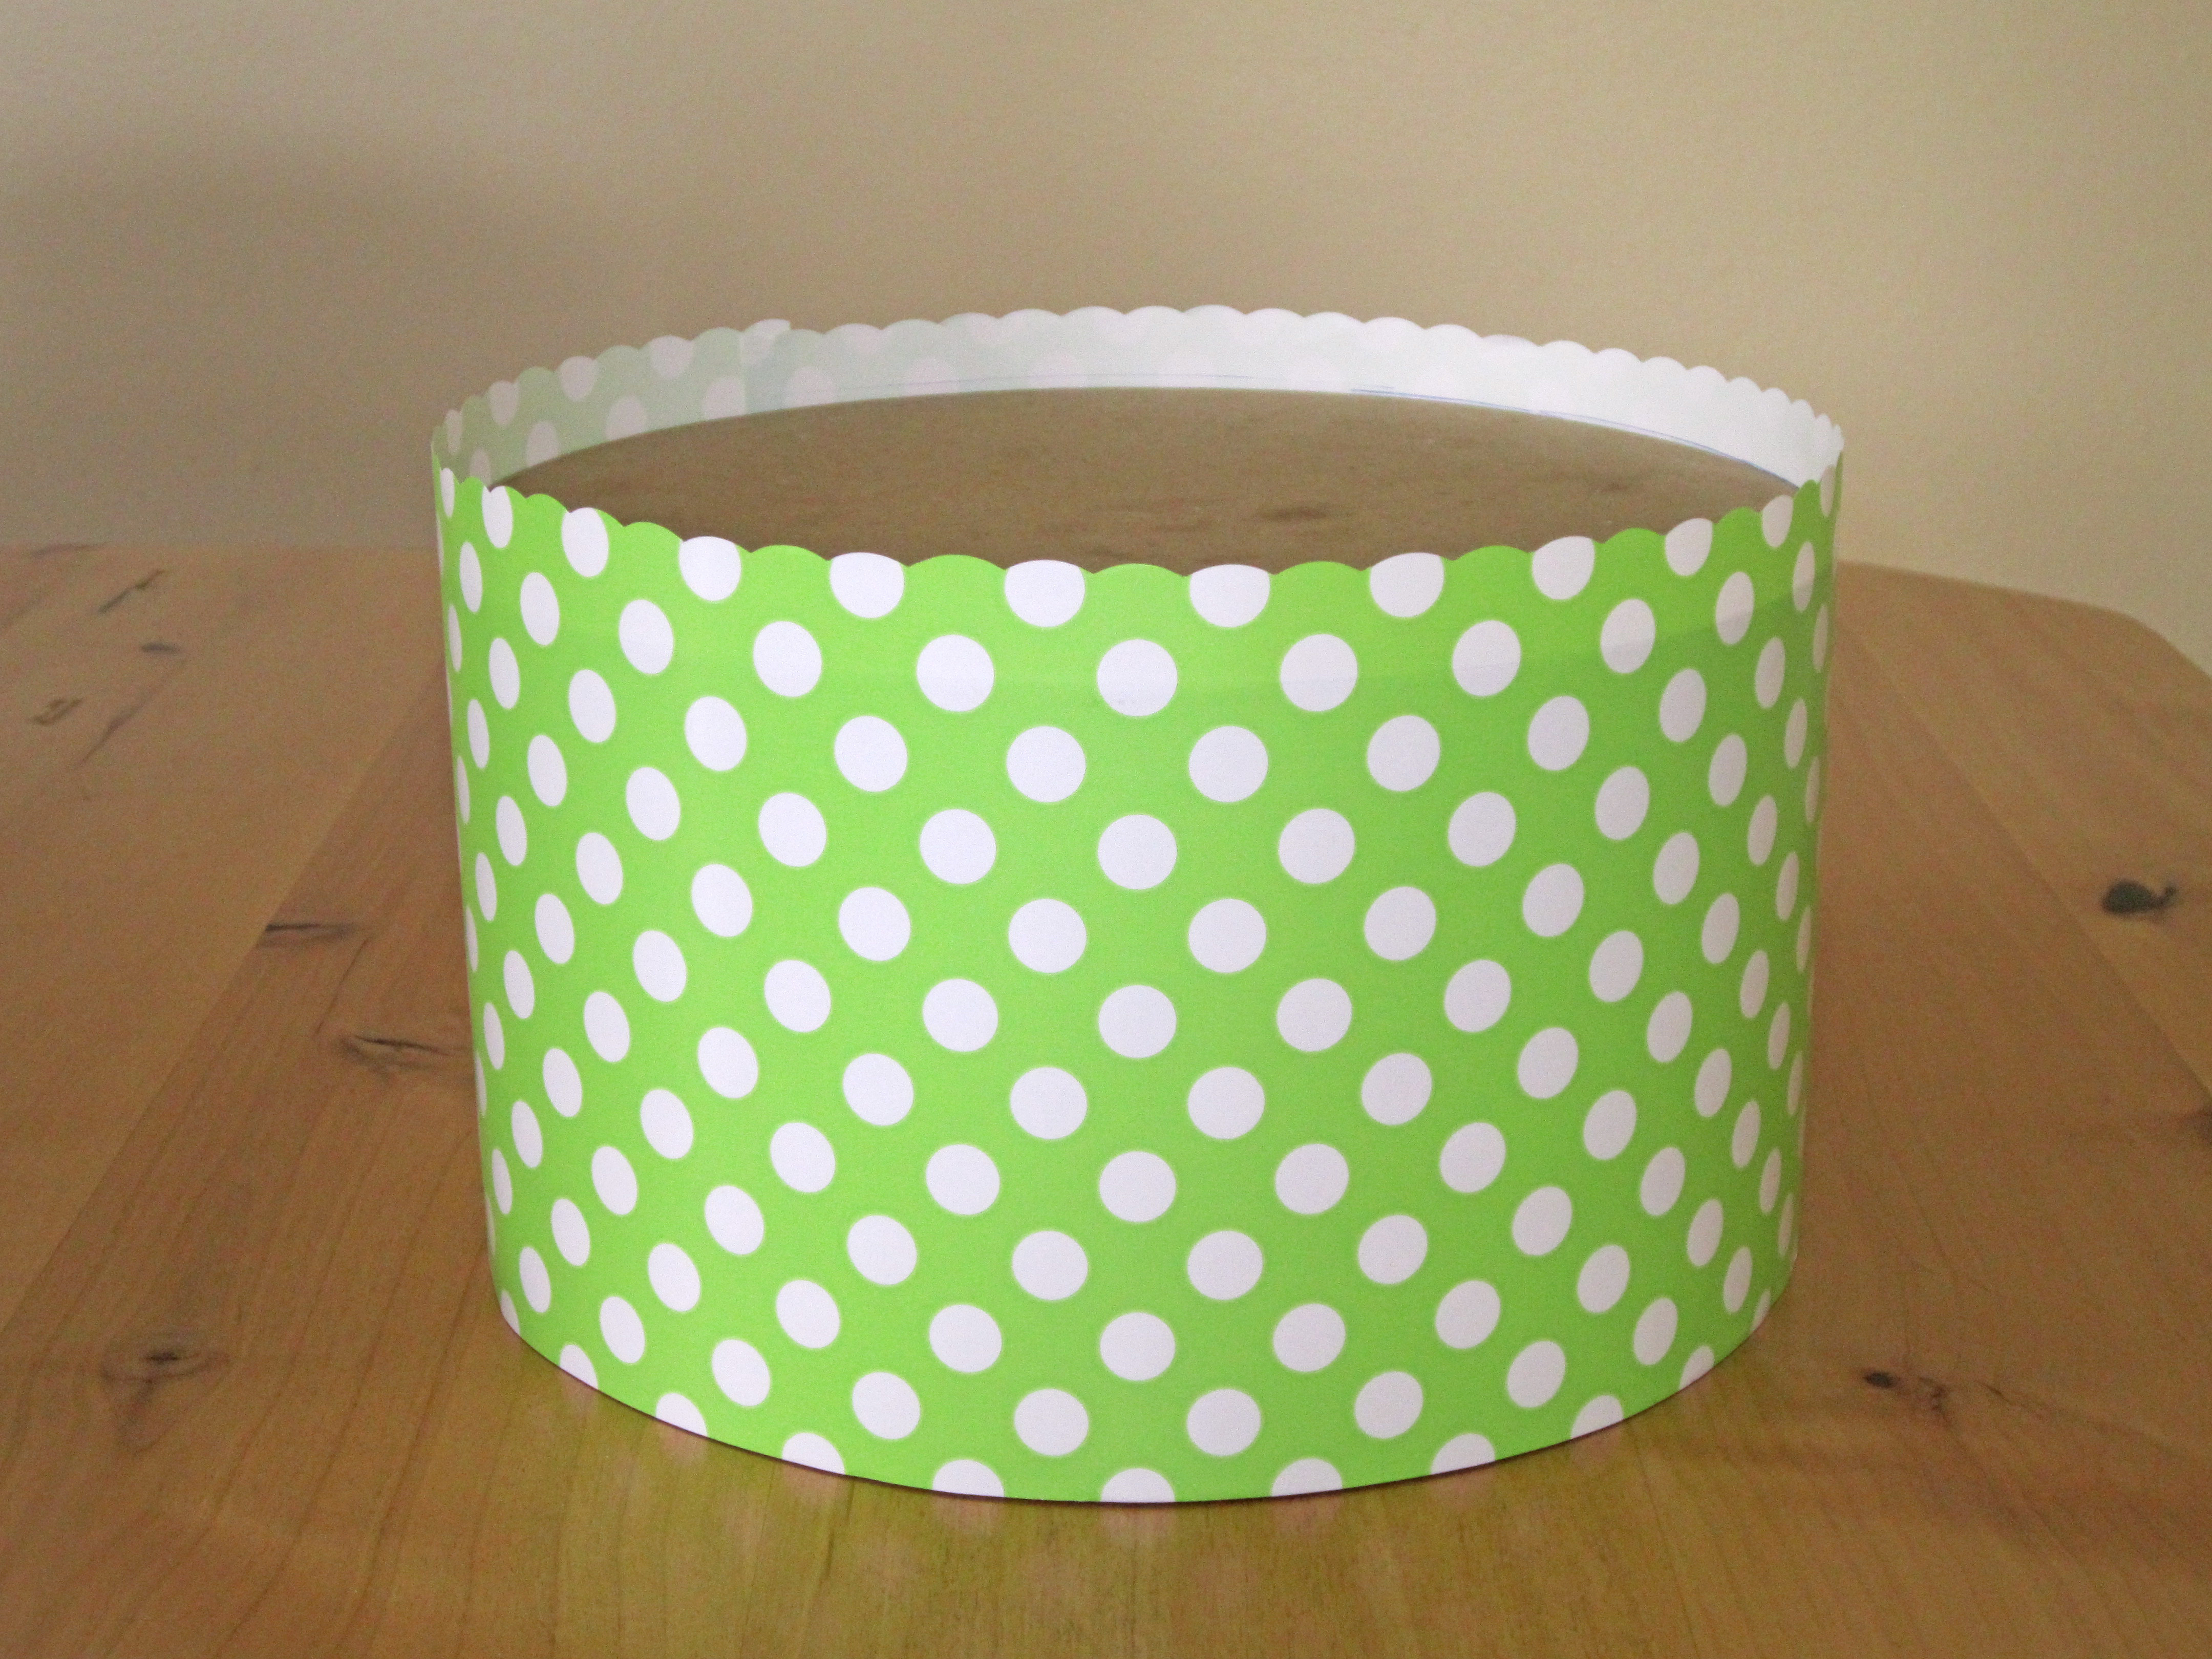
Step Three: Wrap your box. Remember to keep the open part of your box at the base of the paper. Tape one end of the paper to the box to hold in place. Then roll/wrap.

The other end should overlap just slightly to cover the whole thing and tape together.
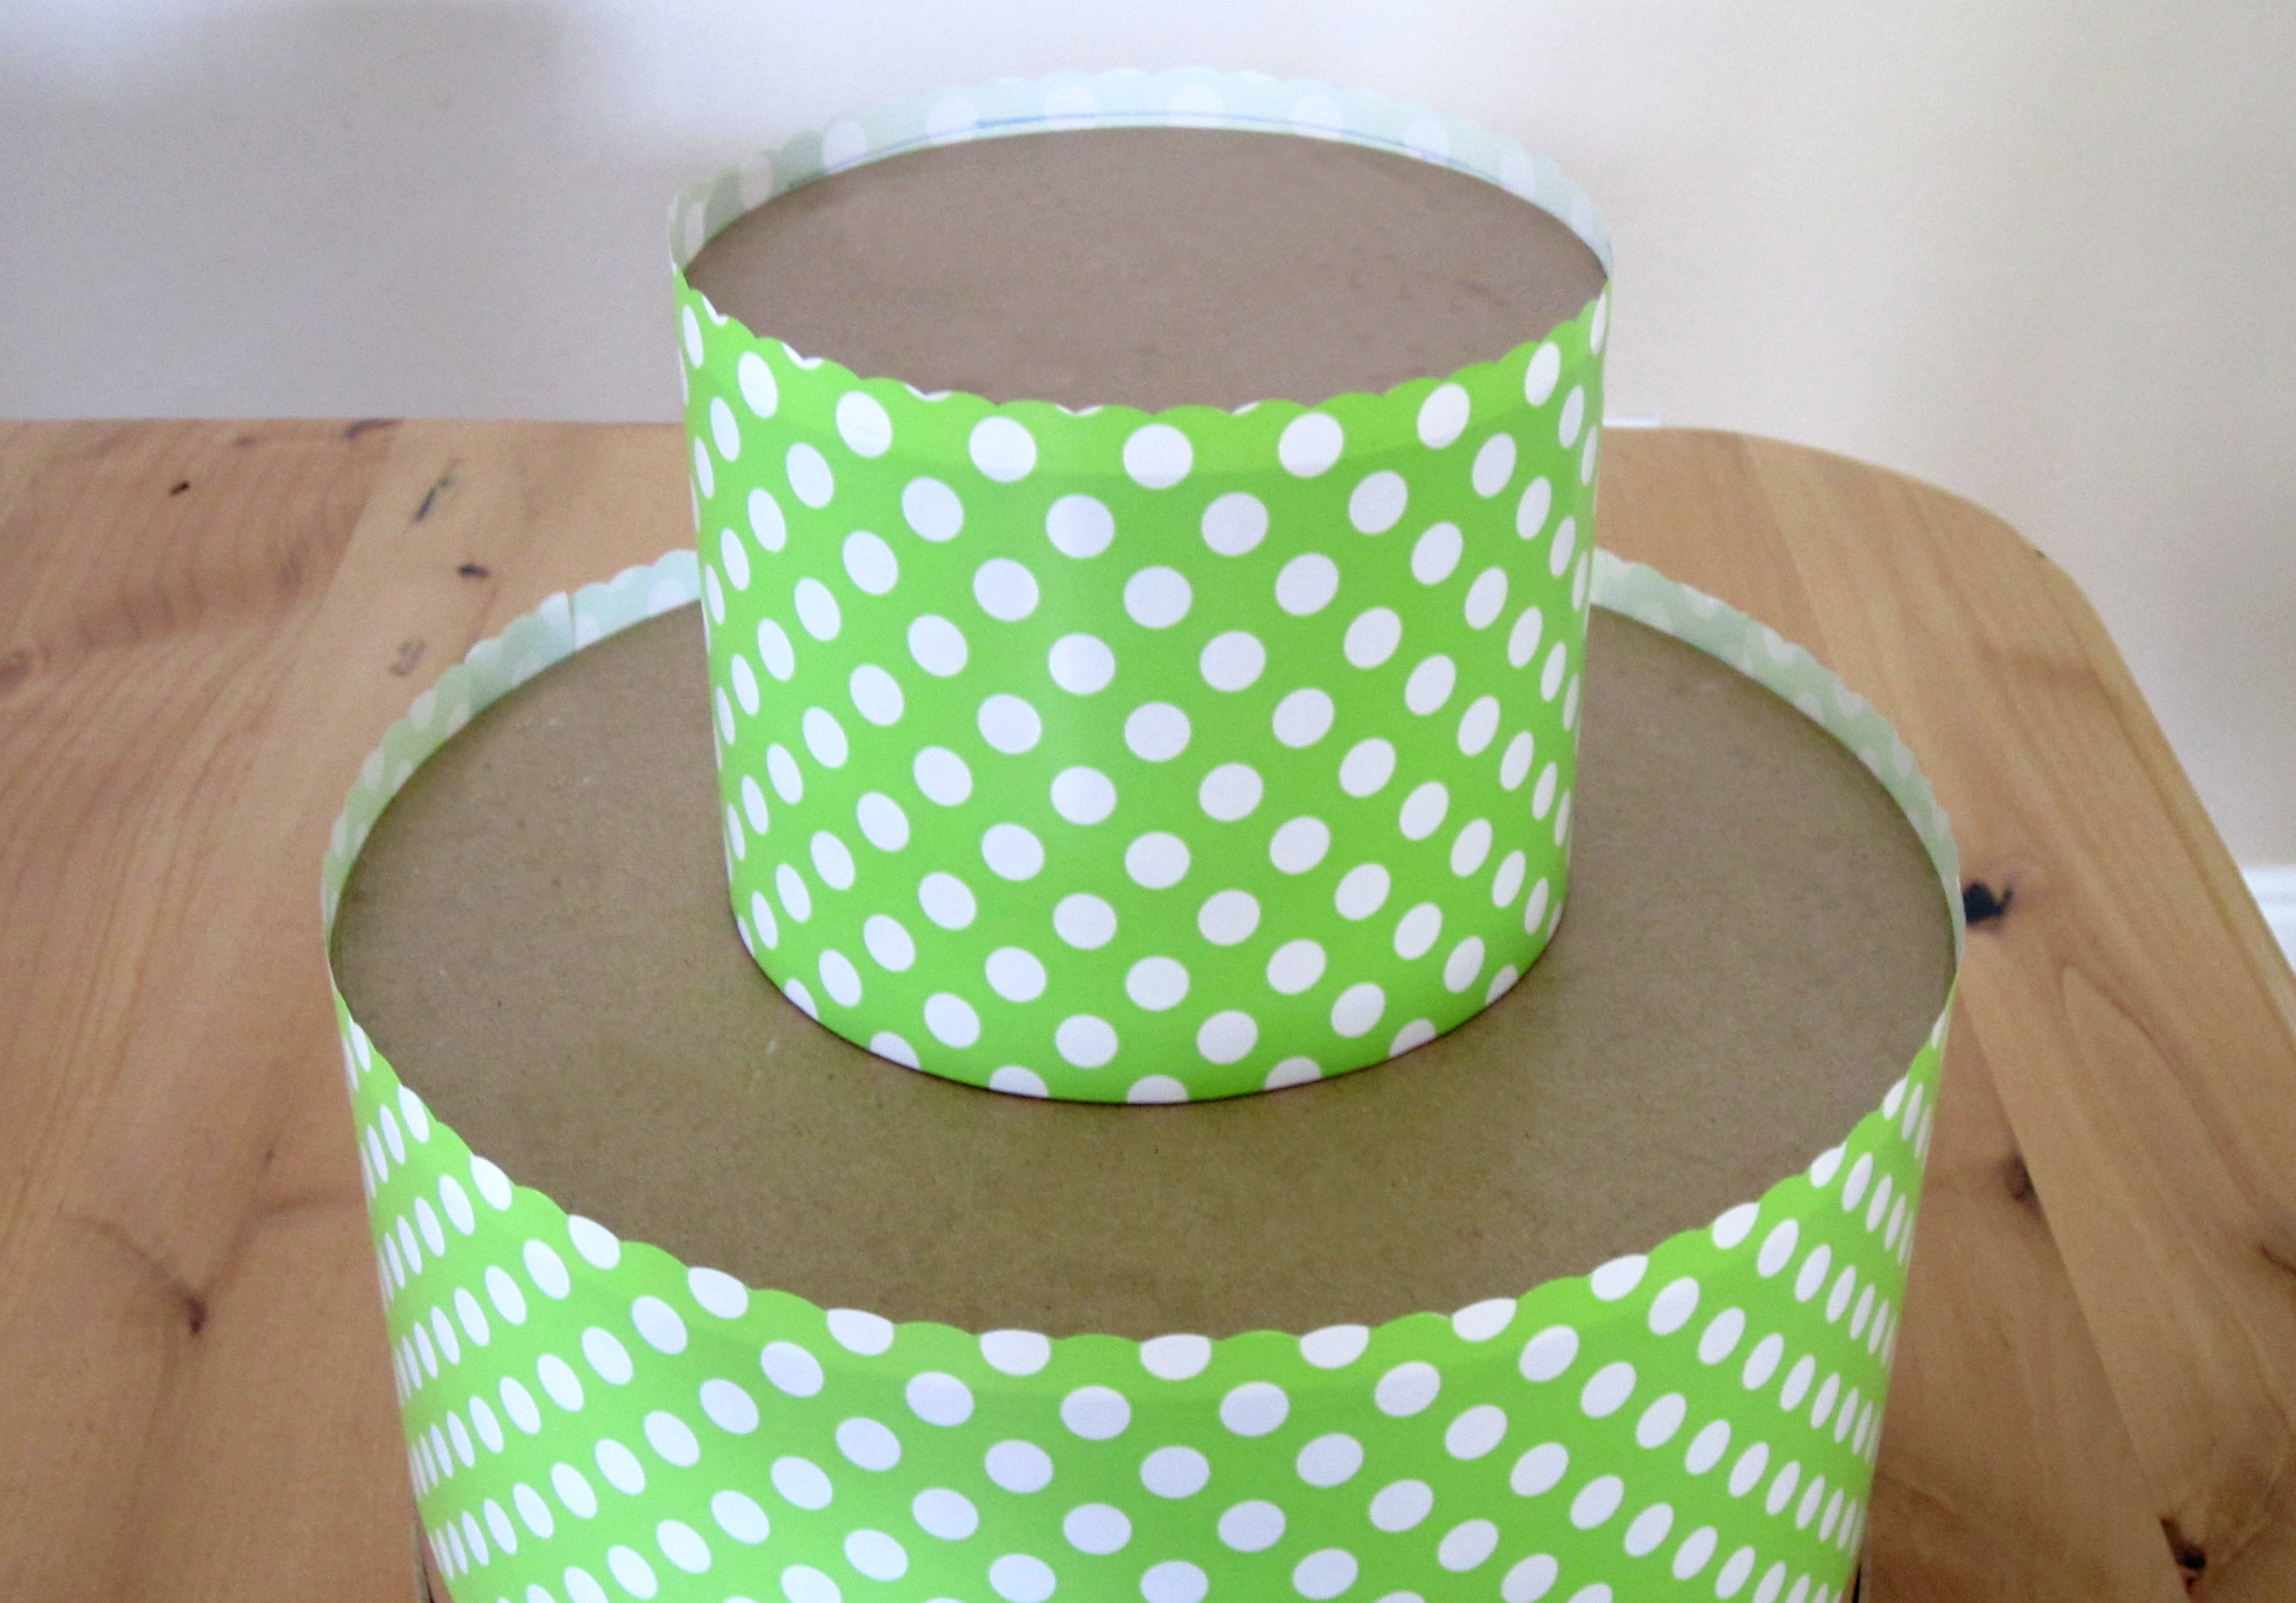
Step Four: Stand your box (open side down....) and you are done with one. Repeat and stack!
You can stack as many as you like to achieve the look you want. I went with a taller box for the base to give it some height, and then a slightly shorter box on top to give it some variety.
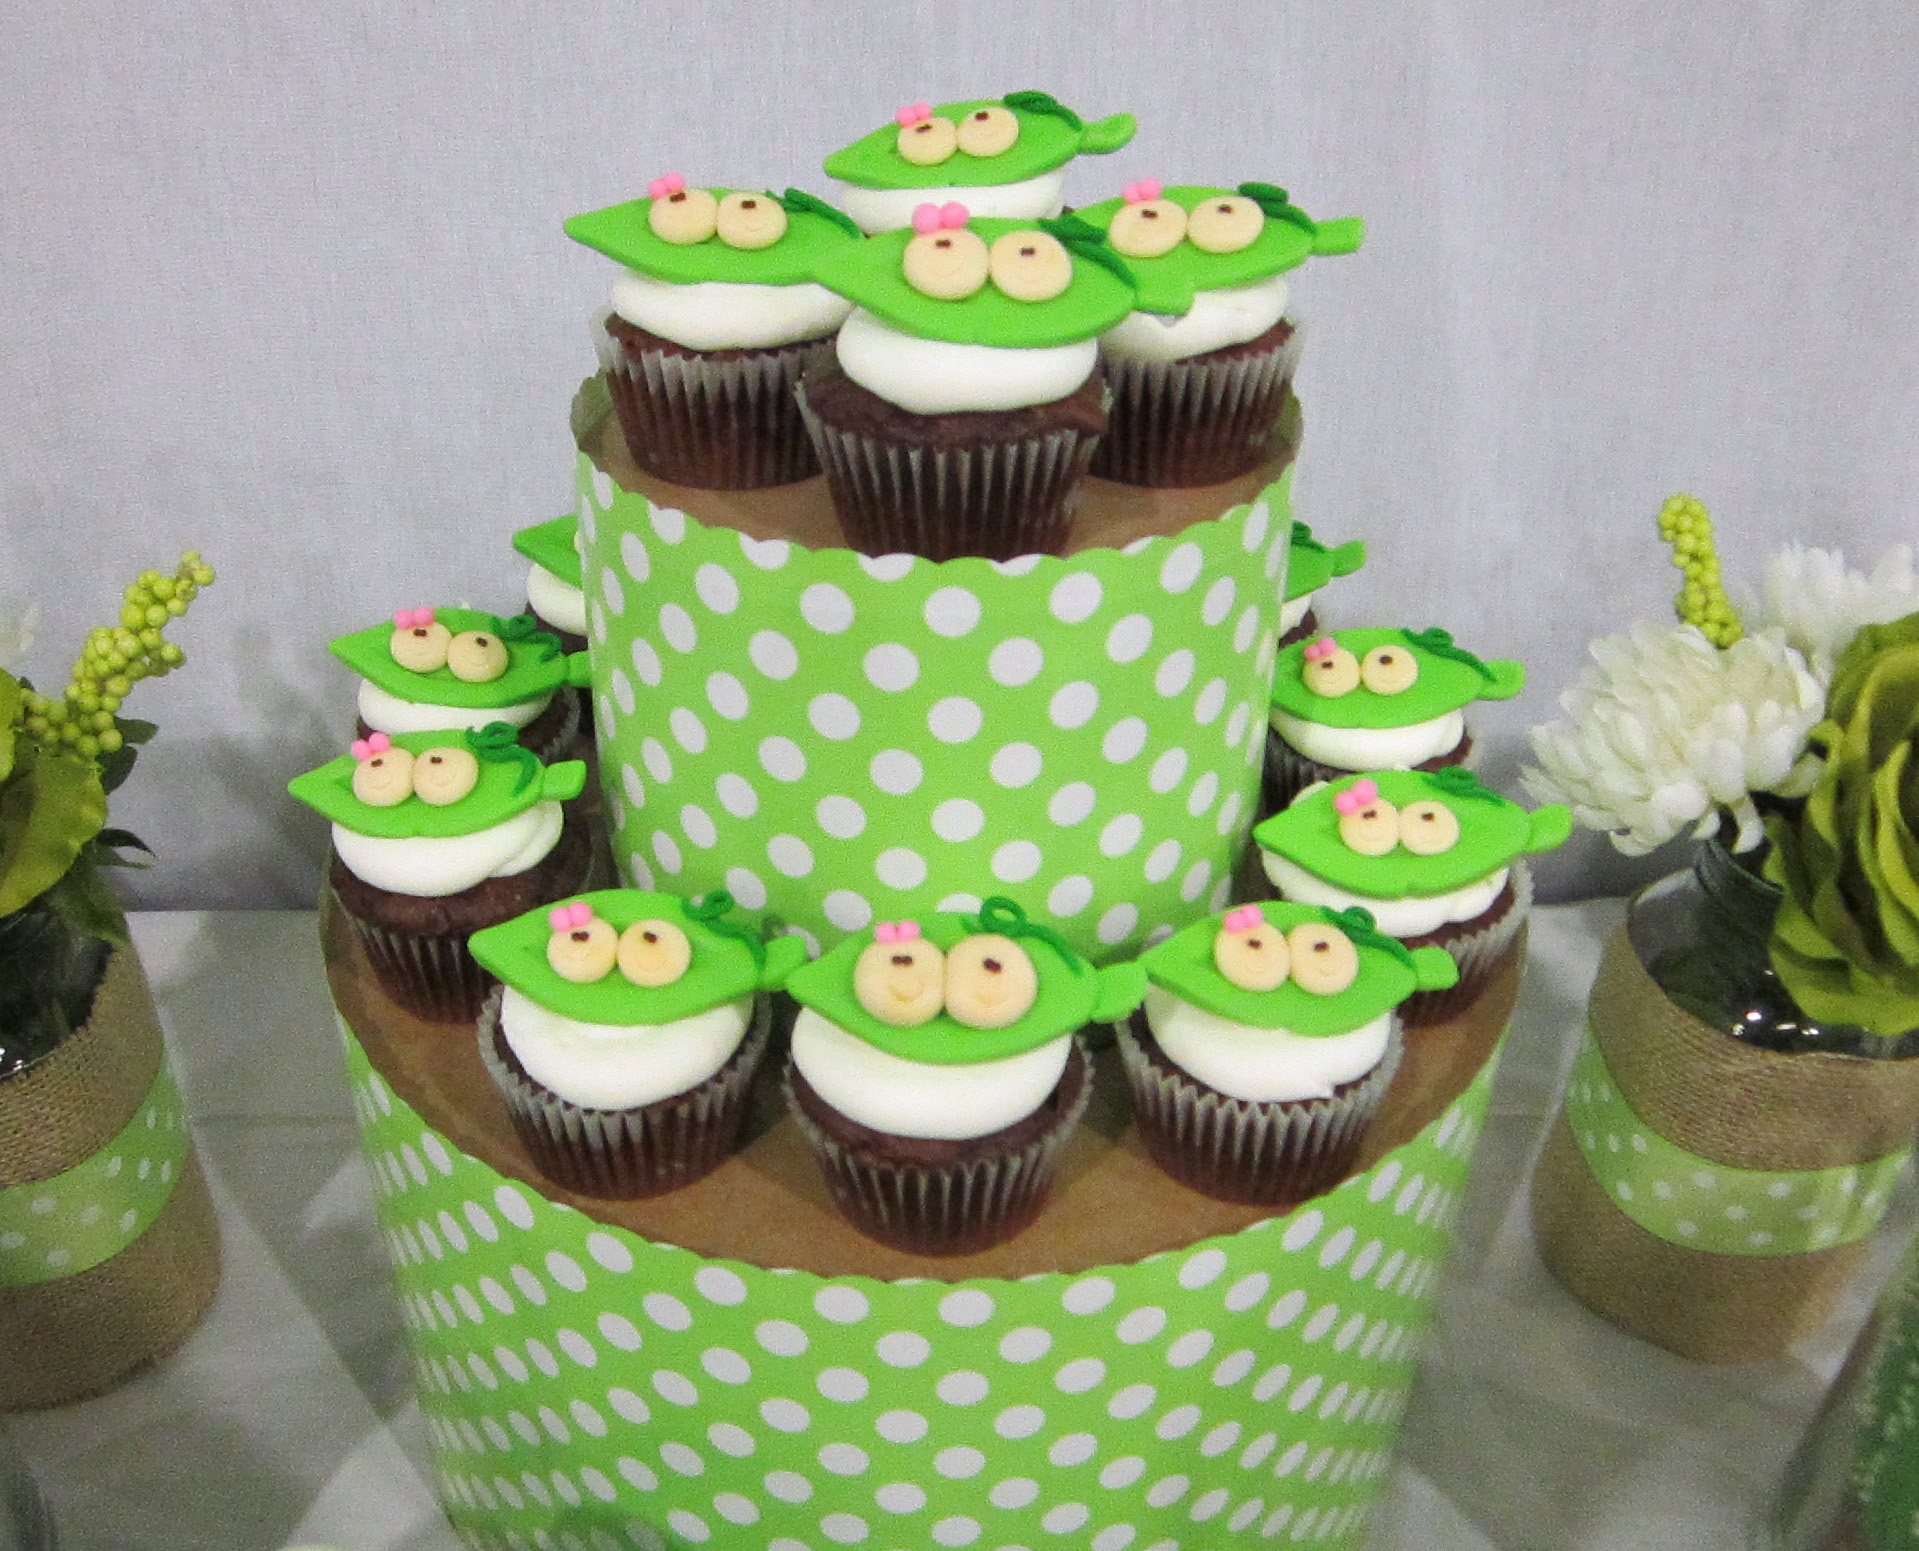
Step Five: Fill with cupcakes!
Tip: For standard size cupcakes, you will want a 4" difference in box sizes for each tier to fit cupcakes all the way around (ex: for a 3 tier cupcake stand: bottom tier - 14" box, middle tier - 10" box, top tier - 6" box). For mini size cupcakes a 2" difference in box sizes for each tier will work.
Now that your stand is all filled with cupcakes you can take a step back and enjoy your hard work, and eat a cupcake!
Thanks for checking out our hat box cupcake tower tutorial. Another great thing about this is you can take the paper off and re-wrap for another theme, the versatility is really endless! Also be sure to check out other fun details from this baby shower that I styled filled with DIY projects and more tips on uses with wrapping paper for parties on my here! Thanks again and please feel free to comment or share!


No comments:
Post a Comment