


I hope you have enjoyed our little version of Papa's Pizzeria! I just wanted to share another fun and EASY tutorial from that party. These paper fan rosettes are so simple and so cheap to make. They can be made in any size and variety of patterns to coordinate with your own party decor!

Supplies:
Patterned paper (3 pieces per fan) and a hot glue gun! Yup that's all!
Fold cardstock paper accordion-style into 1/2 inch folds. It’s good to have different size papers in order to form different sized pinwheels. These sheets were 12" wide and made a 12" fan. Fold each accordion piece in half. Repeat this 3 times. 3 fans equal 1 pinwheel. (Smaller fans may only take 1-2 sheets depending on size)
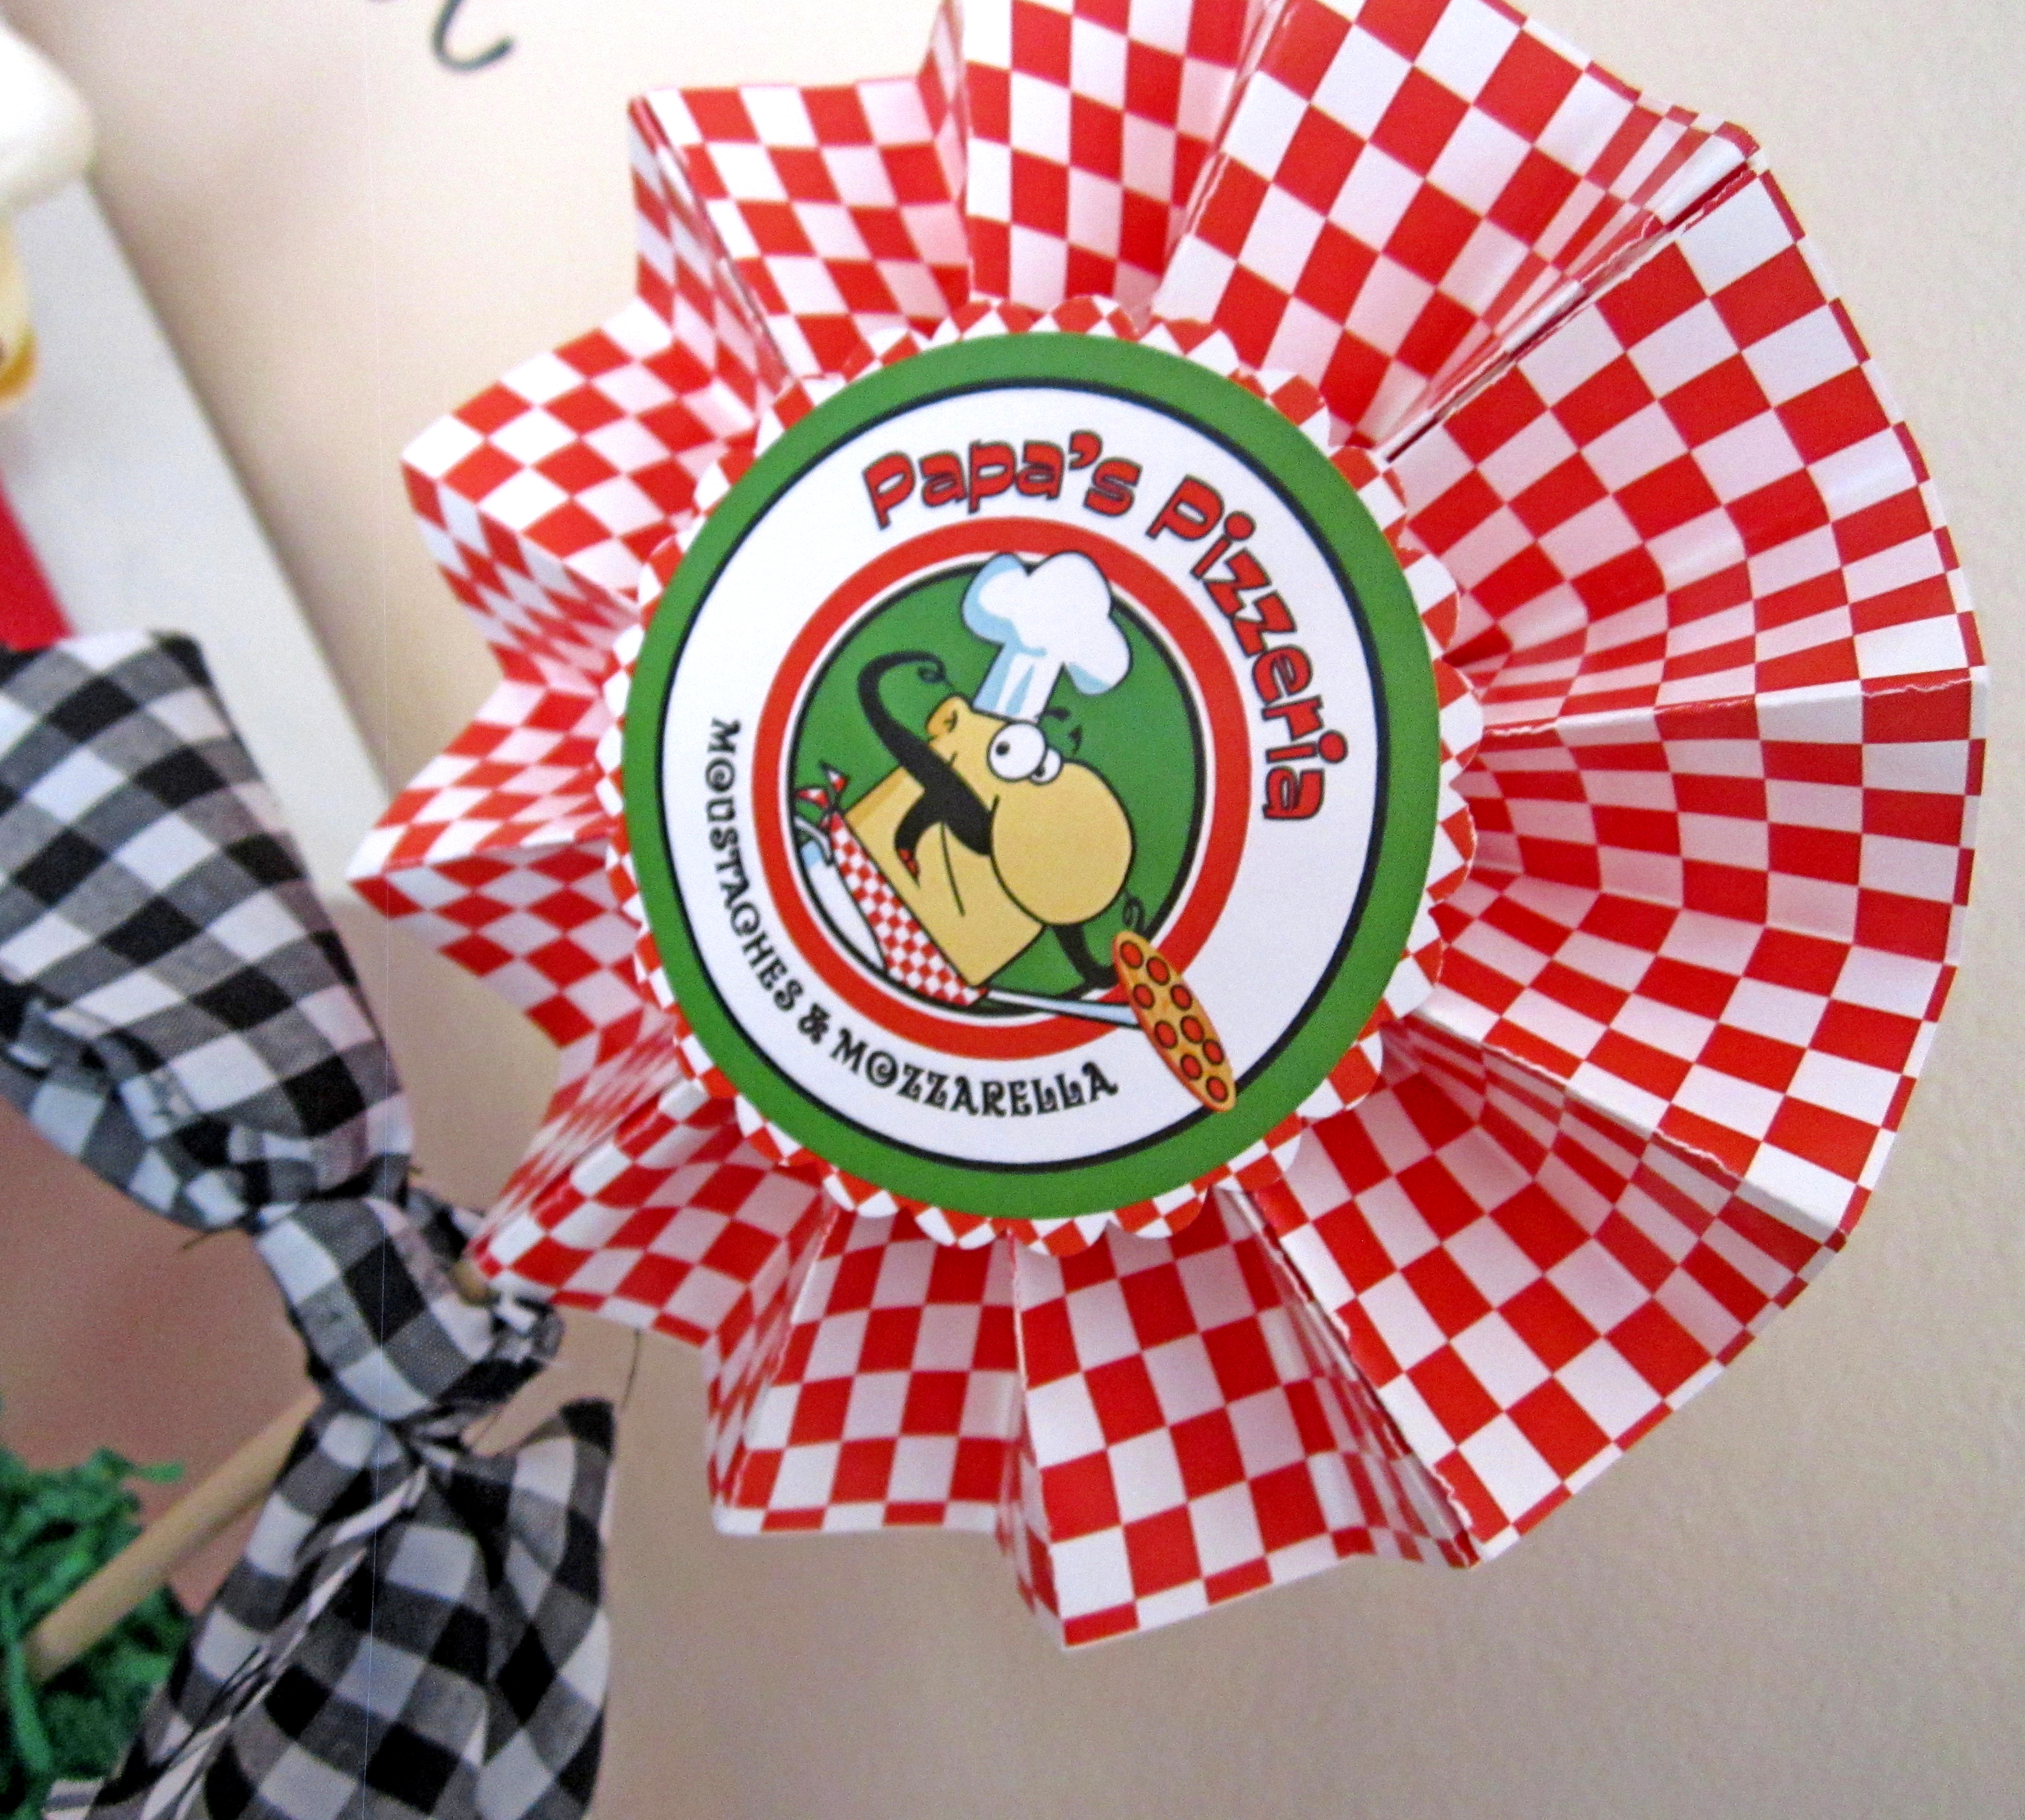
Note - You can fancy up your fans at this point by cutting the edges into a scallop, punching some holes, or lots other things to add some variety to your display.
Now secure sides together using a glue gun for extra hold. This creates a part of the pinwheel. Glue all three pieces together (edges out) on sides to make one large piece.
Stretch out your fan and glue the two ends together. You are finished, how easy was that!
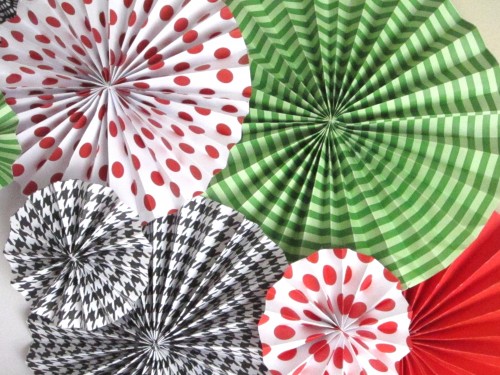
Love the variety of fan sizes and color of patterns!
You can also attach dowel rods to the back side of fans with hot glue to create centerpieces!
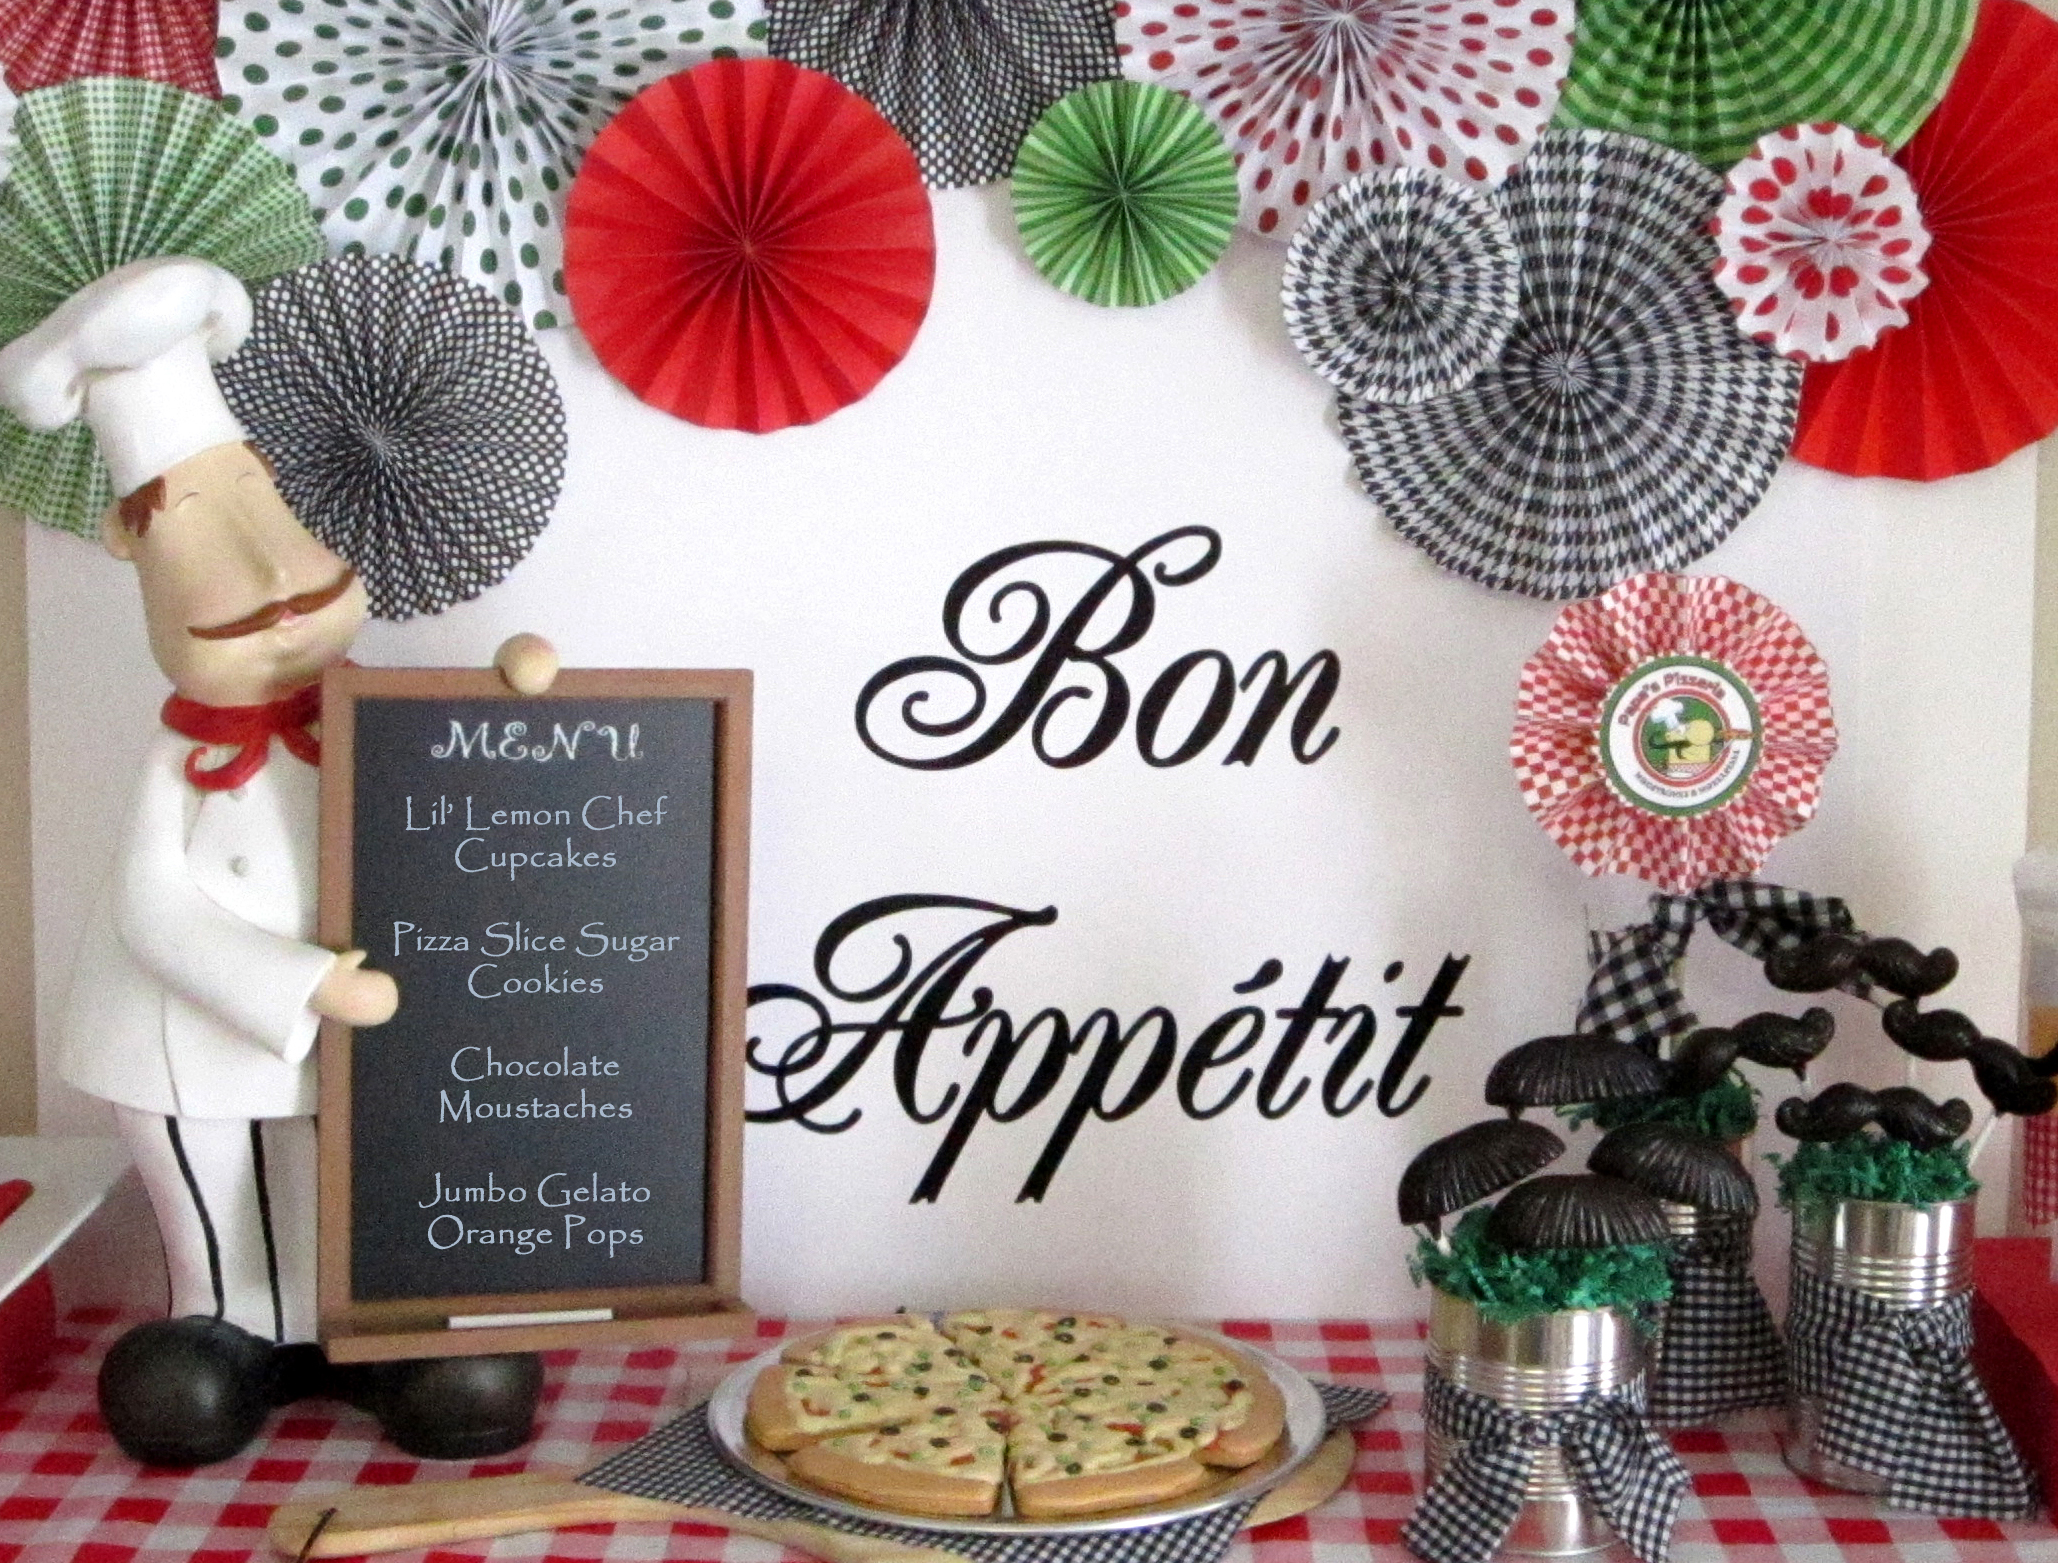
I hung mine to create a colorful backdrop for this dessert display...
Thank you for checking out this tutorial and you can see more details from my Papa's Pizzeria Party on my blog here! Hope you have fun making your own paper fan rosettes, and please comment or share any tips you have used to make your own a little fancier too.


Hi Jen,
ReplyDeleteI was wandering what you used to hang these rosettes up with?