


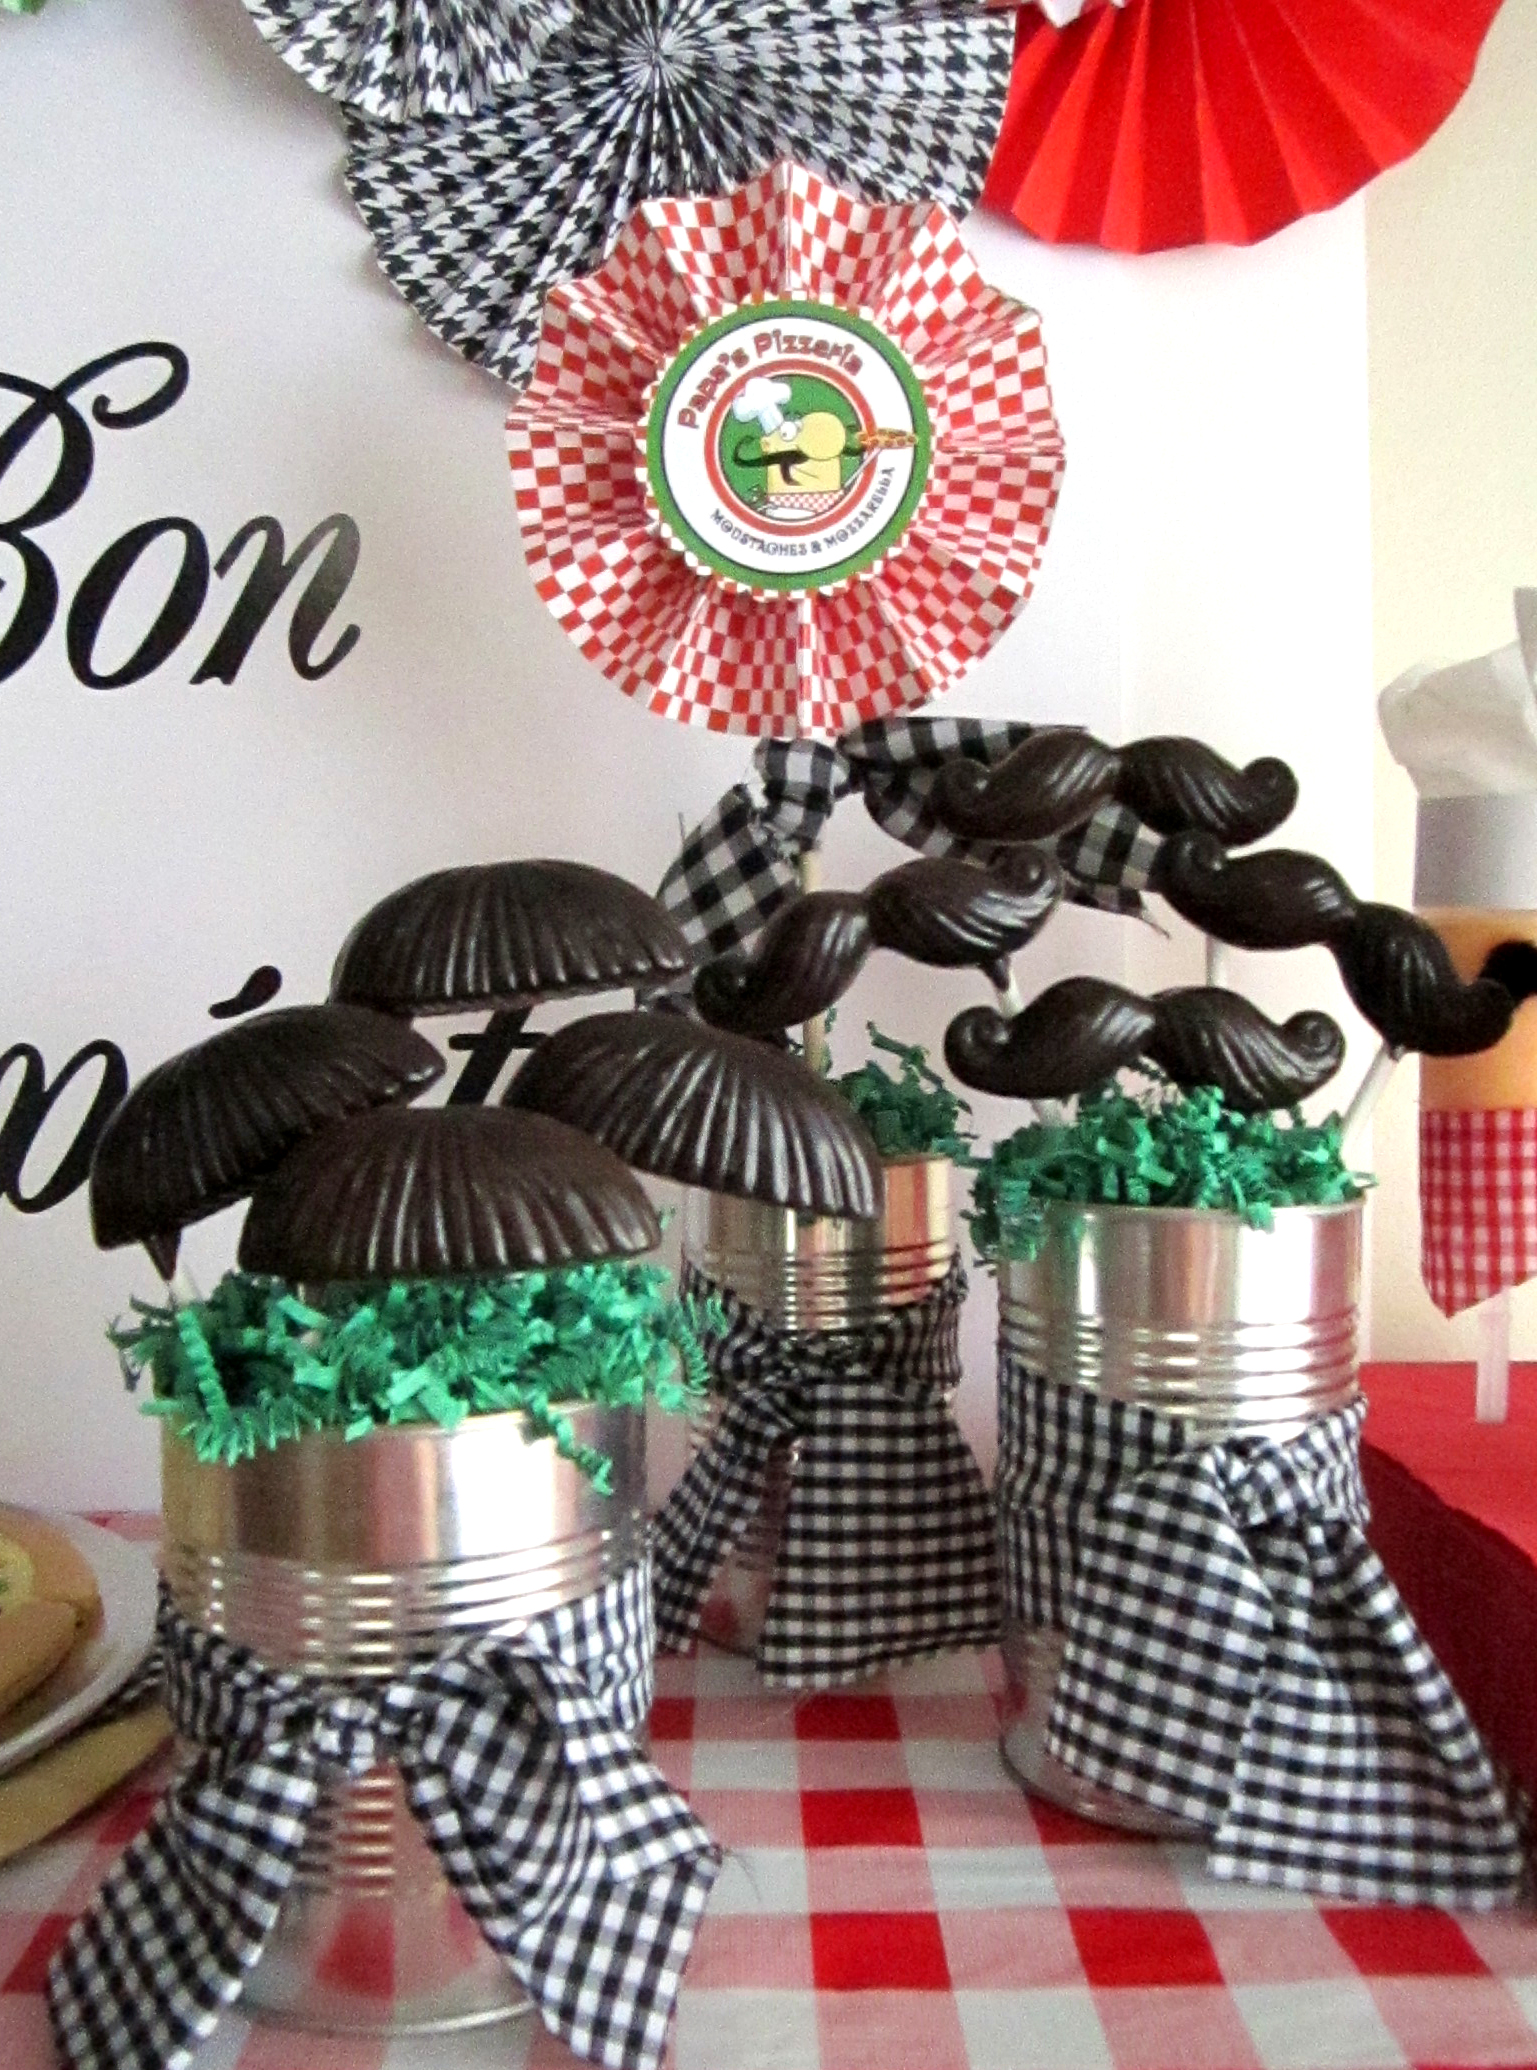
Moustache themes have been quite the rage for awhile for everything from weddings and baby showers, to birthday parties. I recently threw a Pizza party with a "mozzarella and moustaches" twist on it. Today I am going to show you how easy and cheap it is to make your very own chocolate moustaches!
Supplies:
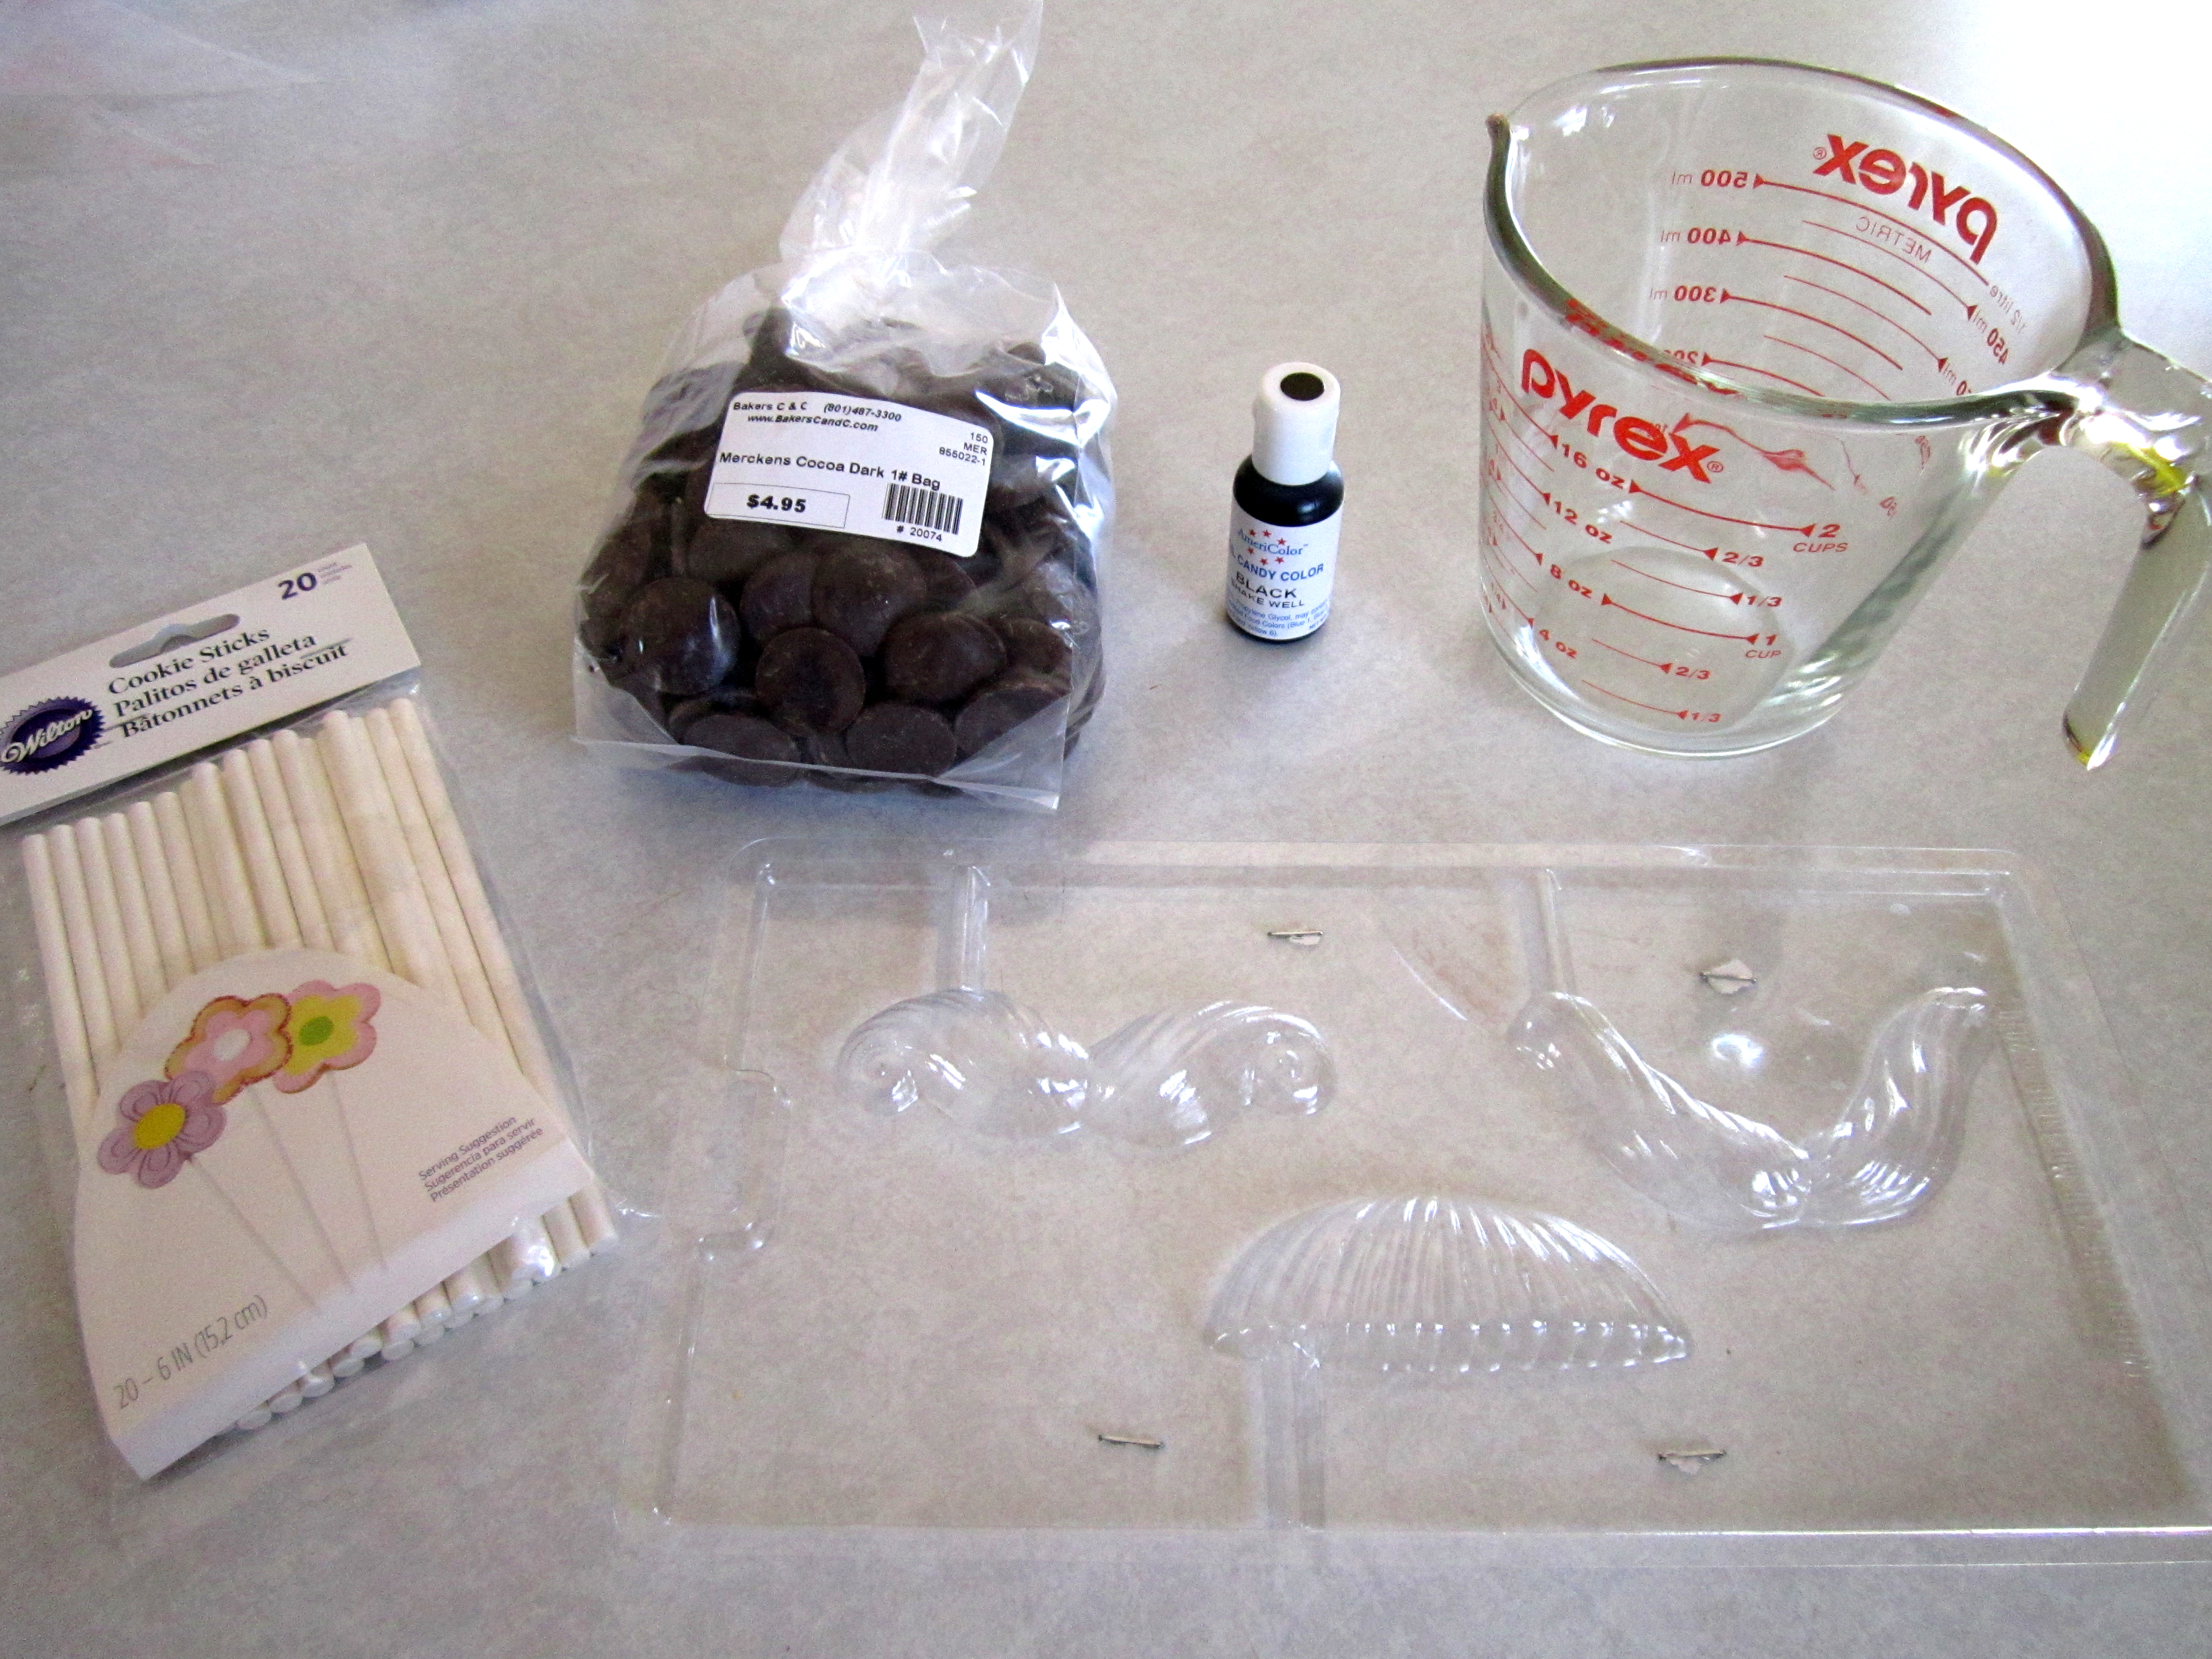
Moustache chocolate mold - I got mine here from Wilton for a whopping $1.99!
candy sticks
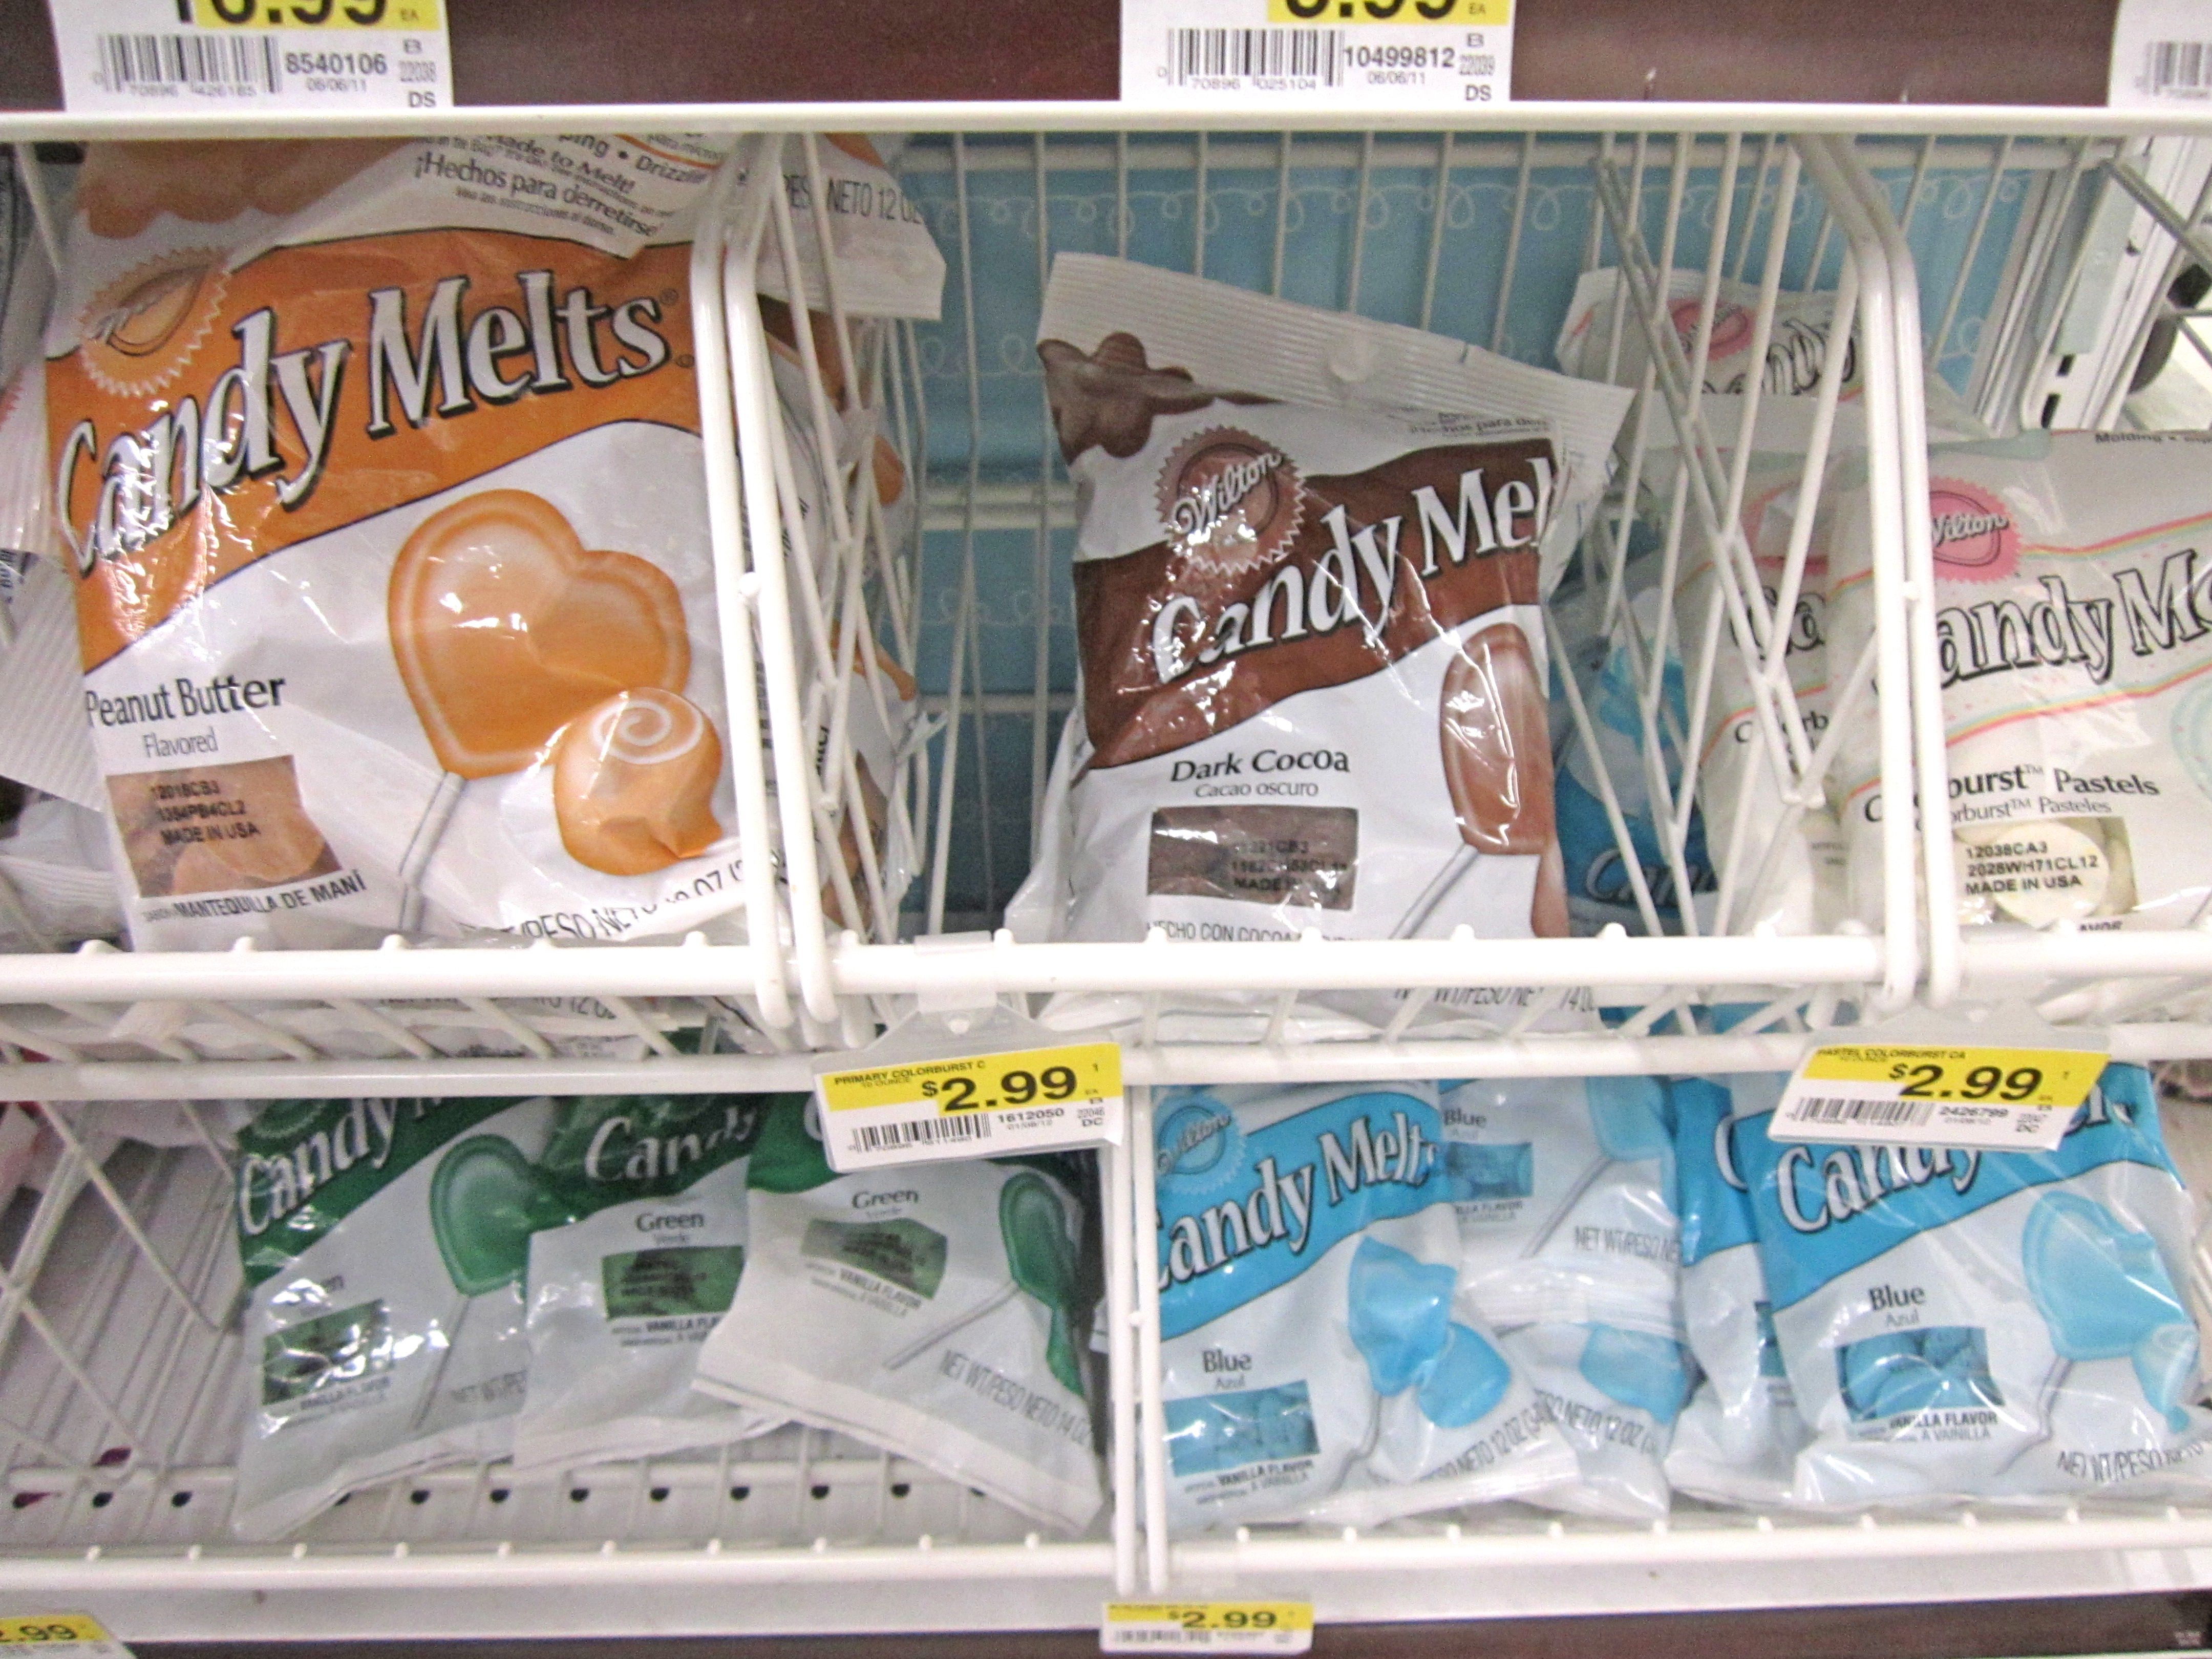
candy melts/chocolate melts
squeeze bottle/decorating bag/ziplock baggie
*note: candy melts come in such a wide variety of colors that you can pretty much make moustaches to match your party!
But I wanted my staches to be black, and they don't make carry that color. So I got dark chocolate melts and black candy coloring.
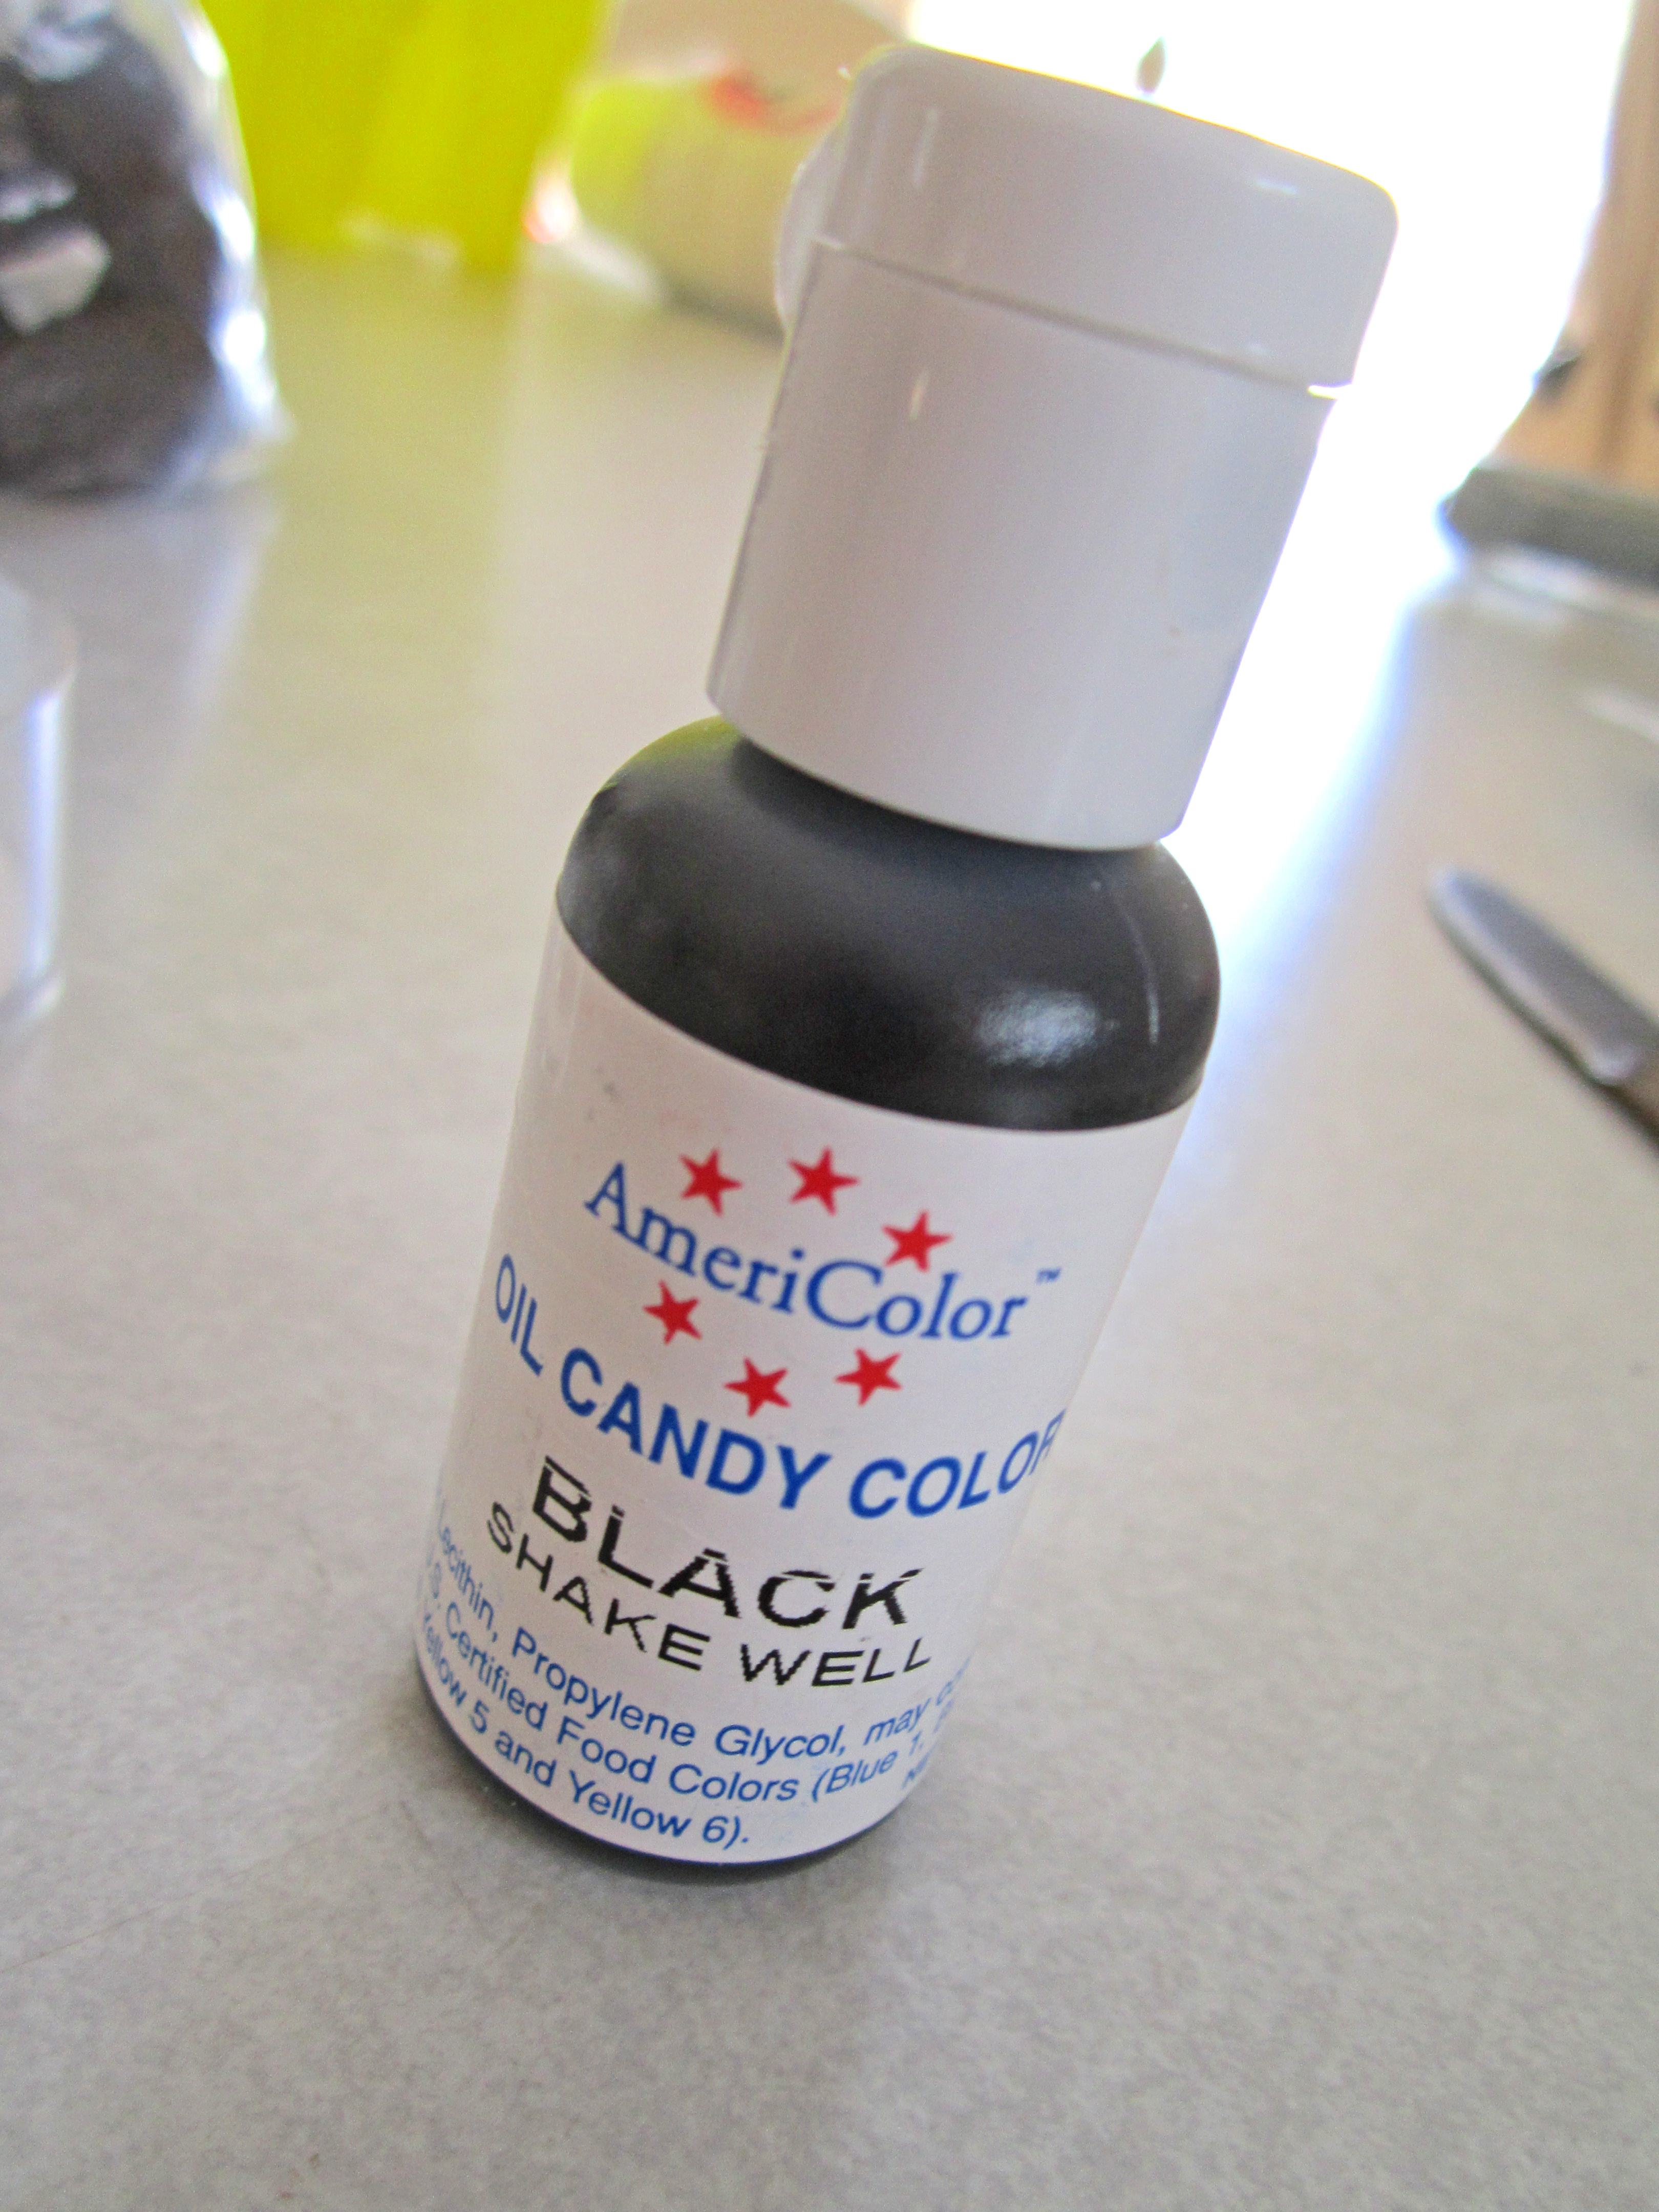
FYI- you HAVE to use an oil based candy coloring, not regular food or icing coloring because they are water based. If water mixes with chocolate it will crystallize.... not fun. But don't fear if you have not familiar with chocolate, it is super easy to work with :)
Now let's begin! Step 1: Melt chocolate by follow directions on package. Be careful not to overcook.


Step 2: Fill your squeeze bottle or baggie (snip the end) and fill the mold up halfway. Settle chocolate by tapping the mold lightly on the counter. This releases all the air bubbles and gets chocolate in all the little crevices.
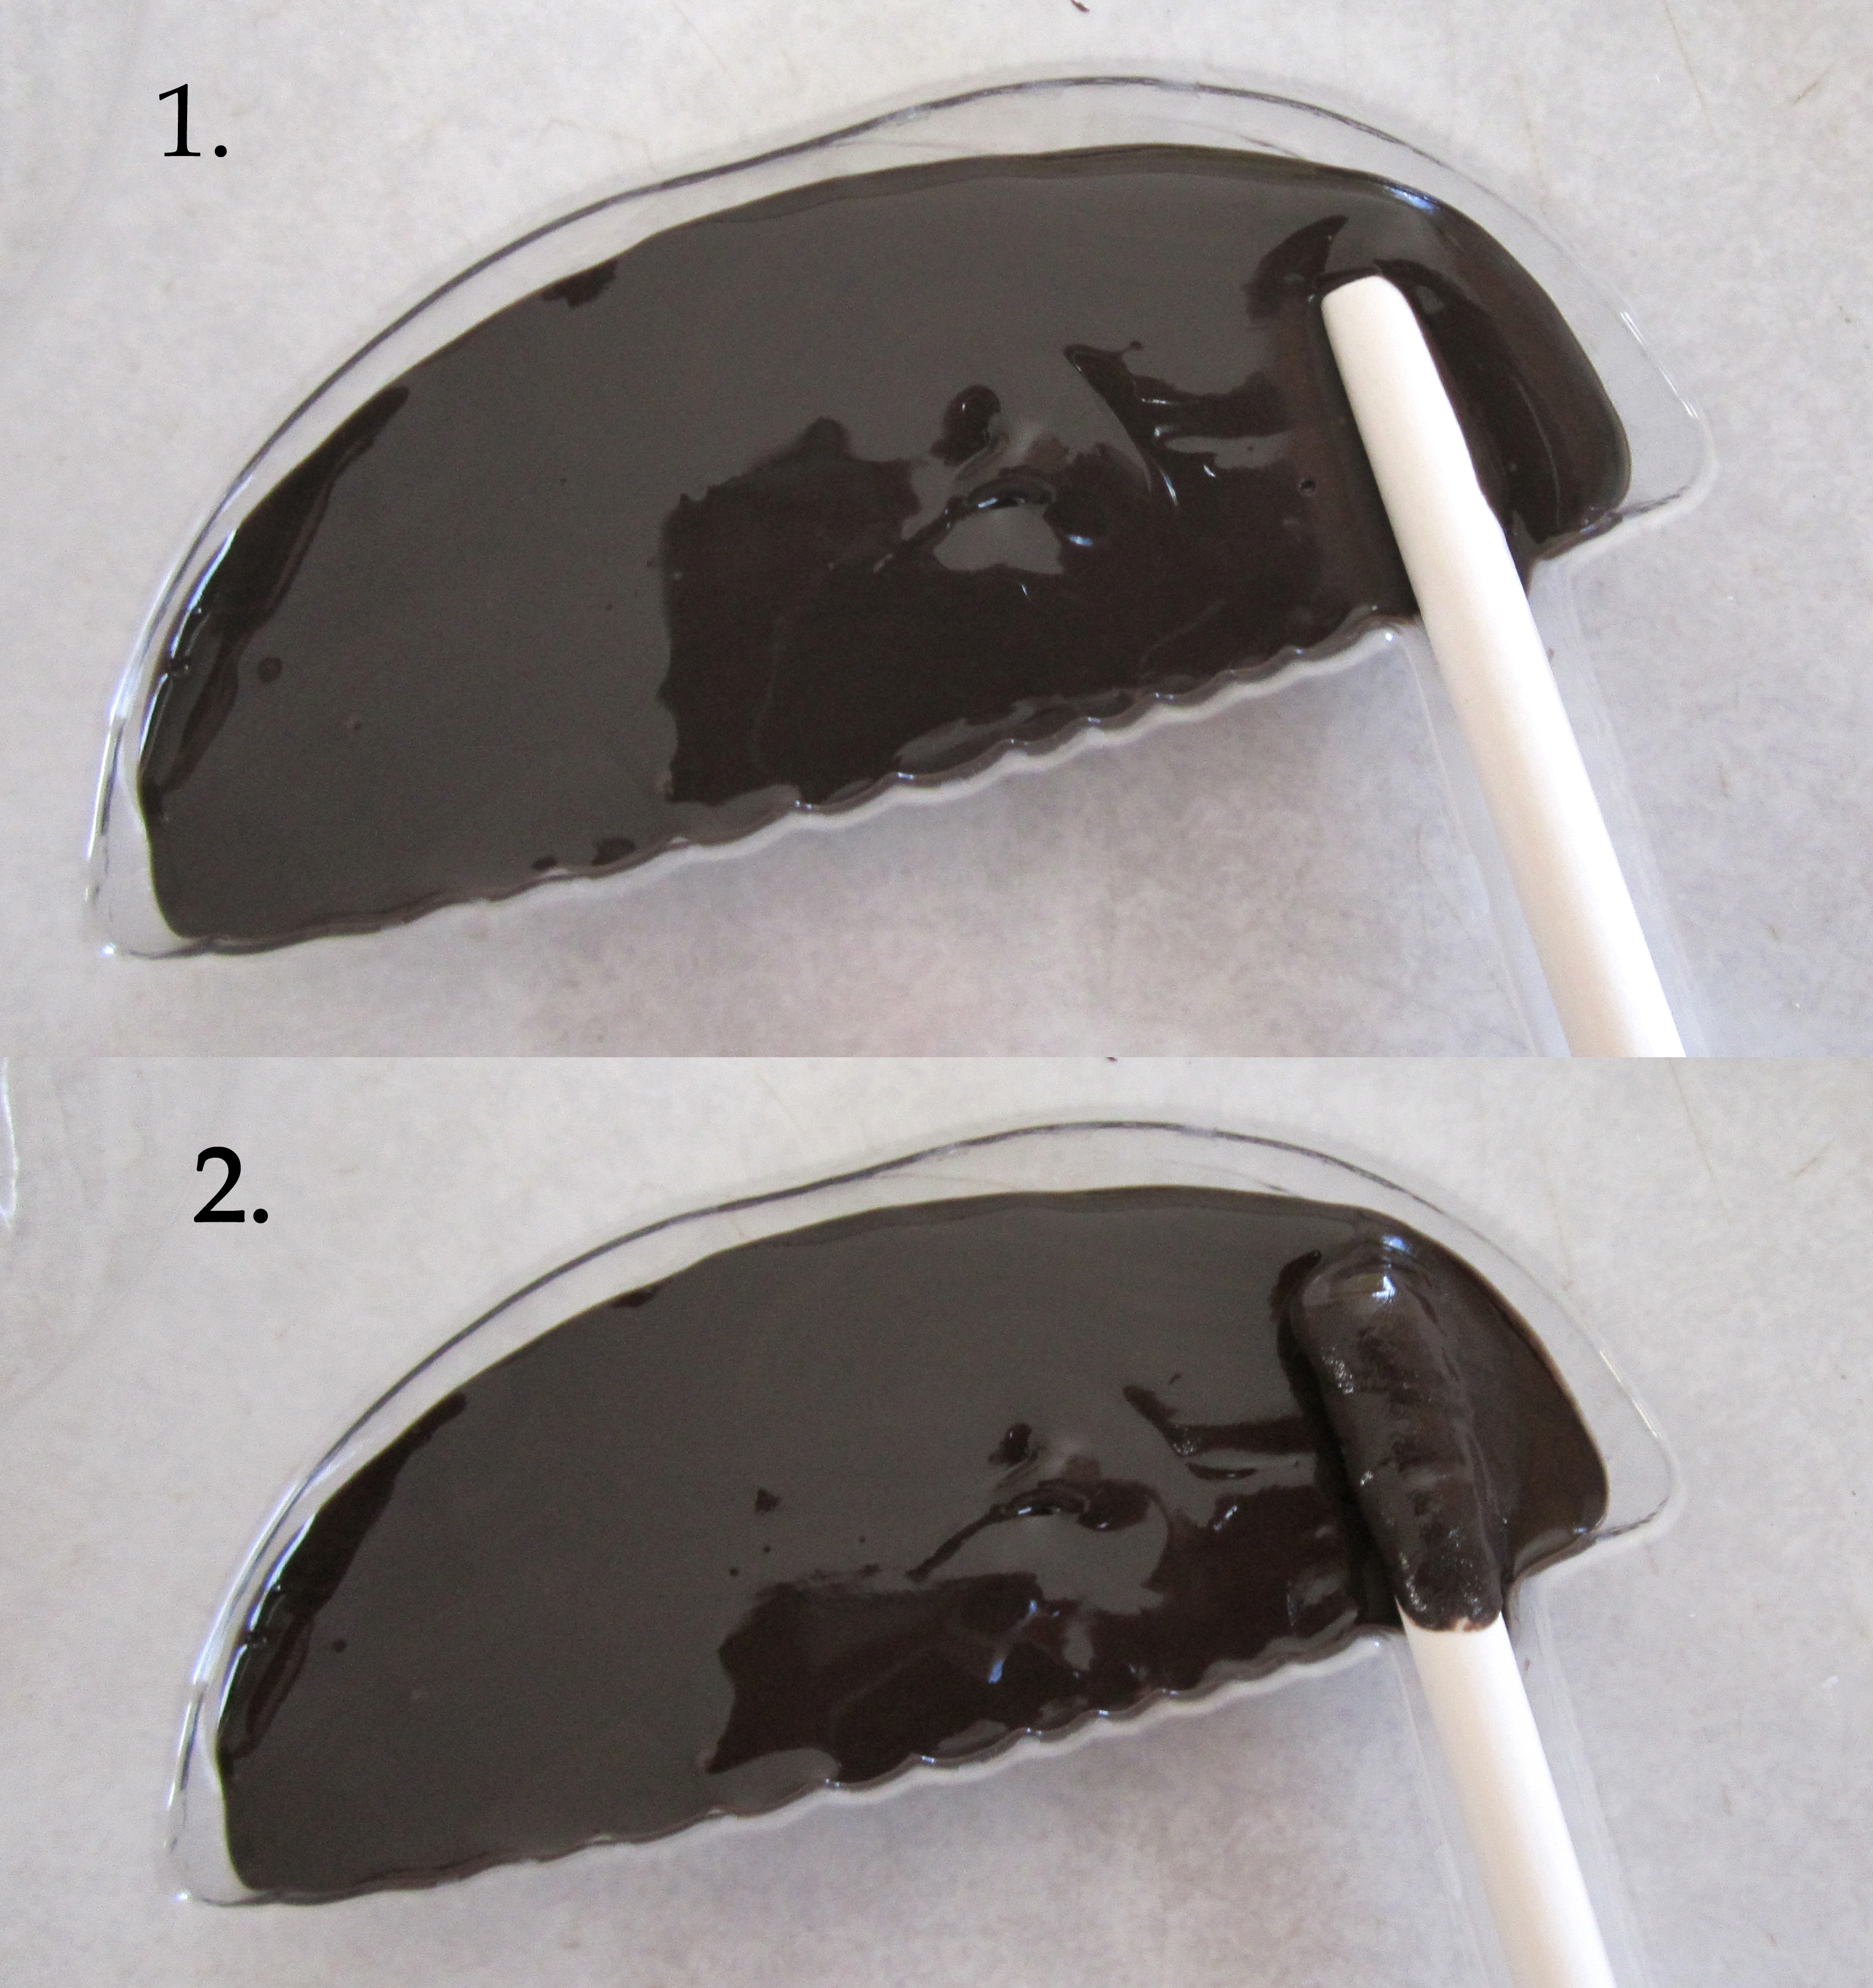
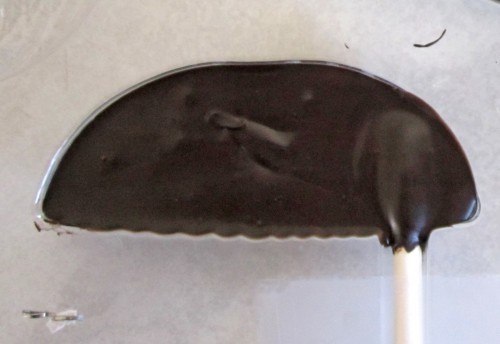
Step 3: Insert candy sticks into chocolate, twist to cover the whole end of the stick. Fill the rest of the mold with chocolate.
Step 3: Put mold in refrigerator or freezer until hardened.
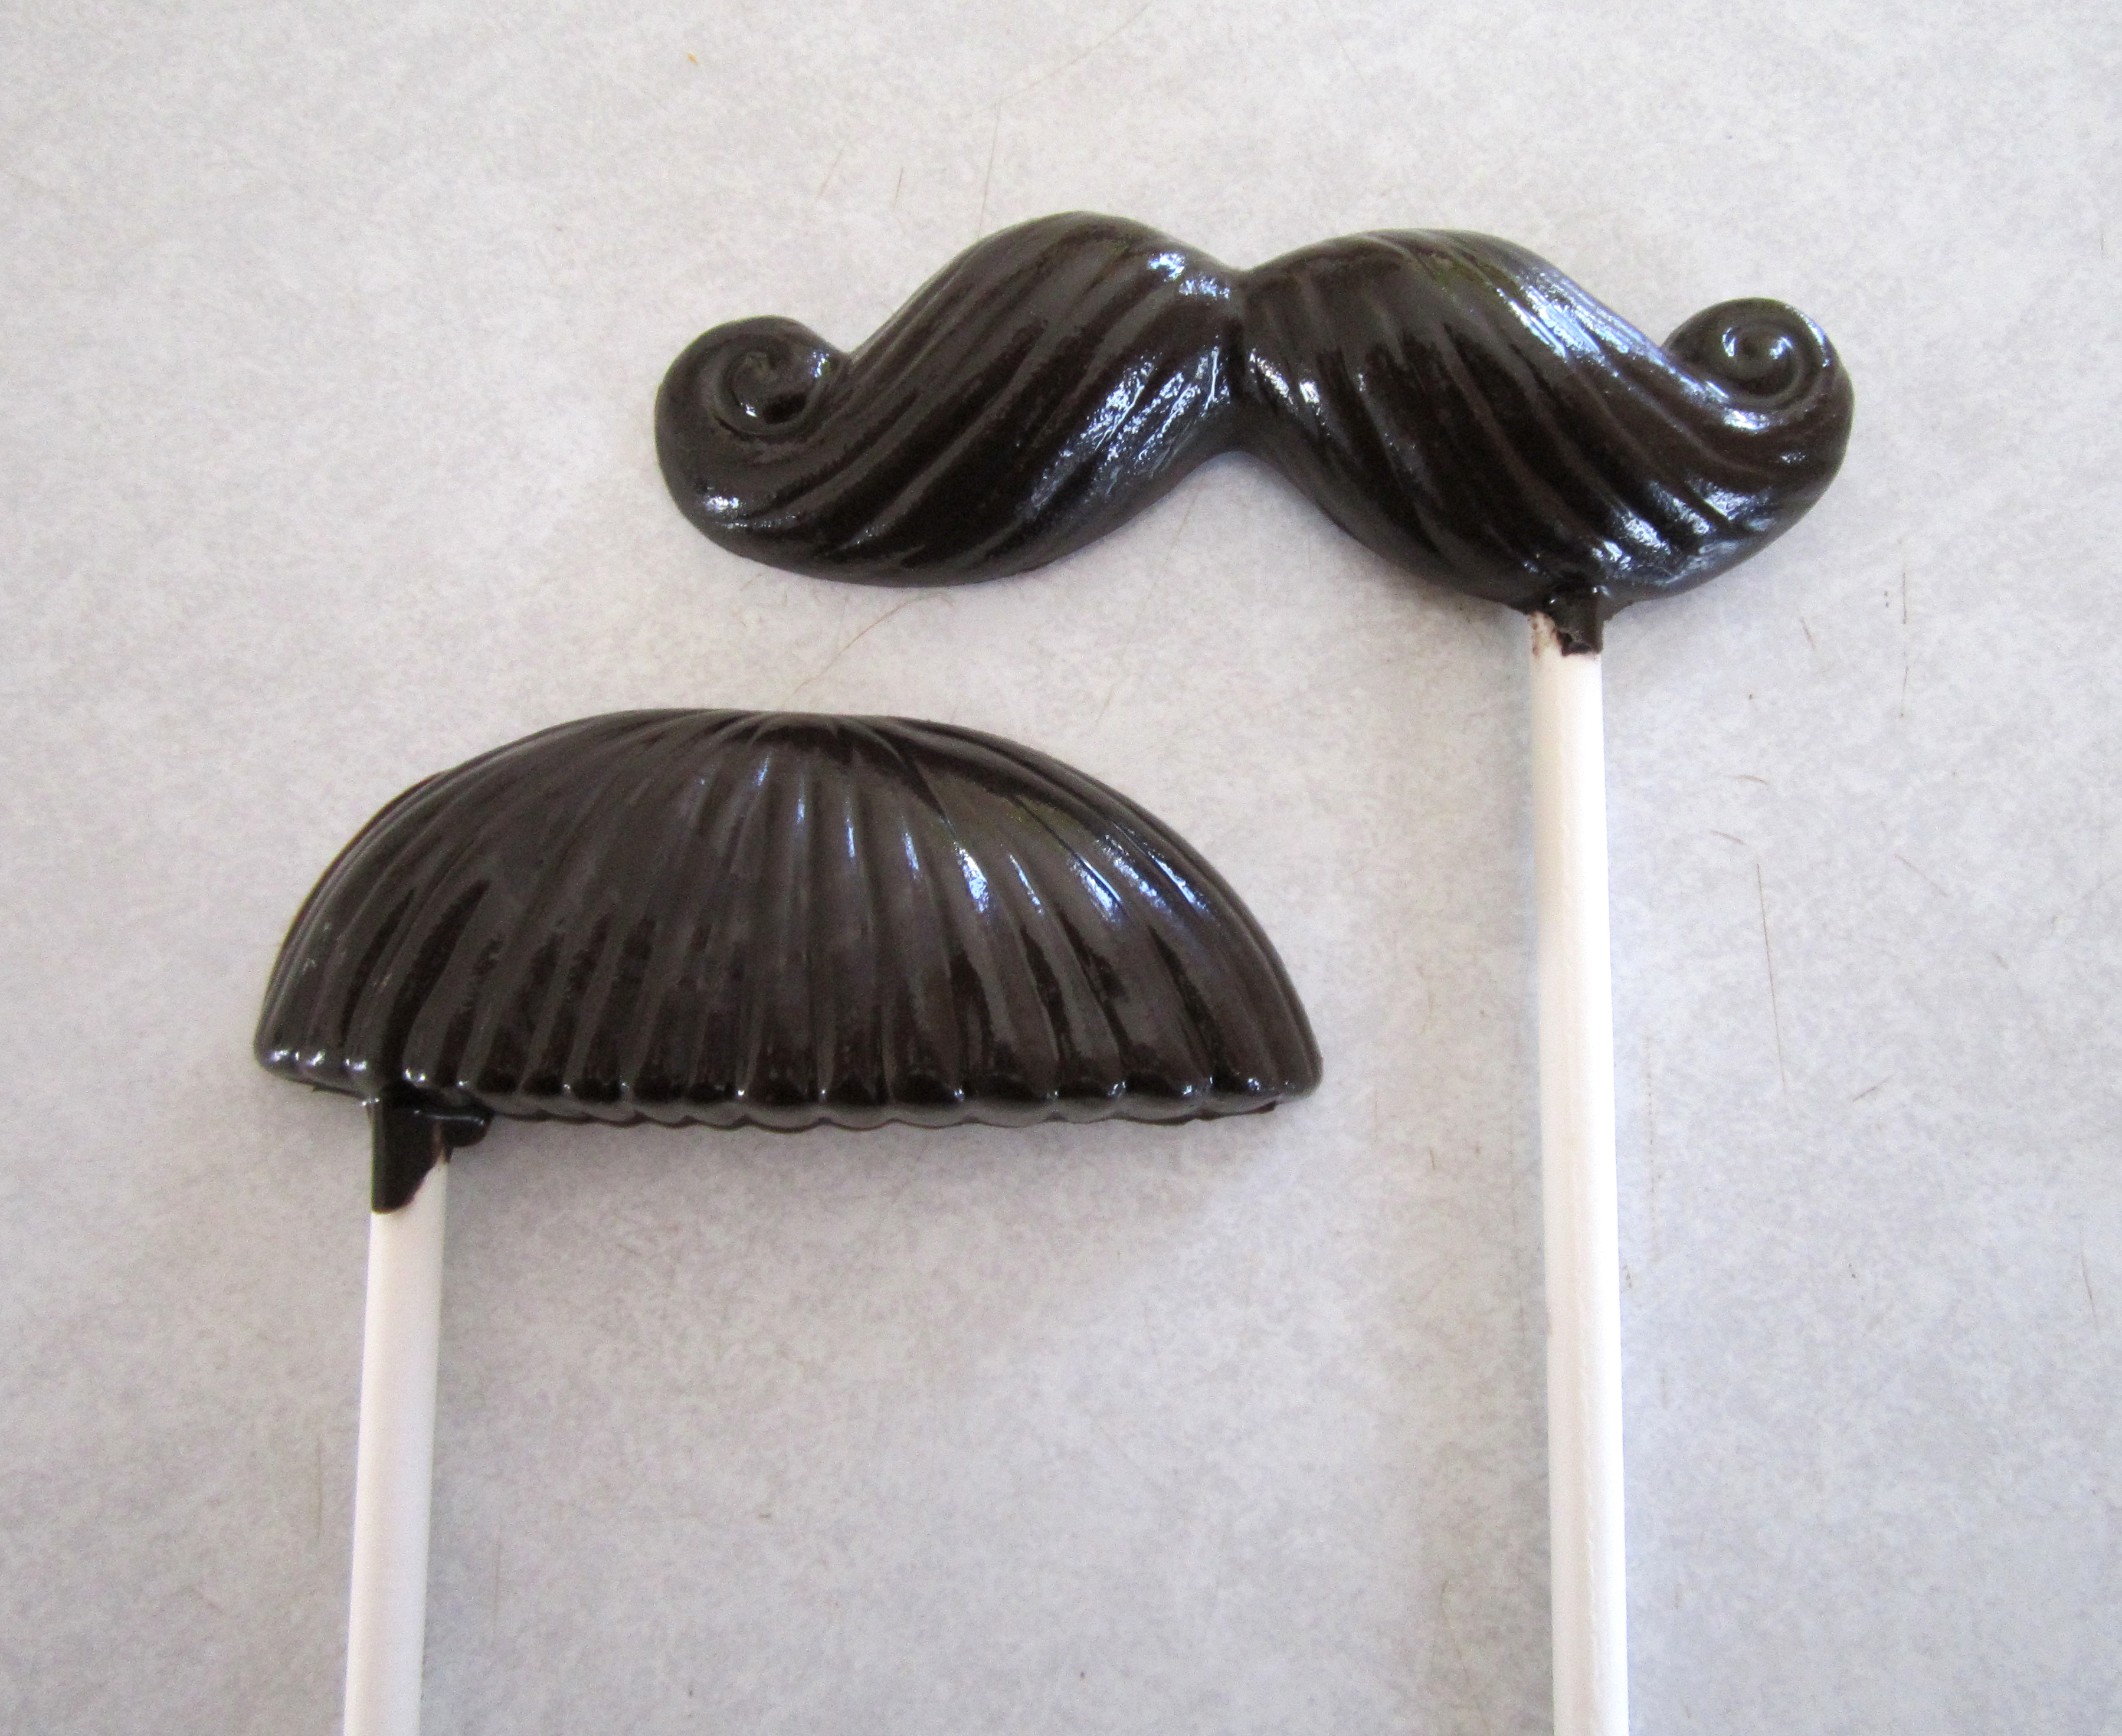
Step 4: Gently wiggle mold to loosen and turn out on counter.
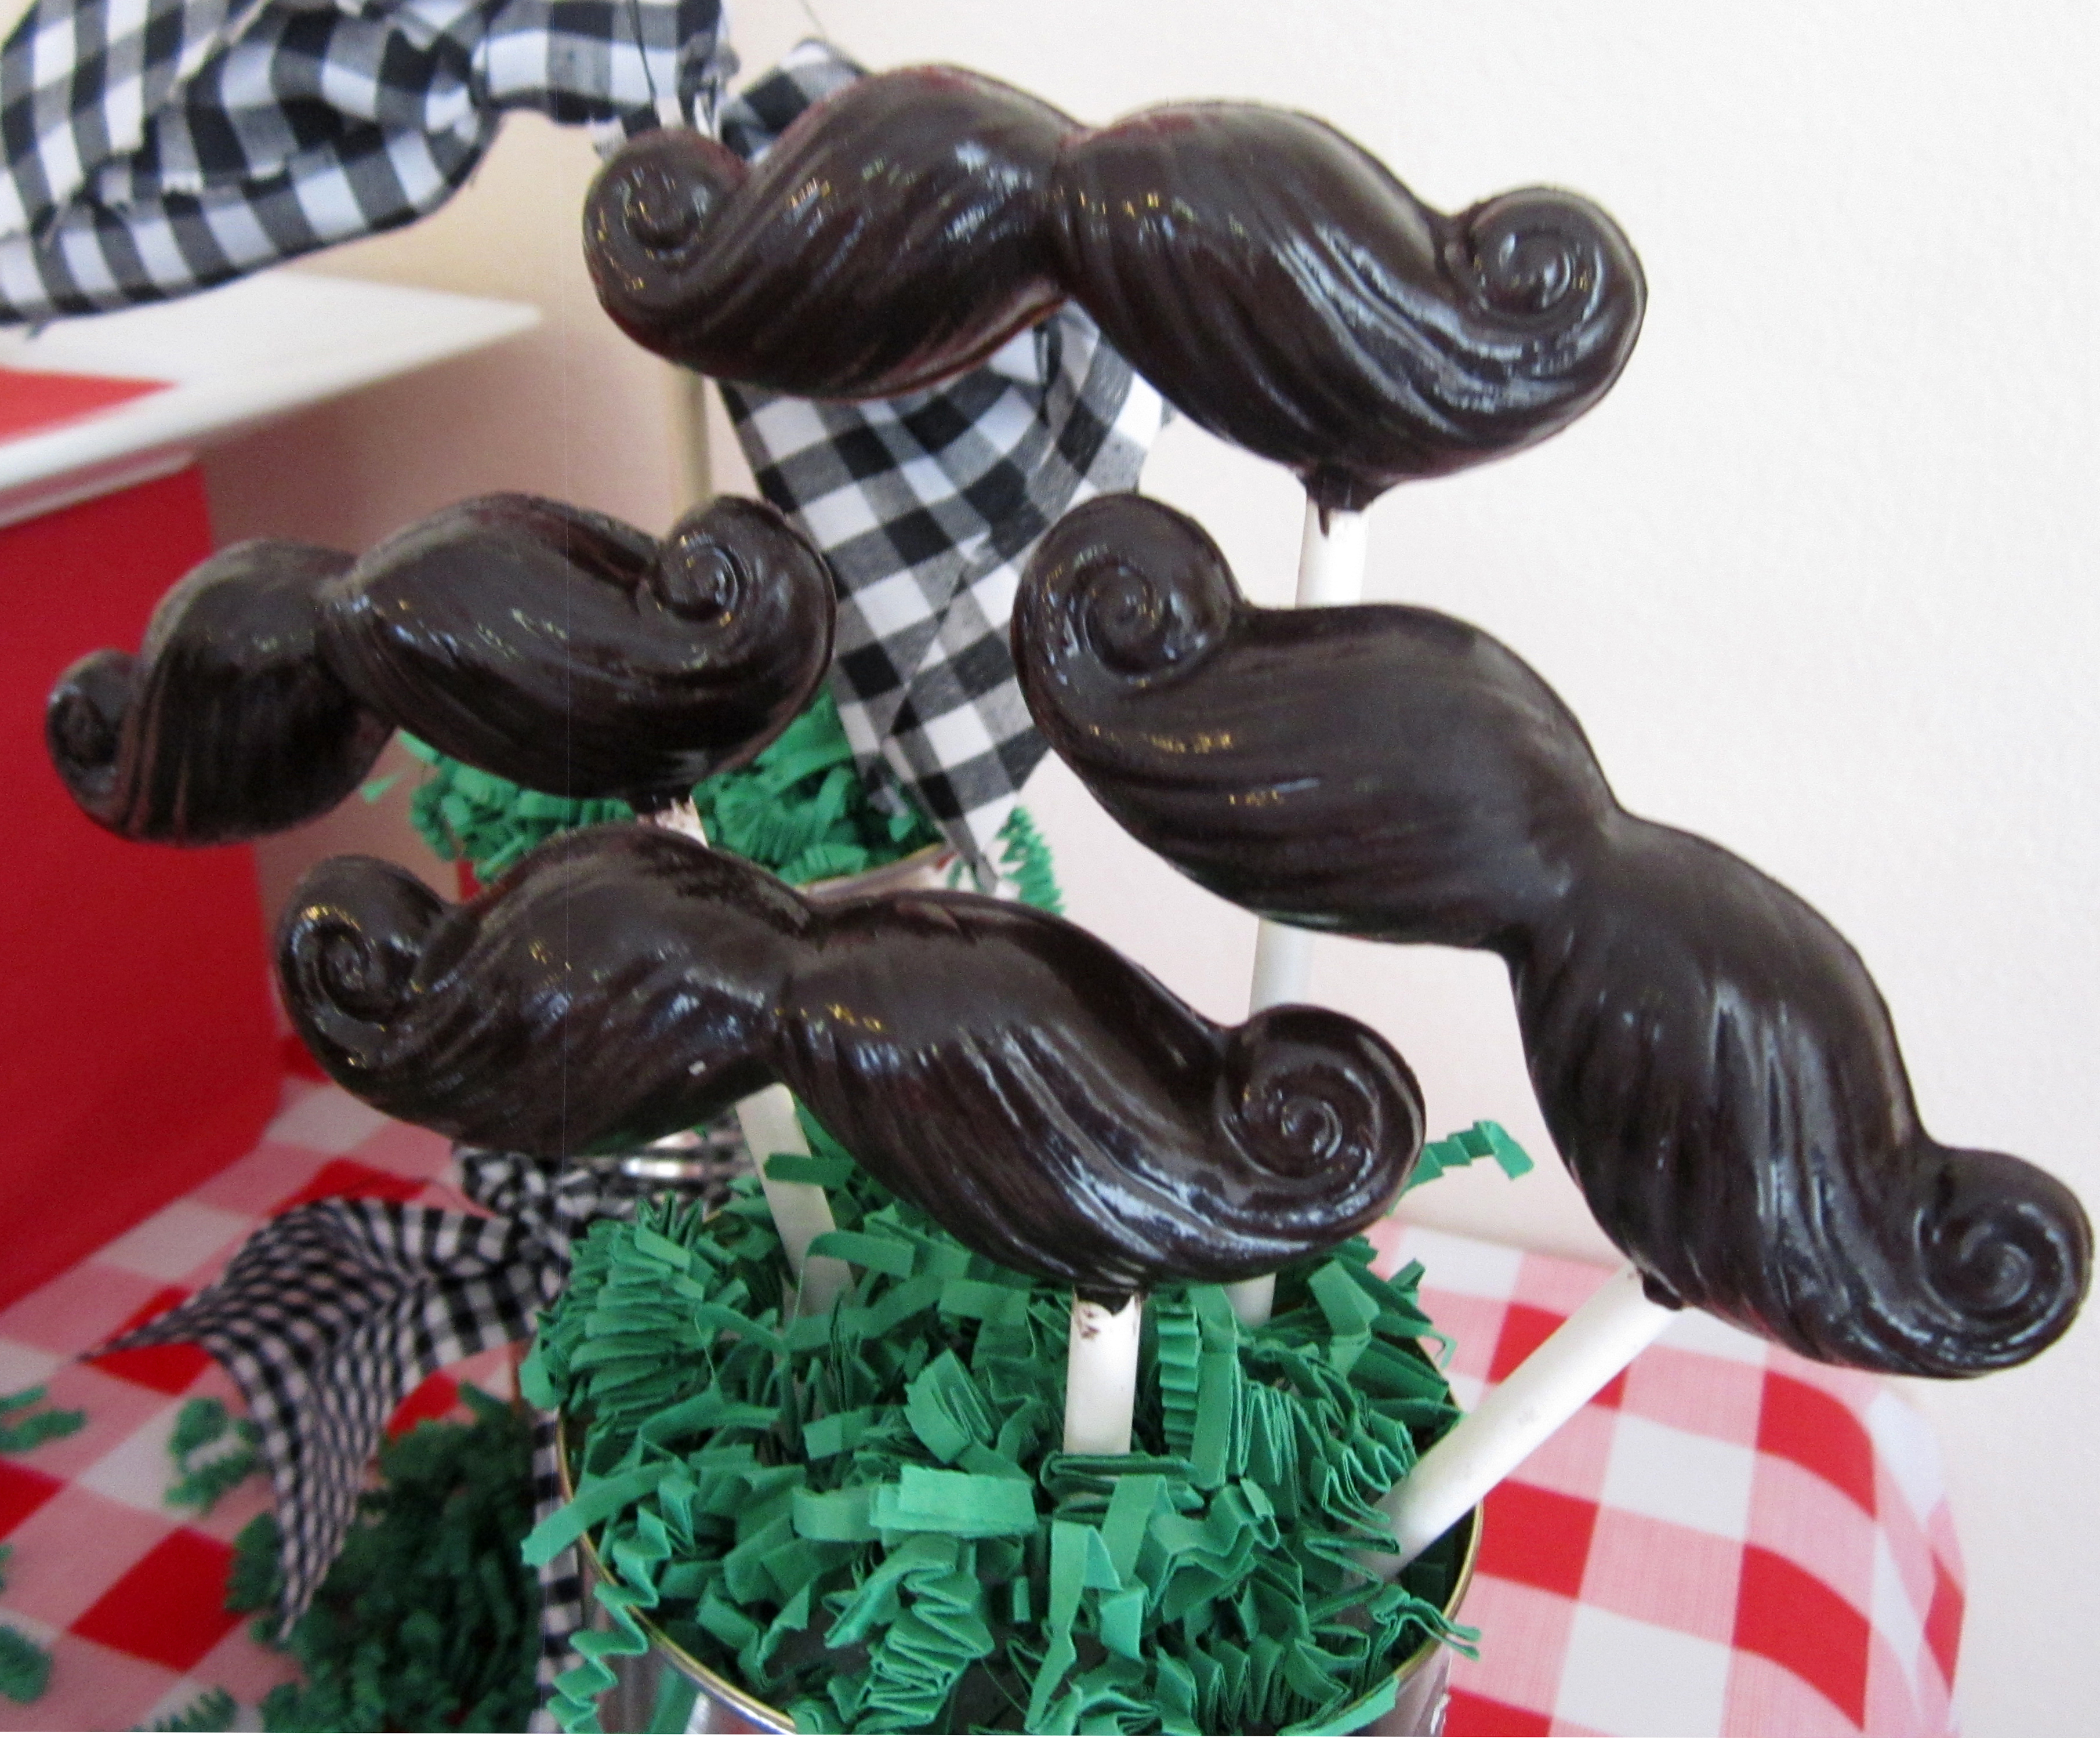
Viola! Now you have super cute (and yummy) party favor!

Thanks so much for checking out my tutorial and I hope that you have fun making your own stache-tastic treats!


No comments:
Post a Comment