Find Us On Facebook

Search This Blog

.

Party Directory:

Faith Is Like A Seed Baptism

Nerf War

Harry Potter Trunk-or-Treat

o-FISH-ally 3!

Cupid Airlines Class Party

Santa's Workshop Class Party

Great Pumpkin Classroom Party

Dino Hunt/Movie

Puppy Paw-ty

Summer Fun Human Bowling

Minion Teacher Appreciation

Grinchmas

Gymnastics Party

Trunk or Treat

8 is Great! Baptism Celebration

Hollywood Teacher Appreciaton

1st Circus Birthday

Hippie Valentines Party

"Be Ugly" Christmas Party

Rainbow Dash Pony Party

Hogwarts School of Witchcraft & Wizardry

Butterfly Dessert Table

Vintage School Baby Shower

Bee My Valentine

Reindeer Games Breakfast

Ghost Busters!

Brave Birthday

Gender Reveal Election

Super Dad Father's Day

Papa's Pizzeria Party

A Party for my Peeps!

St. Patrick's Day Party

Buttons & Bows Baby Shower

Milk and Cookies on the Farm

2 Peas in a Pod Diaper Shower

Yo Ho Matey! Pirate Party

Bedtime Stories Baby Shower

1st Bee-Day

Dr. Seuss Baby Shower

Birthday Zoo-fari

Thomas the Train Birthday

Monday, July 23, 2012

Outdoor Photo Booth Tutorial

Today I wanted to share a fun summer tutorial with you all. Photo Booths have been all the rage for some years now for all sorts of parties and events. They are a great activity for guests of all ages, and also create fun  memories with pictures to go along. We have done them many times  as well and I must say that I am a huge fan! They are extremely simple to do, both indoors and out. Since more parties are done outside in the summer time I thought I would share one way to make a photo booth outdoors for all that fun!
Supplies:
PVC pipe - 3 pieces
Elbow PVC joints - 2 pieces
2 Rebar & a hammer
Fabric/Curtain
You can get all these products (probably not the fabric you want though) at your local hardware store for fairly inexpensive.
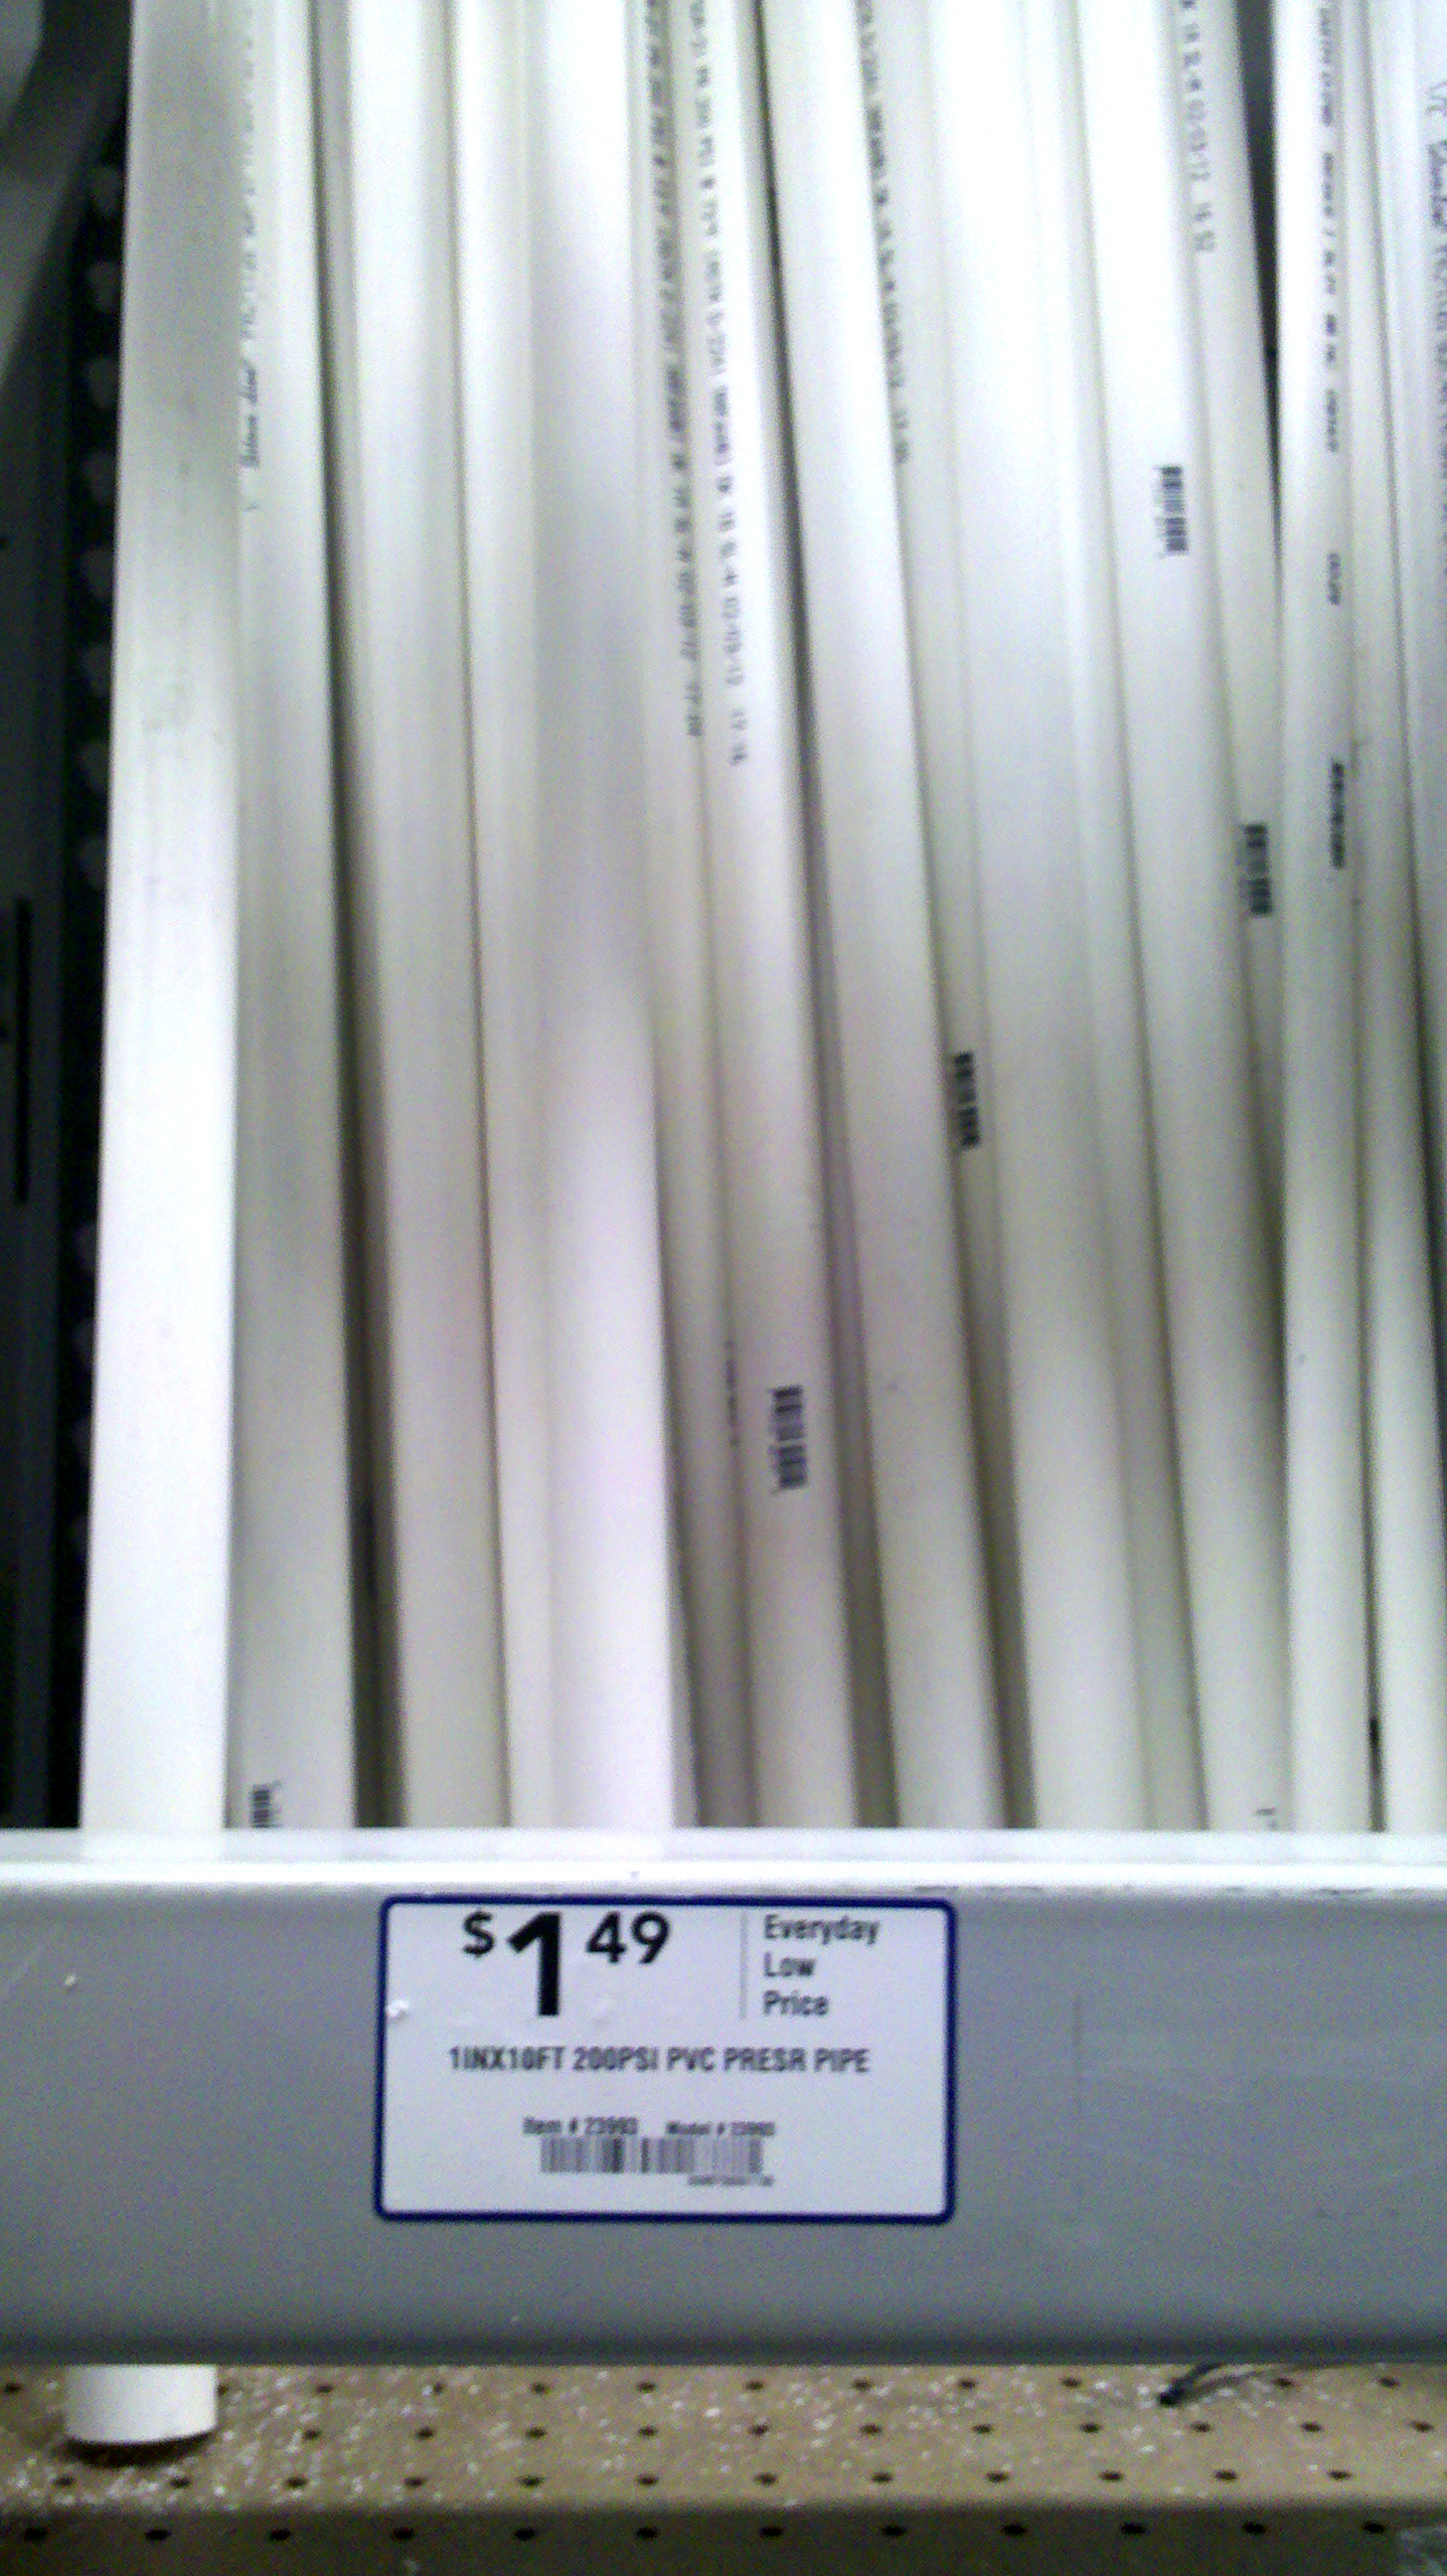
PVC comes in all different widths and lengths. If you don't see the lengths you want for the height and length for you photo booth, the friendly workers can trim them down for you :)
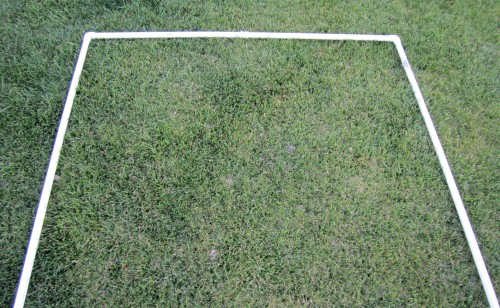
Assemble your pieces together into a 'U' shaped frame, mine was 5 feet tall and about 8 feet long
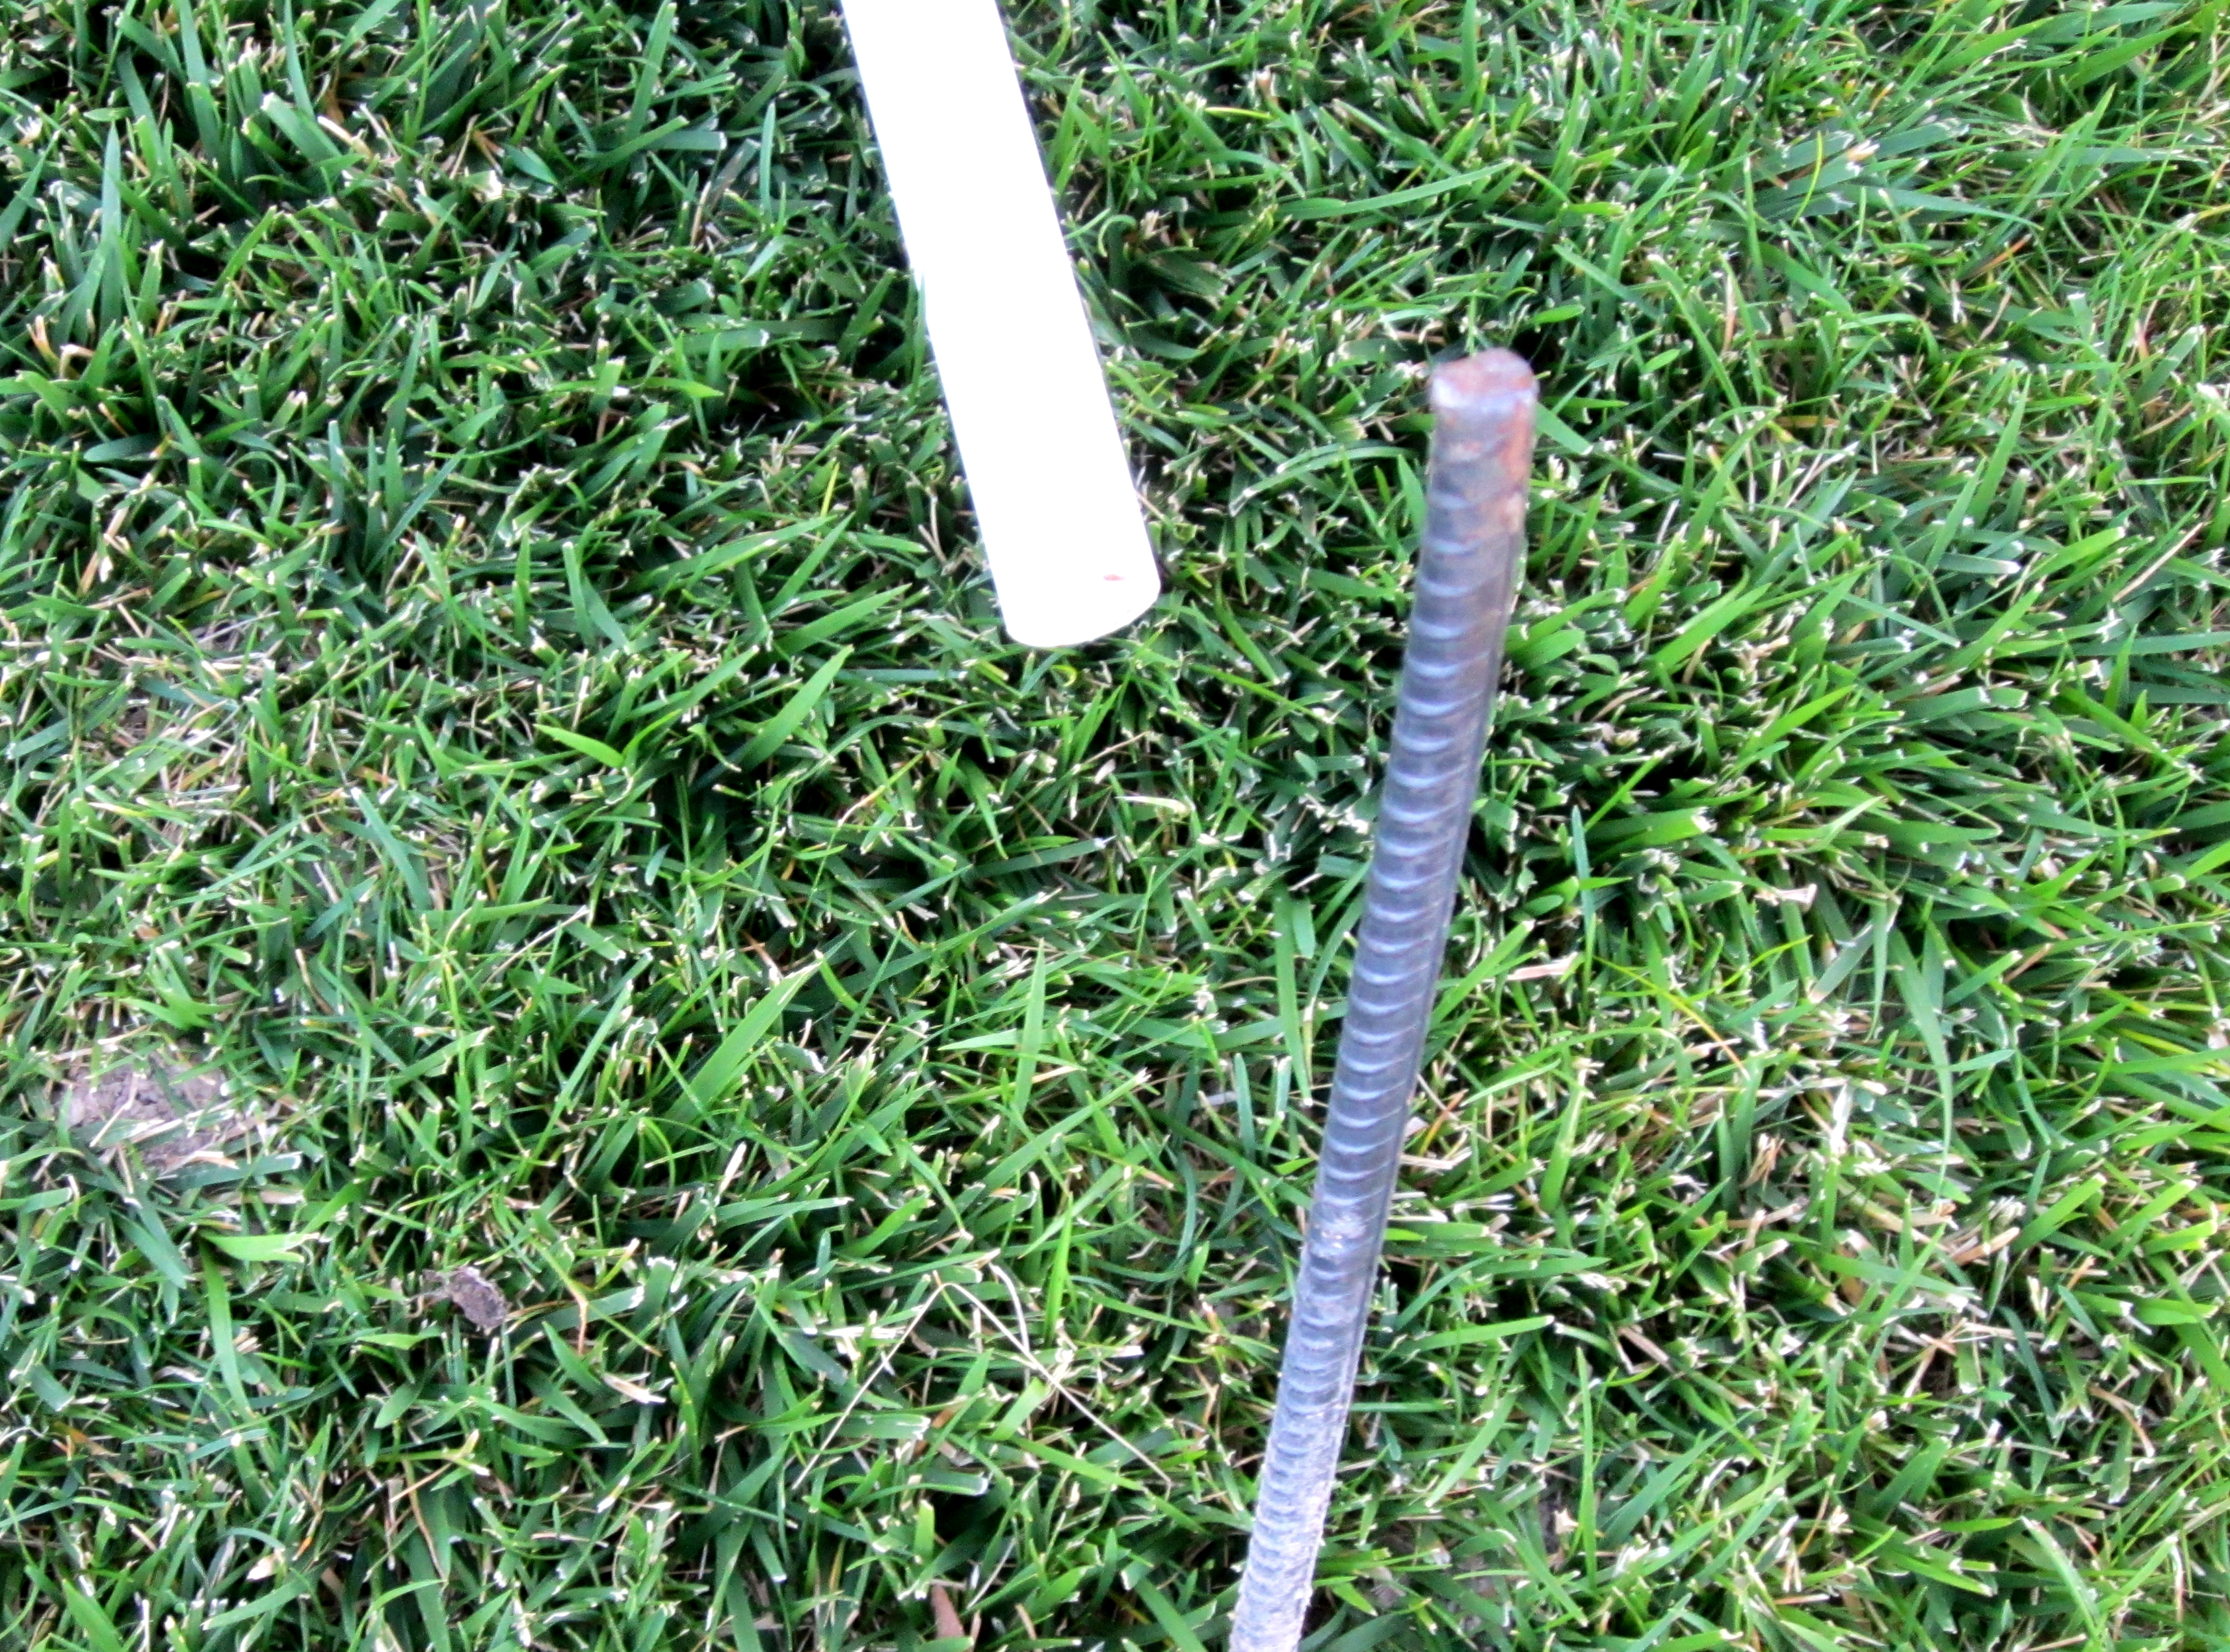
Space your rebards the length of your frame and hammer into the ground.
Thread or hang your fabric onto your frame and insert onto the rebars
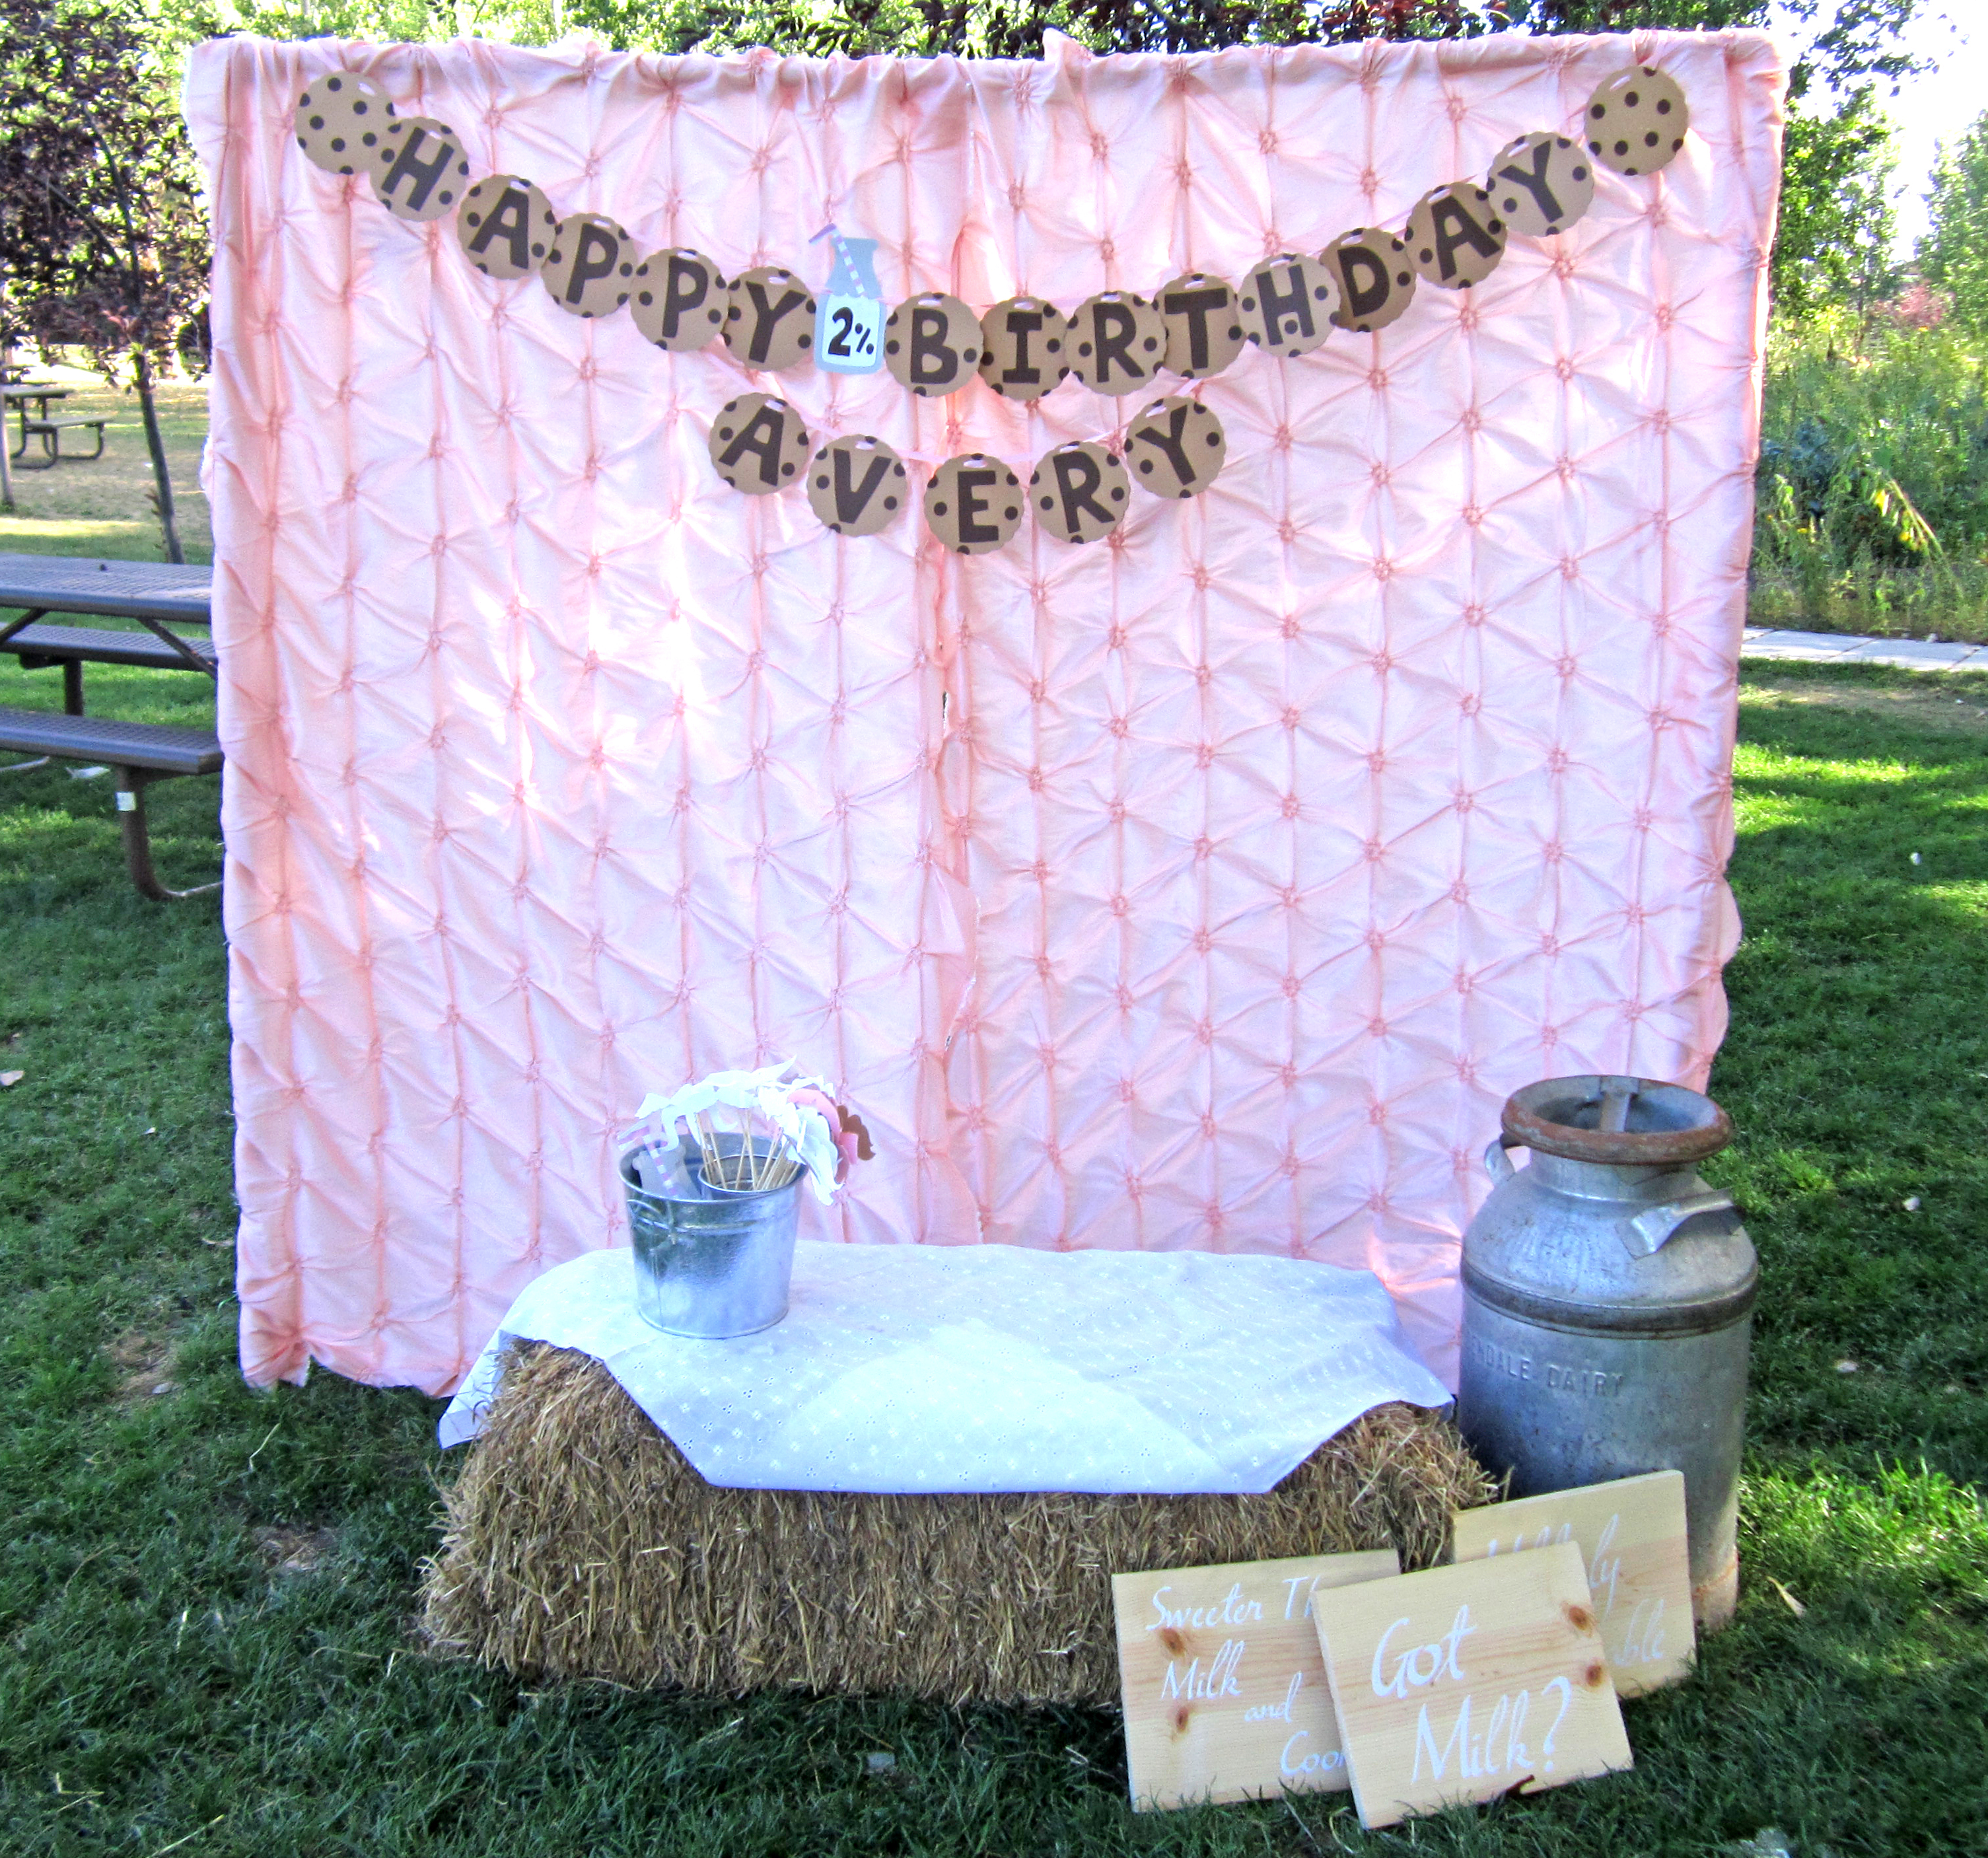
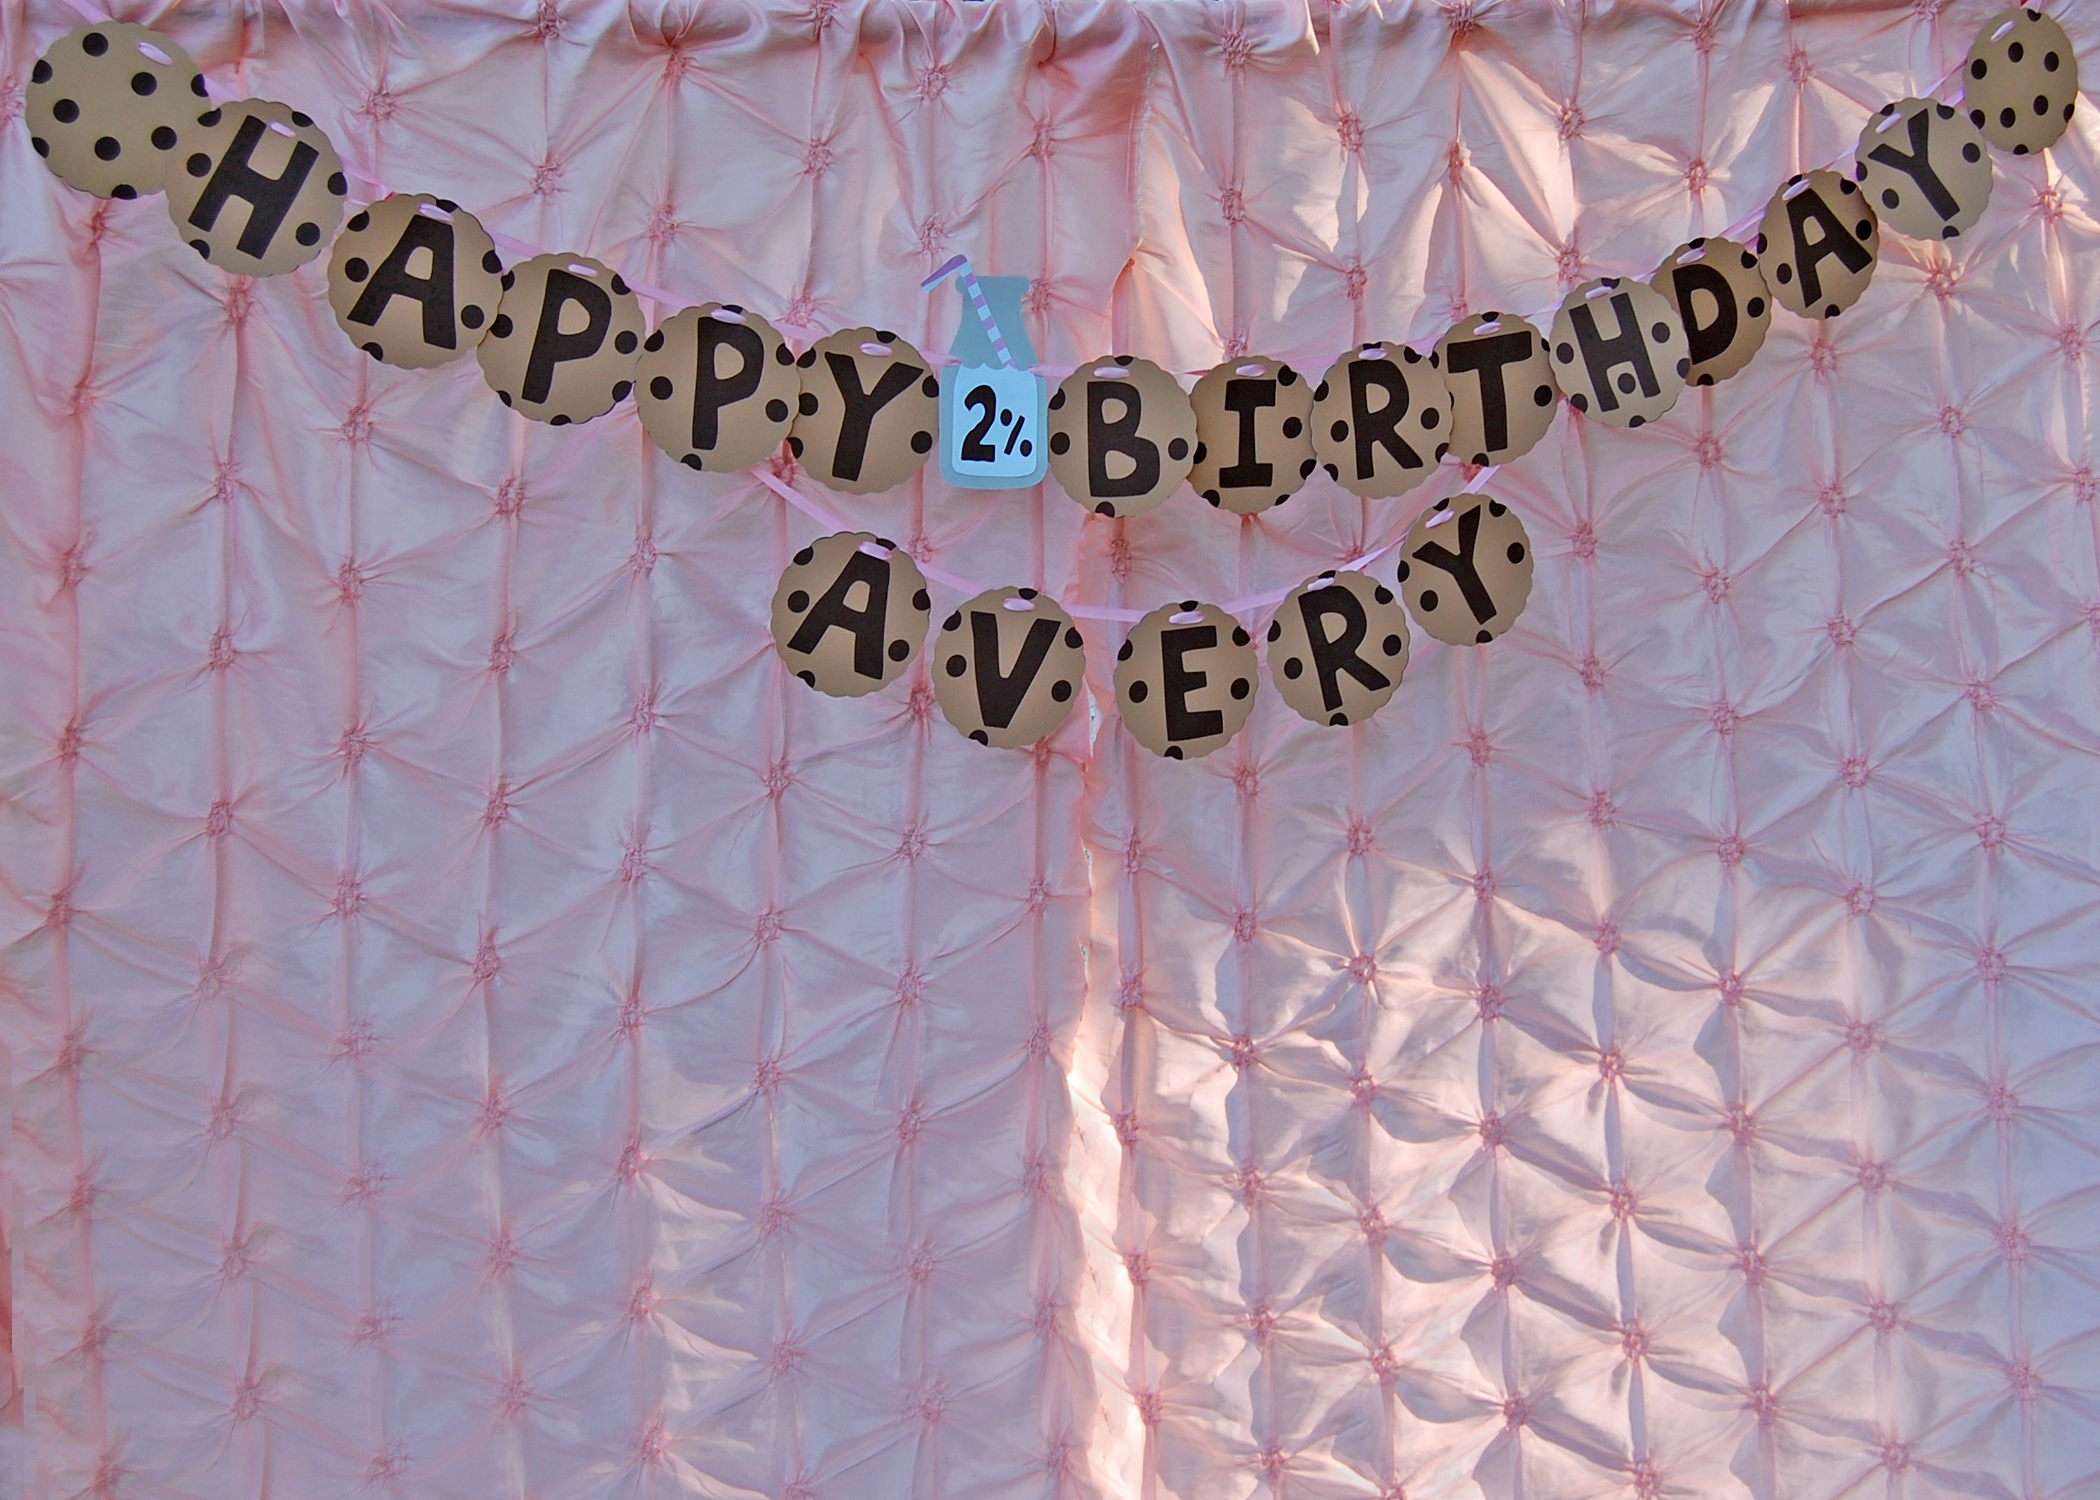
Accent your area with banners, props, and more!
This photo booth was done for part my daughters 2nd birthday party that was a Milk &  Cookies on the Farm party that you can find all the details here on my blog.
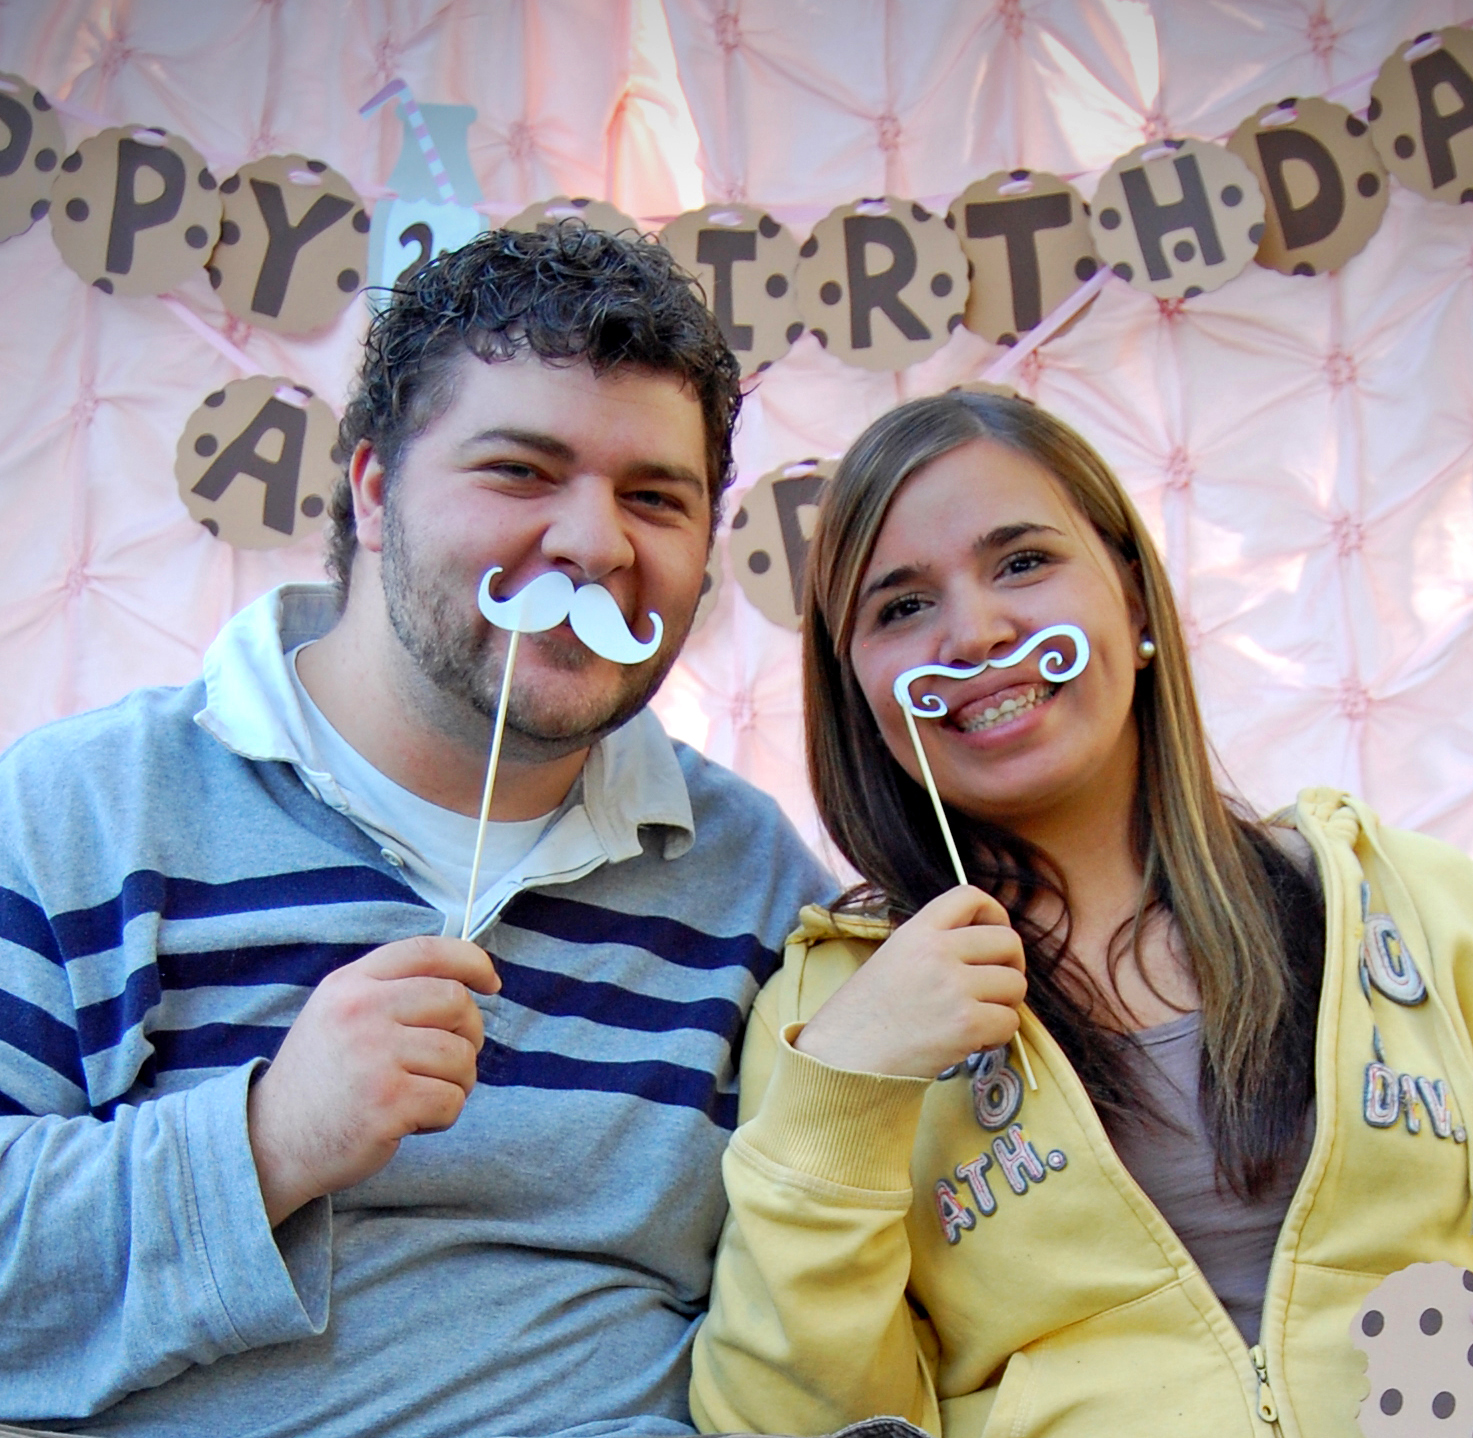
Some fun props we had were milk mustaches,
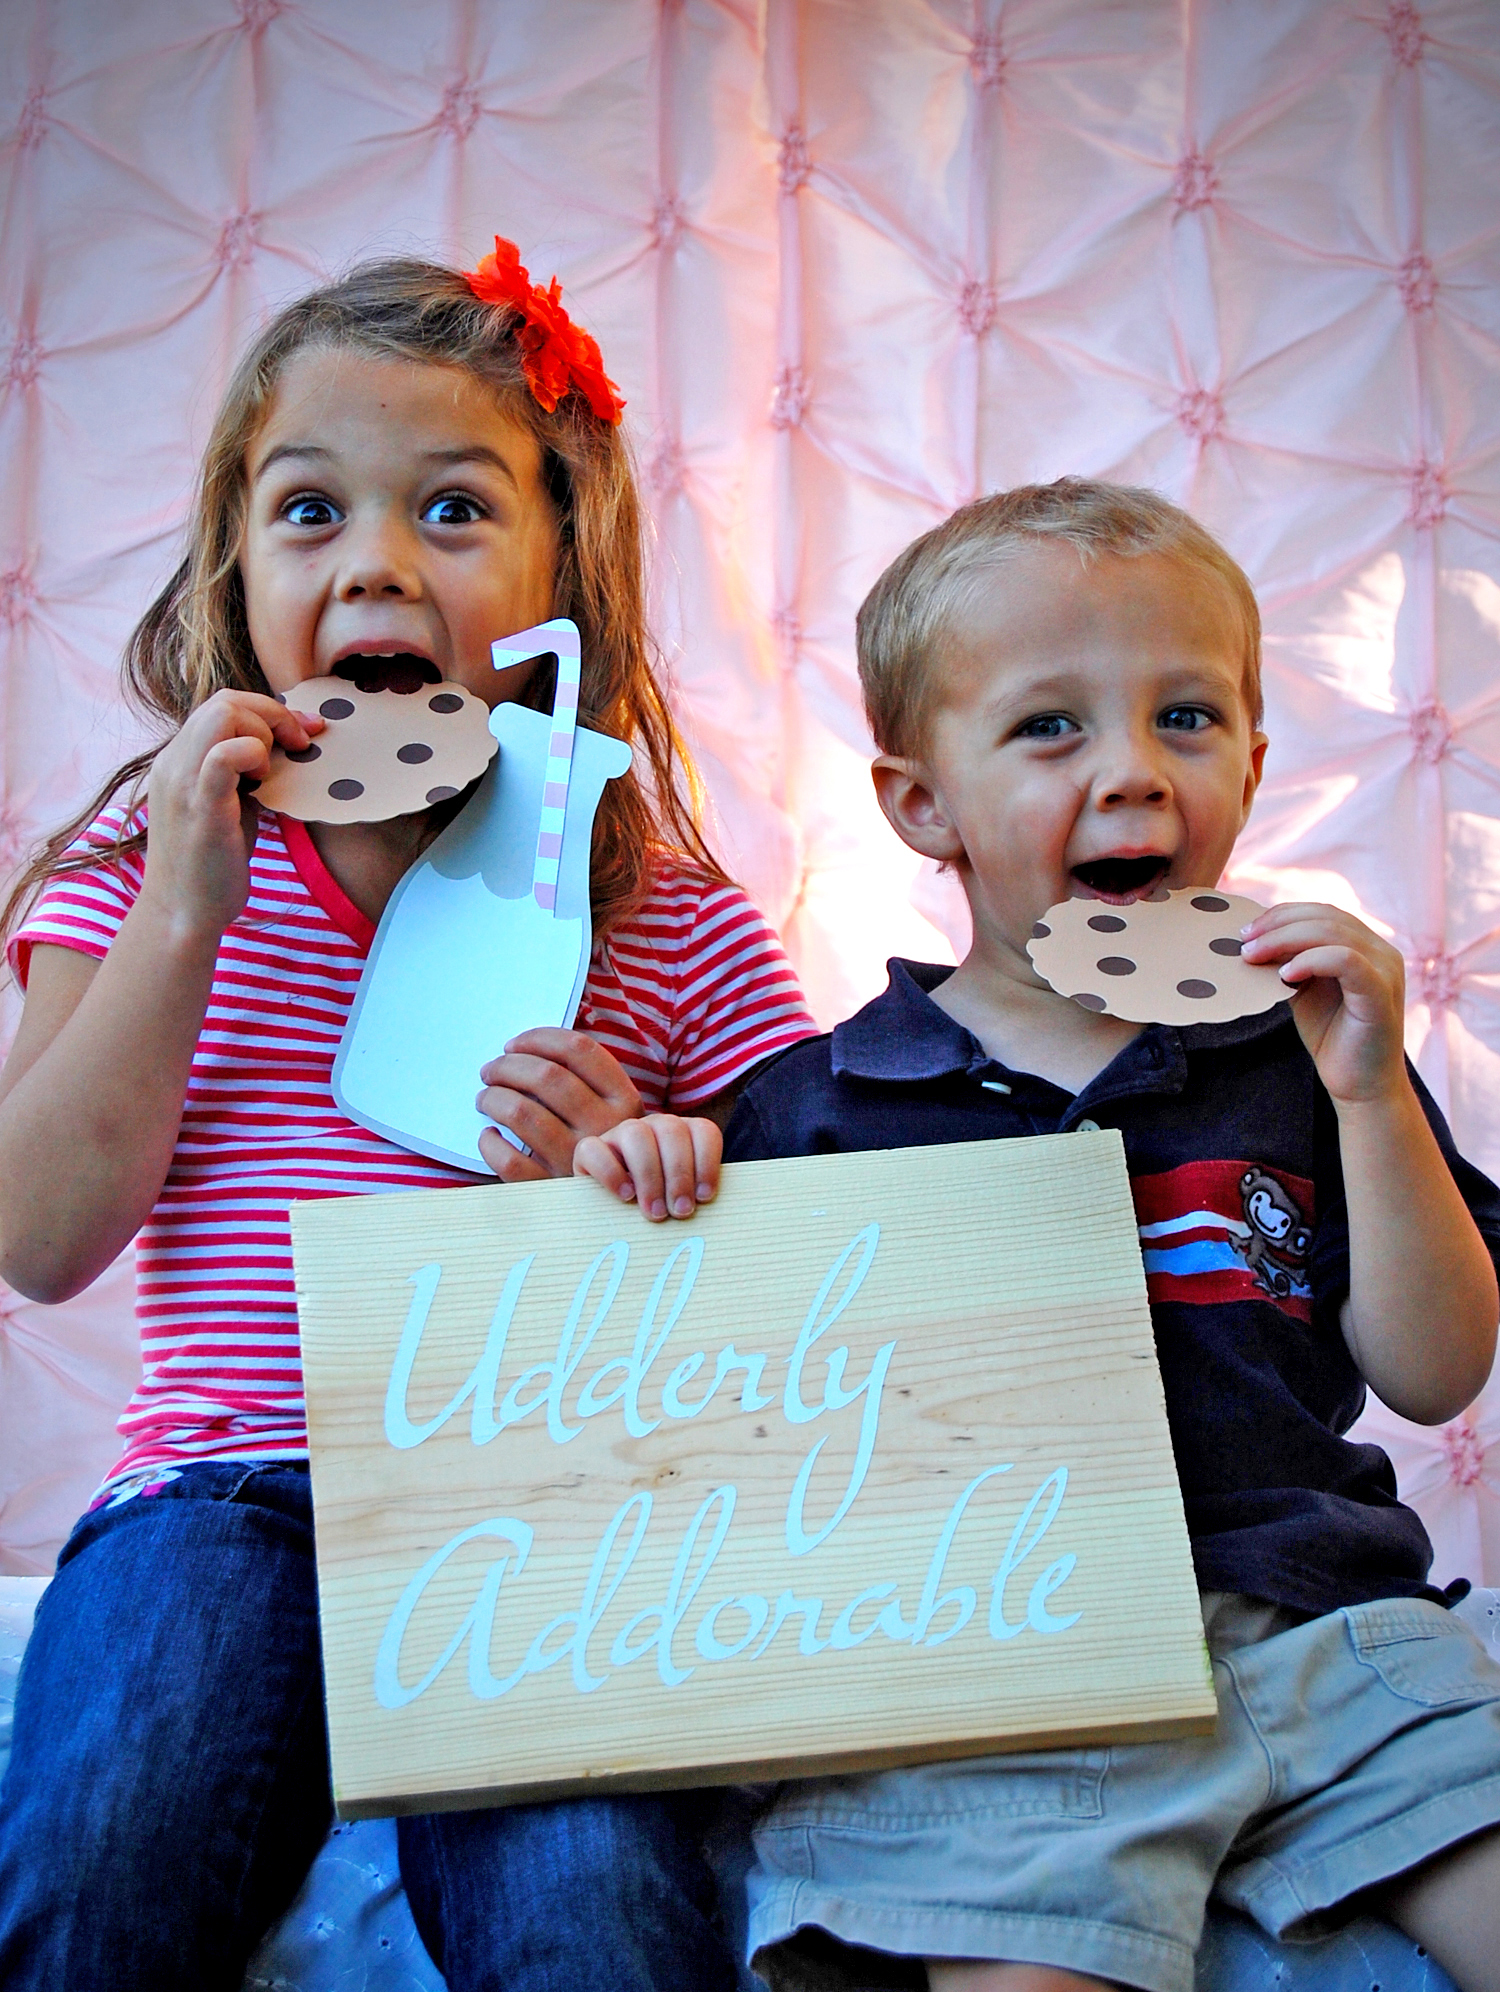
milk and cookie photo props, milk cans and themed signs.
I hope that you all enjoyed this post and inspires you to create some of your own memories and photos.

Tuesday, July 17, 2012

Kara's Party Ideas - the Book Presale!


I am SO EXCITED to help spread the word for my dear friend Kara Allen from the uber popular blog Kara's Party Ideas book cover reveal and presale starting today! You can now pre-order the book on Amazon for a special price of only $19.99! The book will hit shelves nationwide on October 9th.

Kara's Party Ideas is full of Never-before-seen parties and tips. There are 13 parties displayed in remarkable detail and descriptions, plus lots of photos and step by step instructions on how to create each party! 

Here is a little special sneek peek treat to get your taste buds excited....
Also one other reason that I am SO EXITED for this book is that we got to be contributors!!! You see that super adorable hot air balloon cake on the cover?!? Well that was made by yours truly! YUP! Along with lots of of special treats you will just have to buy a copy of the book to see!

*Even though I made the cake, the original design and concept was created by Jessicakes!
Thank you for sharing your fabulous work and creations!

So hurry on over to Amazon and order today, I just ordered mine!

Kara’s Party Ideas also includes a CD containing printable invites and party decor to go along with many of the party themes!

Tuesday, July 3, 2012

Comic Book Bunting Tutorial


Today I am going to show you how to make these SUPER comic book banners!
Here is what you are going to need:
Your favorite comic books (you can find them cheap, I got mine online for about $.80 each)
Double fold bias take
Craft knife and ruler, or paper trimmer
Sewing machine
Carefully remove/cut the desired pages from your comic books. Using your ruler and knife or paper trimmer cut a triangle from the top two corners to the bottom center.
Line the top of your pennants in between the bias folds and sew together using a straight stitch on your sewing machine.
Ka-Pow! Your done!
These were made for a special 'Super Dad' father's day luncheon my family had. You can see more details and pics from this party here on my blog.
Another great thing about this tutorial is that you can use it with any style or pattern of paper so you can totally customize it to fit any celebration and color assortment.