Find Us On Facebook

Search This Blog

.

Party Directory:

Faith Is Like A Seed Baptism

Nerf War

Harry Potter Trunk-or-Treat

o-FISH-ally 3!

Cupid Airlines Class Party

Santa's Workshop Class Party

Great Pumpkin Classroom Party

Dino Hunt/Movie

Puppy Paw-ty

Summer Fun Human Bowling

Minion Teacher Appreciation

Grinchmas

Gymnastics Party

Trunk or Treat

8 is Great! Baptism Celebration

Hollywood Teacher Appreciaton

1st Circus Birthday

Hippie Valentines Party

"Be Ugly" Christmas Party

Rainbow Dash Pony Party

Hogwarts School of Witchcraft & Wizardry

Butterfly Dessert Table

Vintage School Baby Shower

Bee My Valentine

Reindeer Games Breakfast

Ghost Busters!

Brave Birthday

Gender Reveal Election

Super Dad Father's Day

Papa's Pizzeria Party

A Party for my Peeps!

St. Patrick's Day Party

Buttons & Bows Baby Shower

Milk and Cookies on the Farm

2 Peas in a Pod Diaper Shower

Yo Ho Matey! Pirate Party

Bedtime Stories Baby Shower

1st Bee-Day

Dr. Seuss Baby Shower

Birthday Zoo-fari

Thomas the Train Birthday

Tuesday, May 22, 2012

Papa's Pizzeria Party


I am so excited to finally share with you all this fun little pizza party I did for the little kids I teach in my church class a little while back. They all wanted a pizza party, so the brainstorming began. It wasn't too long before I found this uber adorable Papa's Pizzeria party line from the oh so amazing Natalie from Southern Belles' Charm! It was love at first sight!

Once I decide to have a party the first thing I do is decide on the invitation. Invites set the mood for your party and get the guests attention and anticipation. Southern Belle's Charm had these pizza box invitations that were EXACTLY what I was looking for! 
I sent Natalie all my party info and she sent me the mini pizza boxes all assembled with the Papa's Pizzeria logo on the front of the box and the party info on the inside lid. I had one of my sweet friends made super big pizza cookies (like 5" around) to put inside of each invite! You seriously should have seen these kids faces when they got them! Priceless!

When kids arrived they first got to make their own personal pizzas! At the table each setting had a chef hat, pie tin (to make and cook pizza in), mini rolling pin, and  a paddle to roll out their dough on.
The toppings!

The sauce was in a squeeze bottle to make it easier and less messy for the kids.

Each child go a personalized chef hat to wear!


We wrote the names of each kid on the bottom of the pie tin with a marker to know who's belonged to who during baking. Also sprinkle a little bit of cornmeal in the bottom of each pie tin to help keep the pizza from sticking. Then have the kids roll out their dough and place IN the tin before they top.... 
Here is one of the pizza's all cooked! They turned out so nicely. We took them out of the tins and put them on plates to cut and serve. I set all the tins aside til the end of the party to put each kids left overs back in and covered with foil so they could take home.
But while the pizza's were cooking, we had a fun little place setting at the dinning room table for them. At each spot there was an activity placemat, box of crayons, cup with a moustache straw, and their personalized party favor bags. 

The activity placemats was SO adorable! The kids had so much fun drawing little moustaches on the chef, coloring in a pizza, and doing the word search!
I absolutely adored these moustache straws!
We had some sweet treats on a mini dessert table!

Paper fan rosette tutorial coming soon...
I found this super cute Chef calk board that my son named 'Chef Pisghetti'

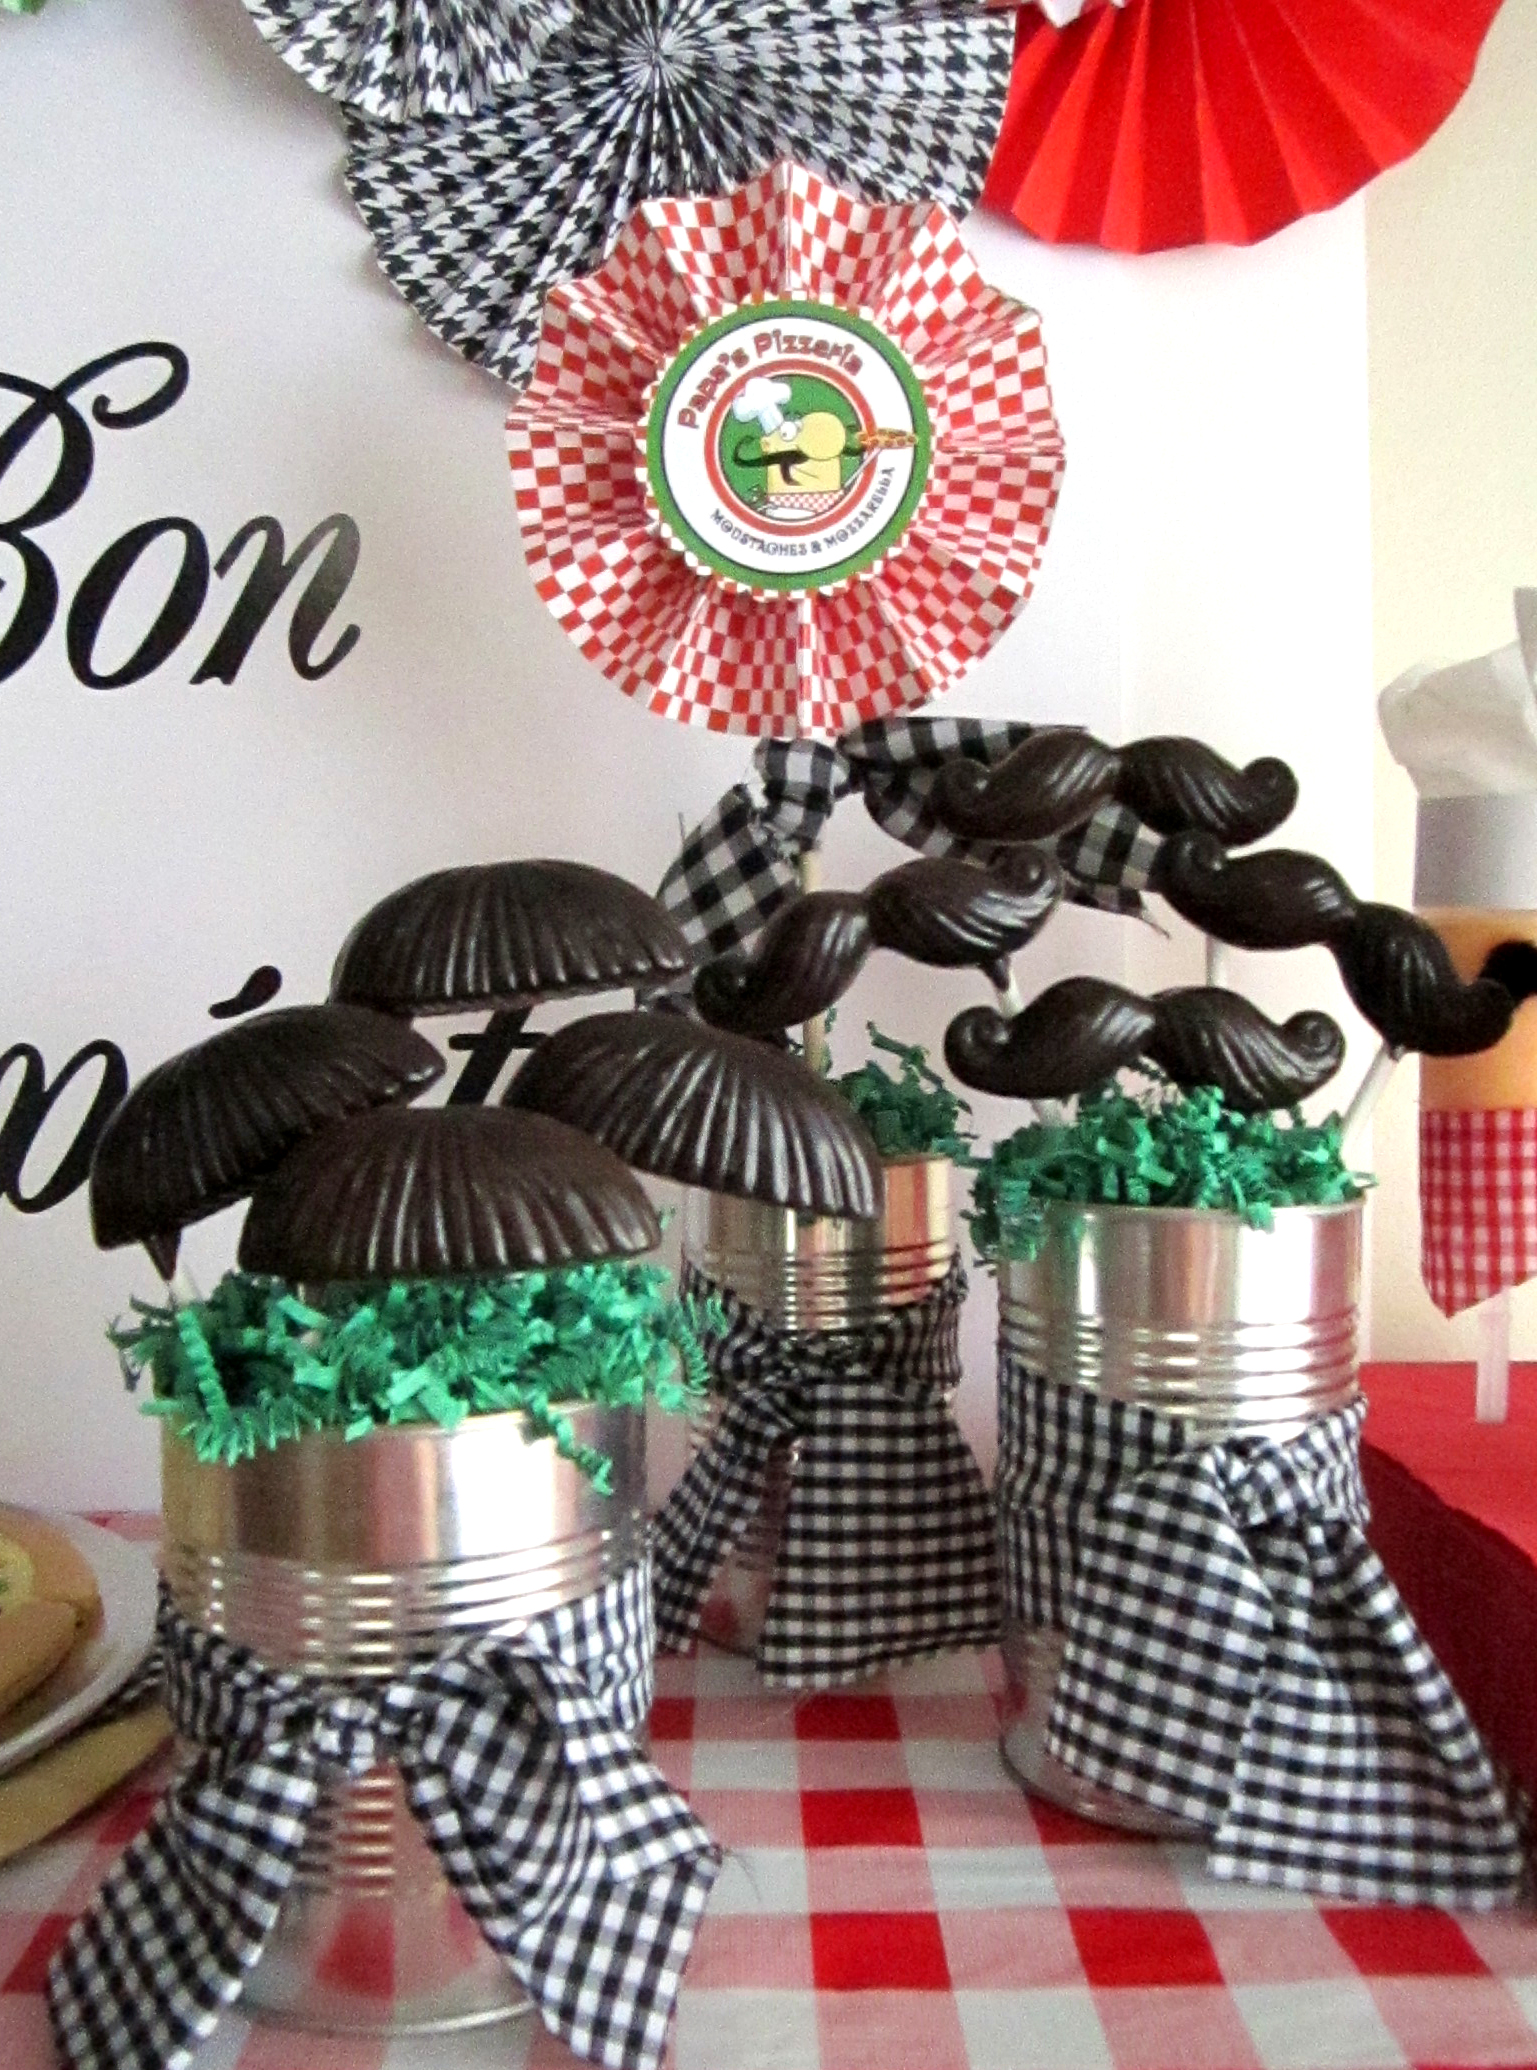
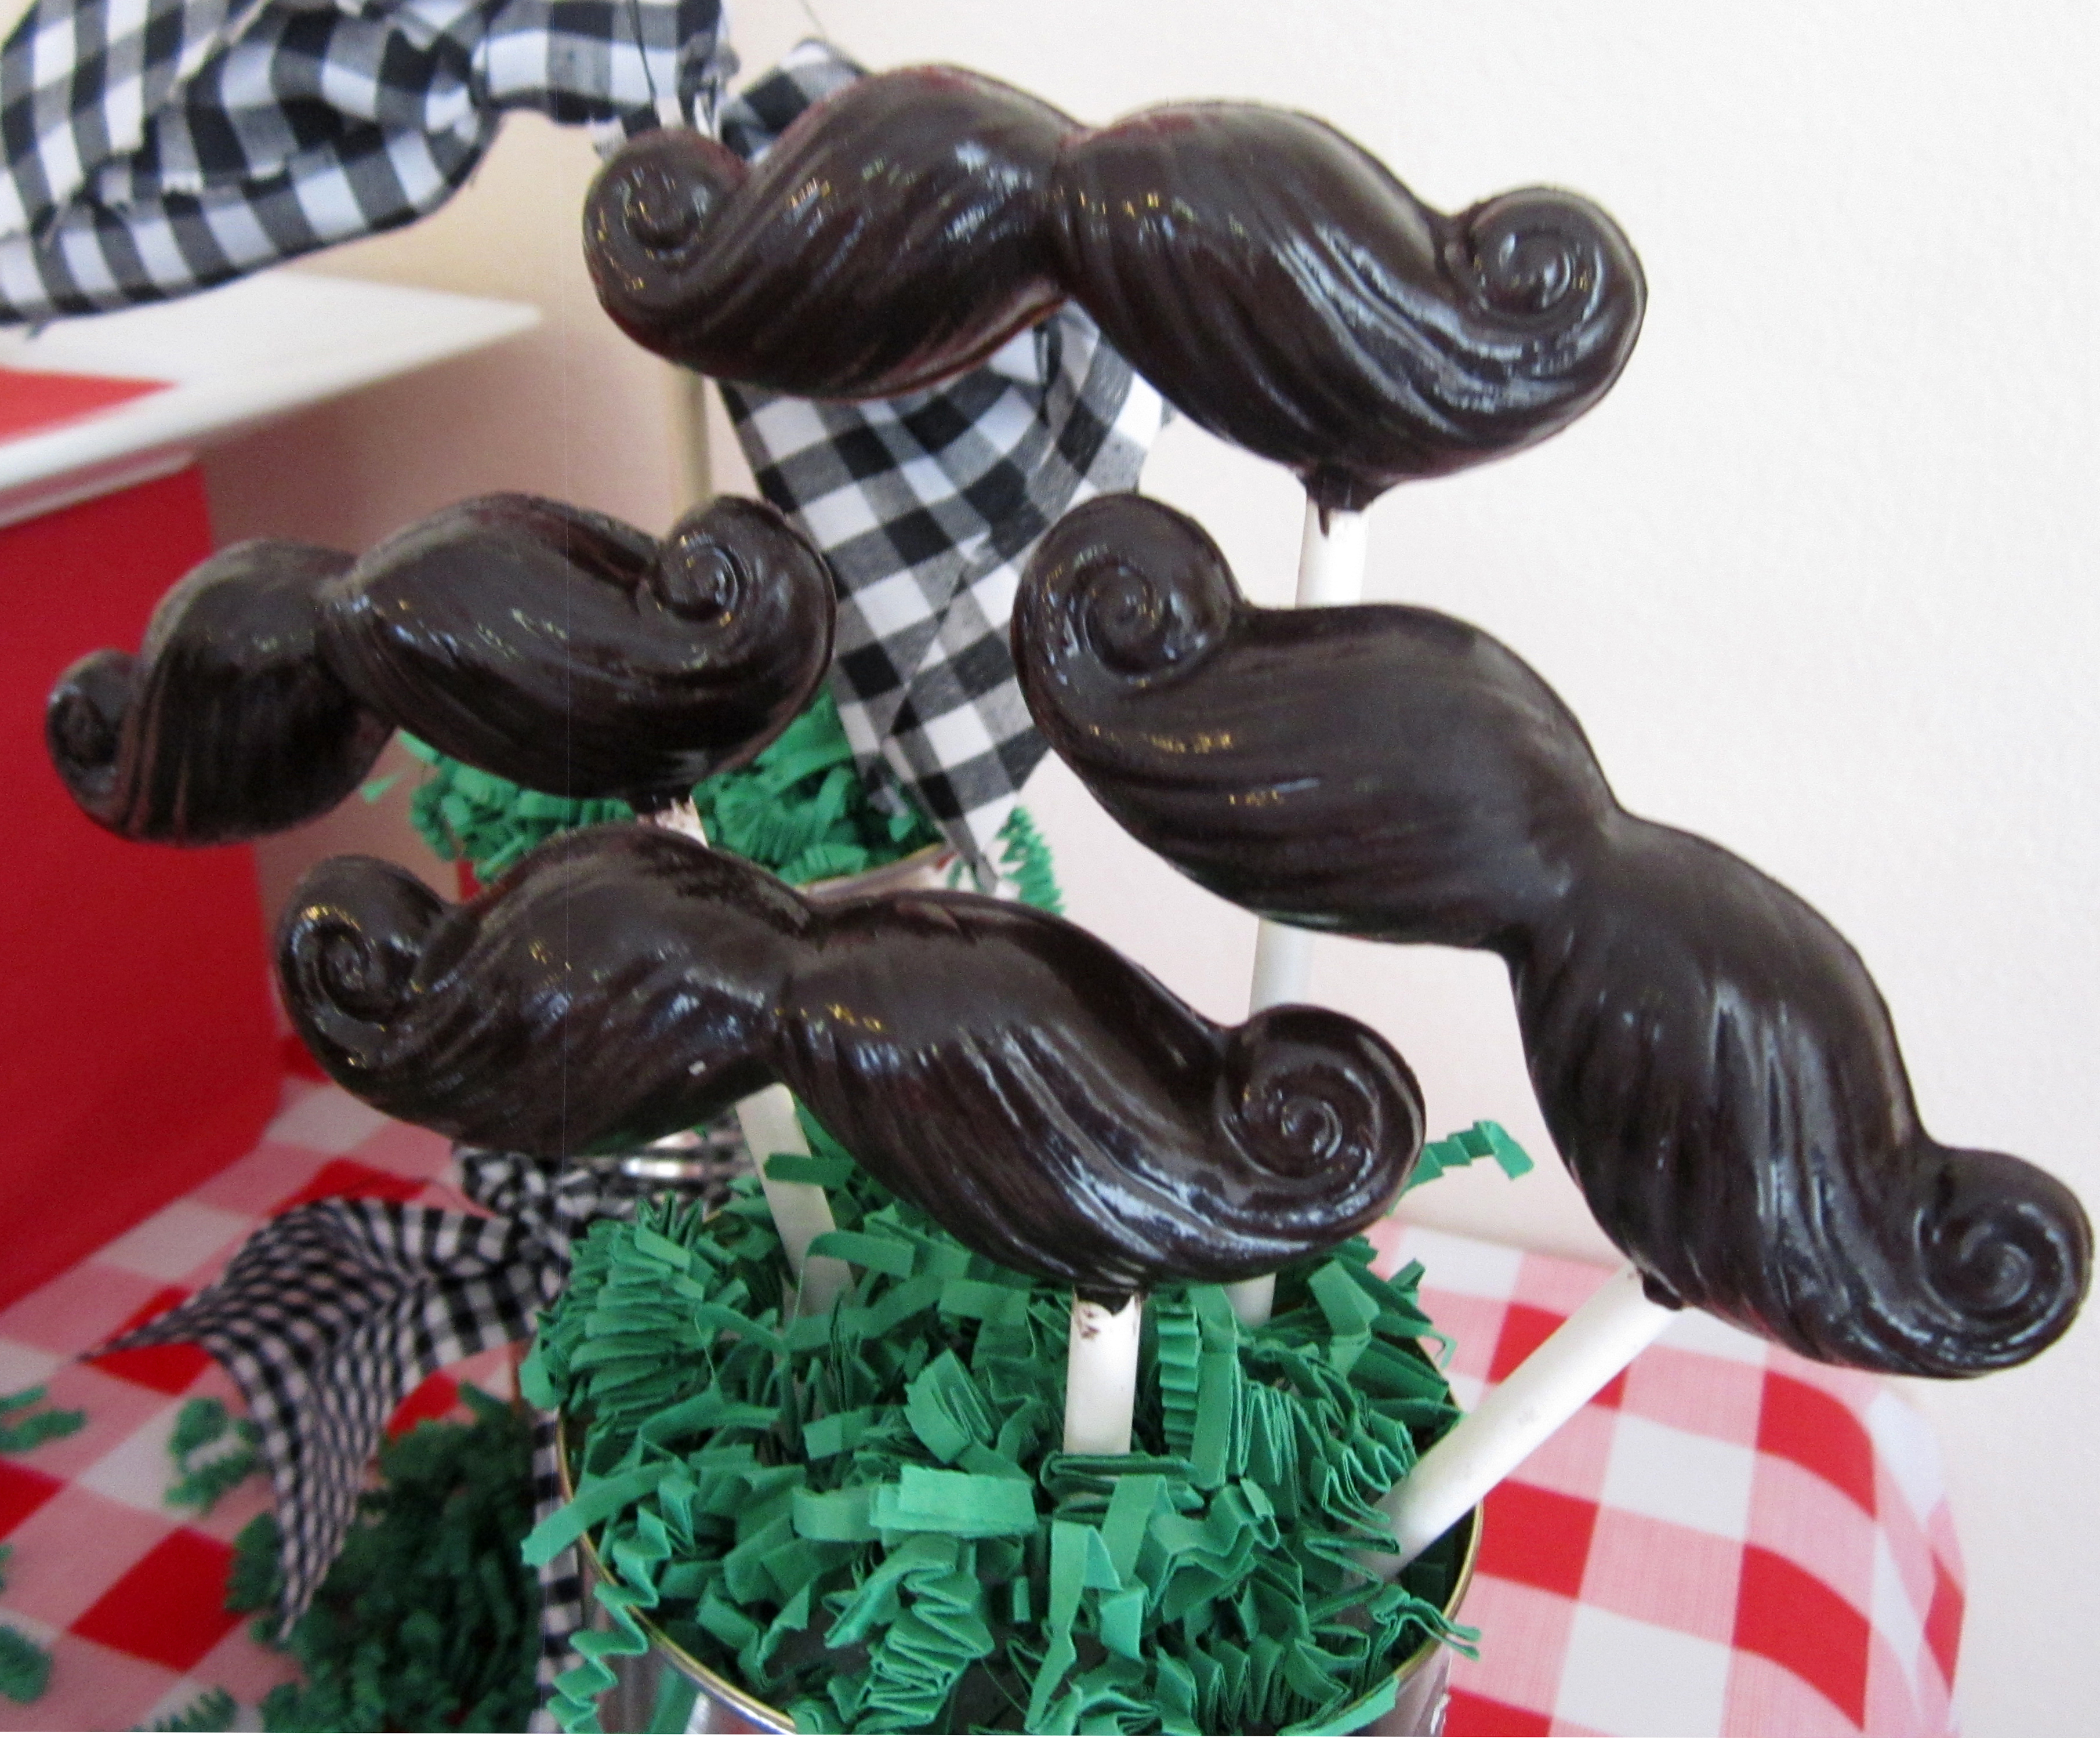
For treats we had chocolate moustaches (tutorial found here)


Super Sweet Pizza Slice Sugar Cookies

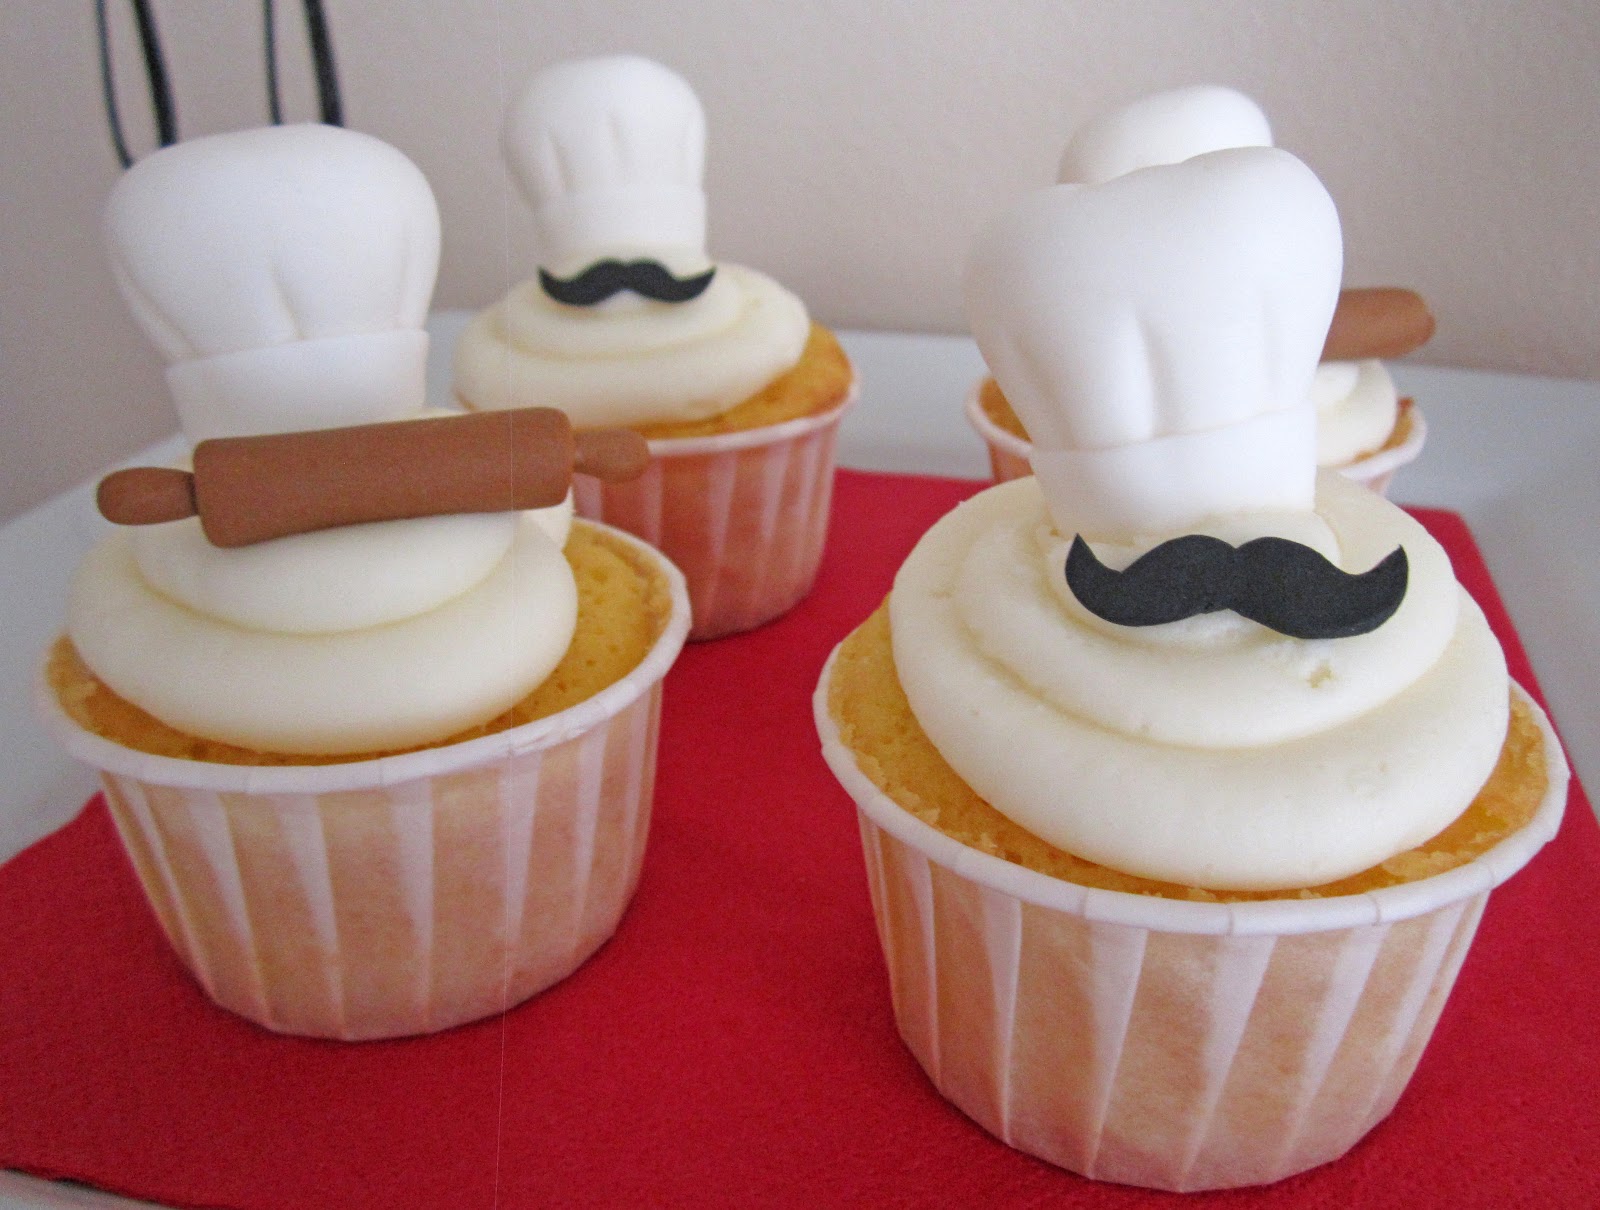
Lil' Lemon Chef Cupcakes

Jumbo Gelato Orange Push-up Pops
I decorated the push-up pops with mini chef hats, a sticky moustaches, and a little gingham kerchief. They turned out so cute!
For party favors I ordered personalized favor bags that were just the perfect finishing touch to the party!
Inside each bag was a sheet of adhesive moustaches, a container of salt dough, mini moustache rolling pin, and a thank you card receipt.

Thank you all so much for checking out our fun little pizza party. I hope you all enjoyed and gave you some ideas and inspiration for your own party someday! Please feel free to comment or share!

Vendor Credits
Party design and details: Sweeten Your Day Events 
Papa's Pizzeria party supplies - Pizza box invitations, placemats, pinwheel centerpiece, party favor supplies, receipt thank you cards, cartoon cutout chef - Southern Bell's Charm and Graphic Design by Frog Prince Paperie   
Pizza slice cookies - Katie Duran
Favor Bags - Papernook 
Paper Fan Flowers - Kelsey's Treasure
Moustache straws - Little Retreats
Little chef cupcake toppers, chocolate moustache sticks, chef push-up pops - Sweeten Your Day 
Chef hats, sticky moustaches (in favor bags) - Oriental Trading

Monday, May 21, 2012

Wood Connection feature and giveaway!


Some of you may remember this fun candle stick jar tutorial that I awhile back... 

Well I am so excited to tell you that it is being featured today over at The Wood Connection blog! I purchased the candlesticks and wooden knobs there, and they are still available so make your own apothecary jars today. 

Since they are featuring my tutorial, The Wood Connection was so generous and also is donating a $25 gift certificate for one of my fabulous readers to win!

If you have never been into one of their locations you are surely missing out! Here are some of their fun new Summer items that are now on sale: 


And those are just a FEW of their everyday items!

Now here is your chance to win a $25 gift certificate to their store and make one of these, or your own creation that everyone will surely adore! Good luck and the giveaway ends May 28th!

*NOTE: The Wood Connection has their products online, but they DO NOT ship! So this giveaway is only open to local (Utah) residents! Thanks again!

Chocolate Moustache Tutorial


Moustache themes have been quite the rage for awhile for everything from weddings and baby showers, to birthday parties. I recently threw a Pizza party with a "mozzarella and moustaches" twist on it. Today I am going to show you how easy and cheap it is to make your very own chocolate moustaches!
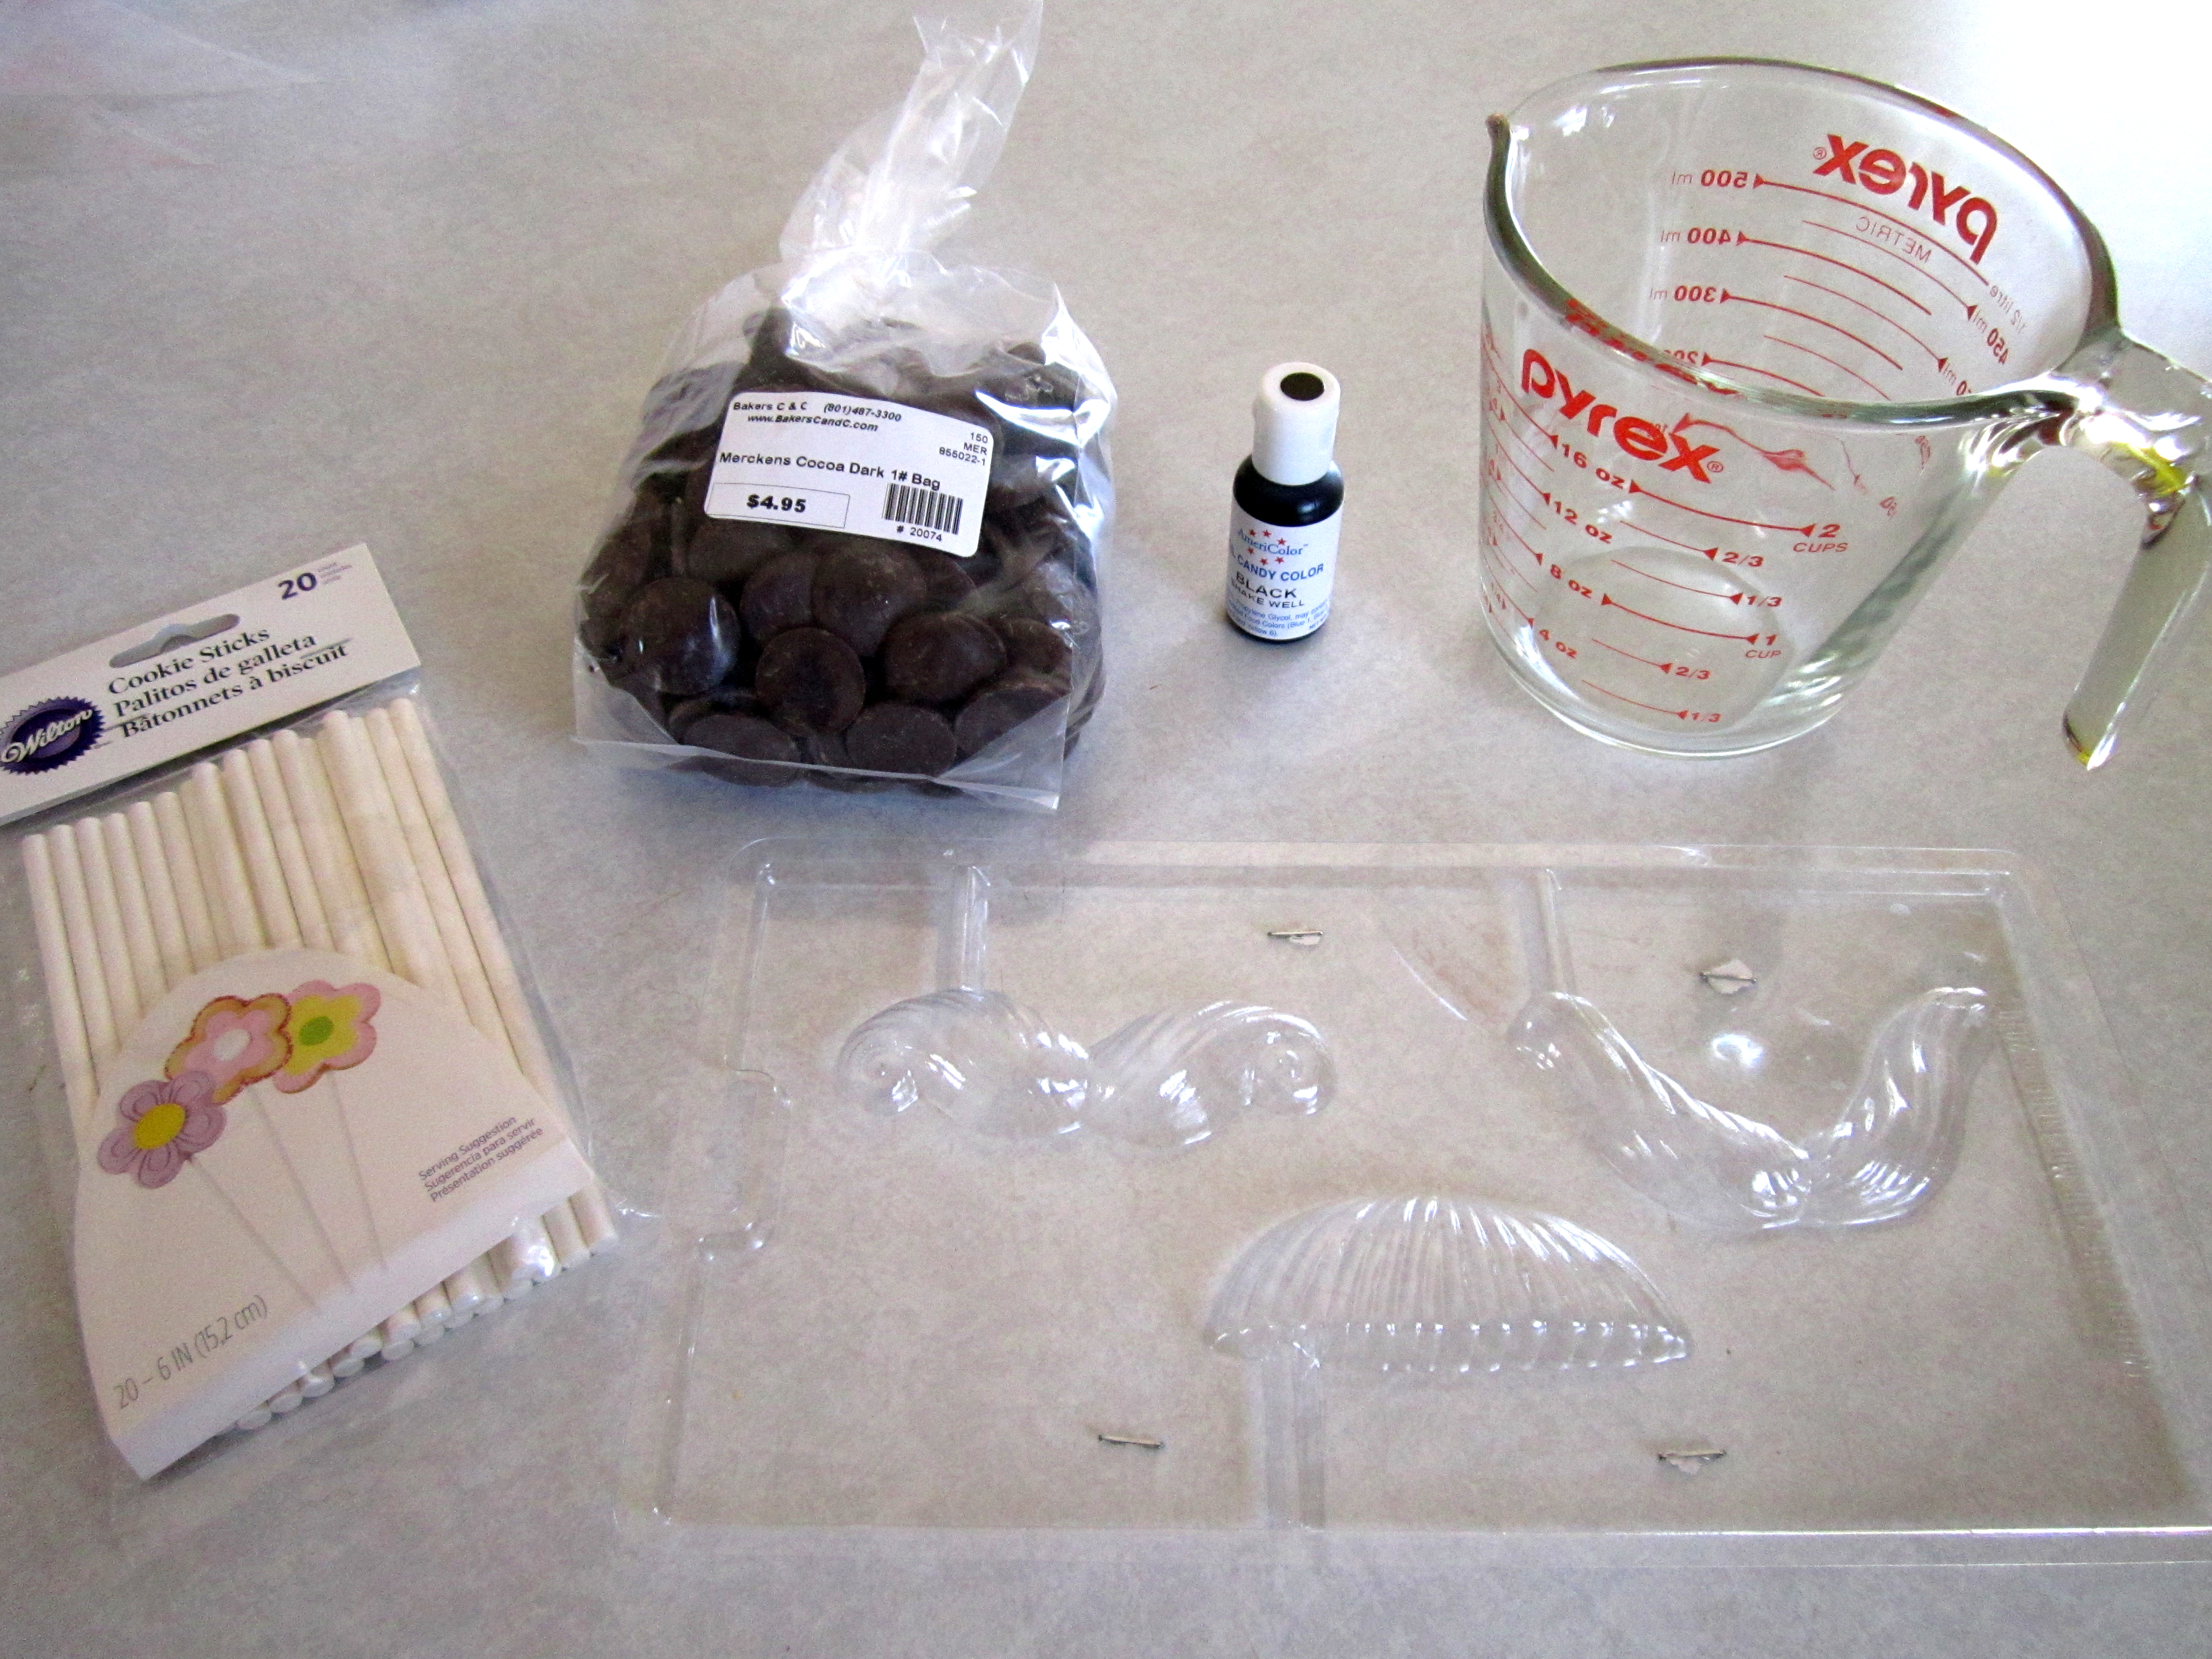
Supplies:
Moustache chocolate mold - I got mine here from Wilton for a whopping $1.99!
candy sticks
candy melts/chocolate melts
squeeze bottle/decorating bag/ziplock baggie
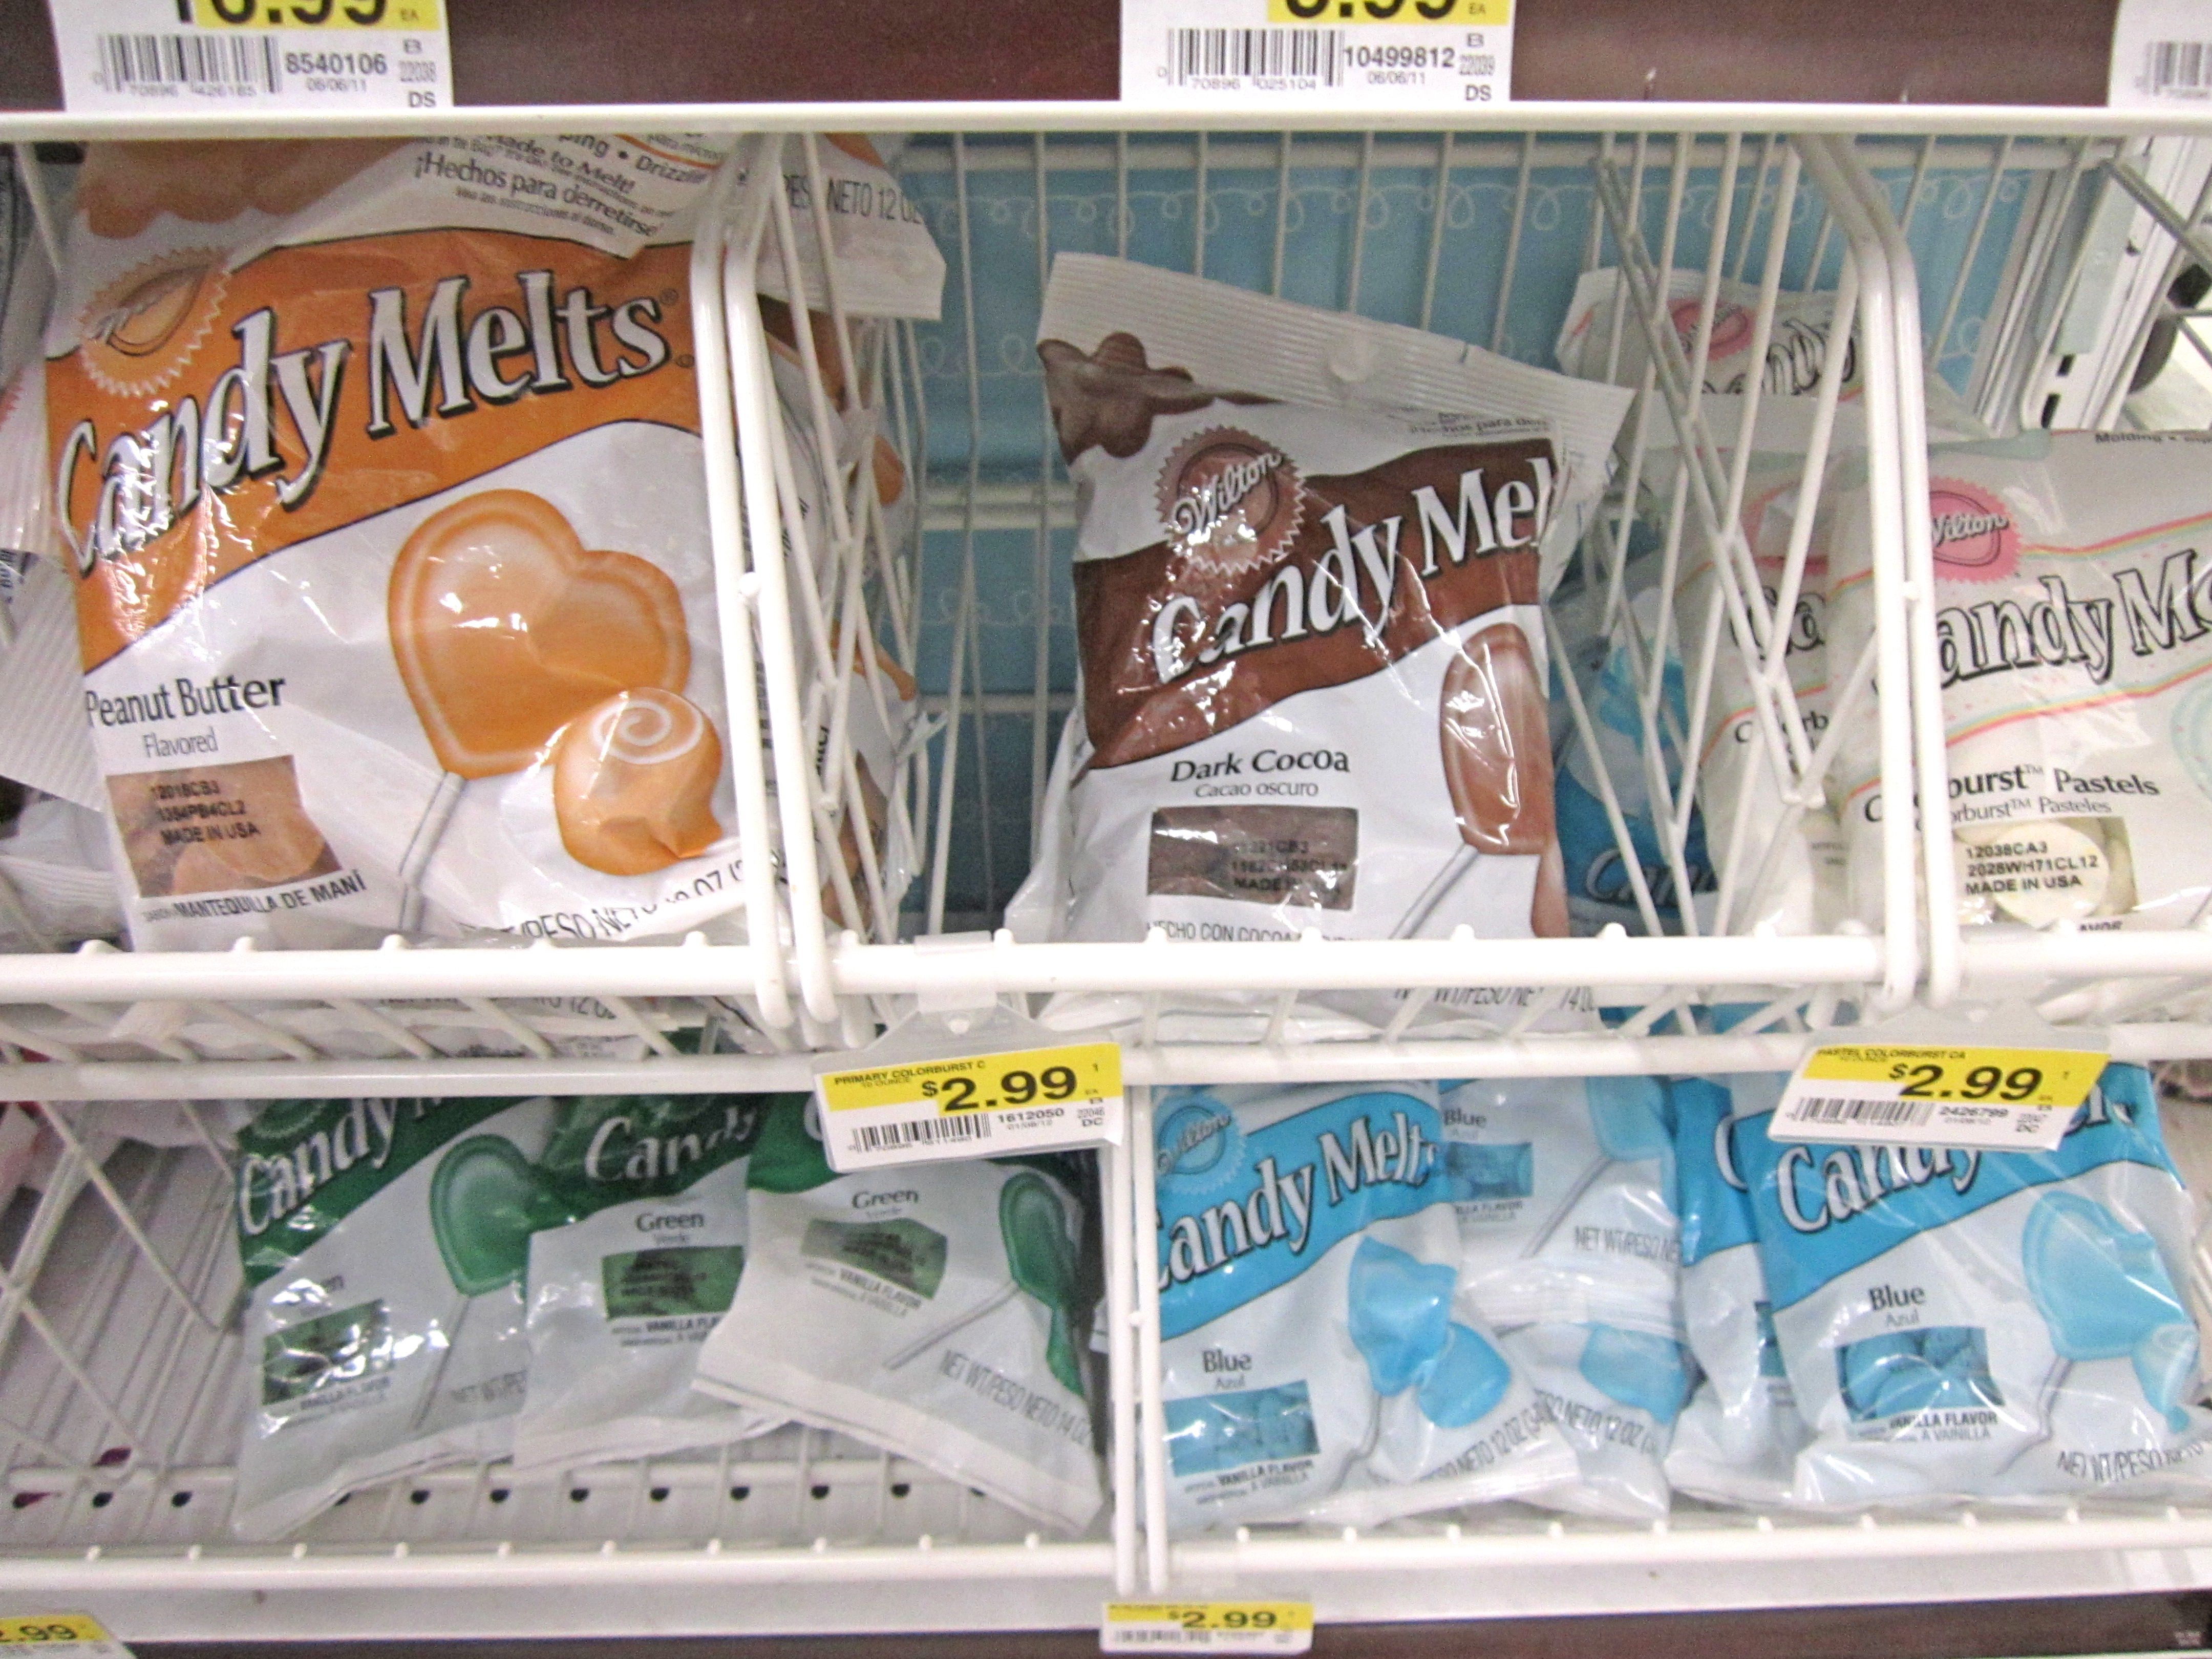
*note: candy melts come in such a wide variety of colors that you can pretty much make moustaches to match your party!
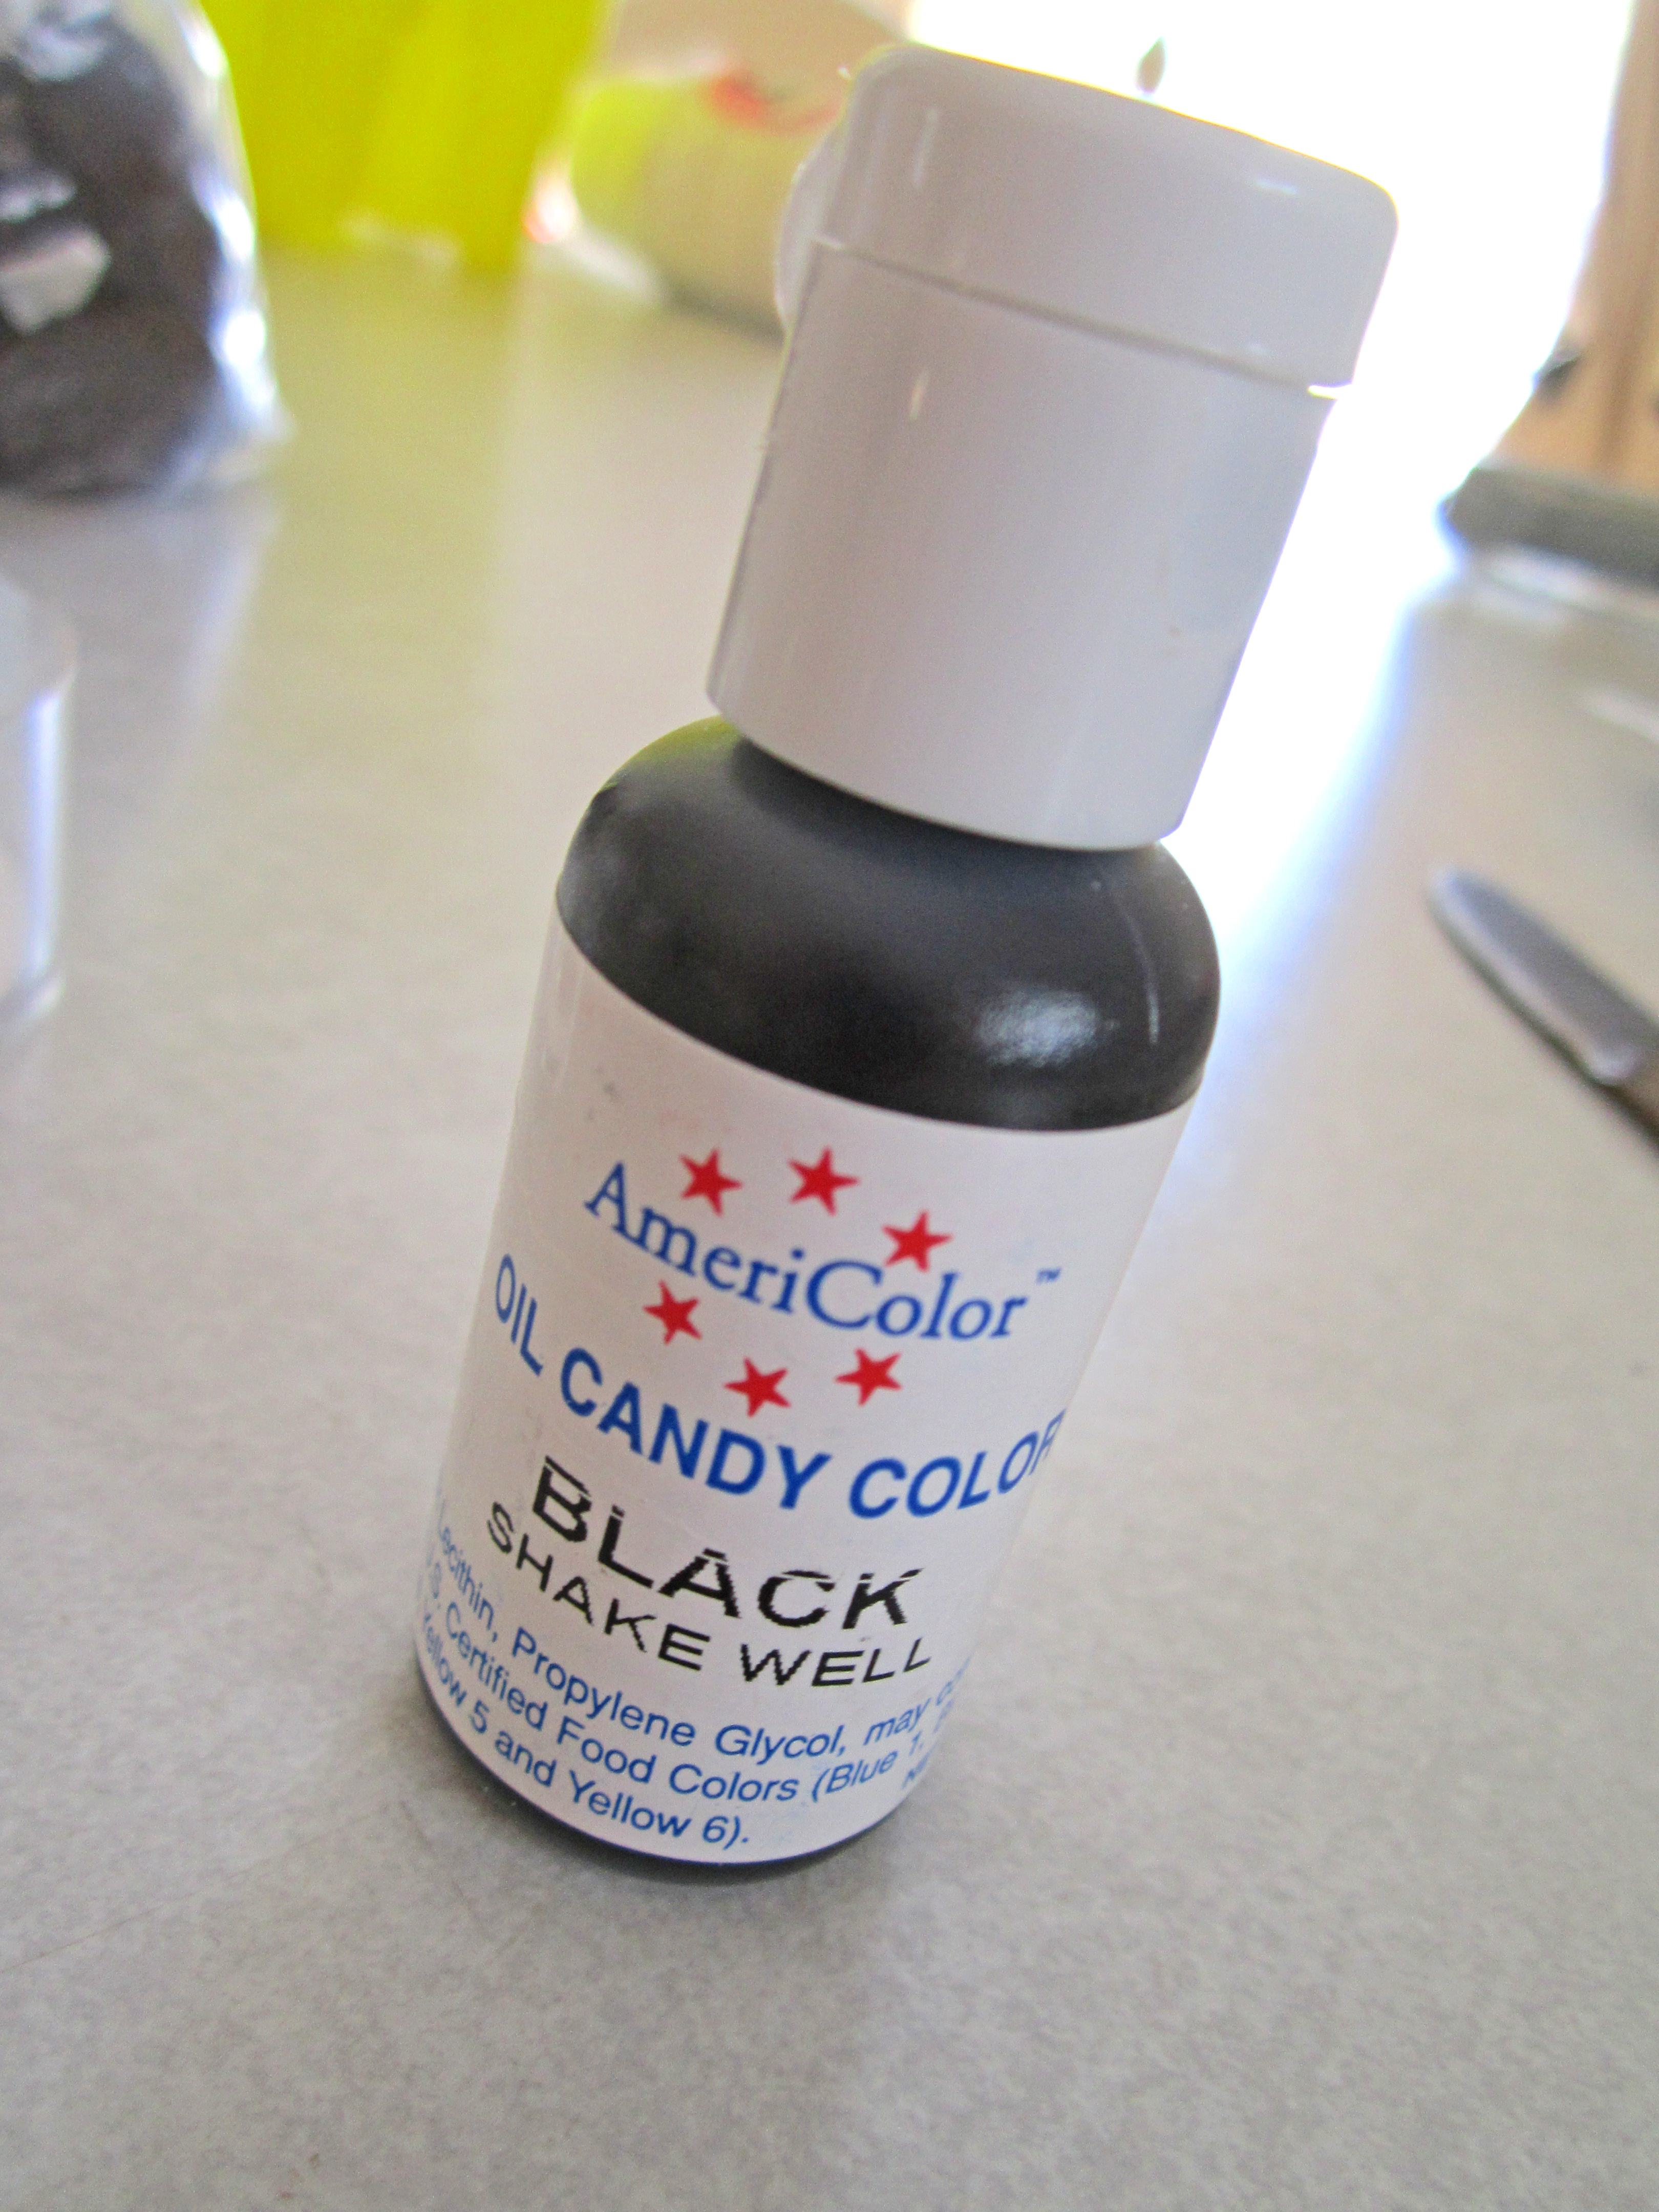
But I wanted my staches to be black, and they don't make carry that color. So I got dark chocolate melts and black candy coloring.
FYI- you HAVE to use an oil based candy coloring, not regular food or icing coloring because they are water based. If water mixes with chocolate it will crystallize....  not fun. But don't fear if you have not familiar with chocolate, it is super easy to work with :)
Now let's begin! Step 1: Melt chocolate by follow directions on package. Be careful not to overcook.
 
Step 2: Fill your squeeze bottle or baggie (snip the end) and fill the mold up halfway. Settle chocolate by tapping the mold lightly on the counter. This releases all the air bubbles and gets chocolate in all the little crevices.
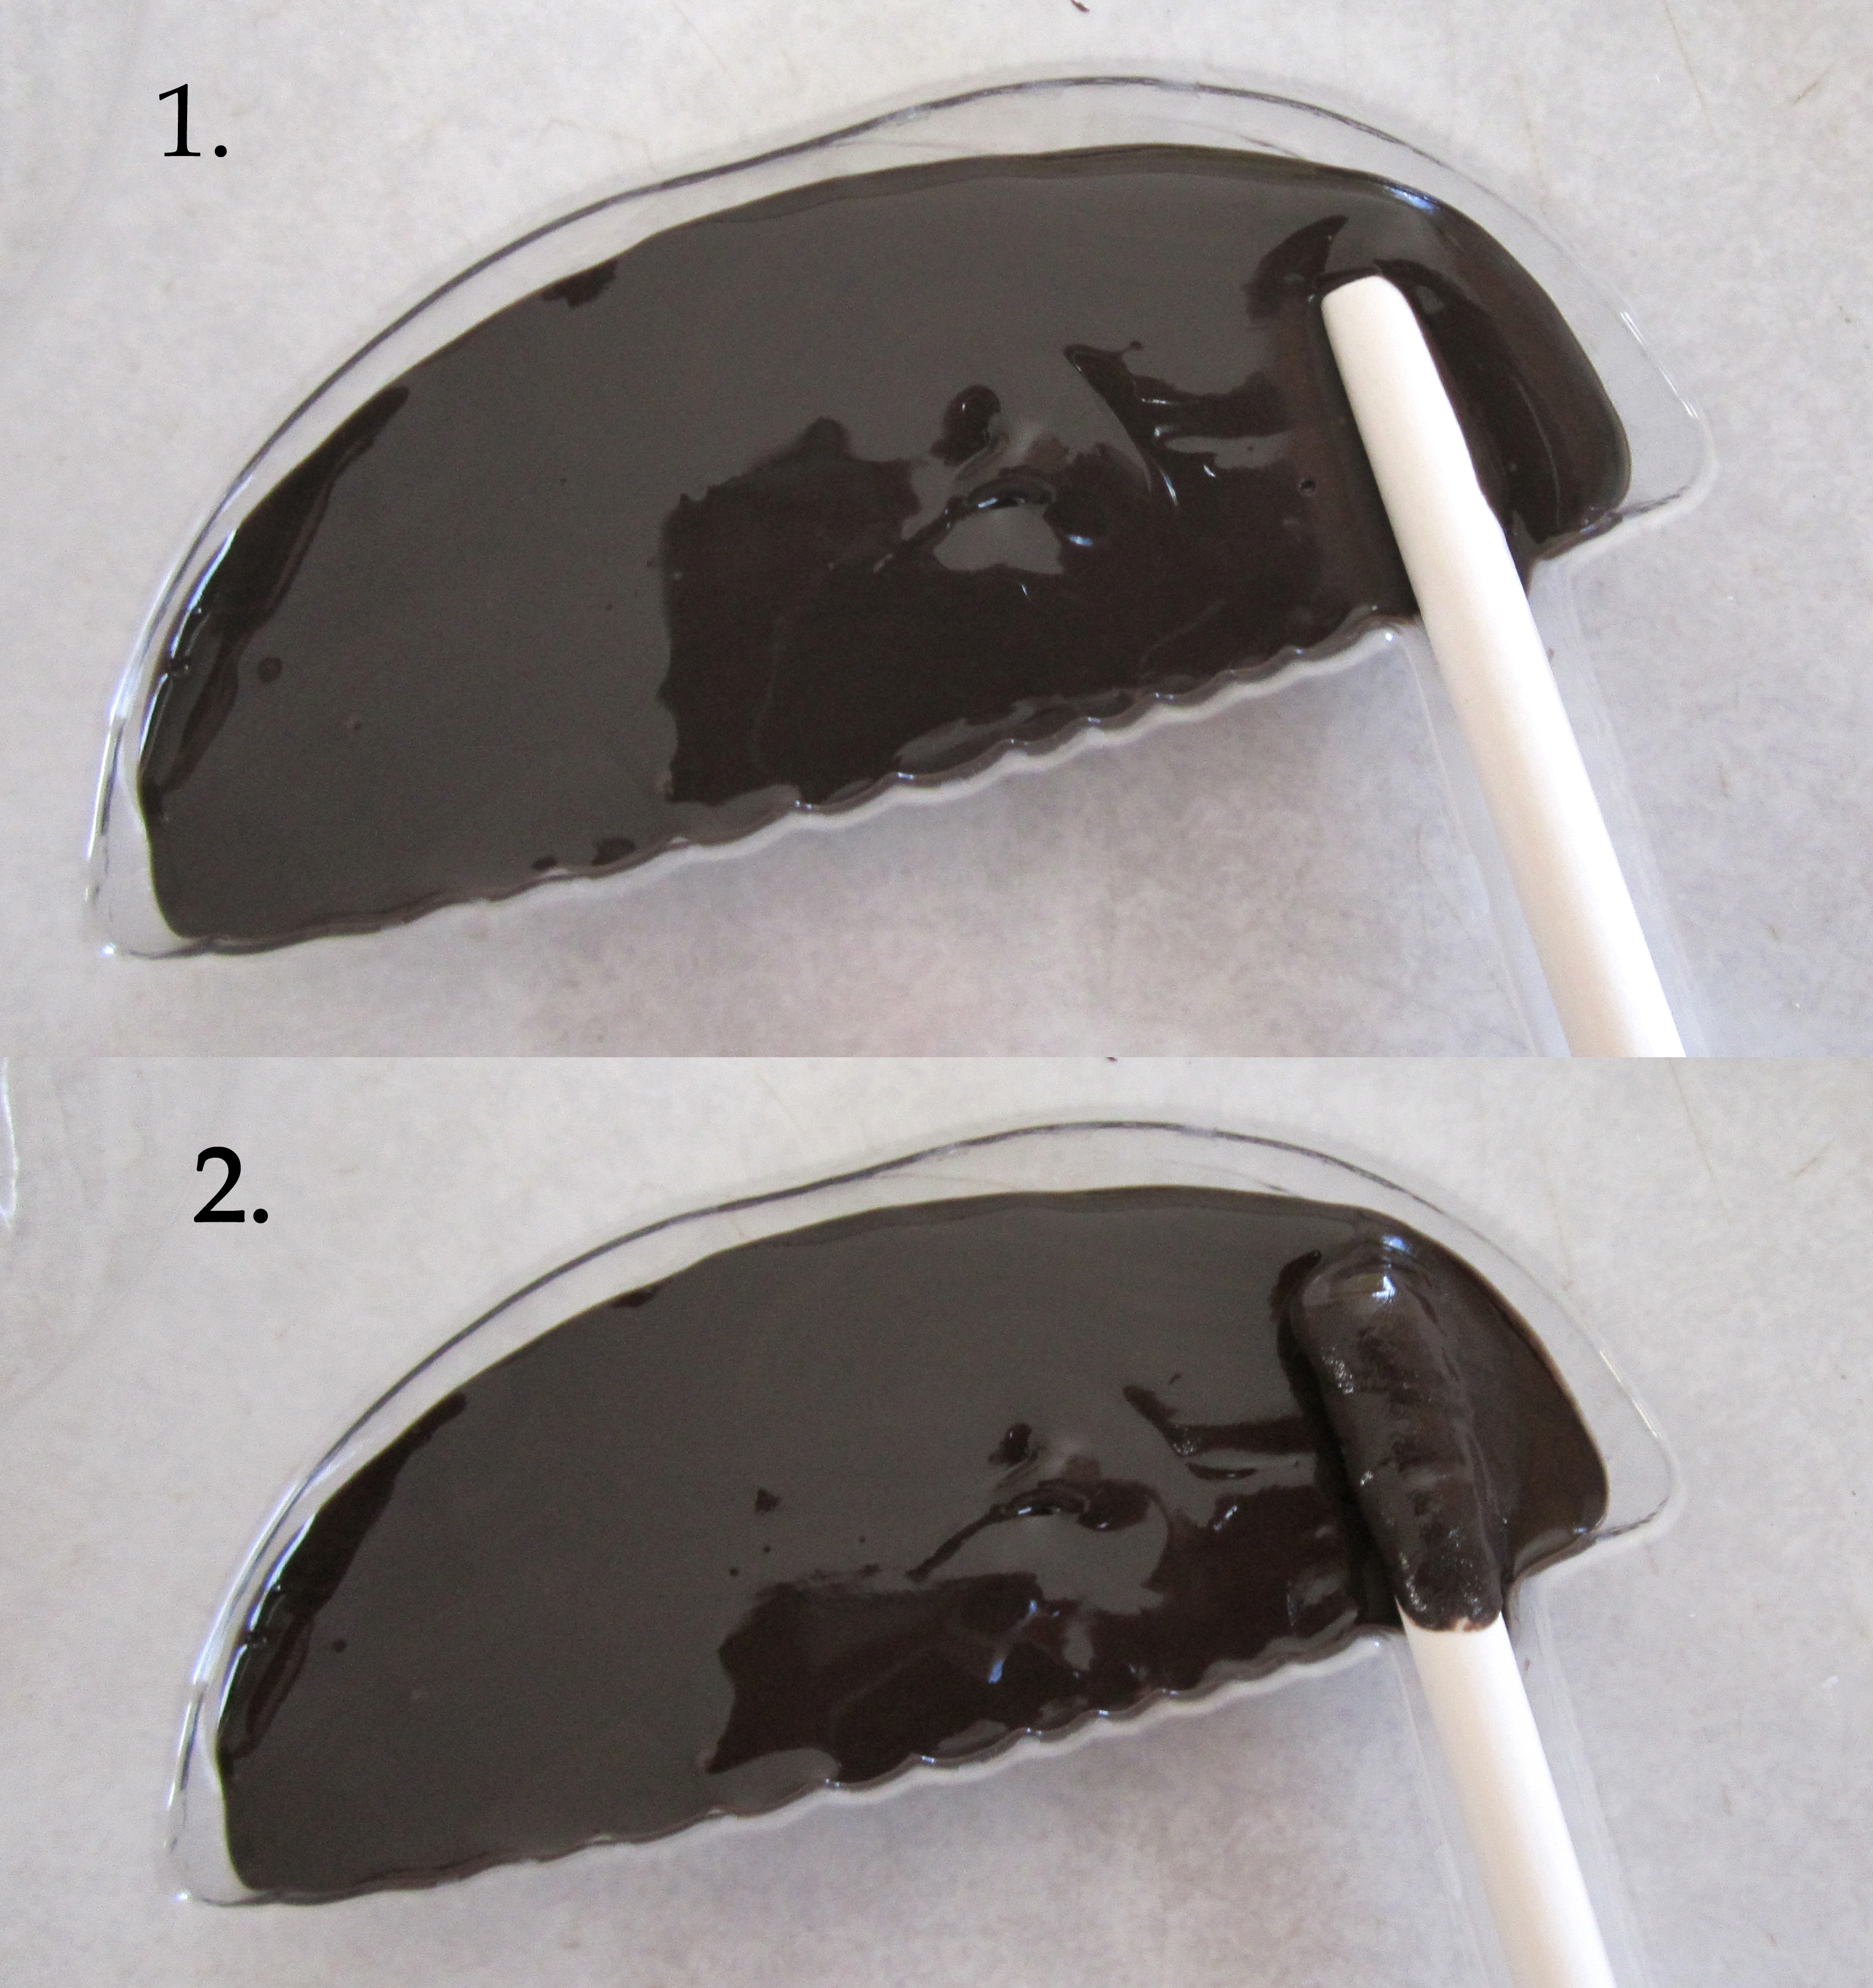
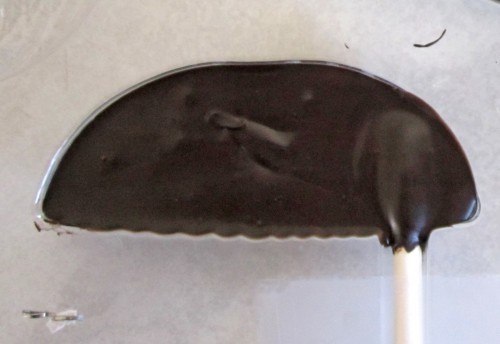
Step 3: Insert candy sticks into chocolate, twist to cover the whole end of the stick. Fill the rest of the mold with chocolate.
Step 3: Put mold in refrigerator or freezer until hardened.
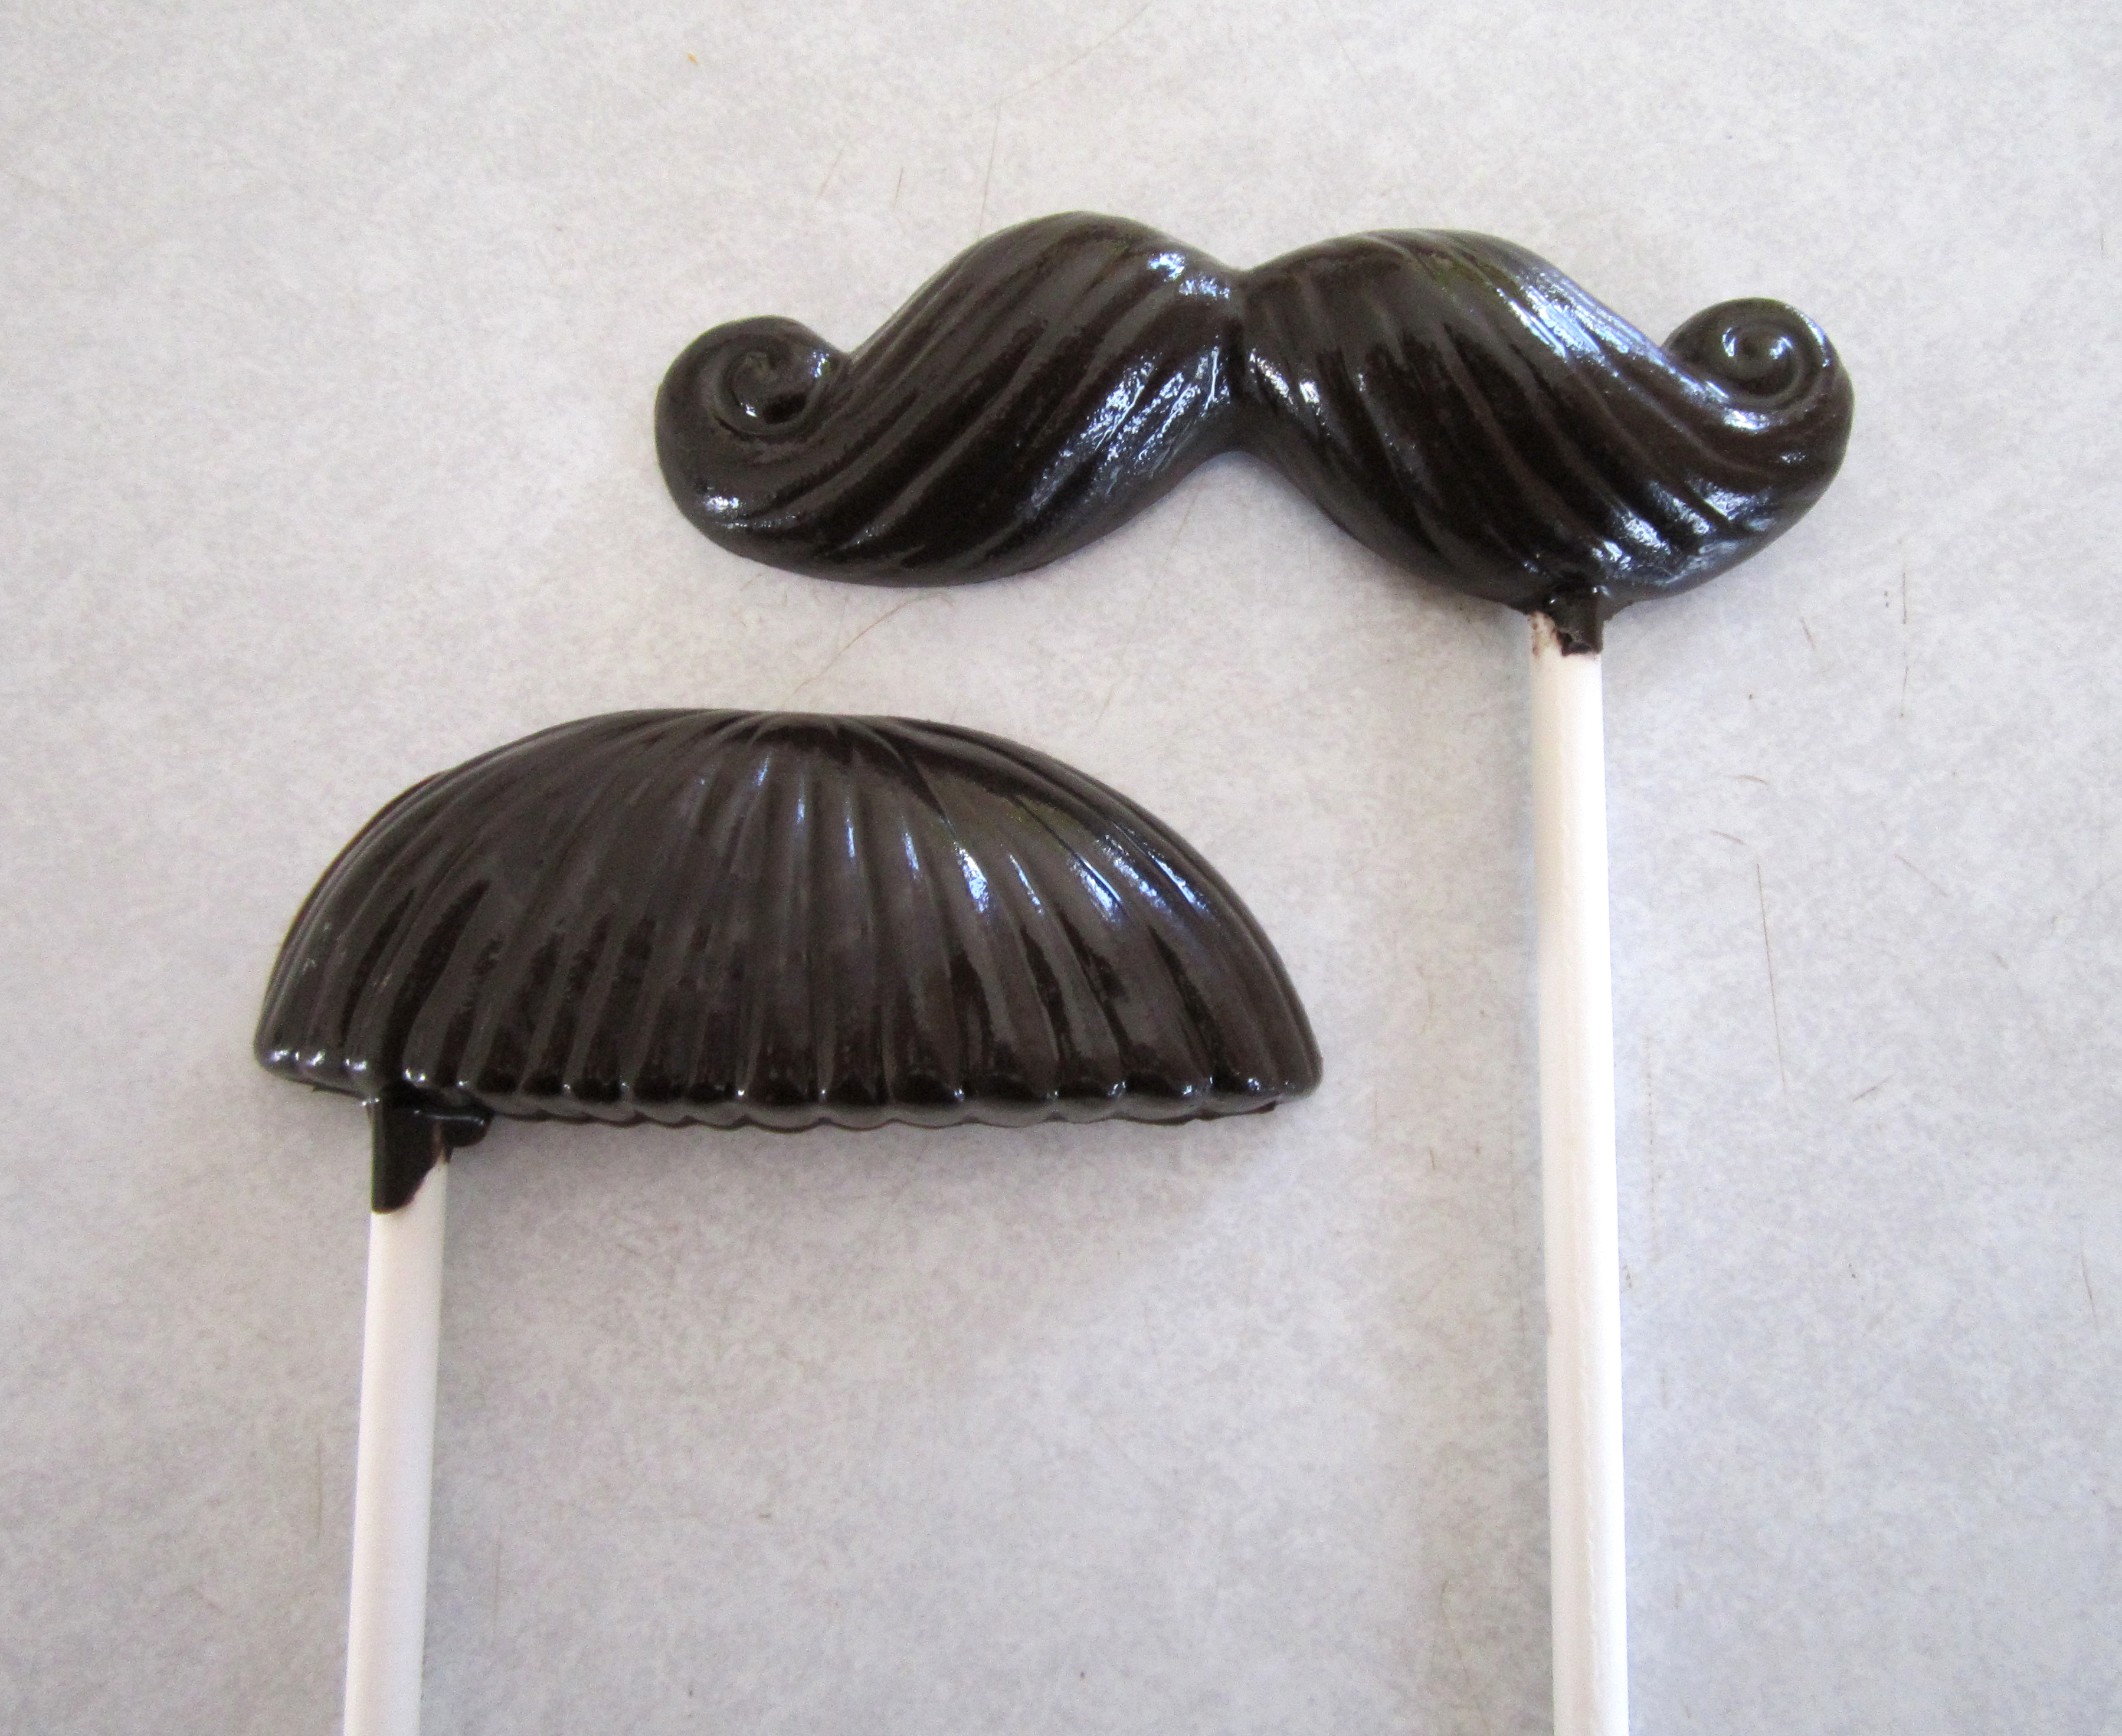
Step 4: Gently wiggle mold to loosen and turn out on counter.
Viola! Now you have super cute (and yummy) party favor!
Thanks so much for checking out my tutorial and I hope that you have fun making your own stache-tastic treats!

Monday, May 14, 2012

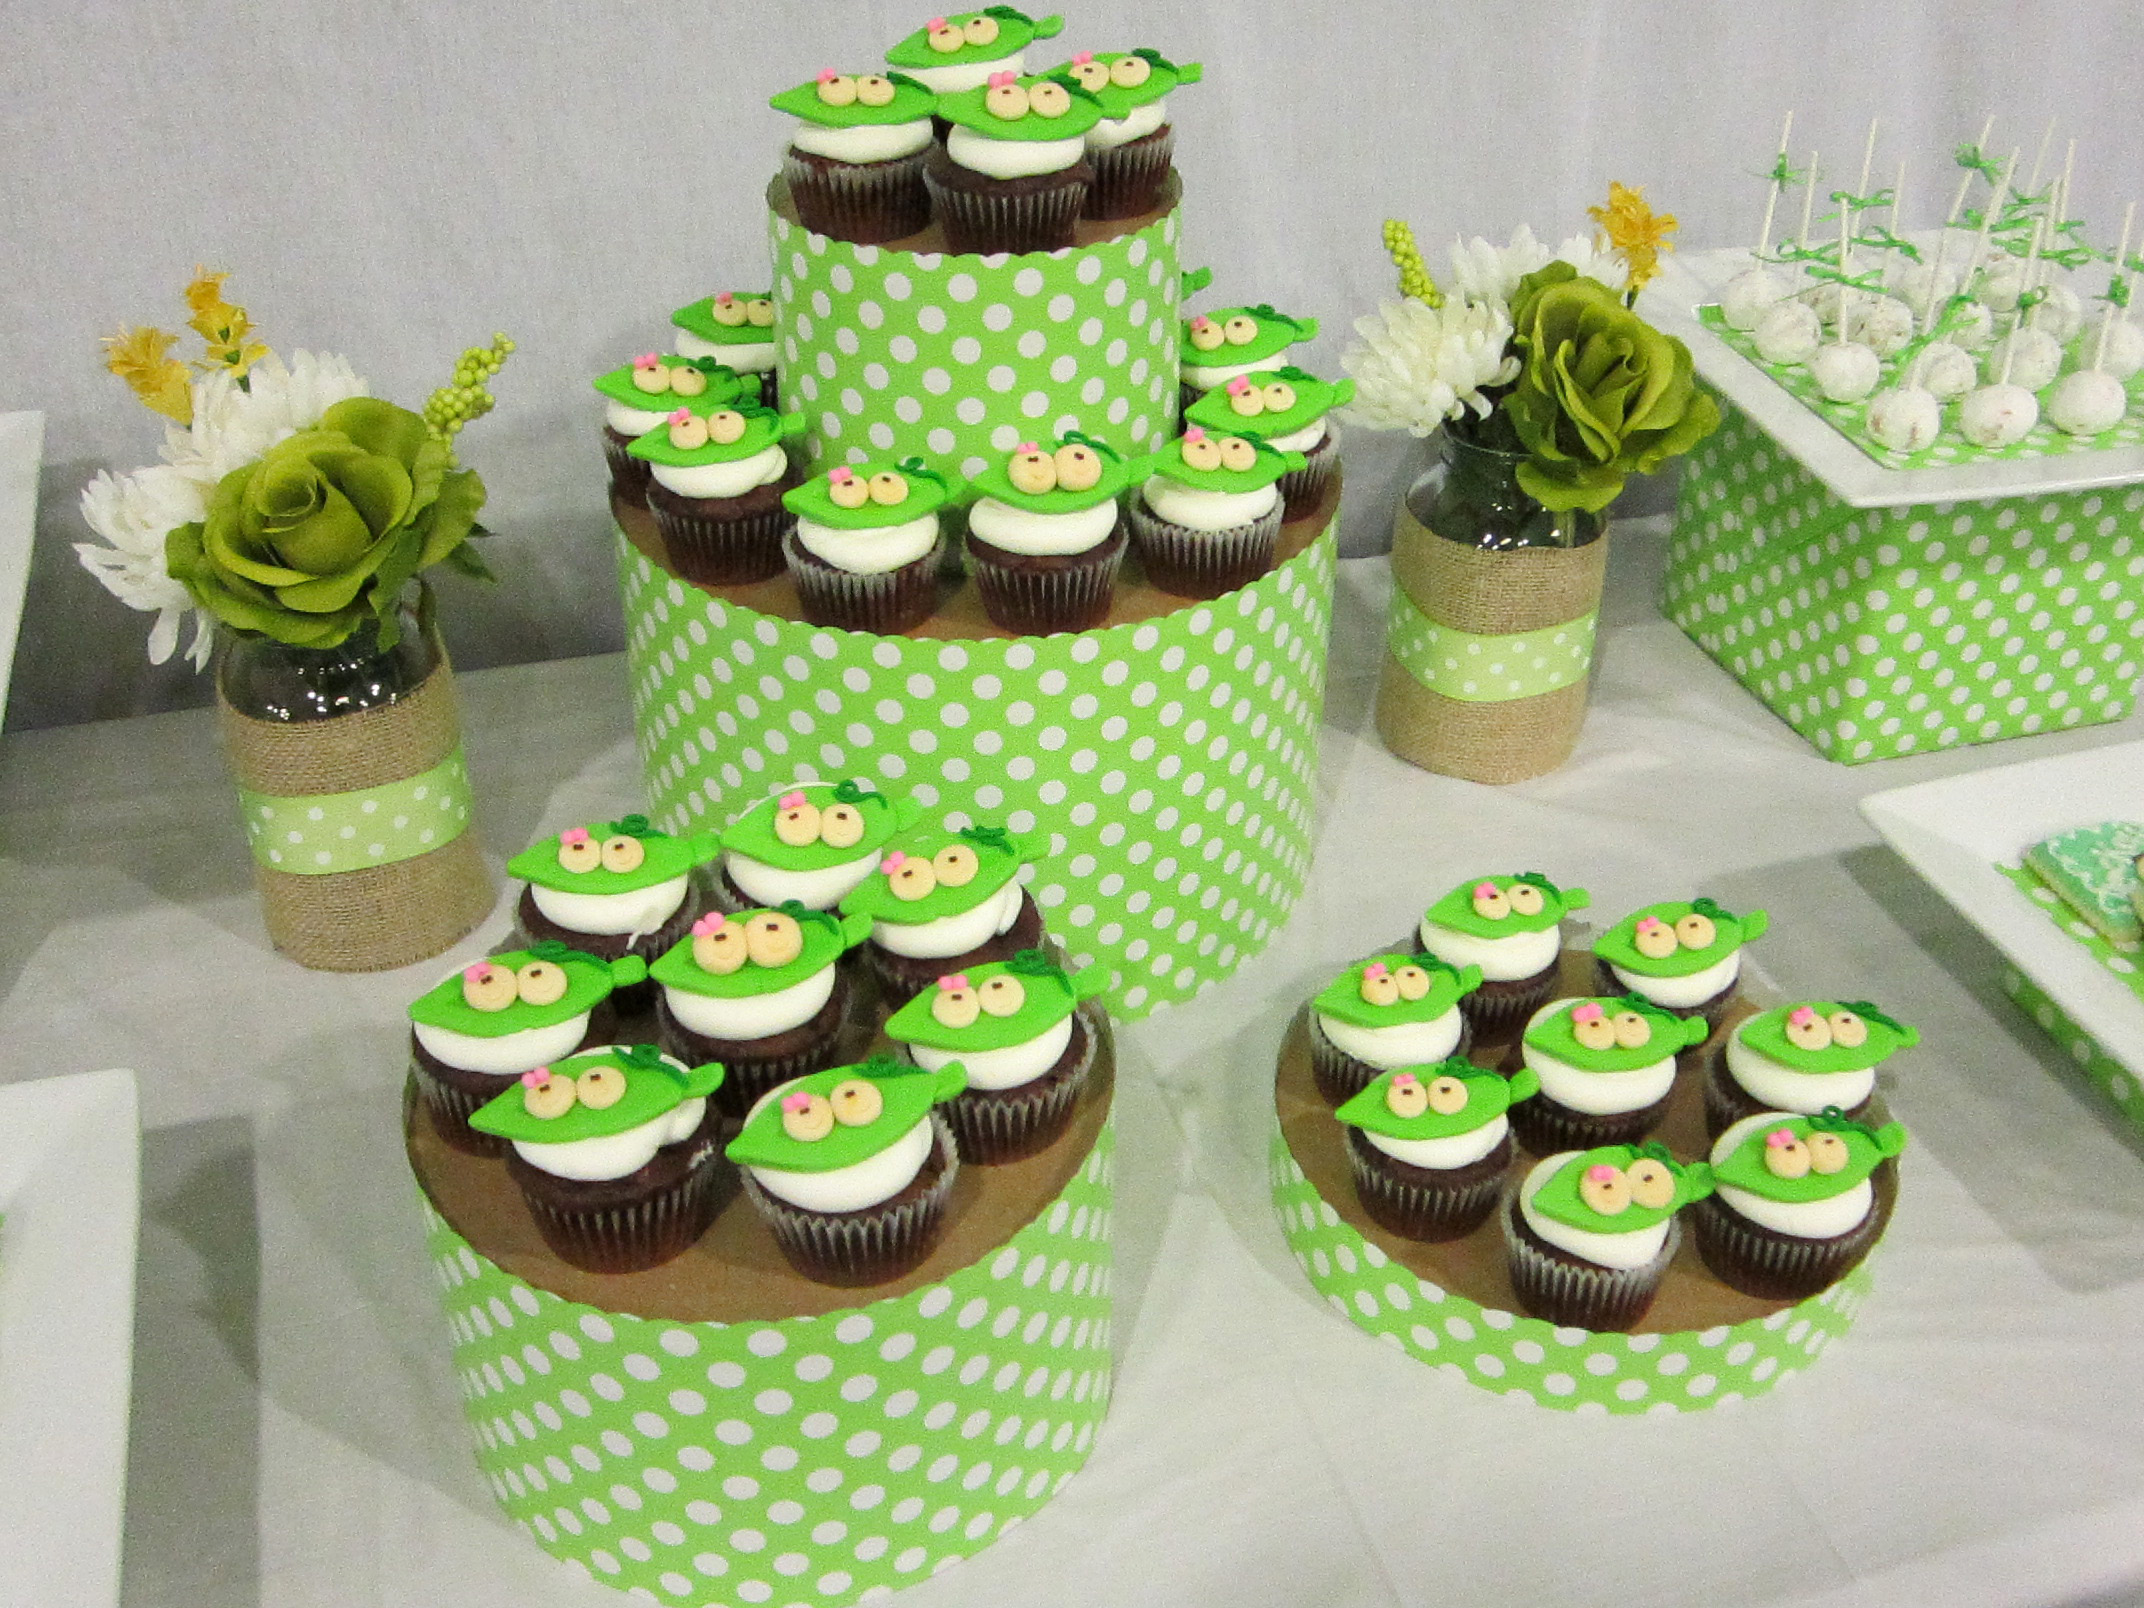
DIY Cupcake Tower


Today I wanted to share with you all my tutorial that shows you how to make these adorable and SUPER easy cupcake towers that you can customize to fit your party style.
Materials:
Hat Boxes (or any other sturdy and smooth cardboard box) - Michaels, Joann, Hobby Lobby, or most craft stores.
Decorative Paper to fit your design/style/theme
Decorative Edge Scissors
Tape
Tips: I found a jumbo roll of wrapping paper that matched our invites that we used and wrapping paper is usually pretty inexpensive.  Also various box sizes are great to add height and variety.
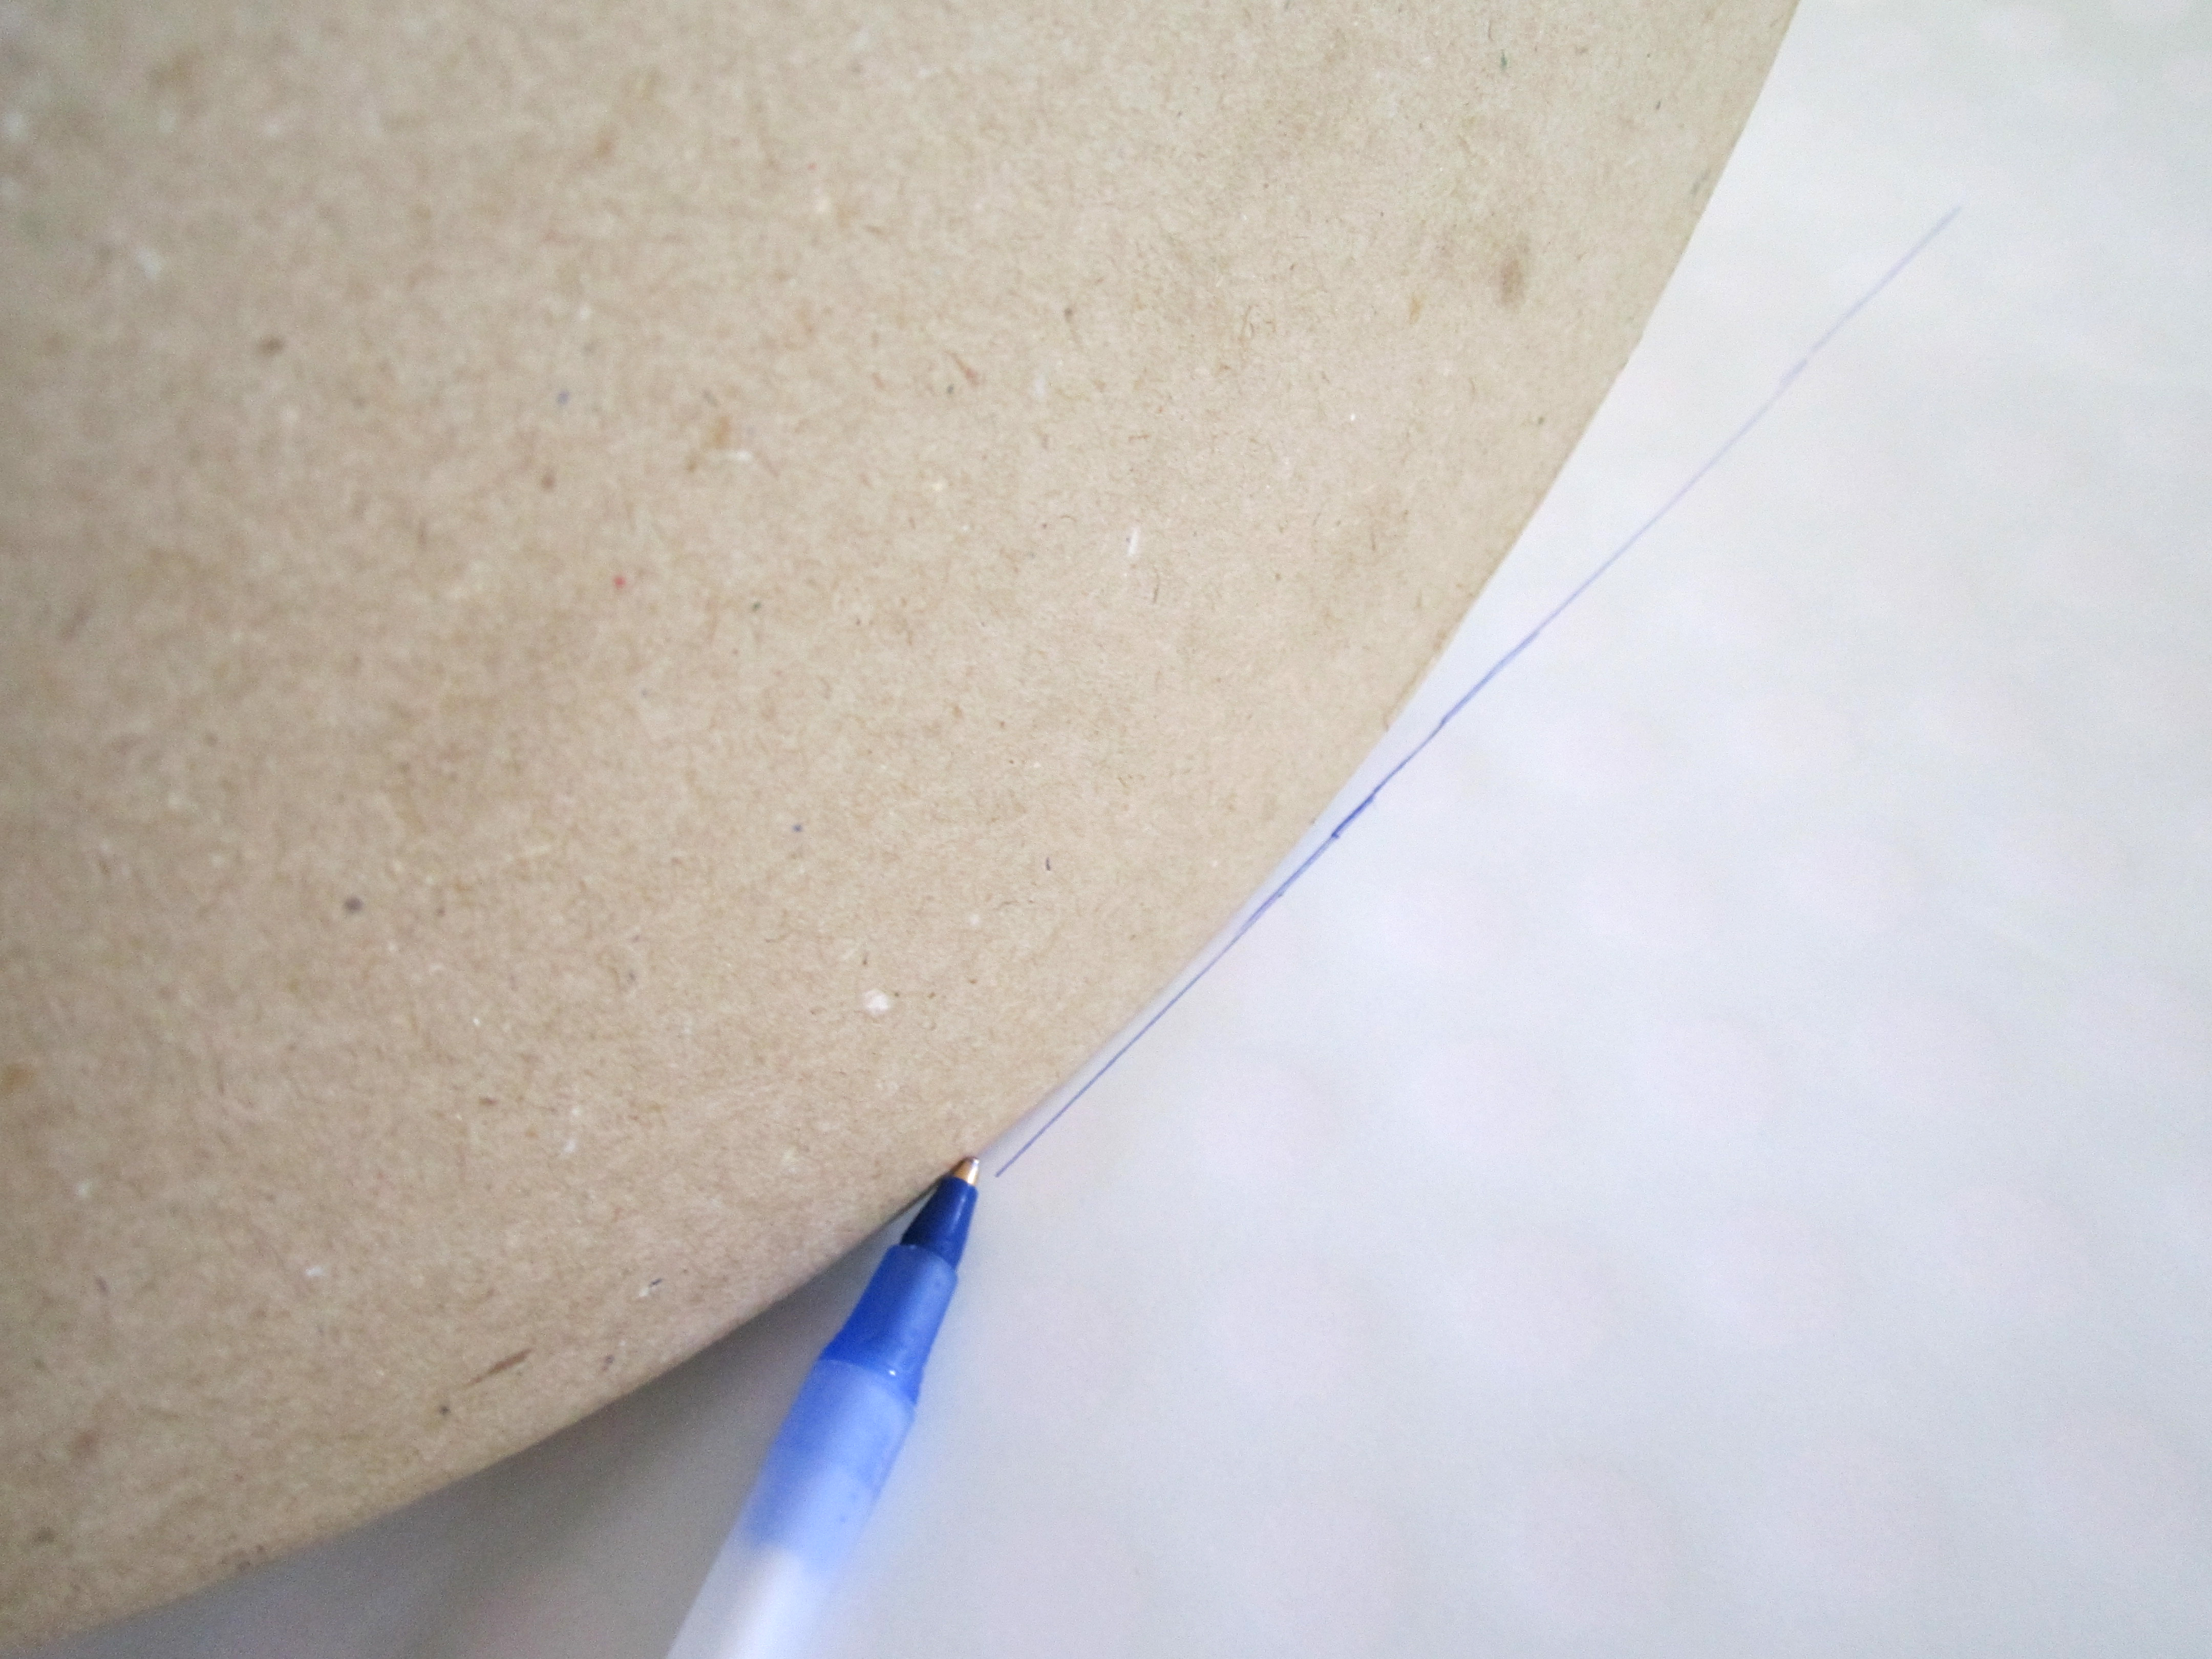
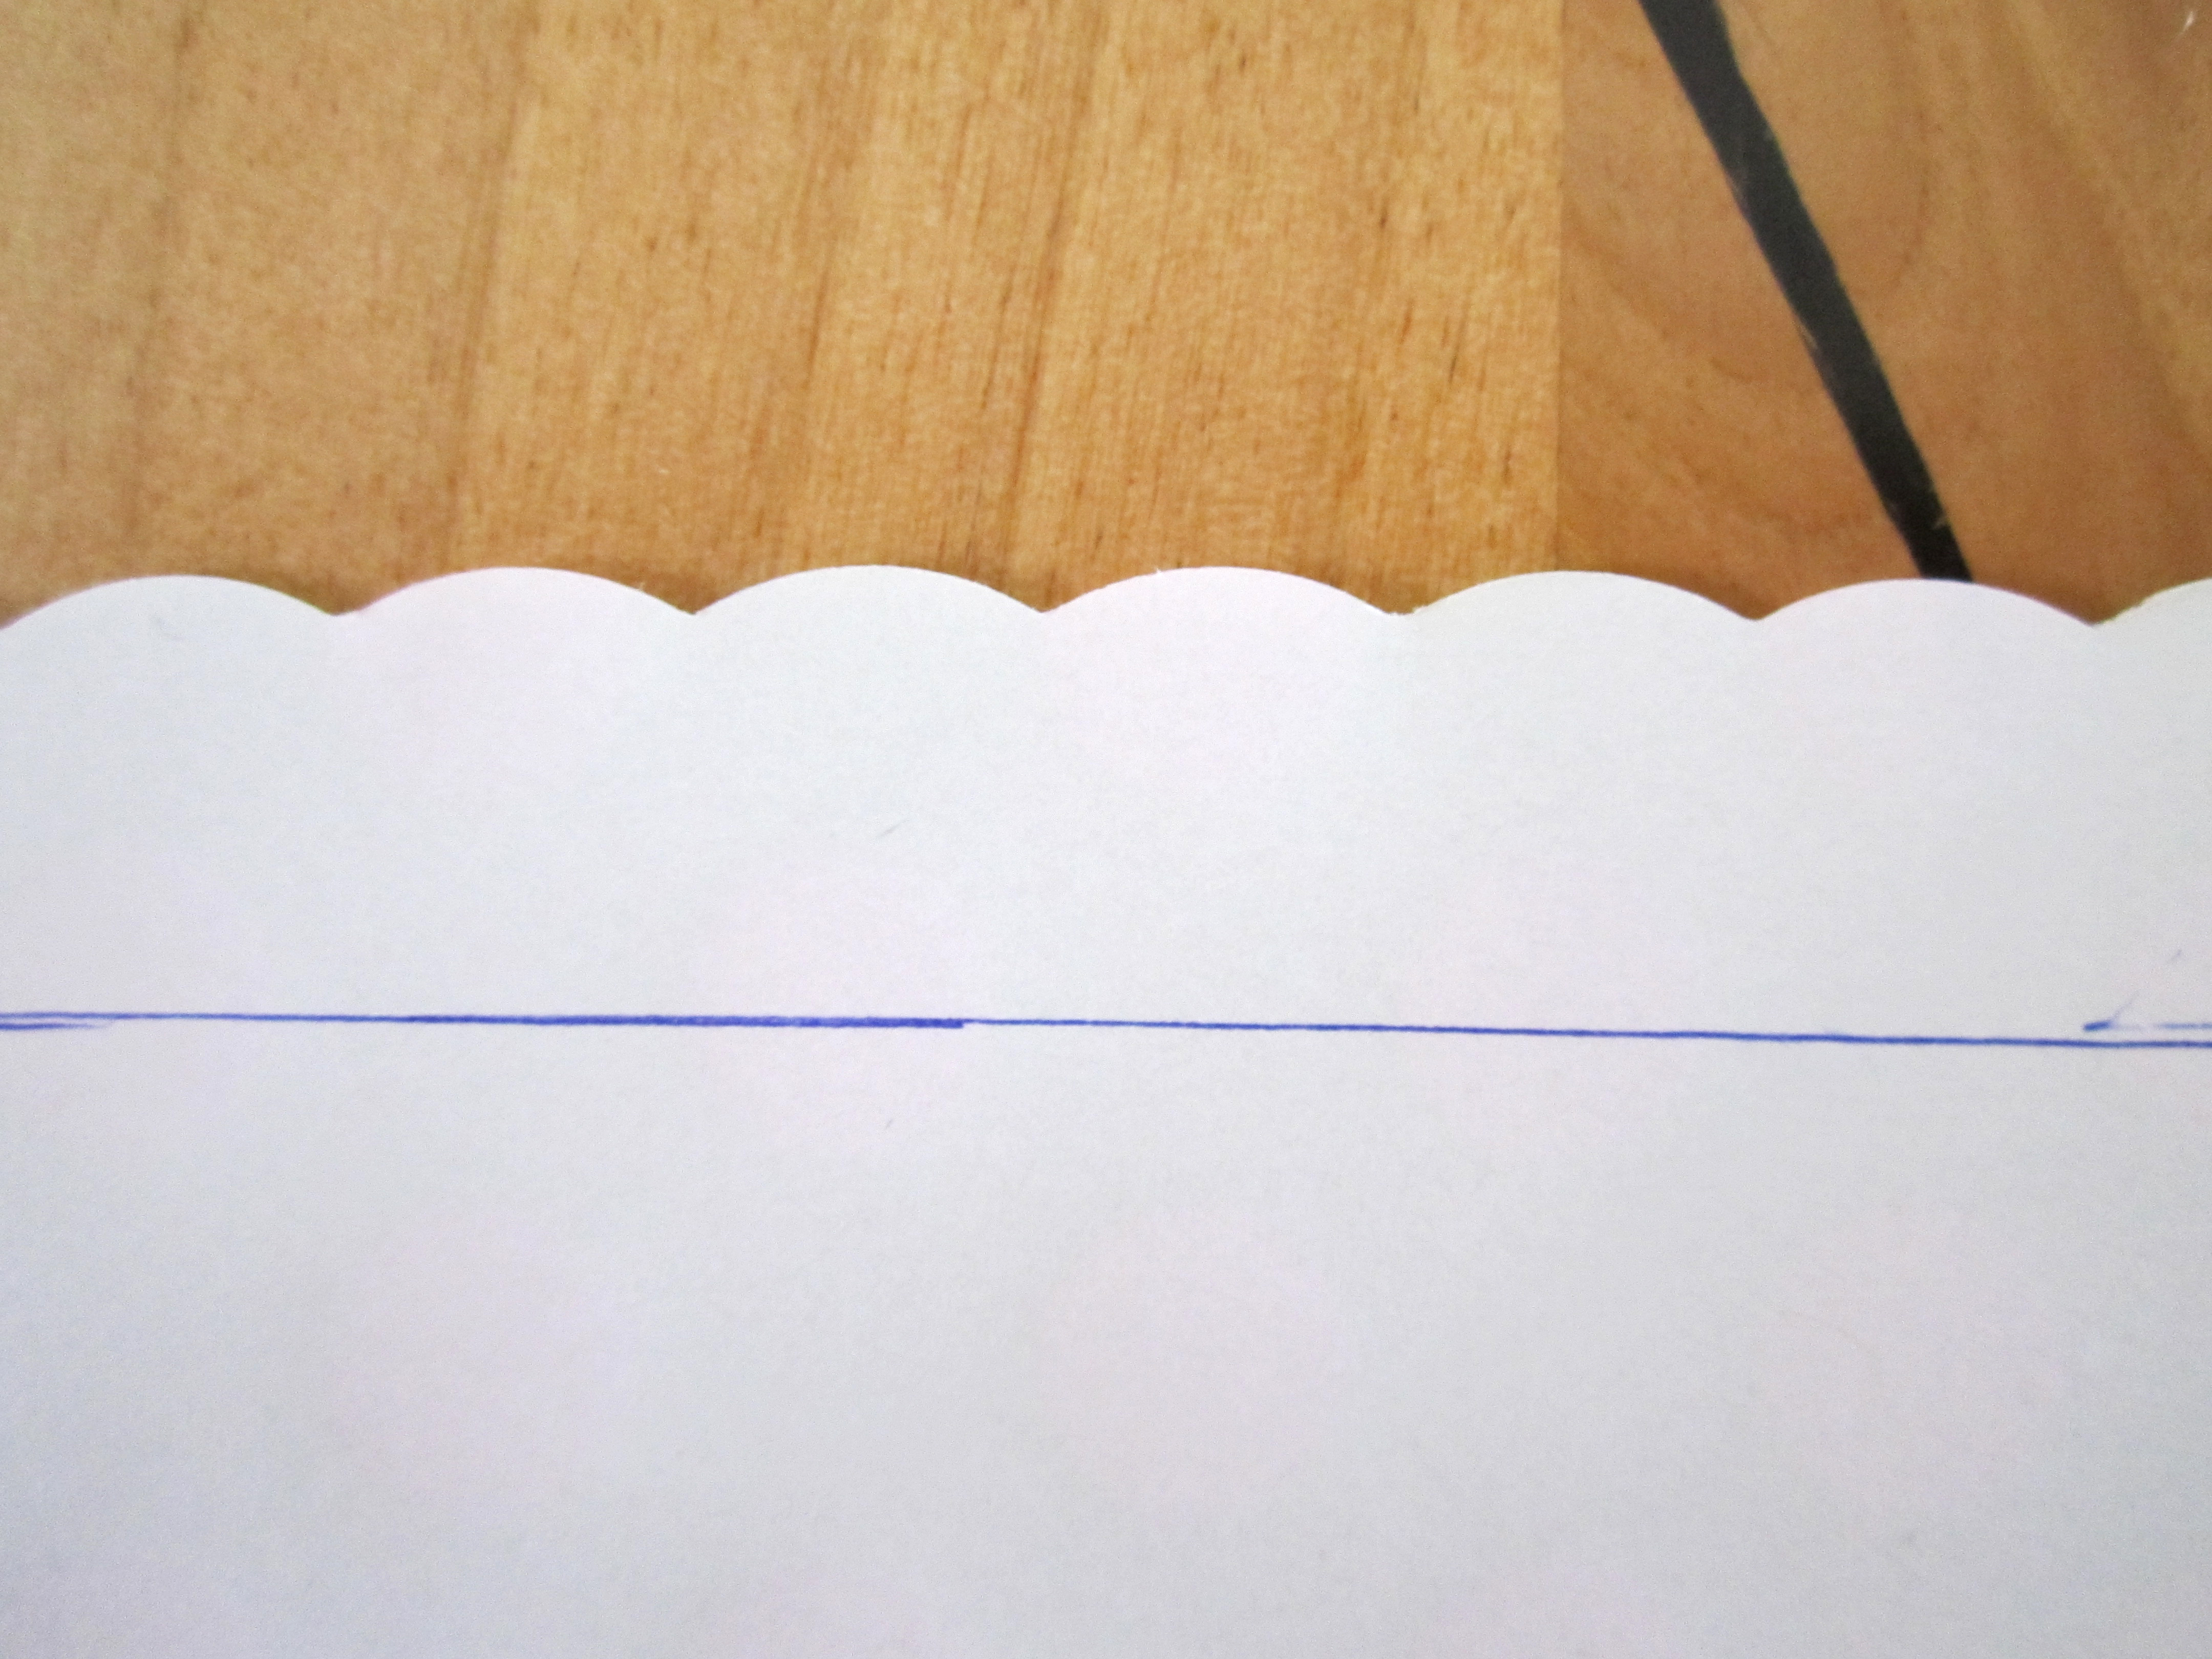
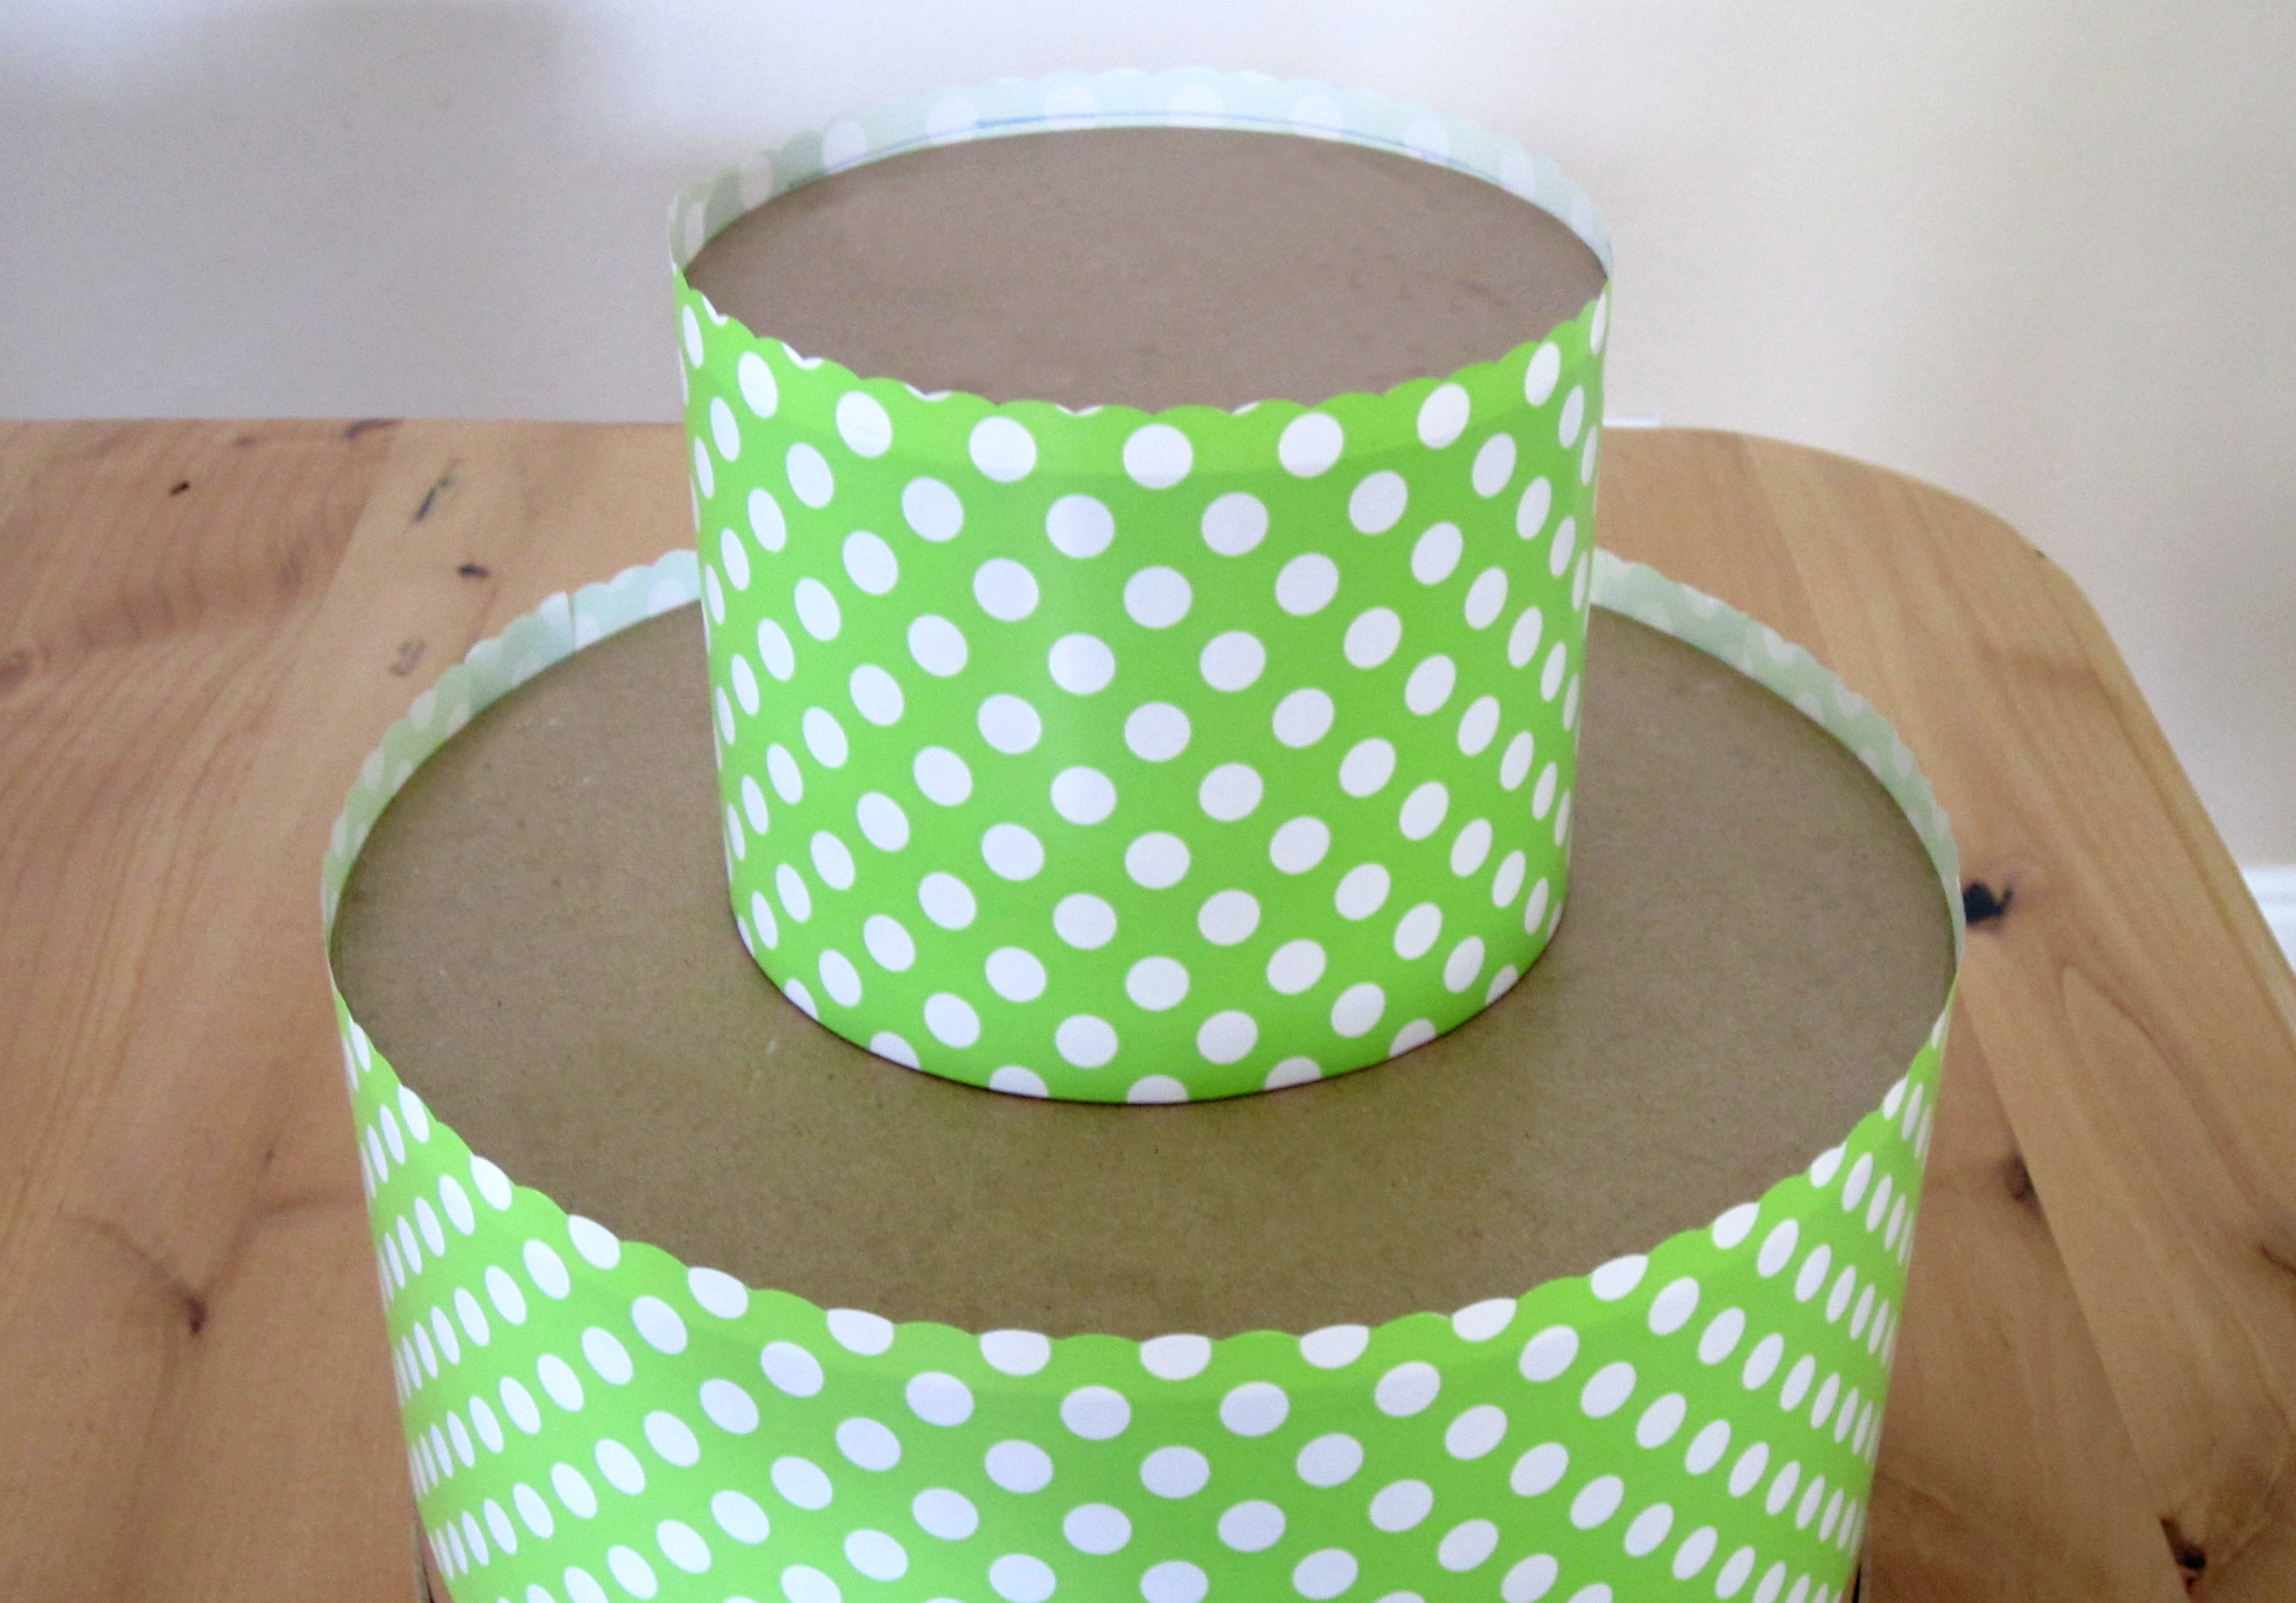
Step One: Line the top side of your box (it is now going to be the bottom side of your stand) on the edge of the paper and mark  how tall it is.
Continue drawing your line for the length of paper you will need to wrap around the box.
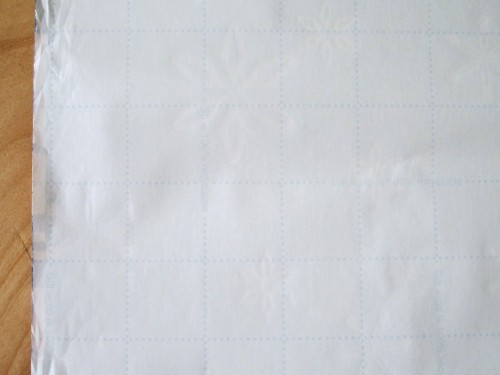
Tip: Some styles of wrapping paper now have grids on the back (mine didn't) which makes it super easy for cutting straight lines.
Step Two: Take your decorative edge scissors and cut about a half inch to an inch above your line to give it a little bit of a lip above the edge of where your box will be.
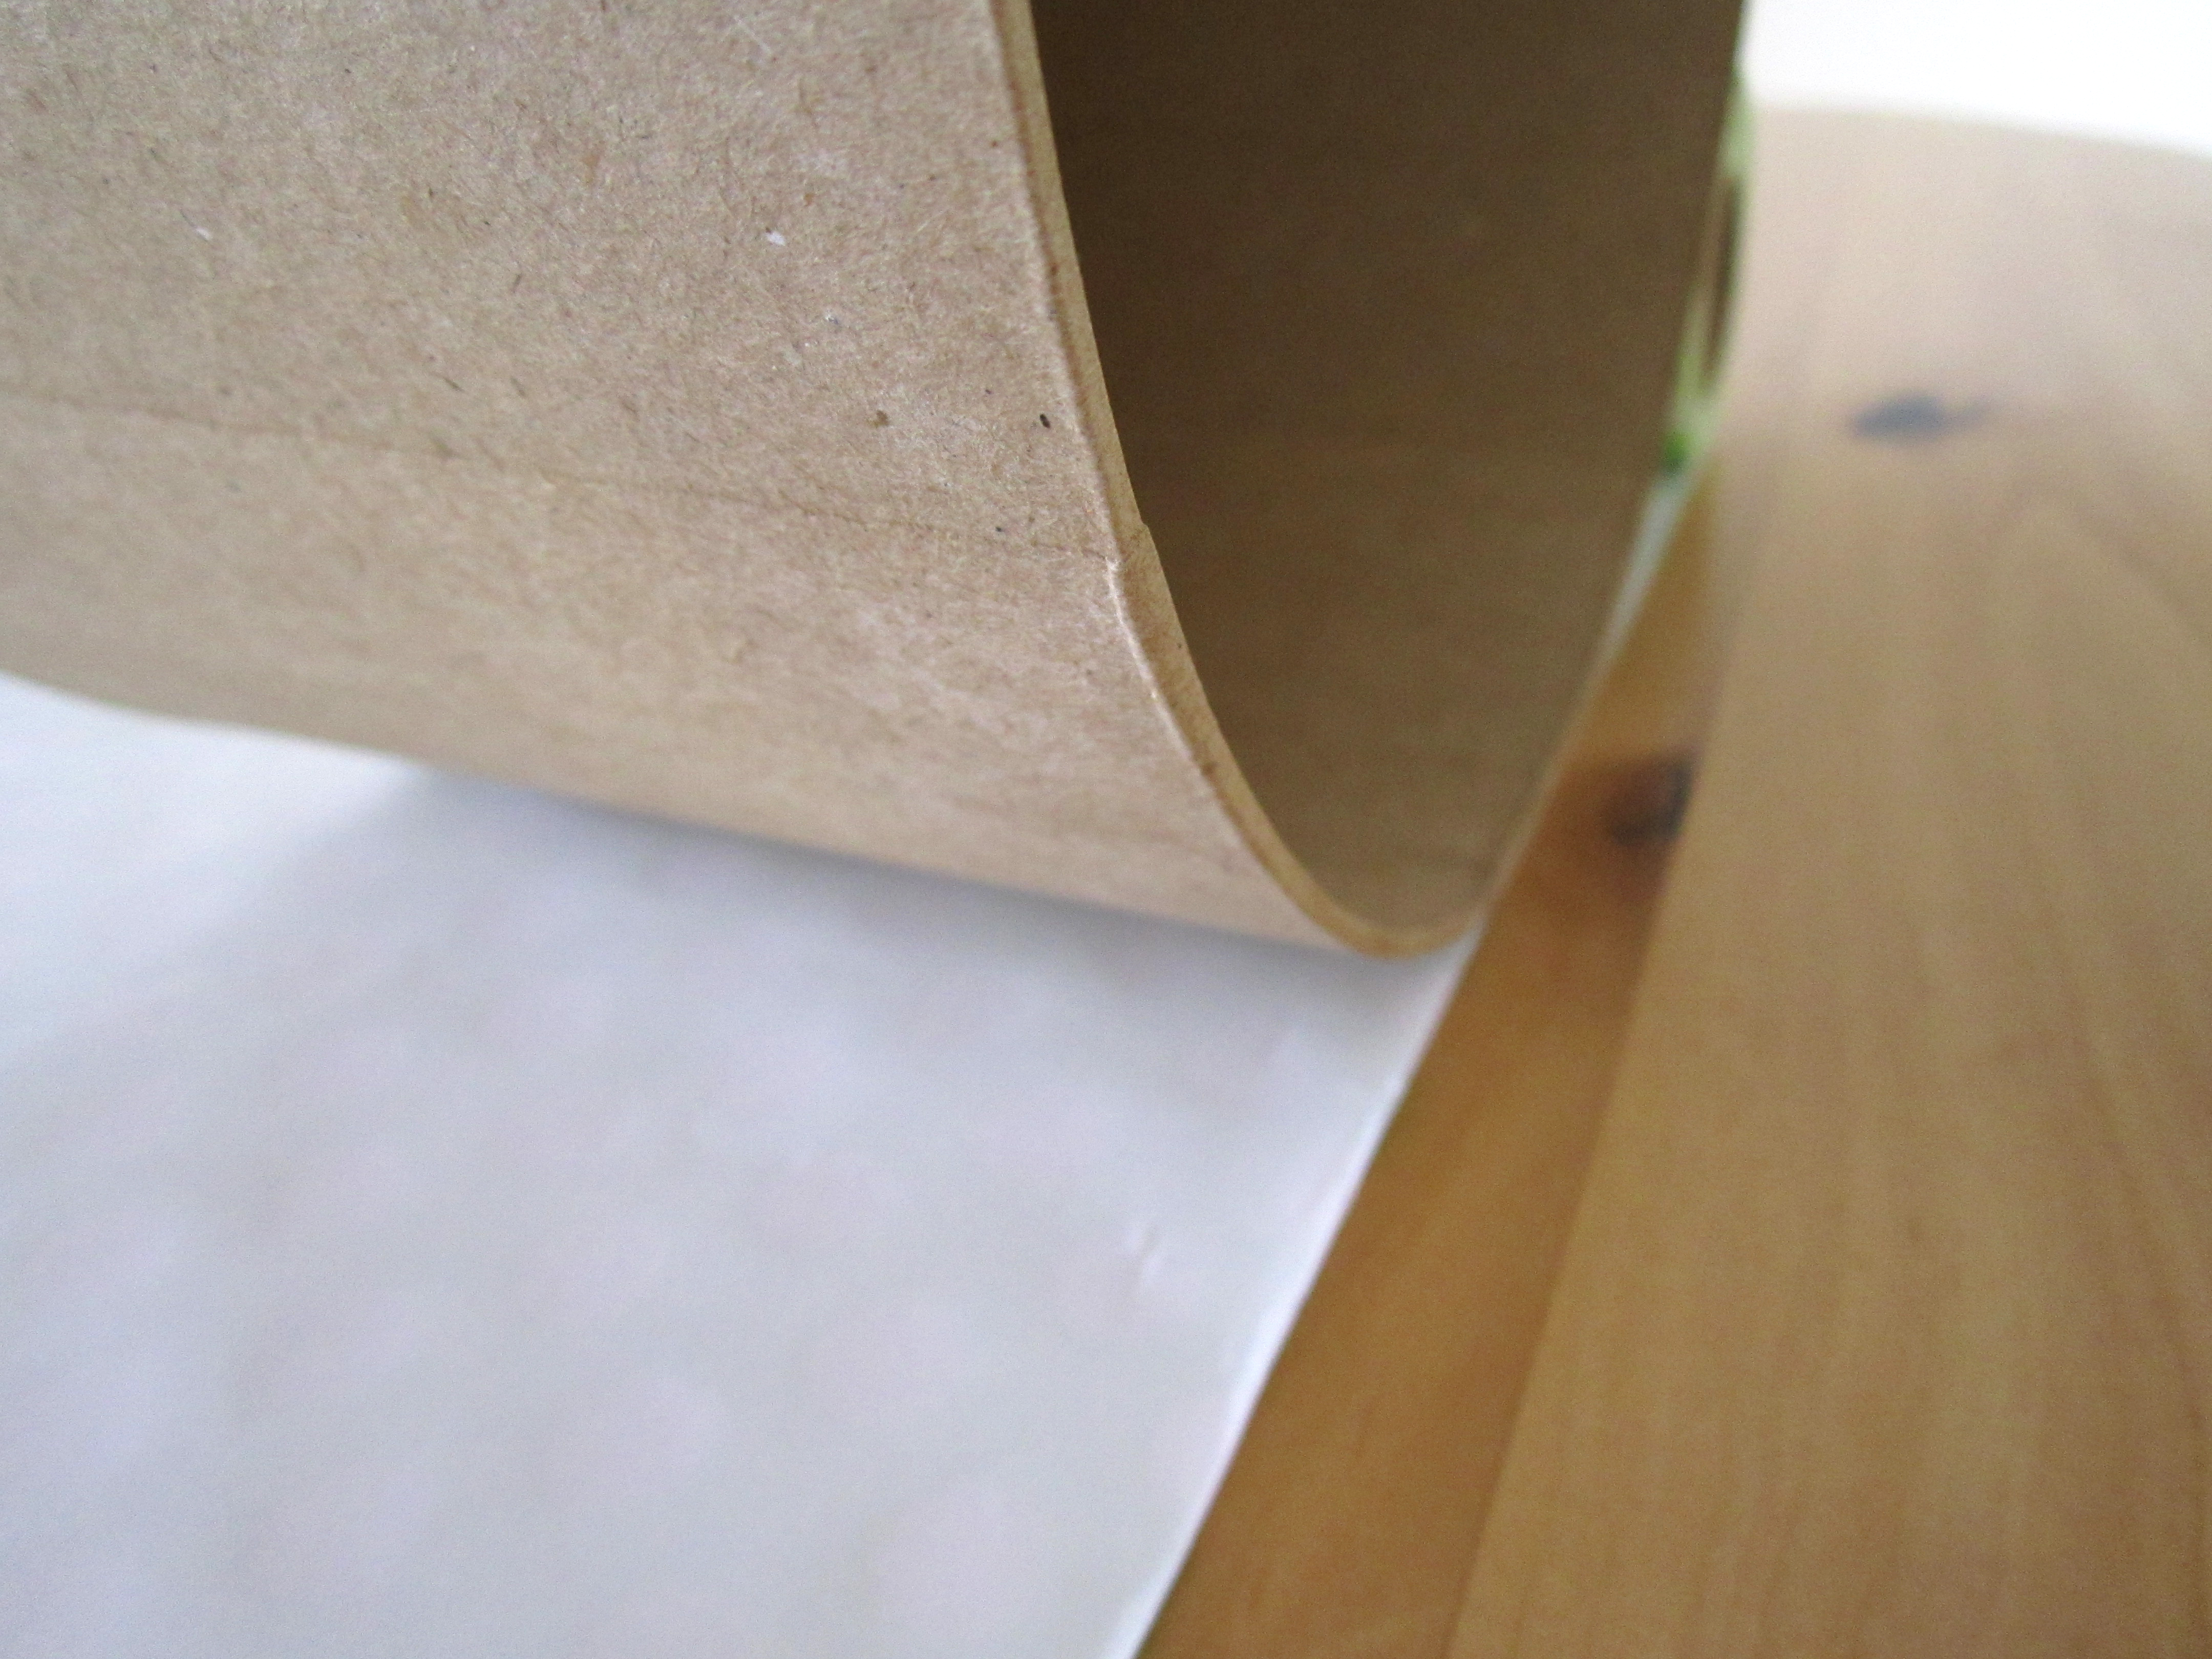
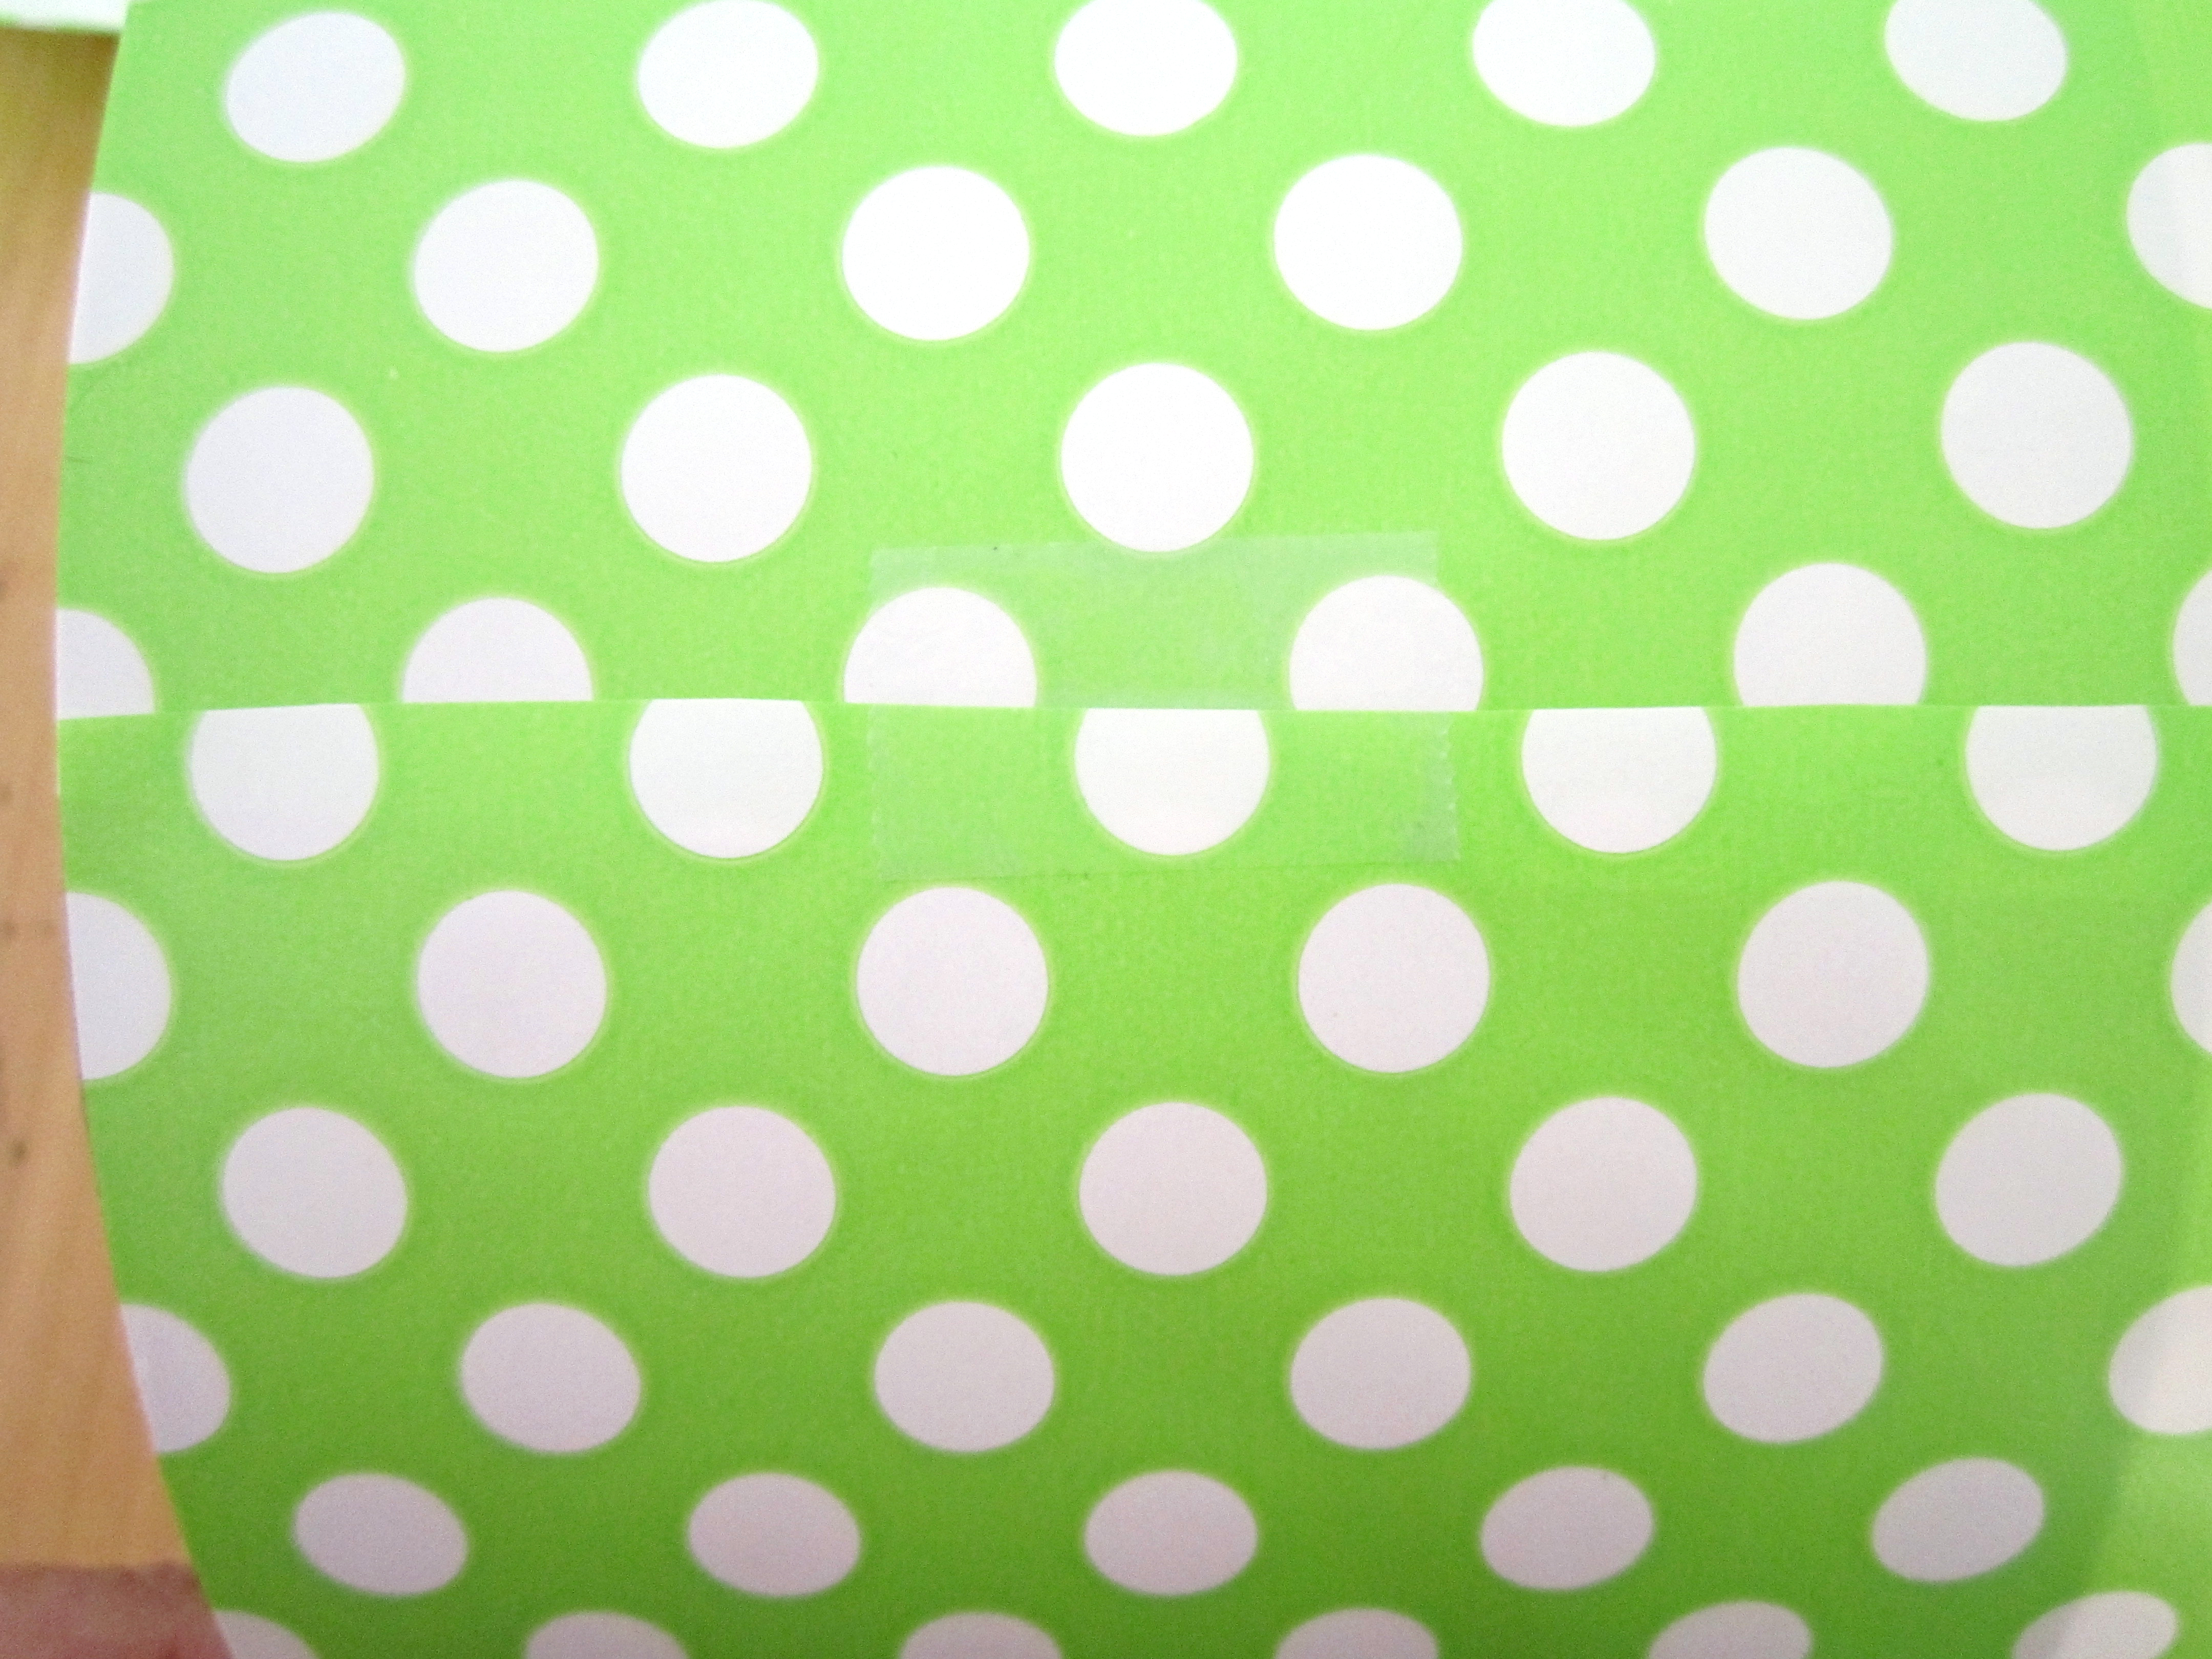
Step Three: Wrap your box. Remember to keep the open part of your box at the base of the paper. Tape one end of the paper to the box to hold in place. Then roll/wrap.
The other end should overlap just slightly to cover the whole thing and tape together.
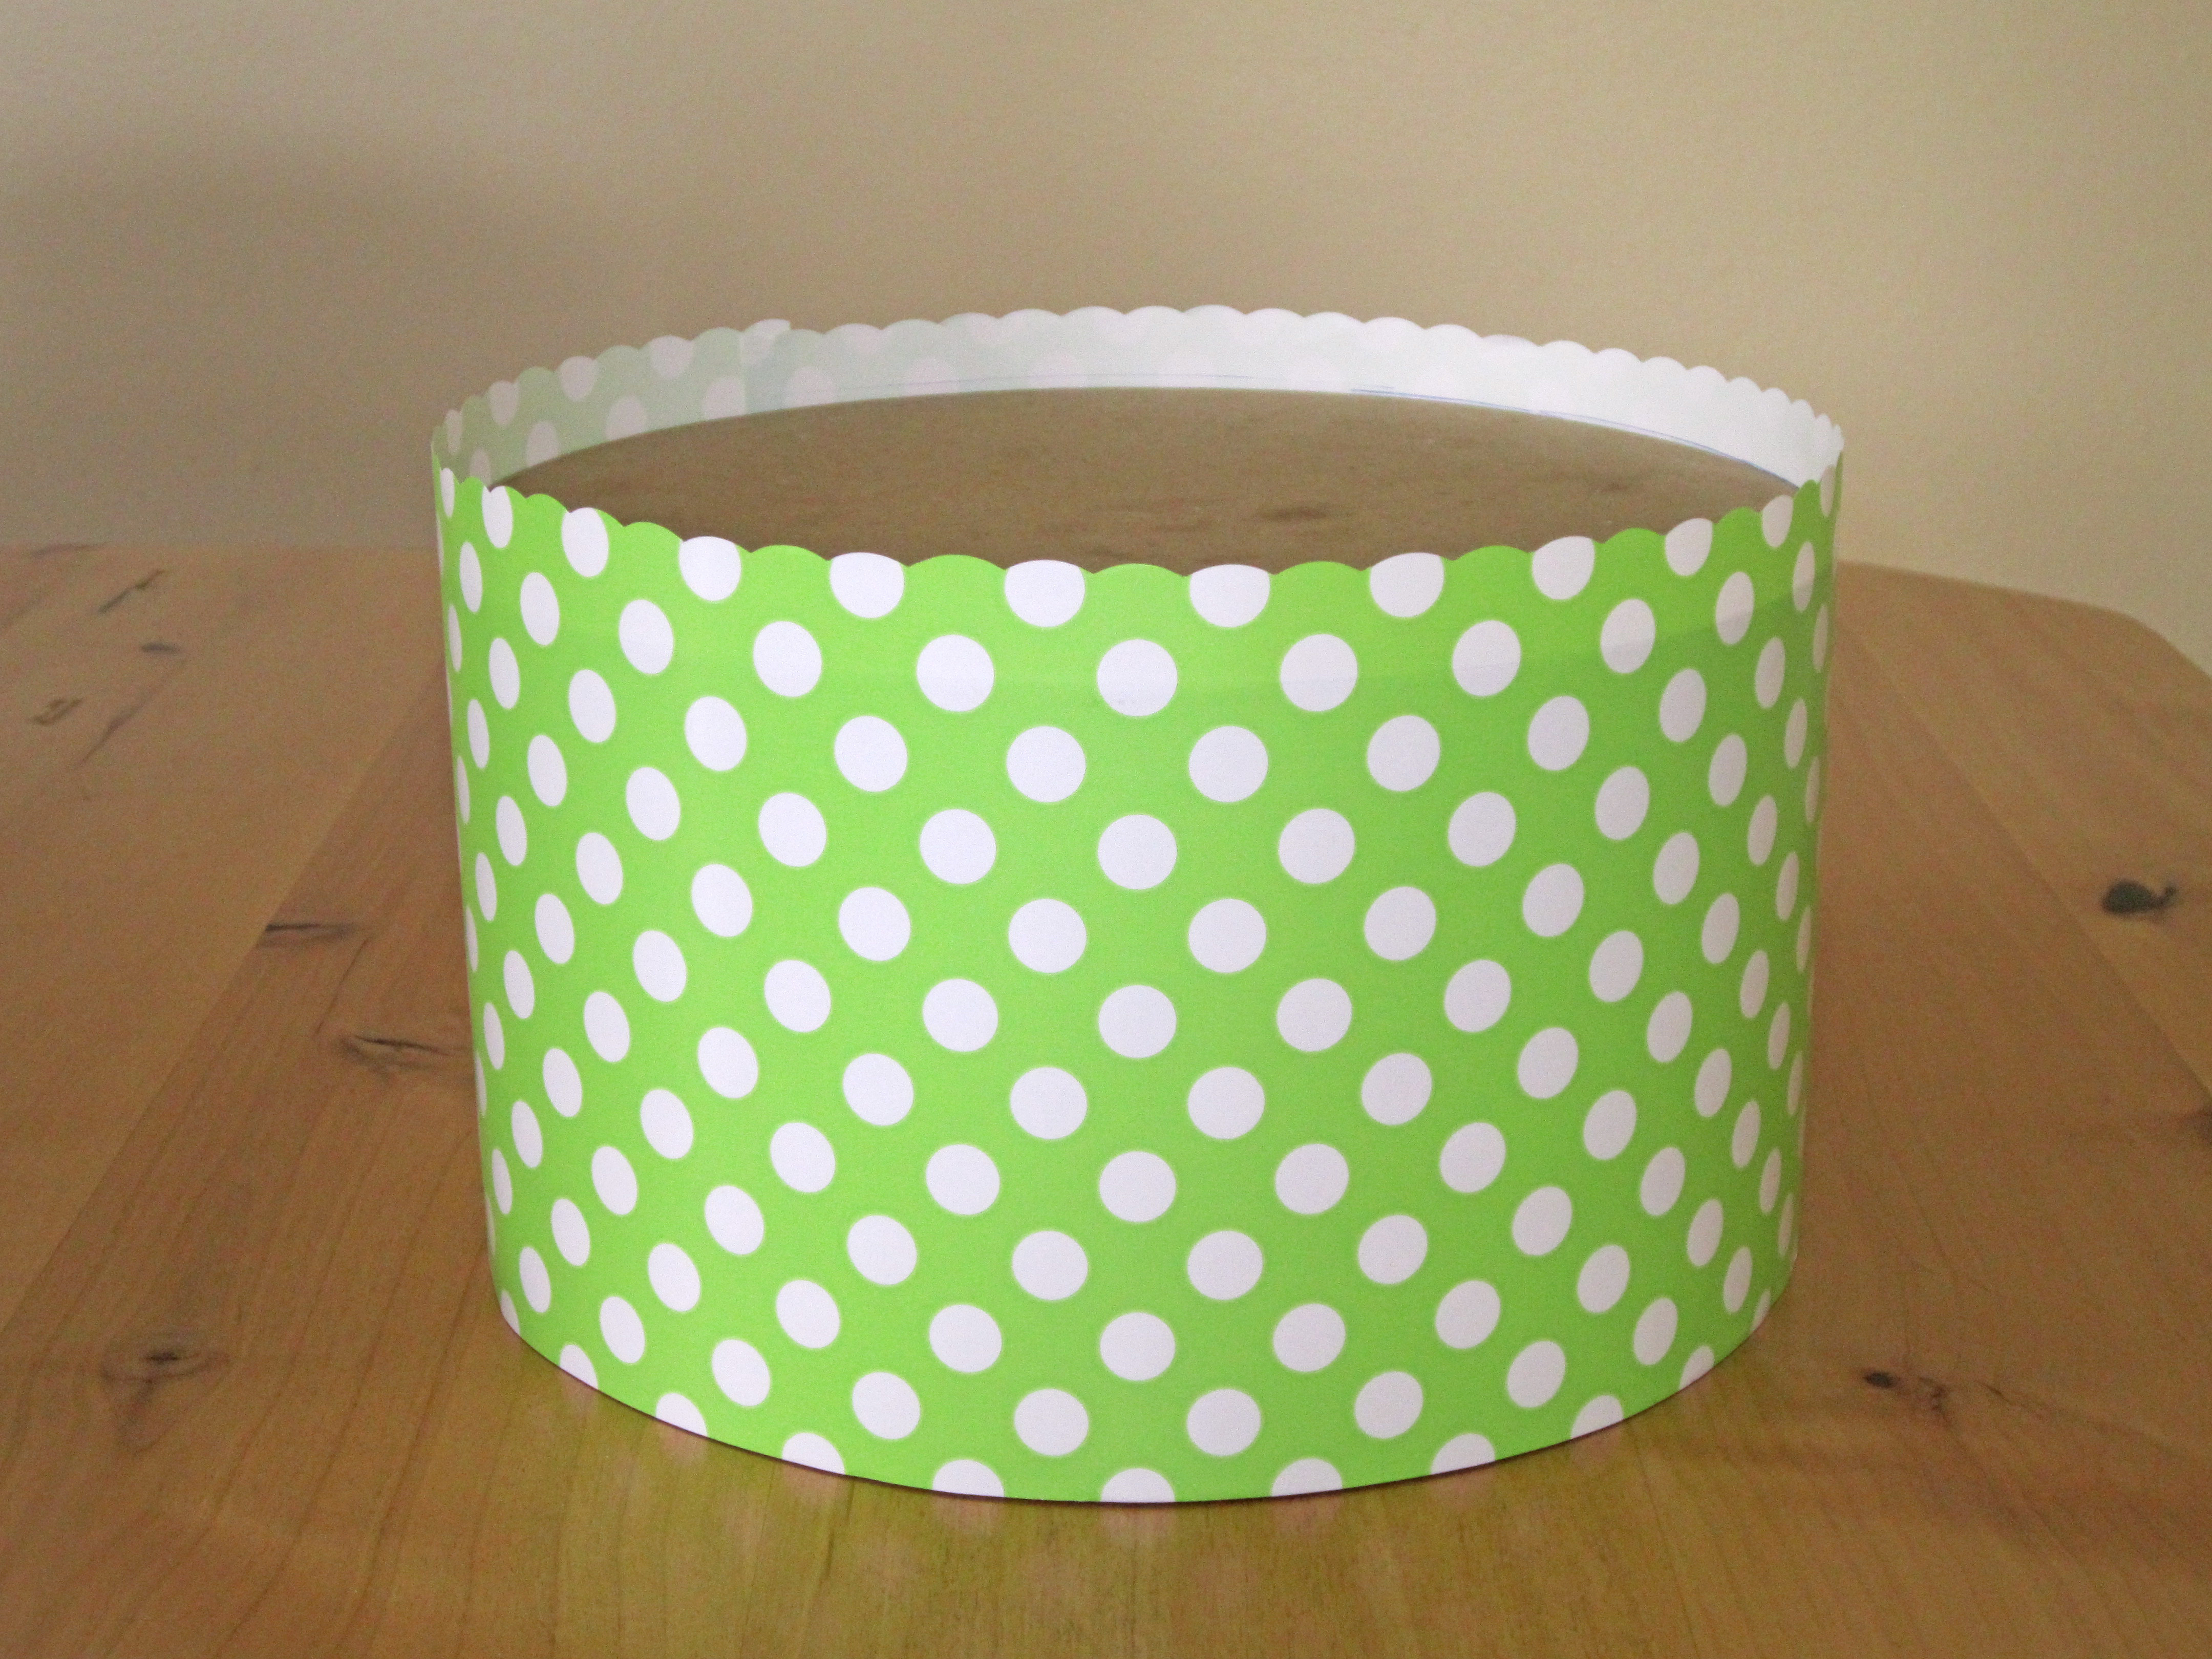
Step Four: Stand your box (open side down....) and you are done with one. Repeat and stack!
You can stack as many as you like to achieve the look you want. I went with a taller box for the base to give it some height, and then a slightly shorter box on top to give it some variety.
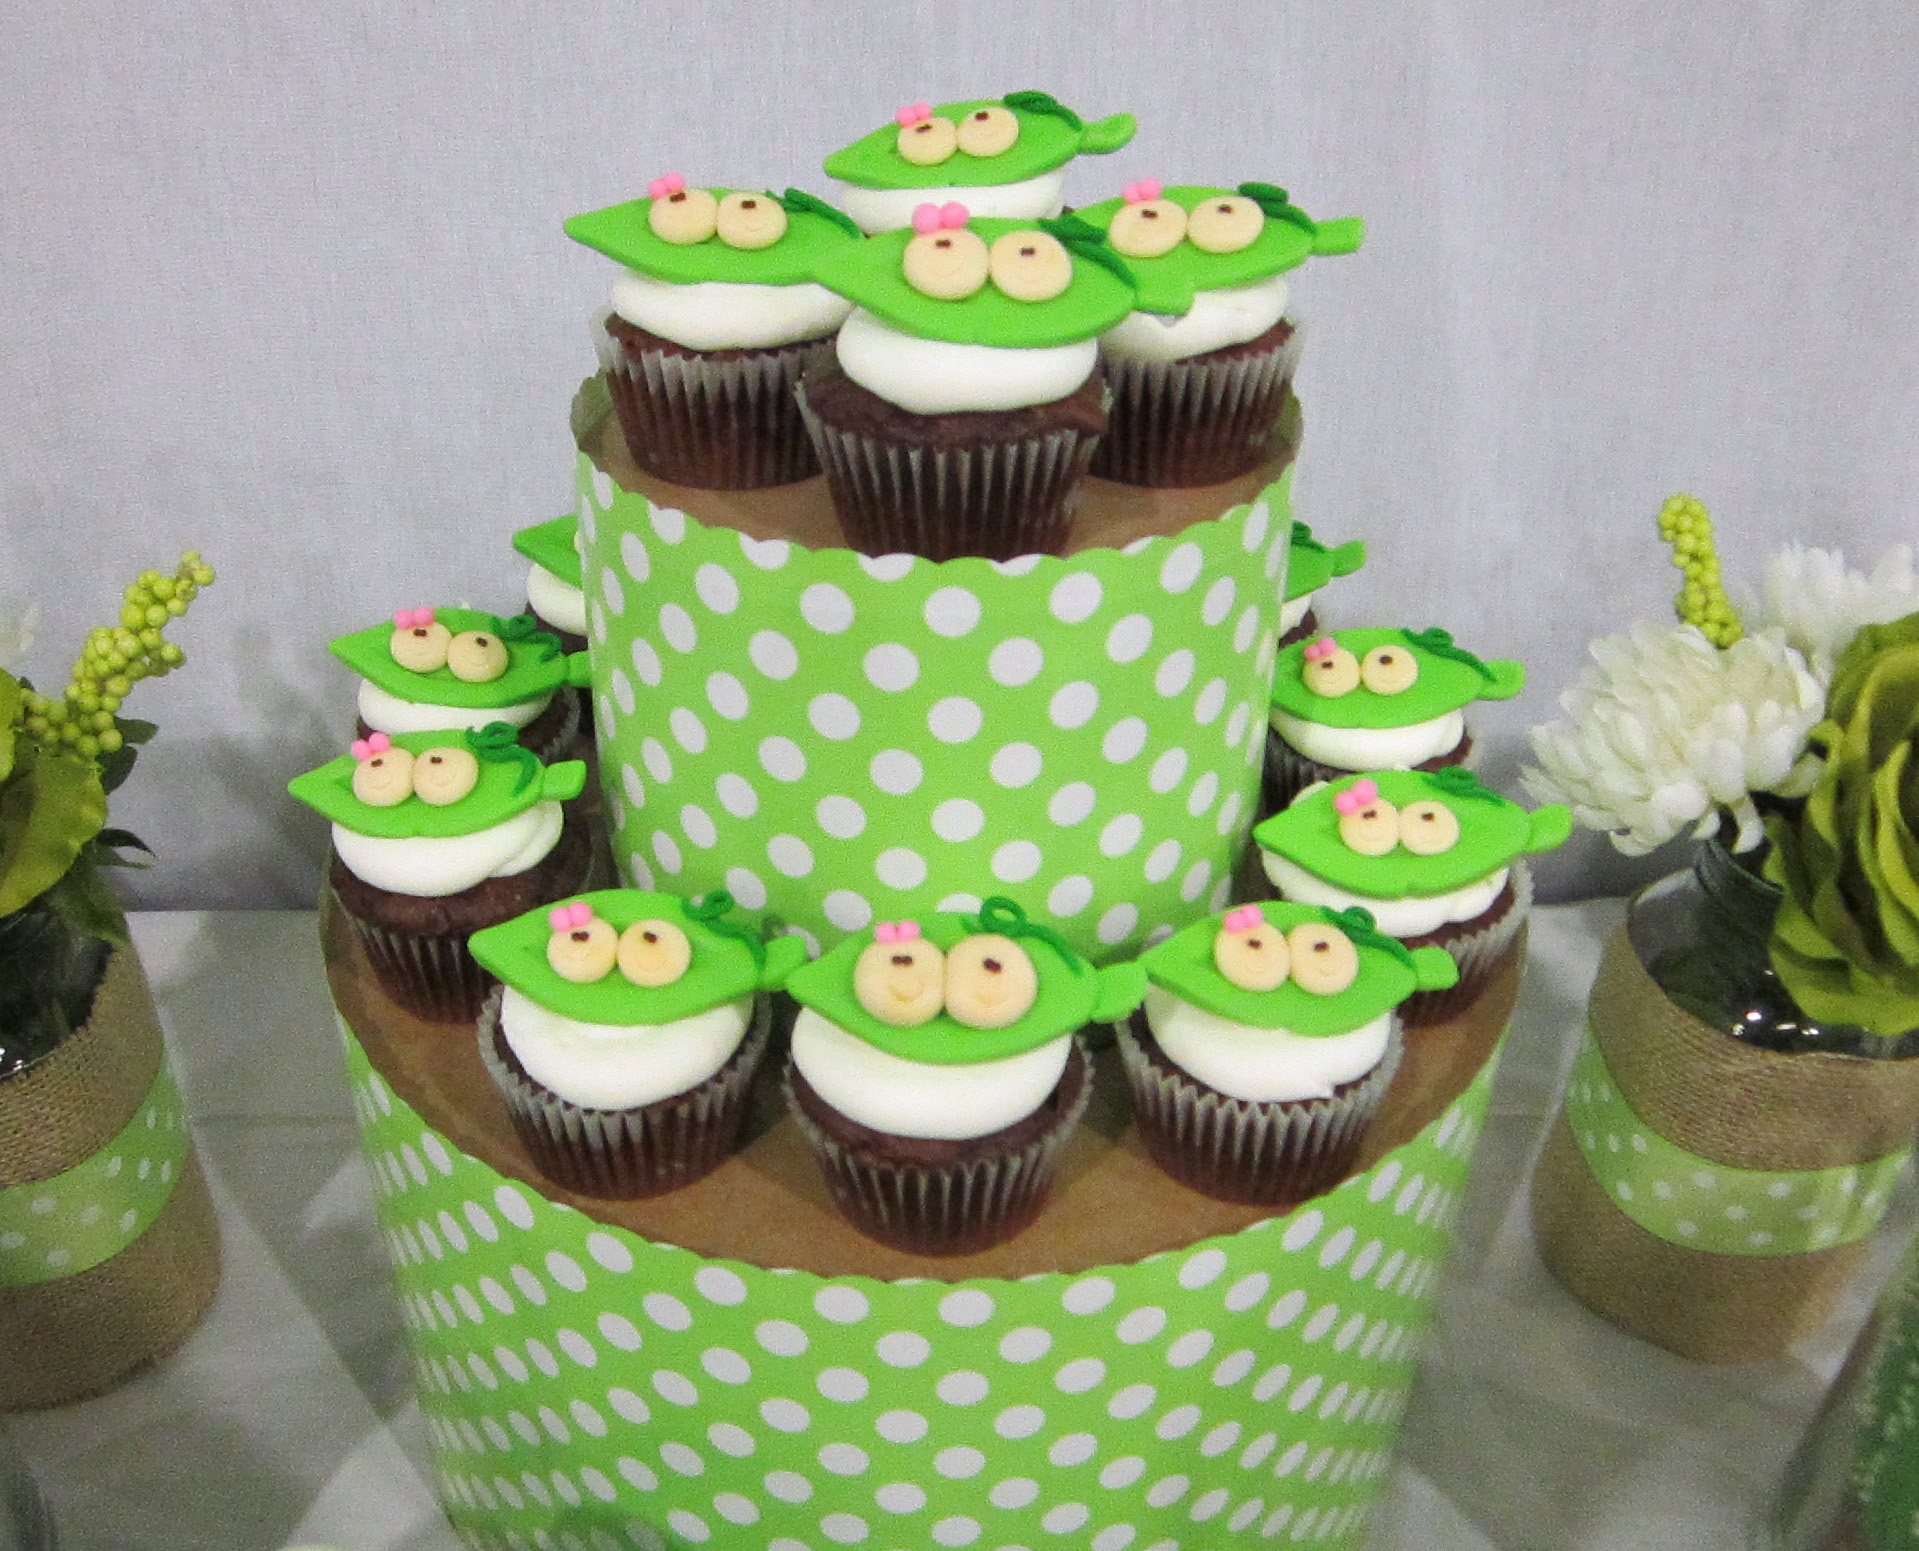
Step Five: Fill with cupcakes!
Tip: For standard size cupcakes, you will want a 4" difference in box sizes for each tier to fit cupcakes all the way around (ex: for a 3 tier cupcake stand:  bottom tier - 14" box, middle tier - 10" box, top tier - 6" box). For mini size cupcakes a 2" difference in box sizes for each tier will work.
Now that your stand is all filled with cupcakes you can take a step back and enjoy your hard work, and eat a cupcake!
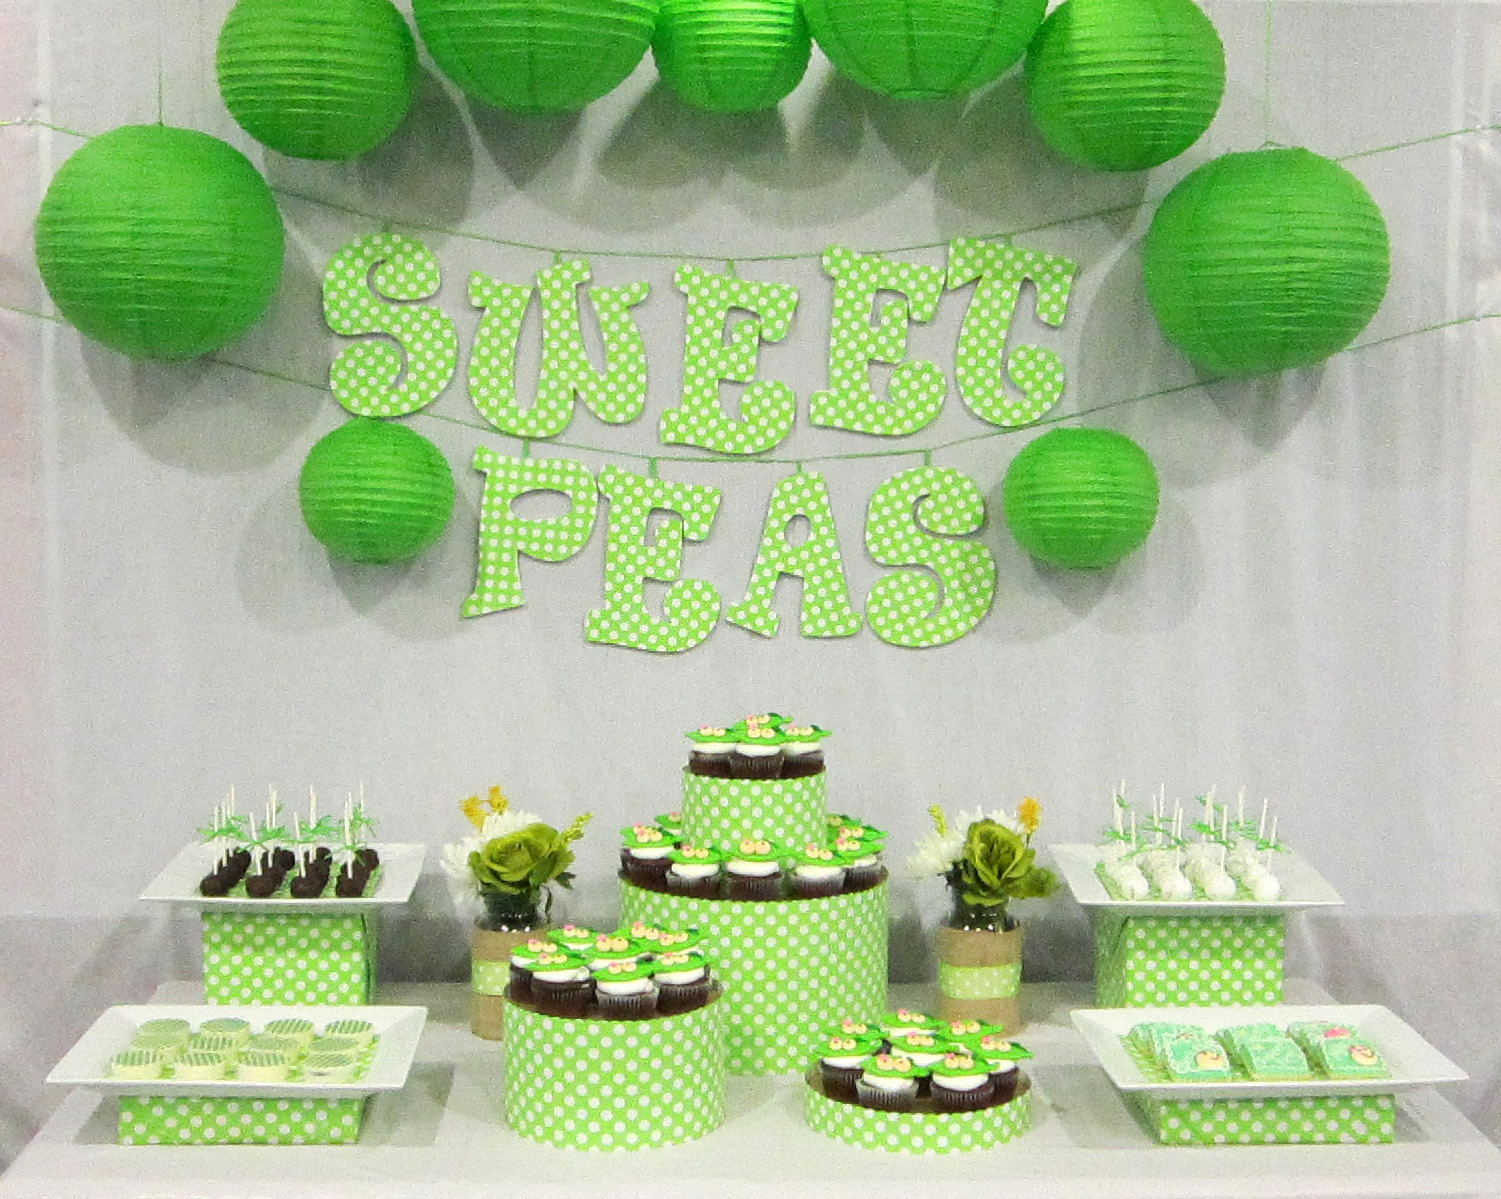
Thanks for checking out our hat box cupcake tower tutorial. Another great thing about this is you can take the paper off and re-wrap for another theme, the versatility is really endless! Also be sure to check out other fun details from this baby shower that I styled filled with DIY projects and more tips on uses with wrapping paper for parties on my here! Thanks again and please feel free to comment or share!

Tuesday, May 1, 2012

Push-up Pops Package Giveaway!


Giveaway closed...
Scroll to the bottom to see who won!

Winners need to contact me via facebook or etsy to claim you prize.

Are you ready for this! The very first giveaway on my blog!!!! I am so excited!

I wanted to share something fun and that I would be happy winning myself!  I am sure that most of you have seen these in one place or another...
Push-up Pops have been quit the rage for a while now, and I must say that I am a fan. I used them recently for a party and just fell madly in love! So I put together this fun little package to celebrate my readers...

The winner will receive a copy of the uber popular Push-Up Pops book!
This  book is so amazing! The fabulous Courtney form Pizzazzerie shares so many fun ideas for push-up pop containers to take them from ordinary to extraordinary! 
She shows that the versatility is really endless! Inside you will find over 40 different recipes from puddings and cupcakes to popsicles!  Plus a variety of ways to display and dress them up for any occasion.  
Now that you have the instruction, let's put it to use... 
the winner will also receive 1 dozen Push-up Pop containers!
And last but not least, you will need a way to display your fabulous treats once you have used Courtney's book to make something delicious right!?! 
So I am throwing in a 12ct Push-Pop Cake stand!
Now you have a complete Push-up Pop package to create a delicious and beautiful dessert display that will amaze your guests! 

Oh, but wait! 
Since this is my first giveaway let's go ahead and giveaway a 2nd set of Push-up Pops! Yup, that's right! A bonus person will receive 1 dozen pops! So you have 2 chances to be a winner. This giveaway ends on May 8th 12pm, and the winner(s) will be announced the following day. Good luck! 
Now here is how you enter: