Find Us On Facebook

Search This Blog

.

Party Directory:

Faith Is Like A Seed Baptism

Nerf War

Harry Potter Trunk-or-Treat

o-FISH-ally 3!

Cupid Airlines Class Party

Santa's Workshop Class Party

Great Pumpkin Classroom Party

Dino Hunt/Movie

Puppy Paw-ty

Summer Fun Human Bowling

Minion Teacher Appreciation

Grinchmas

Gymnastics Party

Trunk or Treat

8 is Great! Baptism Celebration

Hollywood Teacher Appreciaton

1st Circus Birthday

Hippie Valentines Party

"Be Ugly" Christmas Party

Rainbow Dash Pony Party

Hogwarts School of Witchcraft & Wizardry

Butterfly Dessert Table

Vintage School Baby Shower

Bee My Valentine

Reindeer Games Breakfast

Ghost Busters!

Brave Birthday

Gender Reveal Election

Super Dad Father's Day

Papa's Pizzeria Party

A Party for my Peeps!

St. Patrick's Day Party

Buttons & Bows Baby Shower

Milk and Cookies on the Farm

2 Peas in a Pod Diaper Shower

Yo Ho Matey! Pirate Party

Bedtime Stories Baby Shower

1st Bee-Day

Dr. Seuss Baby Shower

Birthday Zoo-fari

Thomas the Train Birthday

Showing posts with label baby shower. Show all posts

Monday, April 29, 2013

Vintage School Baby Shower


One of my dear friends was expecting a sweet little baby girl soon but she didn't want to do a big shower since she already has a child, but I couldn't resist doing SOMETHING! So we decided that a nice little lunch with some close friends would do.

I just LOVE LOVE LOVE themed invitations and these ones from Invitation To Mars were just too cute to pass up and perfect for the theme!

How cute are these details!?!

For the table centerpiece I kept it simple with a vintage pattern table runner, basket of apples, mini chalk board, baby blocks and flash cards.


We had a light lunch served in the traditional brown lunch sacks, but I wanted to dress them up a bit. So I folded a doily over the top and tied them shut with a cute little ribbon to give them kind of a shabby chic look.

Inside the lunch sacks was a chicken salad croissant sandwich, bag of chips, container of leafy salad with a wooden fork, and a small fruit cup with alphabet cookies. Yum Yum!

And refreshments of course...

We had just a simple little dessert bar to keep it light with few treats. The backdrop was a vintage window I had and covered the glass with different vintage styled paper patterns to give it some color. Then I hung some flash cards with clothes pins for bunting. The table was accented with stacks of books, apples, and more baby blocks and flash cards.


I tried based the main treats off of what I used to have in my sack lunches growing up: Pb & j sandwich, an apple, usually some cookies or chips, and a carton of milk - gotta love themes! So here is what I came up with:
Peanut Butter and Jelly Bars

Cookie and Milk Parfaits


 and Mini Apple Pies

That is our little baby shower lunch, SUPER budget friendly!
Vendors:
Event Styling and photographs: Sweeten Your Day Events
Invitations: Invitation to Mars
Vintage Flash Cards: Pretty Little Studio
School Theme Inspiration: One Charming Party
Monday, May 14, 2012

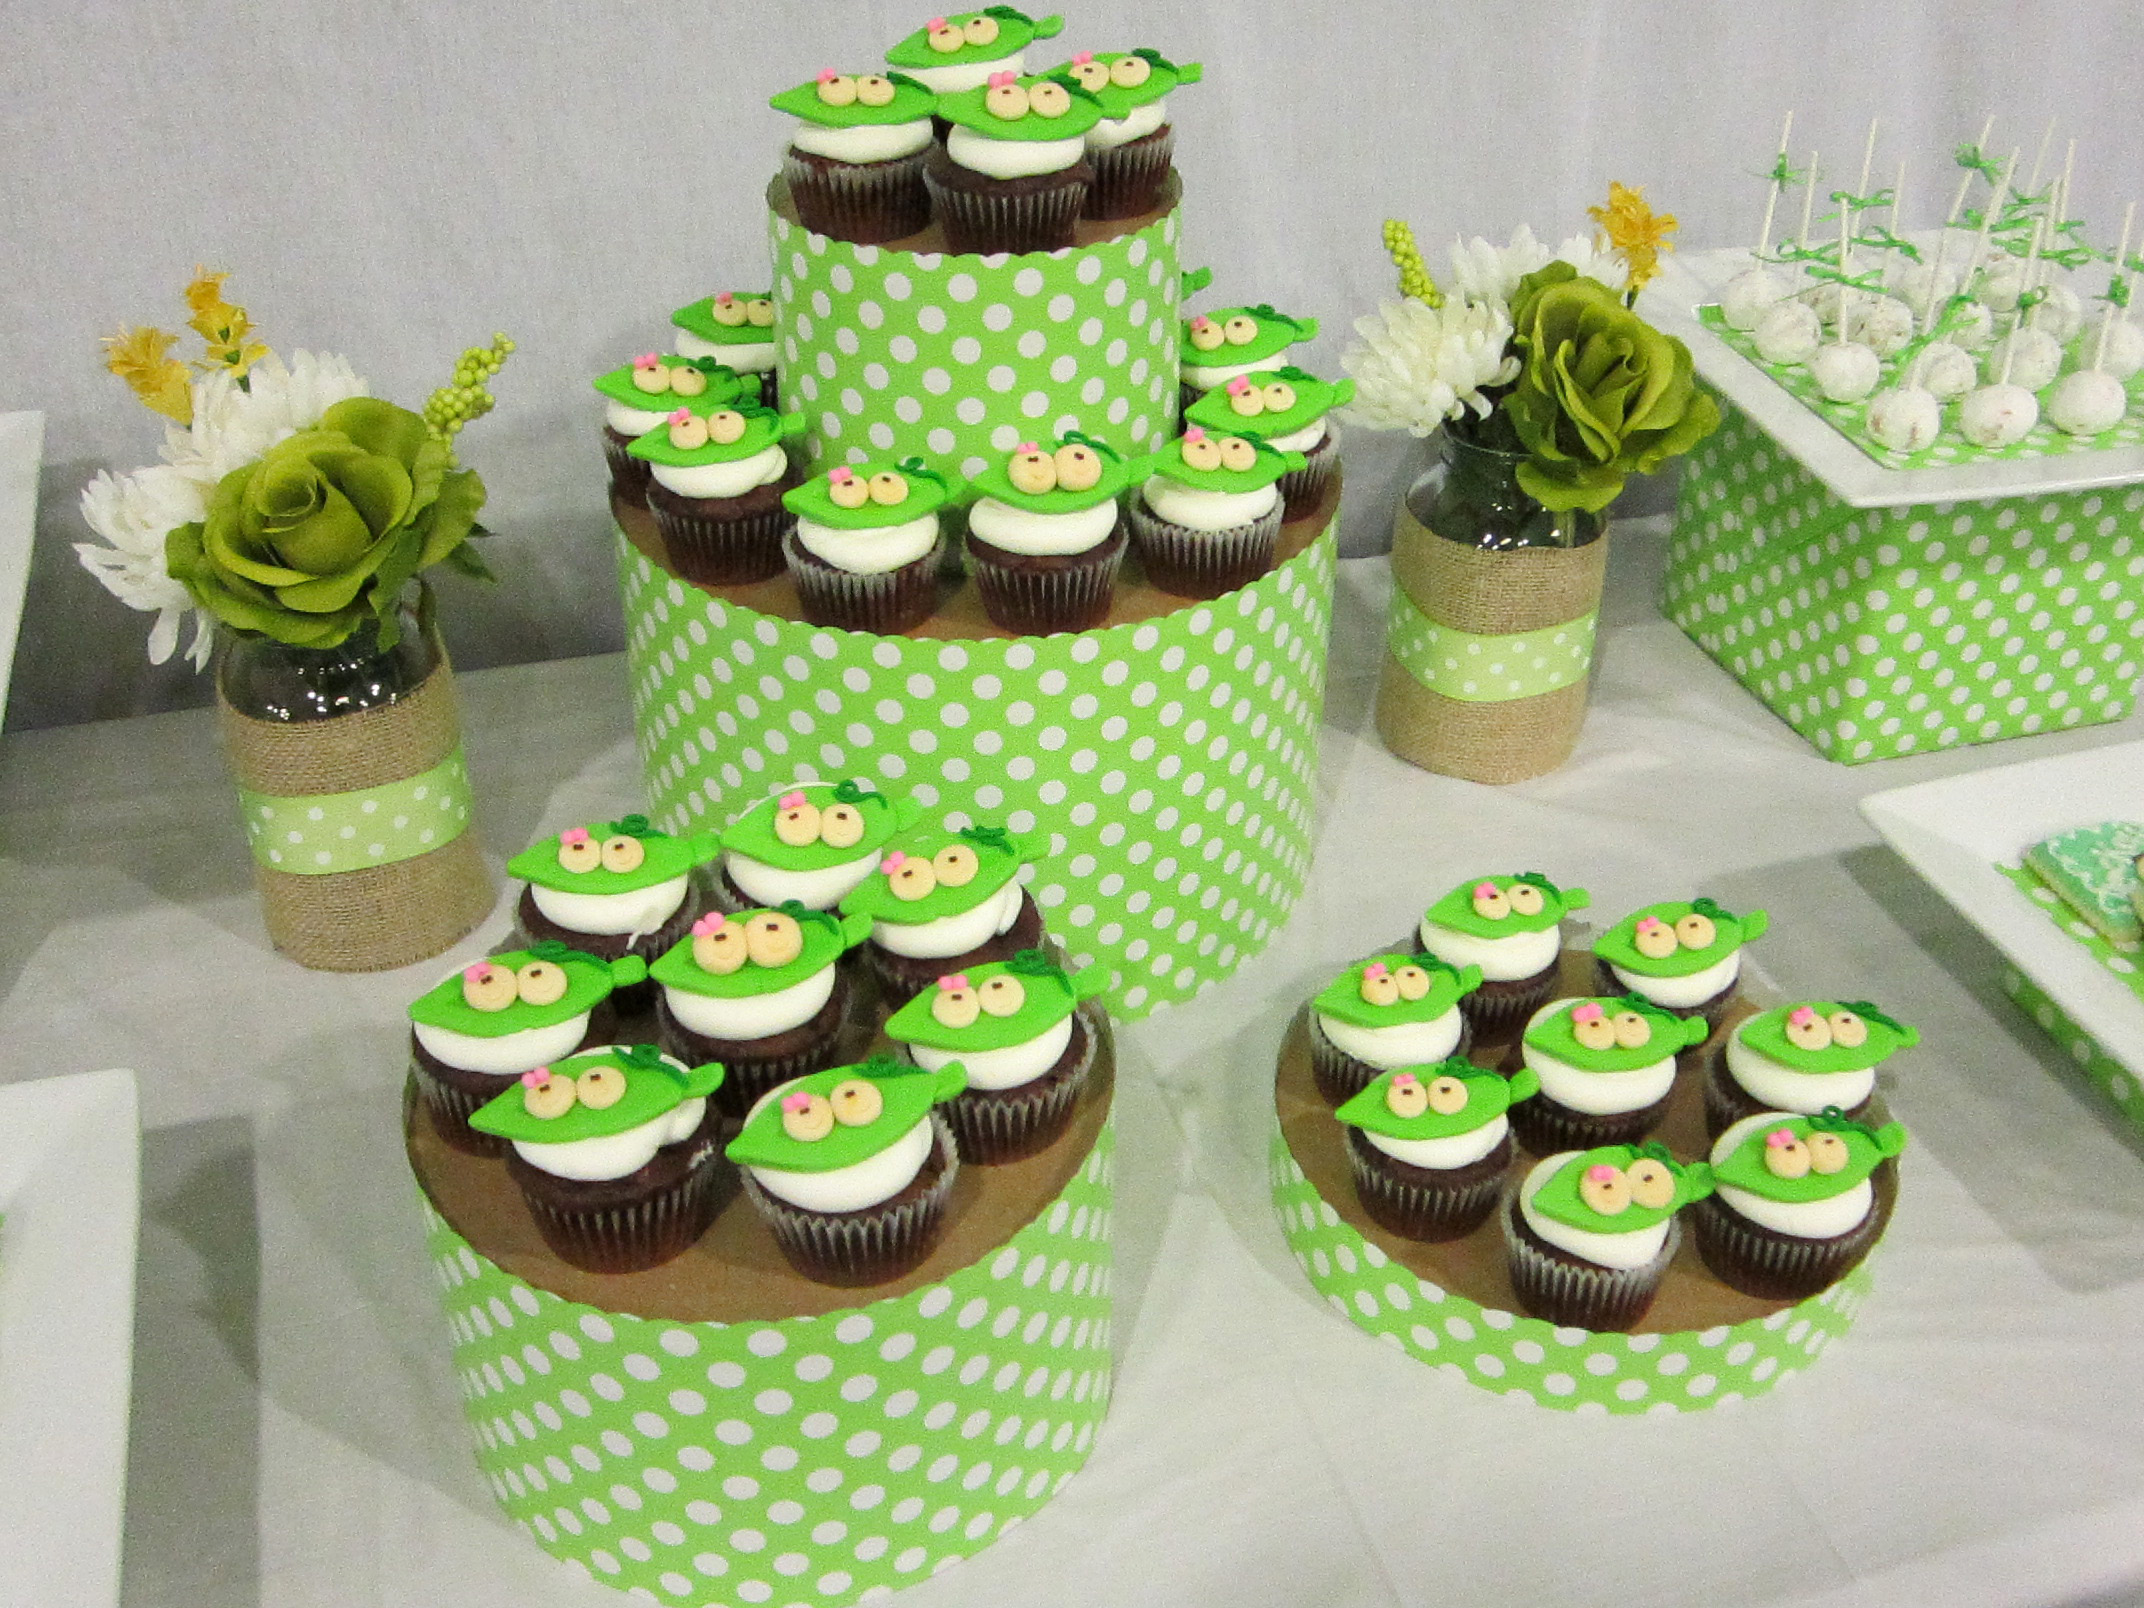
DIY Cupcake Tower


Today I wanted to share with you all my tutorial that shows you how to make these adorable and SUPER easy cupcake towers that you can customize to fit your party style.
Materials:
Hat Boxes (or any other sturdy and smooth cardboard box) - Michaels, Joann, Hobby Lobby, or most craft stores.
Decorative Paper to fit your design/style/theme
Decorative Edge Scissors
Tape
Tips: I found a jumbo roll of wrapping paper that matched our invites that we used and wrapping paper is usually pretty inexpensive.  Also various box sizes are great to add height and variety.
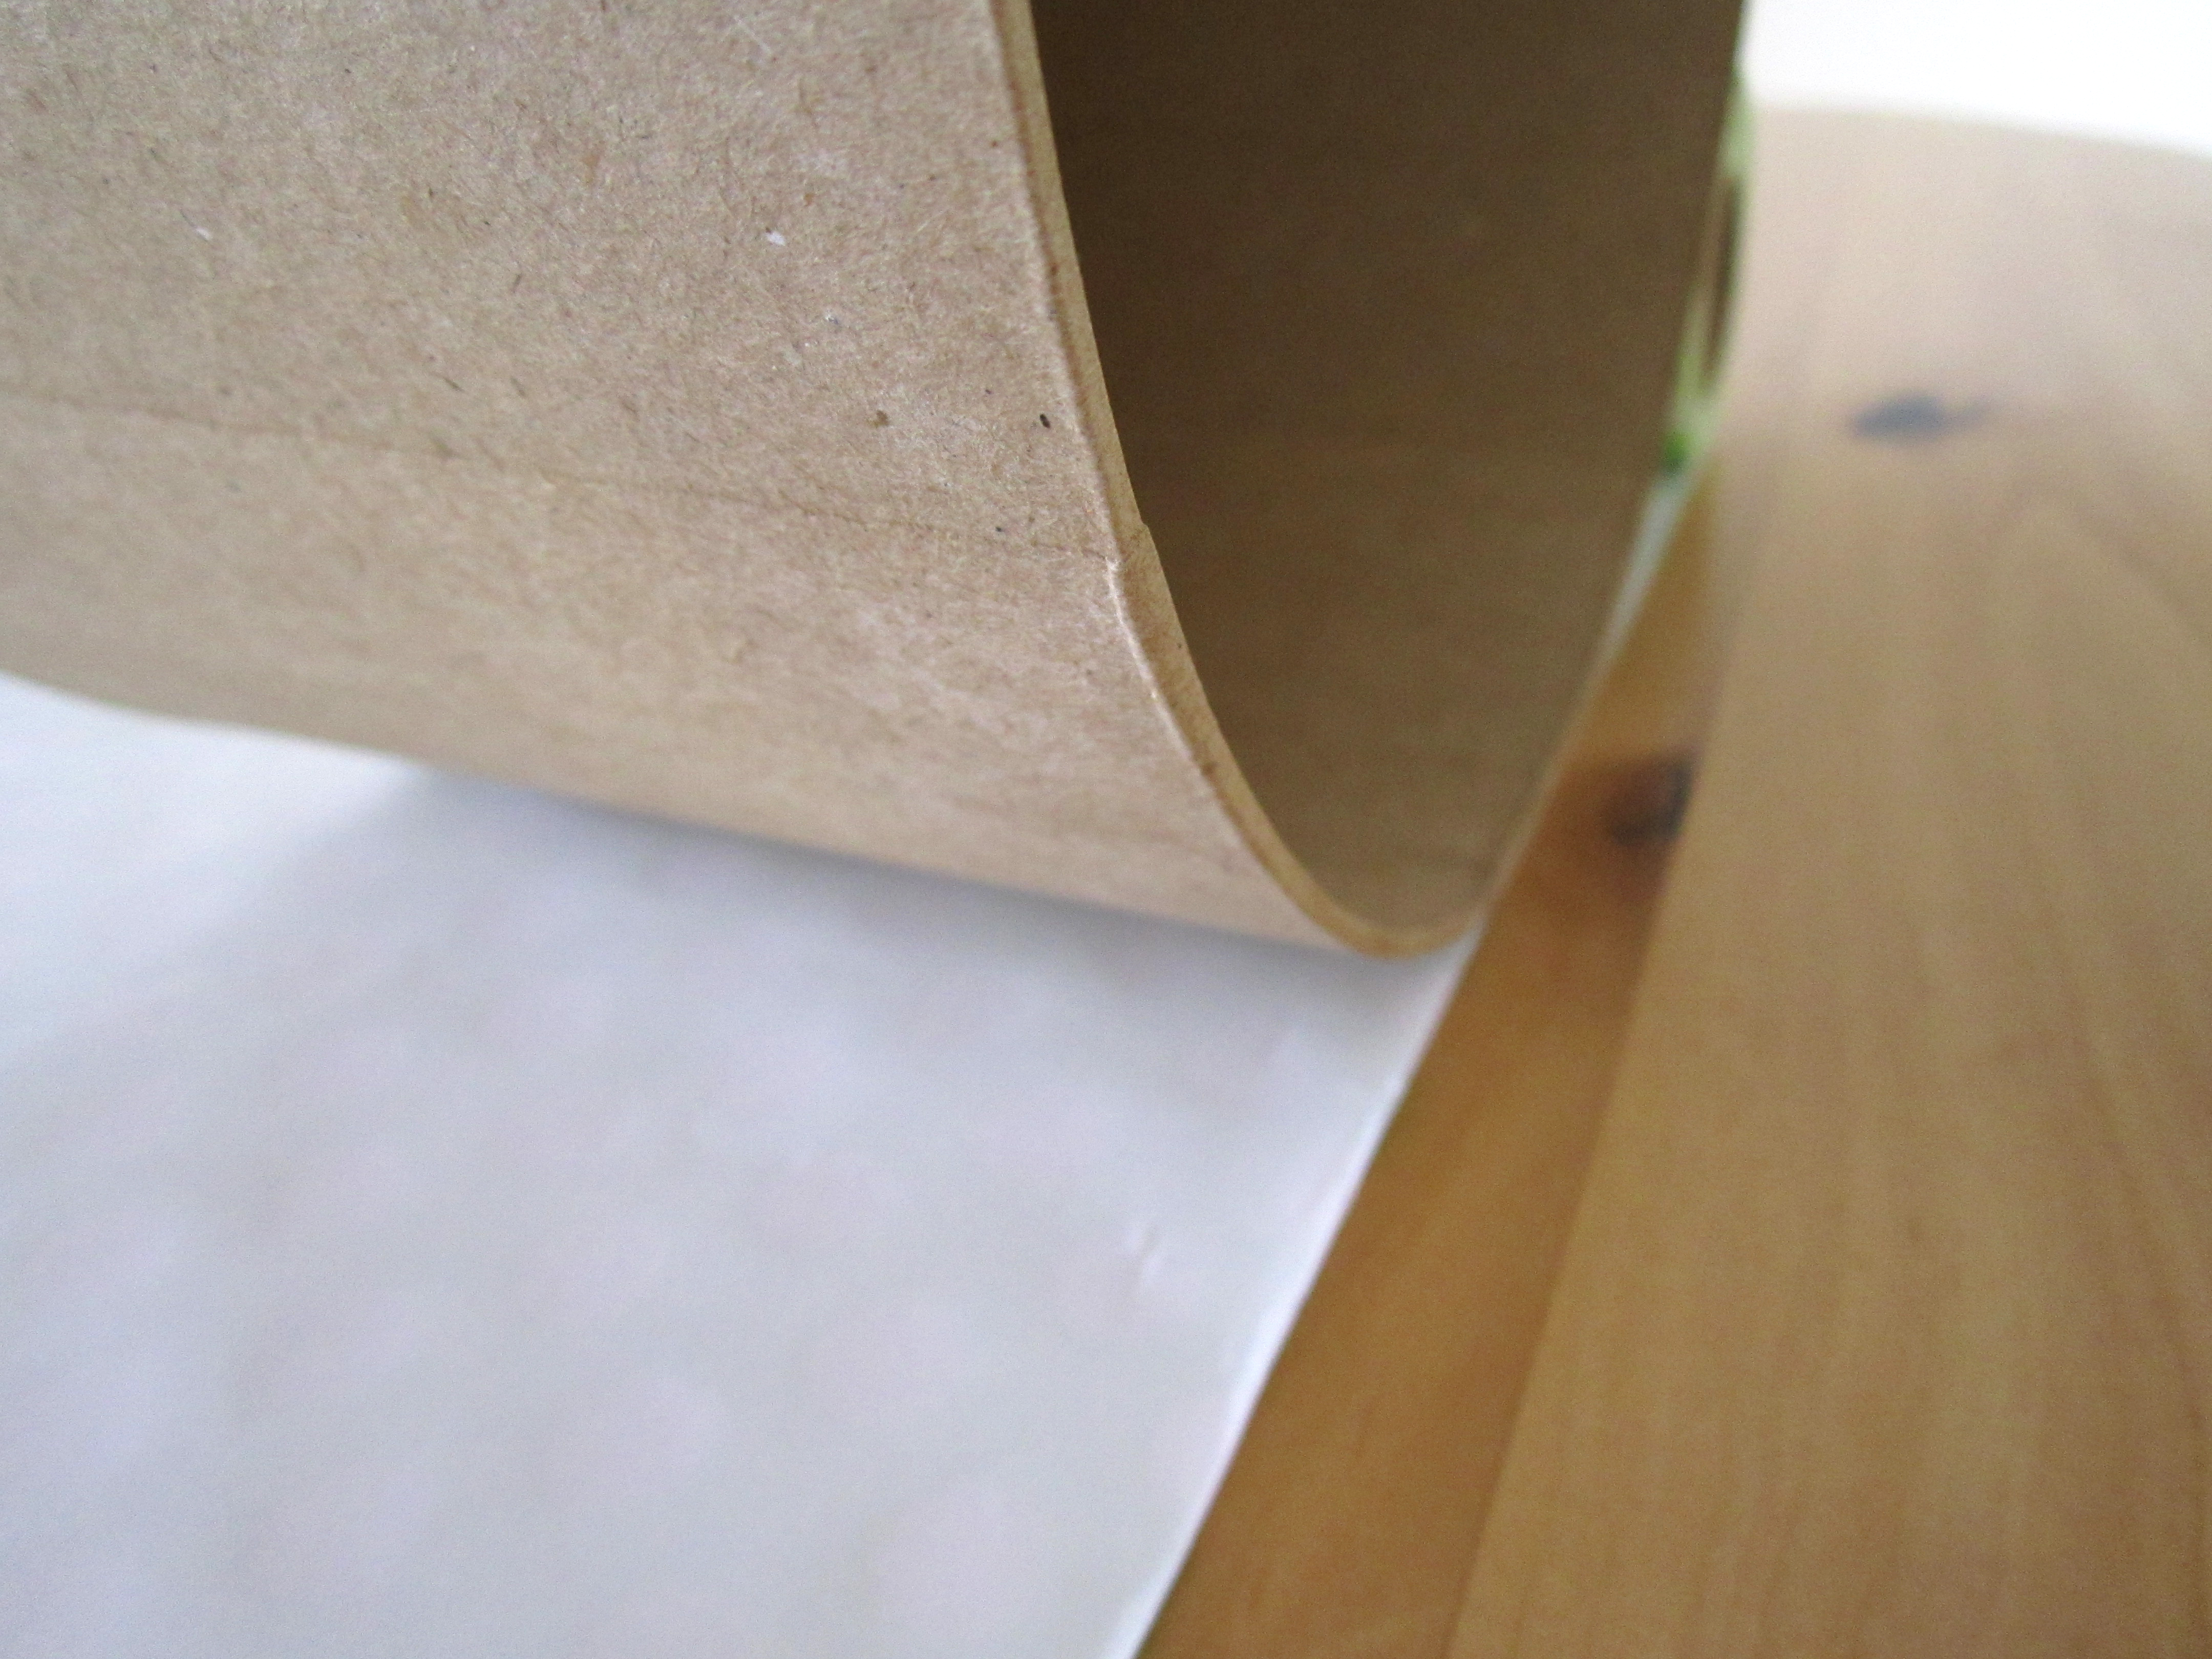
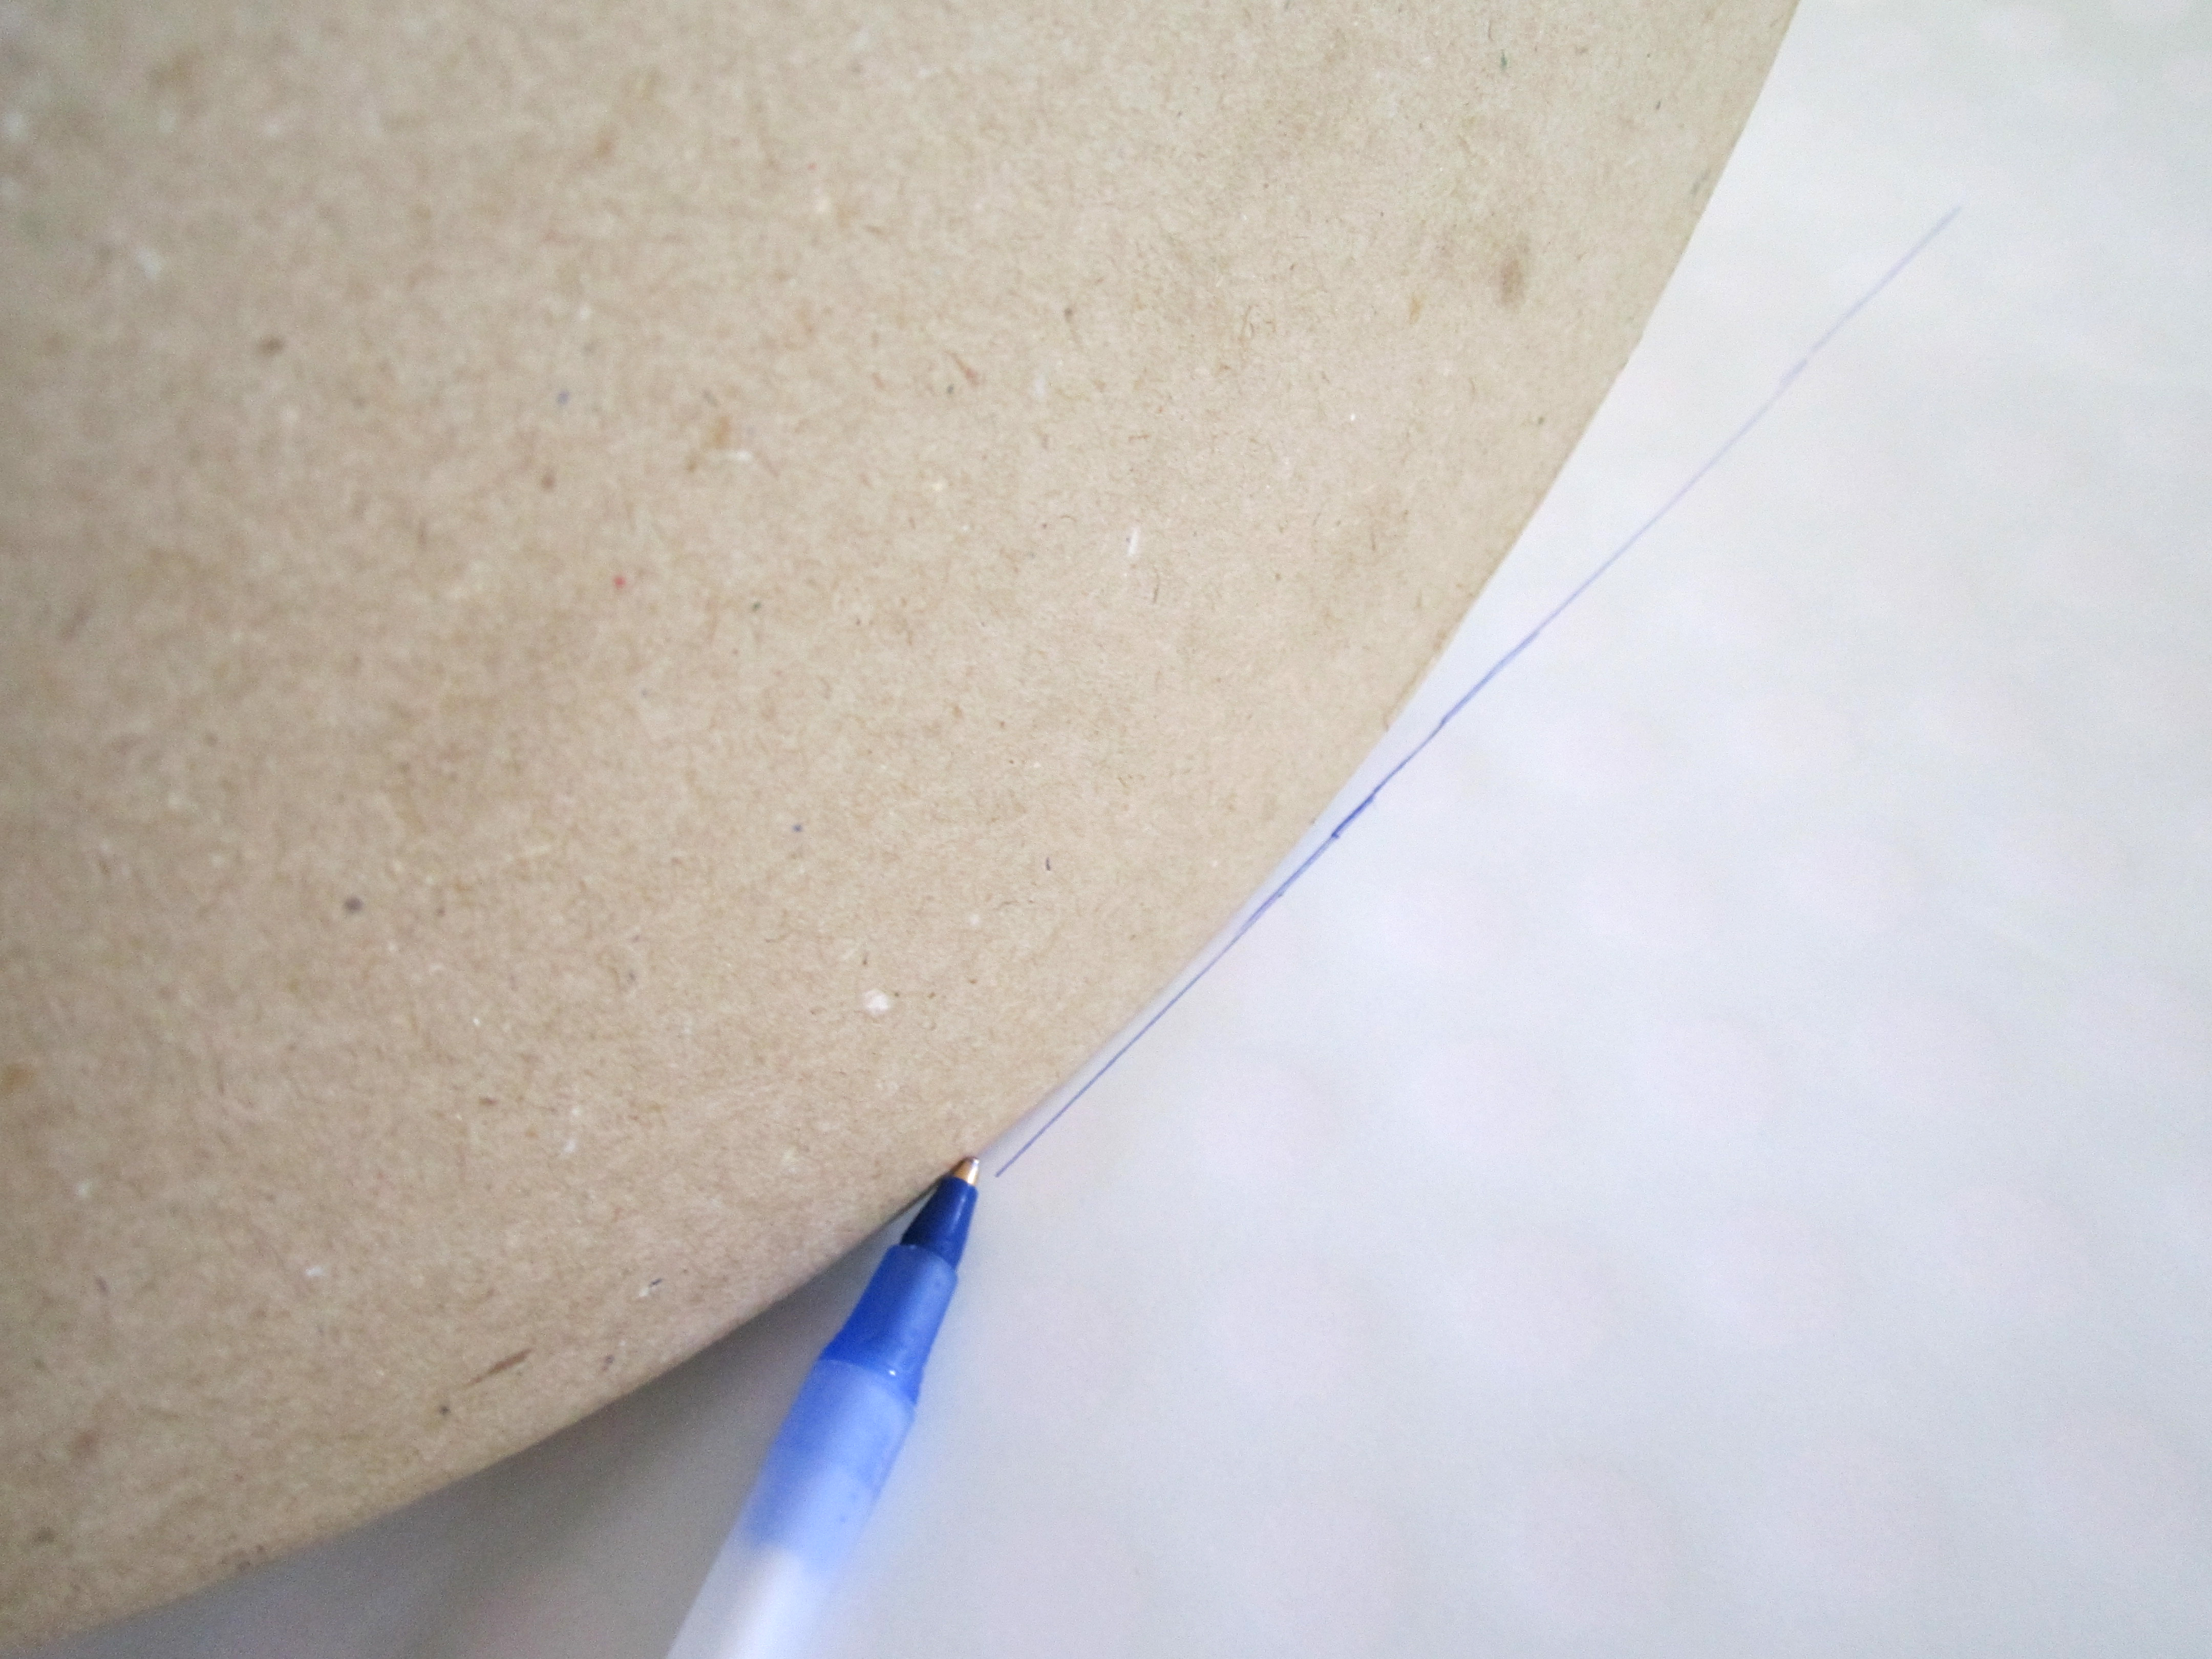
Step One: Line the top side of your box (it is now going to be the bottom side of your stand) on the edge of the paper and mark  how tall it is.
Continue drawing your line for the length of paper you will need to wrap around the box.
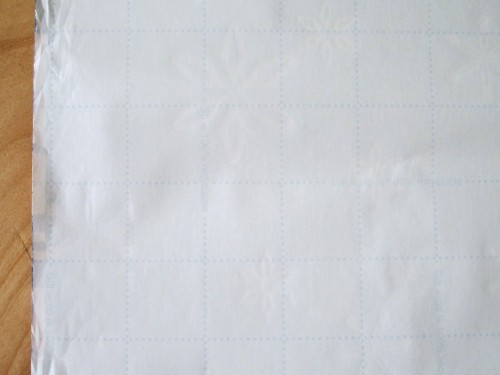
Tip: Some styles of wrapping paper now have grids on the back (mine didn't) which makes it super easy for cutting straight lines.
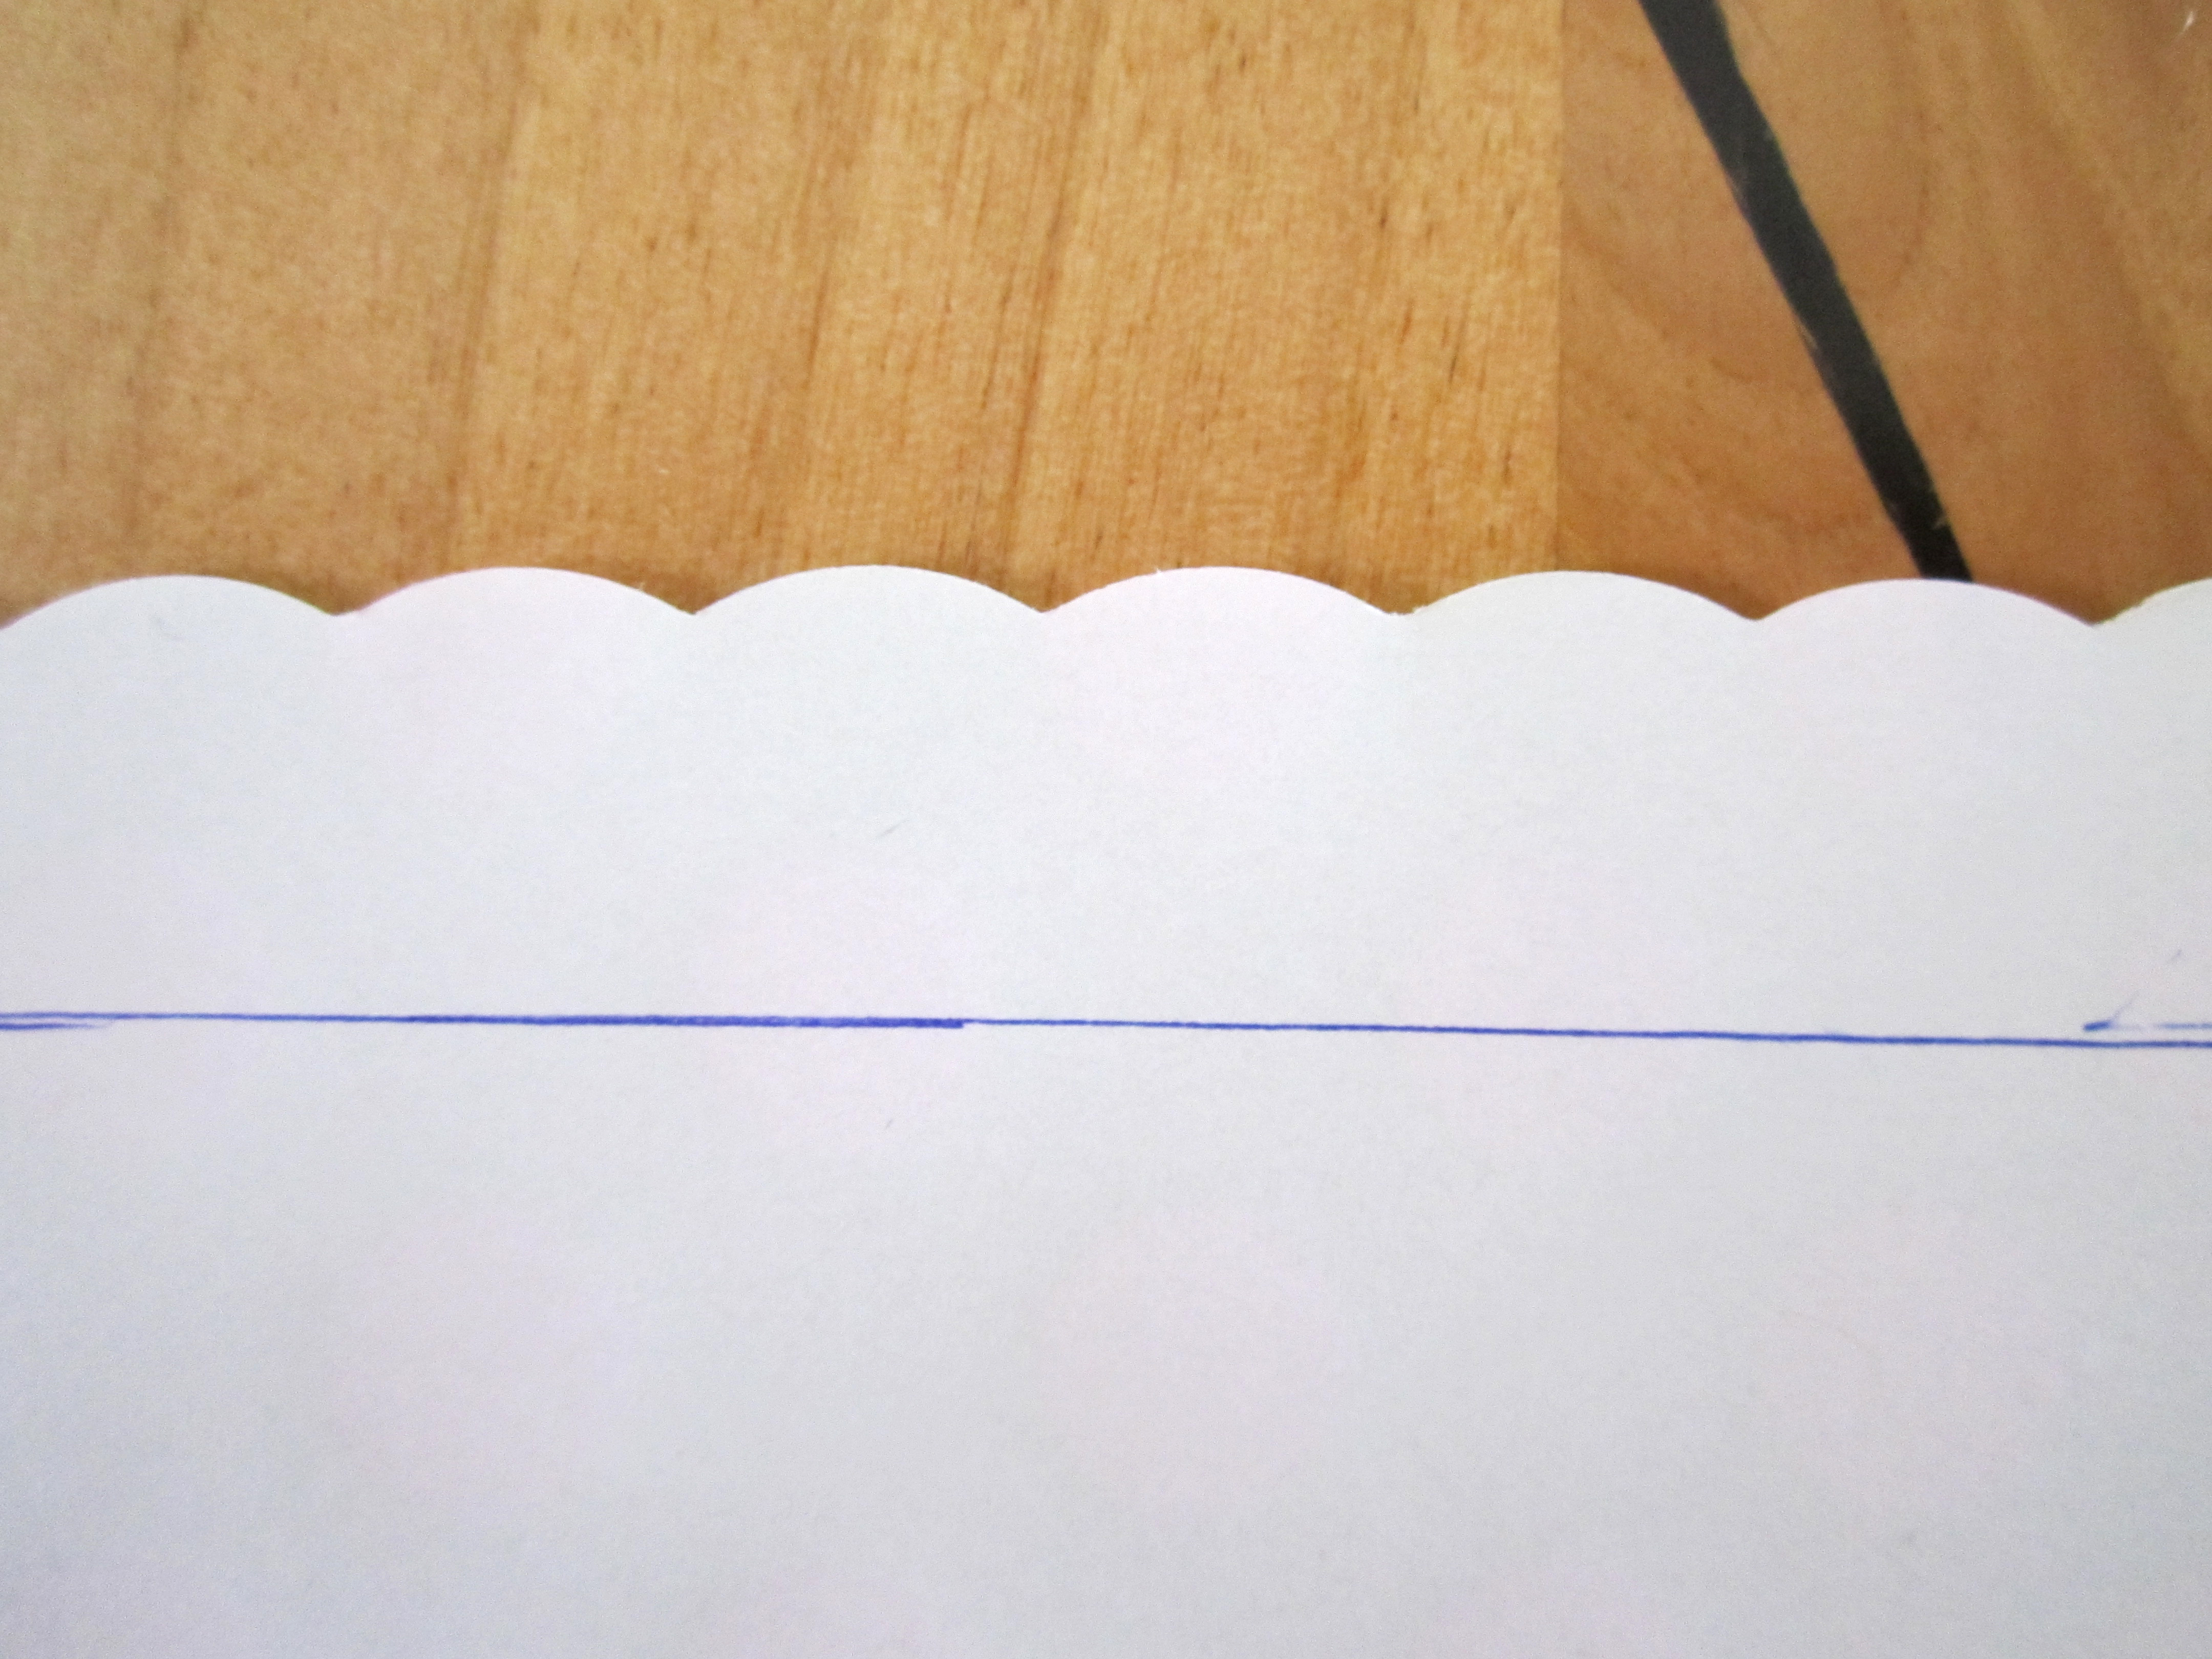
Step Two: Take your decorative edge scissors and cut about a half inch to an inch above your line to give it a little bit of a lip above the edge of where your box will be.
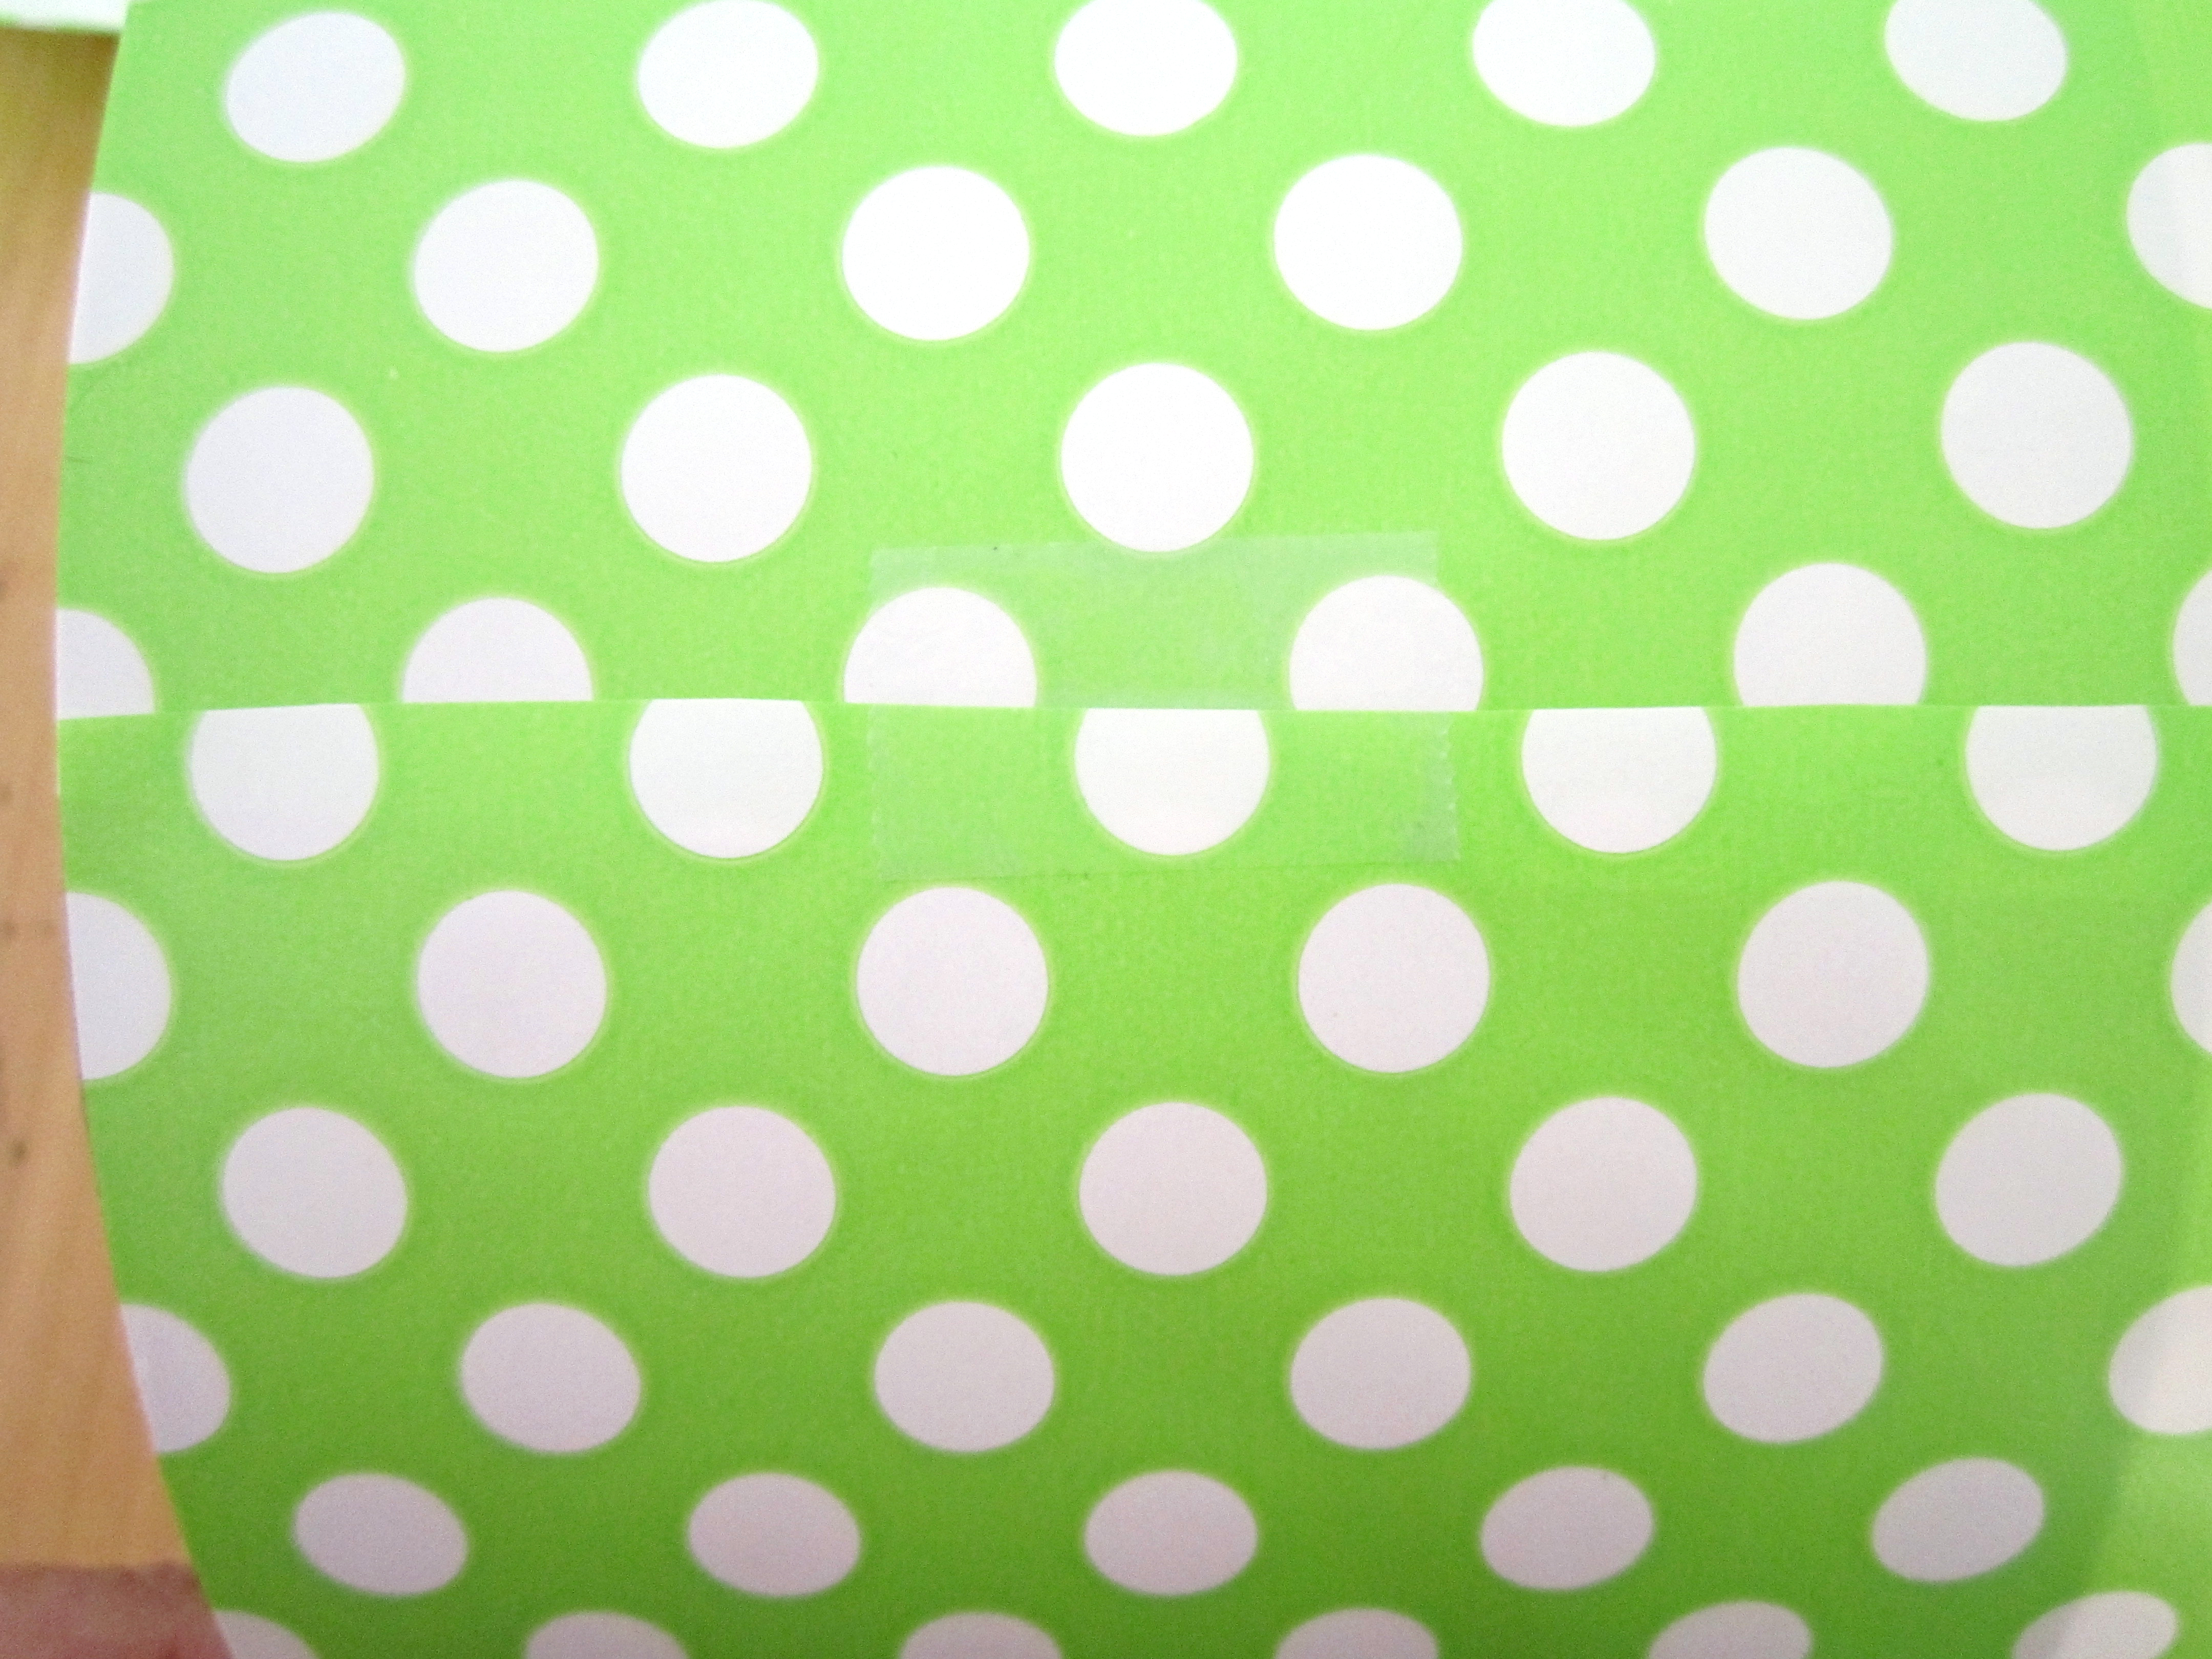
Step Three: Wrap your box. Remember to keep the open part of your box at the base of the paper. Tape one end of the paper to the box to hold in place. Then roll/wrap.
The other end should overlap just slightly to cover the whole thing and tape together.
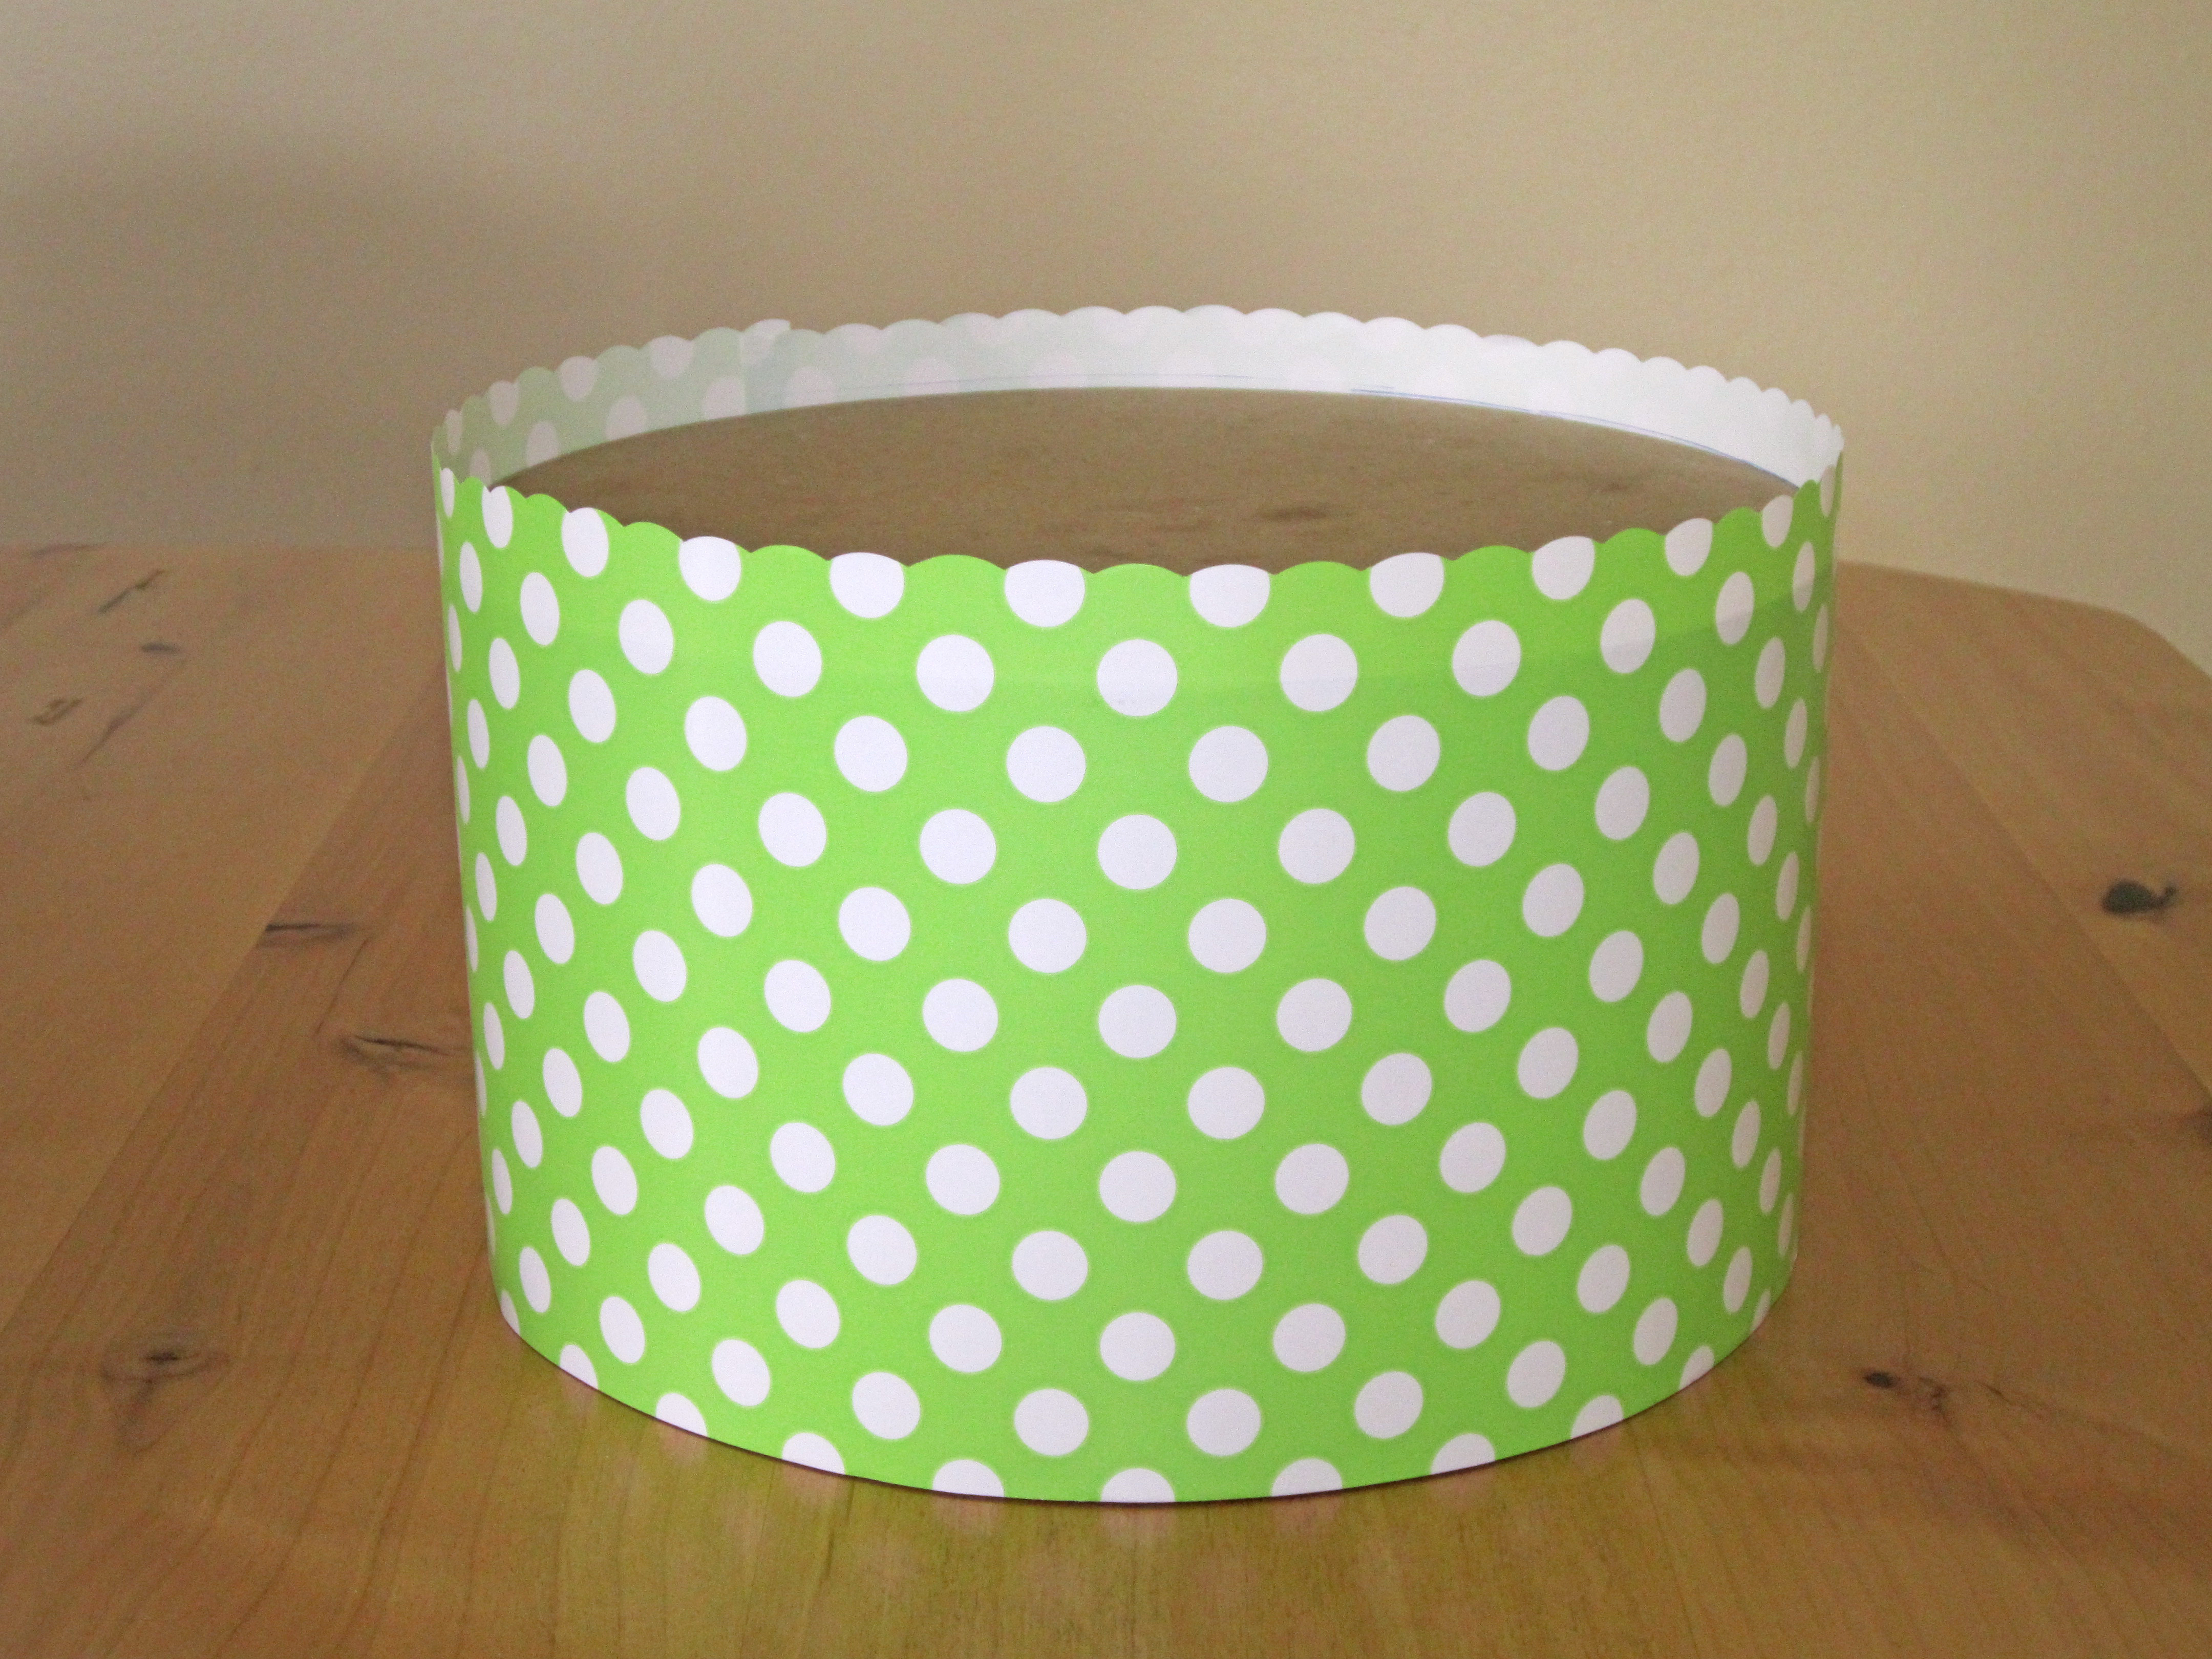
Step Four: Stand your box (open side down....) and you are done with one. Repeat and stack!
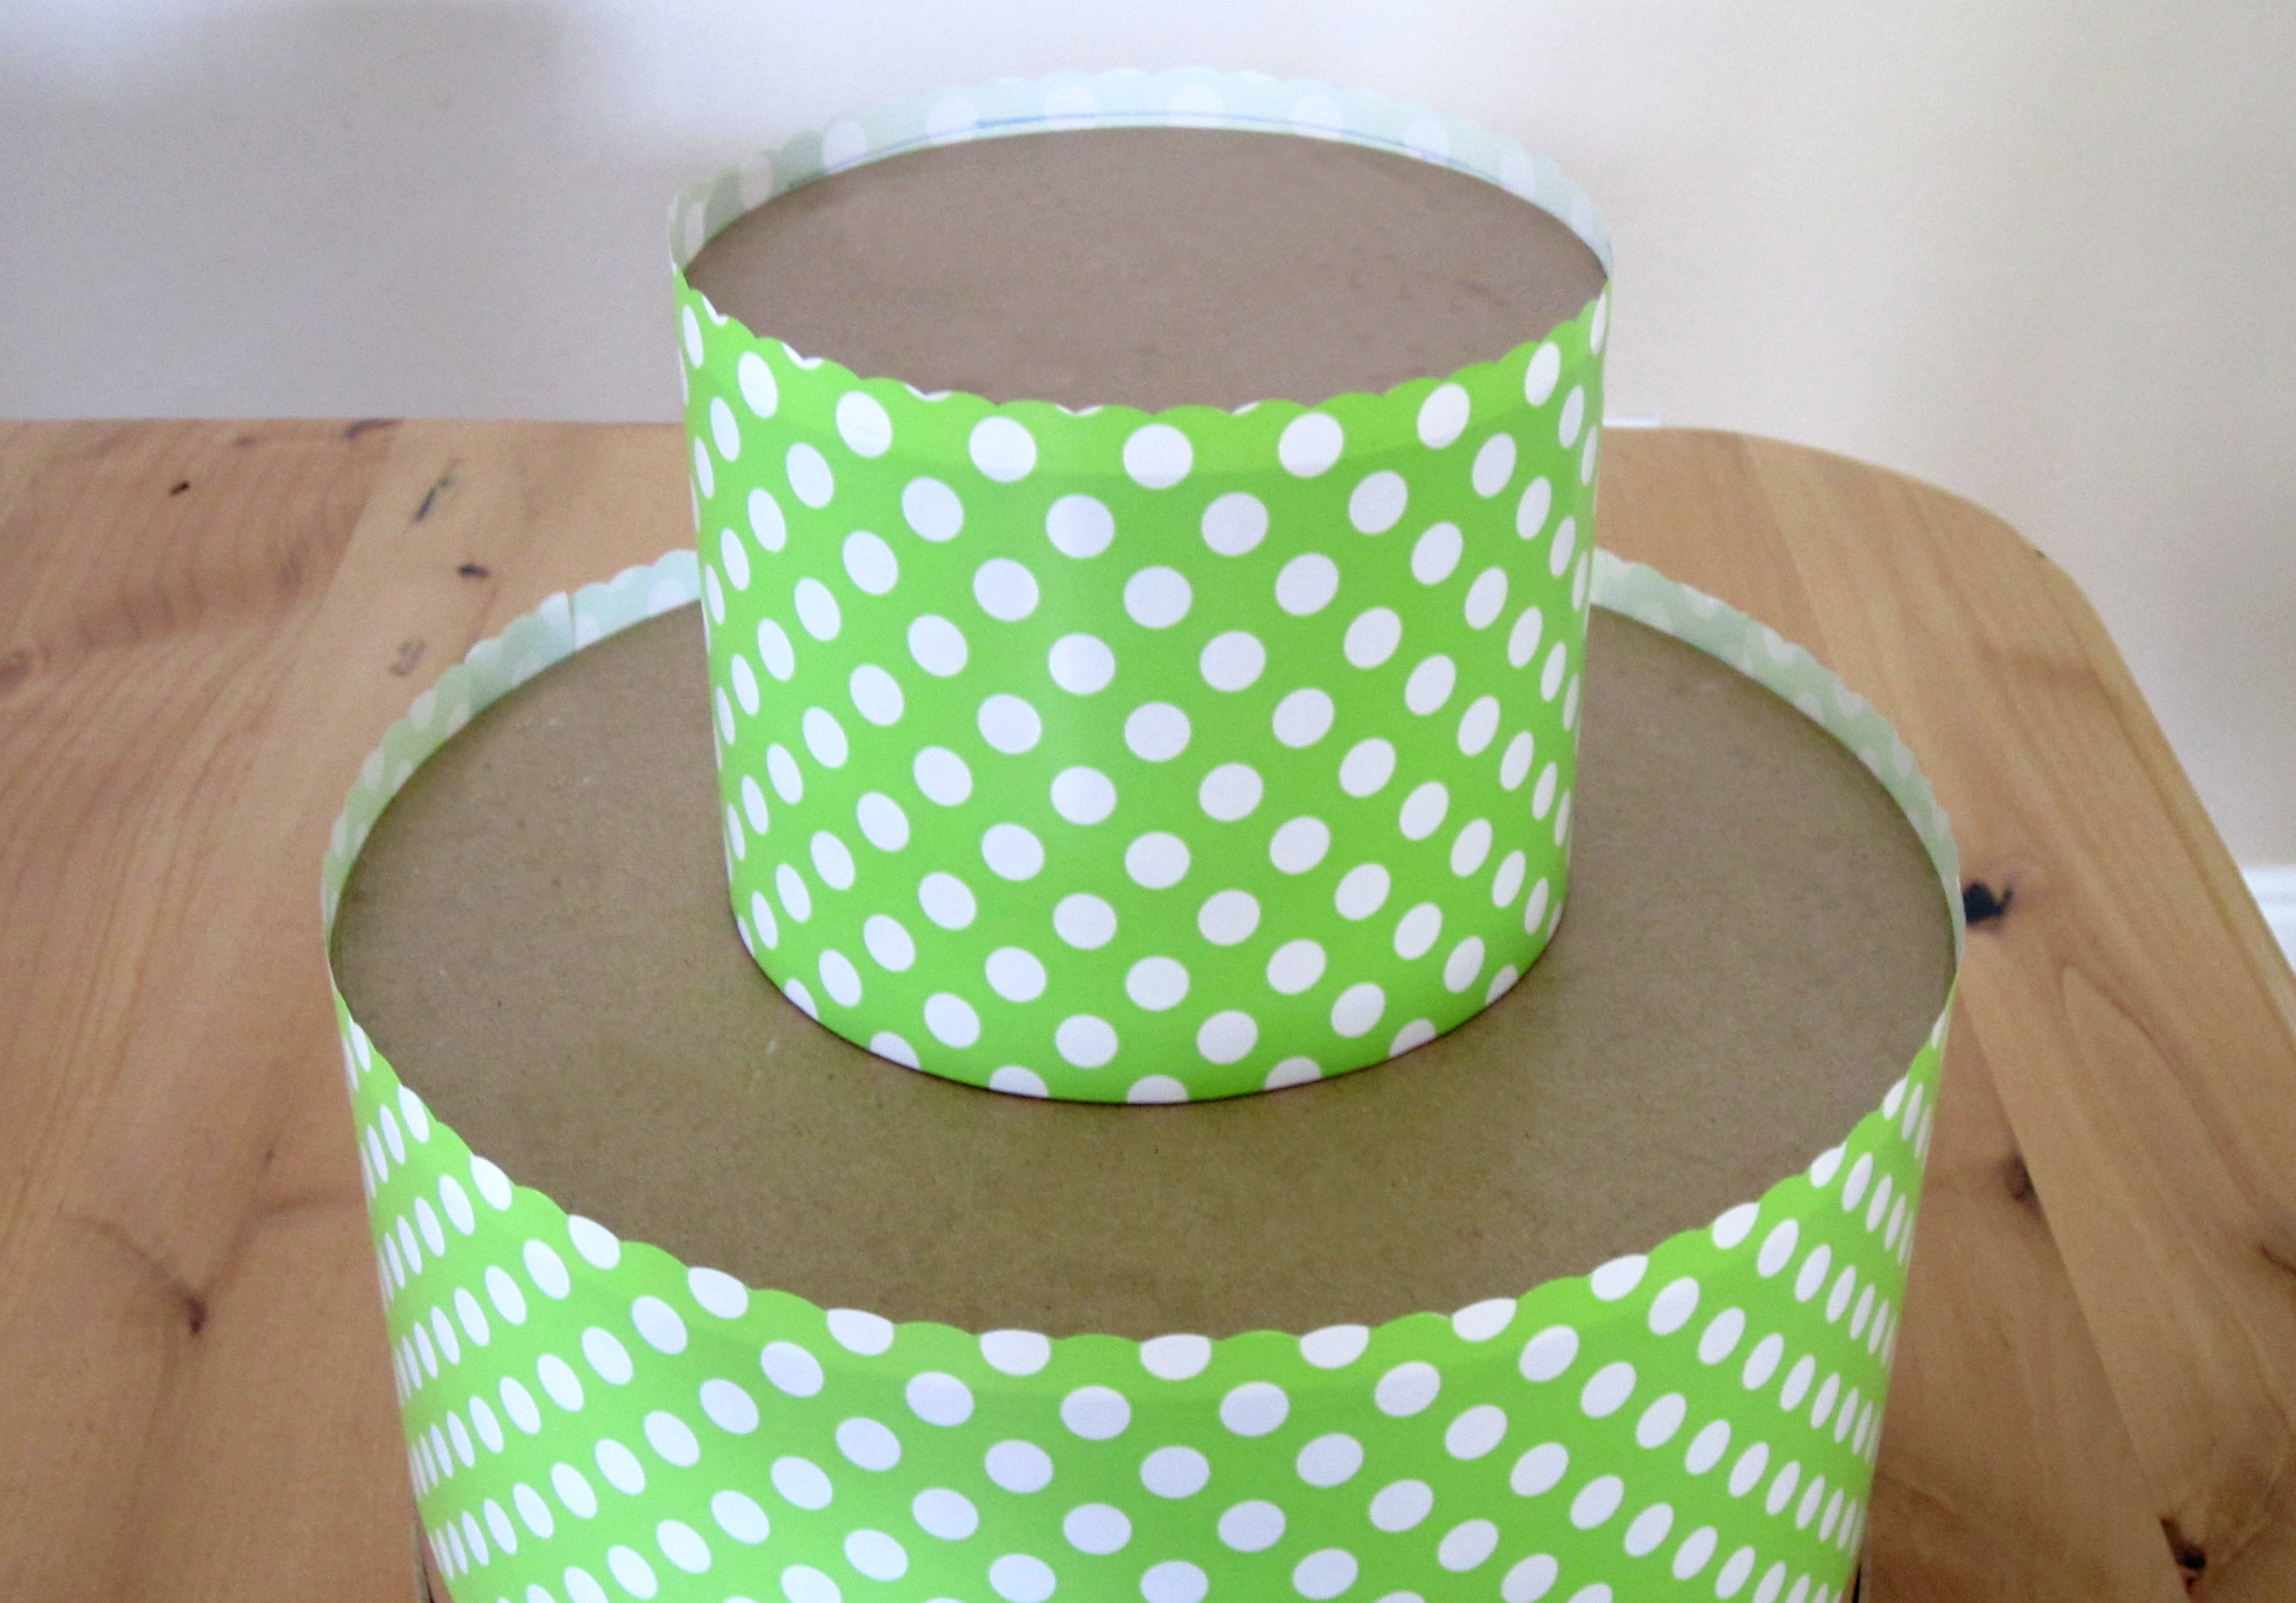
You can stack as many as you like to achieve the look you want. I went with a taller box for the base to give it some height, and then a slightly shorter box on top to give it some variety.
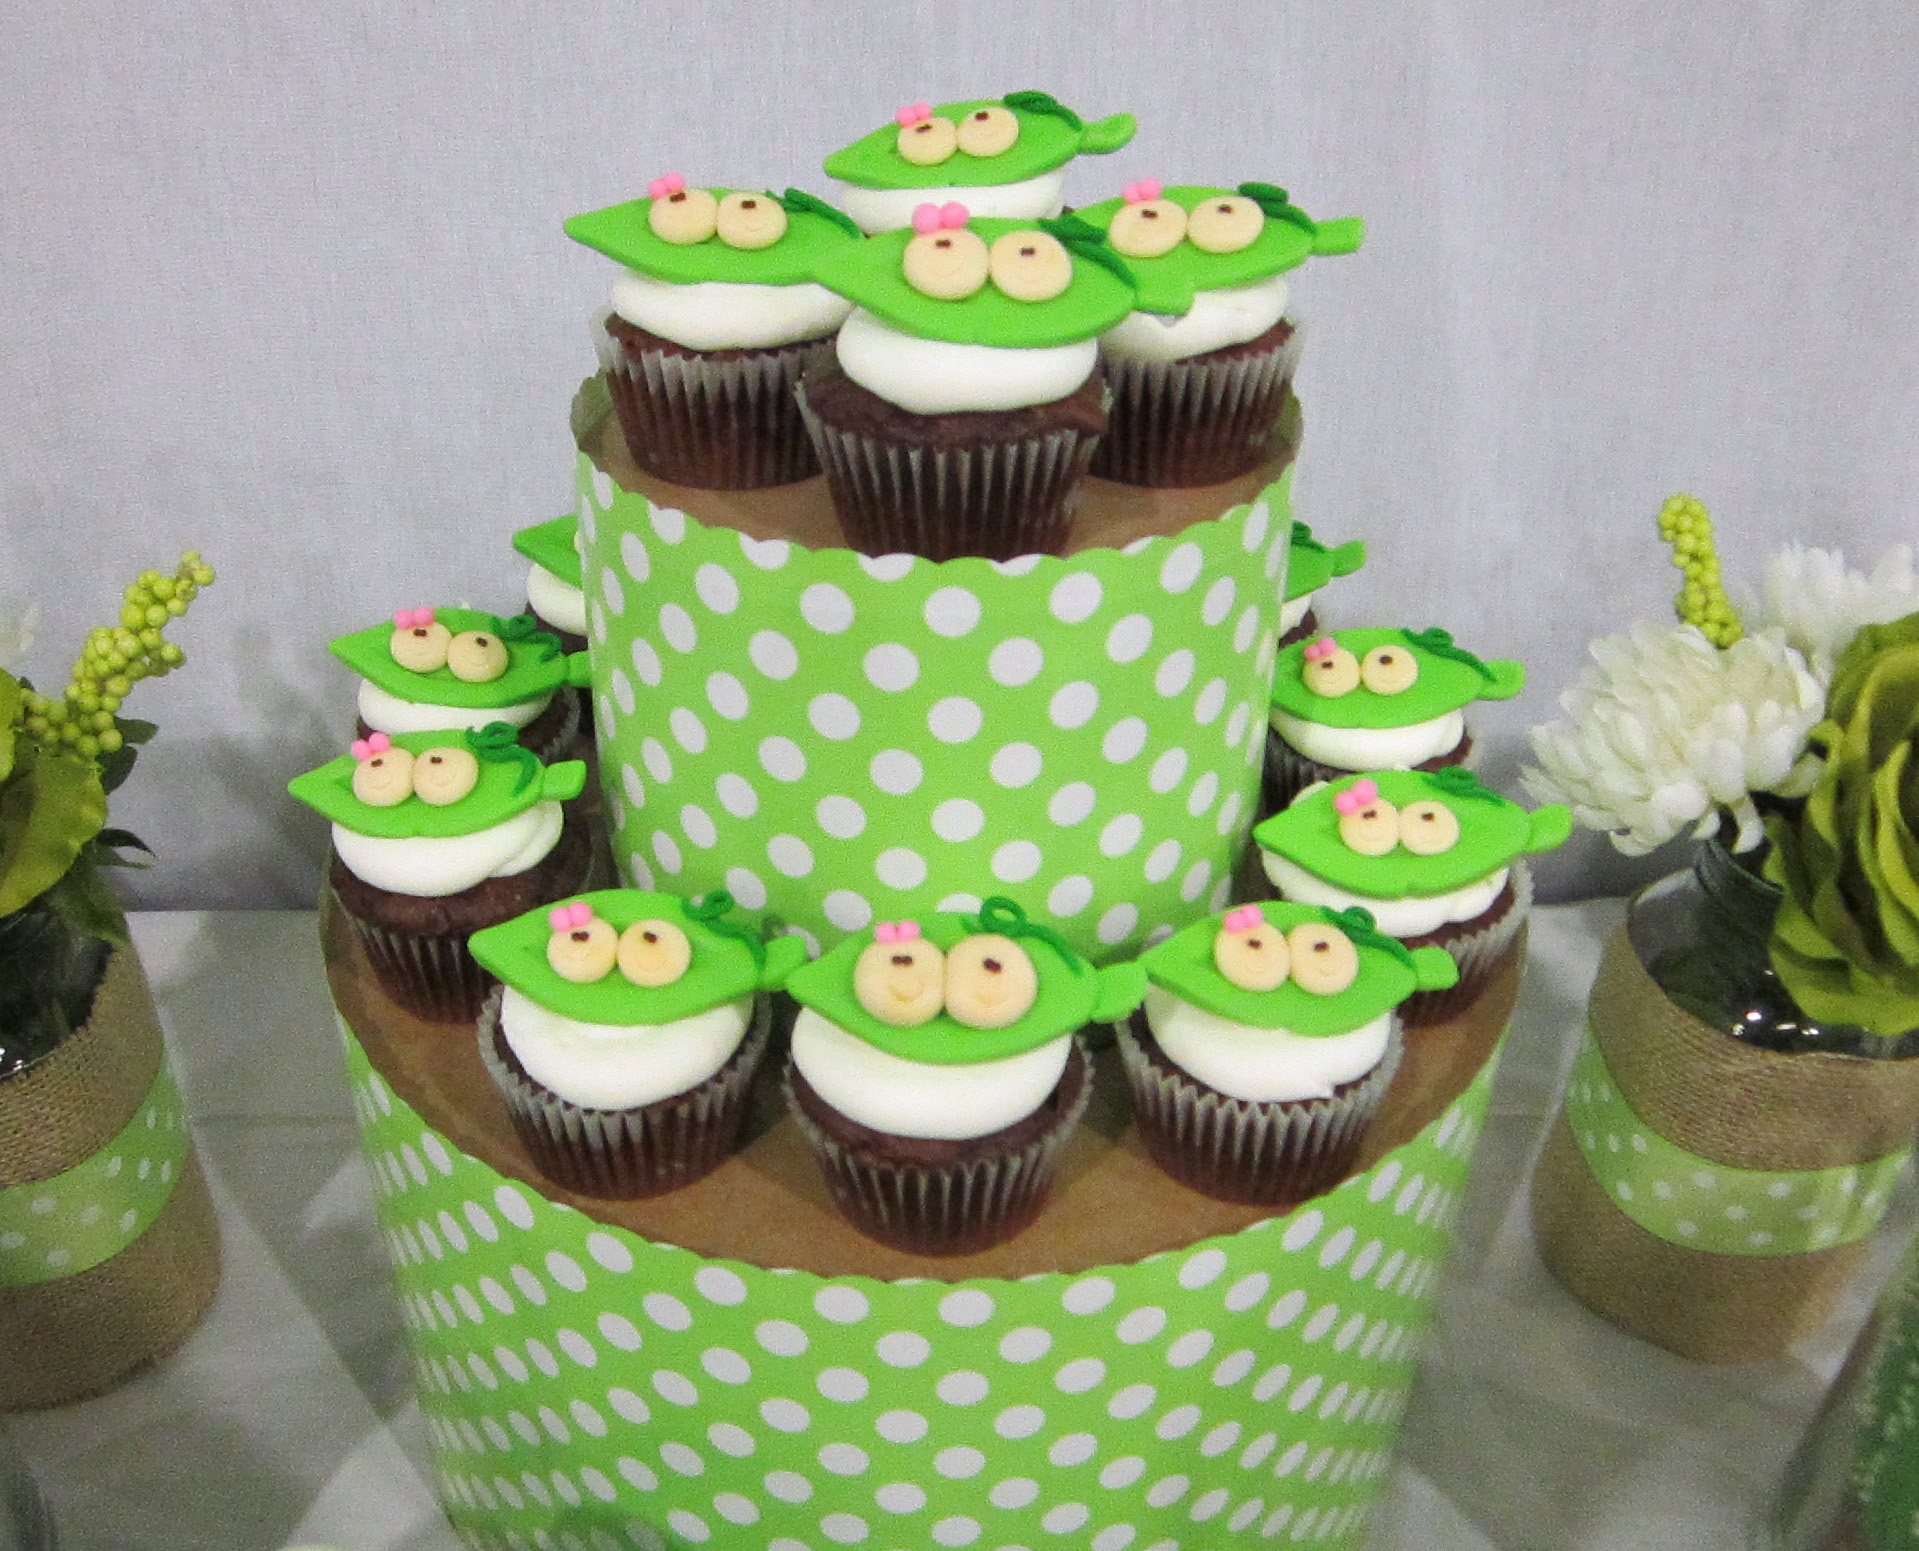
Step Five: Fill with cupcakes!
Tip: For standard size cupcakes, you will want a 4" difference in box sizes for each tier to fit cupcakes all the way around (ex: for a 3 tier cupcake stand:  bottom tier - 14" box, middle tier - 10" box, top tier - 6" box). For mini size cupcakes a 2" difference in box sizes for each tier will work.
Now that your stand is all filled with cupcakes you can take a step back and enjoy your hard work, and eat a cupcake!
Thanks for checking out our hat box cupcake tower tutorial. Another great thing about this is you can take the paper off and re-wrap for another theme, the versatility is really endless! Also be sure to check out other fun details from this baby shower that I styled filled with DIY projects and more tips on uses with wrapping paper for parties on my here! Thanks again and please feel free to comment or share!

Wednesday, February 22, 2012

Buttons & Bows Baby Shower

Sorry I have been gone for so long! Needless to say that I am not a super dedicated blogger! Life has just seemed to be going by too fast these days and I have been so busy.

Well, I am FINALLY back and posting again, and to kick it off I am so pleased to bring you this SEW sweet baby shower! You may have seen it featured to day on Amy Atlas Blog, such an honor! Here are some more sweet pics and details for your enjoyment...
The invites

The cake table
I was able to get large wood spools from an electrical supply warehouse to use as the tables, I think they were a great touch.
Fabric backdrop was created with strips of various fabric hanging from a line, so simple and adorable
2 Tier quilted pattern cake with a large pink bow


Fondant Button cupcakes on mini cupcake pedestals
Sugar button cookies tied with ribbons
Yarn wrapped letters to spell the baby's name, accented with crocheted flowers, buttons, and bows. They were perfect for the decor and double as a gift for the mommy too.


Vintage sugar cookie button cards that I just couldn't pass up!


For additional decorations, we had some buttons strung up for garland, and buttons and little wooden spools all over tables and such as well.


We had an activity for all the ladies to do. They got to make a bow for the new baby. I purchased a vintage sewing machine and table to set up the display on from my local classifieds, it was in beautiful condition.
Various sizes of embroidery hoops with bright patterns of fabric served as the background, and the table was accented with flowers, balls of yarn, measuring tape, fabric squares, wooden spools, an adorable pin cushion, and apothecary jars filled with buttons and spools of thread.


We had all kinds of things to make bows with: felt flowers and circles, buttons, ribbons, and fabric flowers.

'Handmade by' cards to clip the bow on and right your name so the mommy knew who they were from
Here are some of the lovely bows that were made
I have a theory about baby shower favors, they either have to edible or useful, anything other than that will probably get thrown out over time. So for party favors I did both :)
We gave out Mini Sewing Kits
and individually wrapped chocolate button lollipops

Thank you so much stopping by. I hope you enjoyed the pics, I know I had a blast designing and decorating for this shower. Hope you all have a SEW sweet day!


Vendor Credits:
Yarn Block Letters: The Educated Owl
Large Pin Cushion: PW Originals
Cupcake Pedestals: The Papered Nest
Vintage Sewing Machine and Table: Local Classifieds
Button Cookies: Lil G's Cookies
Printable Button Cookie Cards: Emily and Amy's Treats
Cupcakes & Cake: Sweeten Your Day
Mini Sewing Kits: Walmart